
The title of this article is not exactly wrong grammatically. You really can maul your way through Beat Saber, with a homemade double-bladed saber. And you do this on your Oculus Rift, with your Touch controller.
But first, you must 3D-print adapters for the Touch, and modify a PVC pipe to connect the two adapters. You will also install unofficial Beat Saber mods, in order to record a 3rd person view of your battle. When done, you’ll be able to make great videos to brag about online, like the one below.
This DIY tutorial is based on the Touch adapters designed by friedPotat0, which is in turn inspired by the Sith Tuber Lord, ragesaq, of the double-bladed Beat Saber fame. Saq got ProtubeVR to make a special ProSaber. If you live in Europe, you can just buy one online, and skip half of this tutorial. But if you would rather 3D-print your own Darth Maul saber, read on.

The end product: Darth Maul Oculus Touch Saber
Here is another video recorded after I became more like a Sith Lord.
3D-printed Touch adapters
First, you should print out the adapters designed by friedPotat0. Note that these were designed in metrics, and require an HT pipe with an outer diameter of 40 mm and a wall thickness of 1.8 mm, to connect the two adapters. It turned out to be difficult to find such a pipe in my local hardware store in the States. You may want to find his alternative model for “1.5 inch PVC pipe” instead. As for me, I scavenged for a suitable pipe in my garage instead. More on this later.

Thingiverse page of the adapters by friedPotat0
There are numerous derivatives of friedPotat0’s adapters on Thingiverse. Most of them add a printed handle. But I avoid these, because I don’t know how much confidence I have on the structural integrity of these handles, assuming comparable weights to PVR pipes. The two controllers are heavy enough by themselves. So I want the handle to be as light as possible, but not so light and weak that they break when used in game. That said, if you still want to 3D-print handles, check out these:
- Darth Maul complete model by amonroy_uy
- Darth Maul Remix by HenrikH96
- Darth Maul Controller Mount by BrianSFPV
- Modular Saber Handle for Beat Saber by Wully
The picture below shows the two printed adapters next to the Touch controllers. These are printed on a Form 2 resin-based printer at my local library, for $3 each. They blend in amazingly well with my Touch controllers.
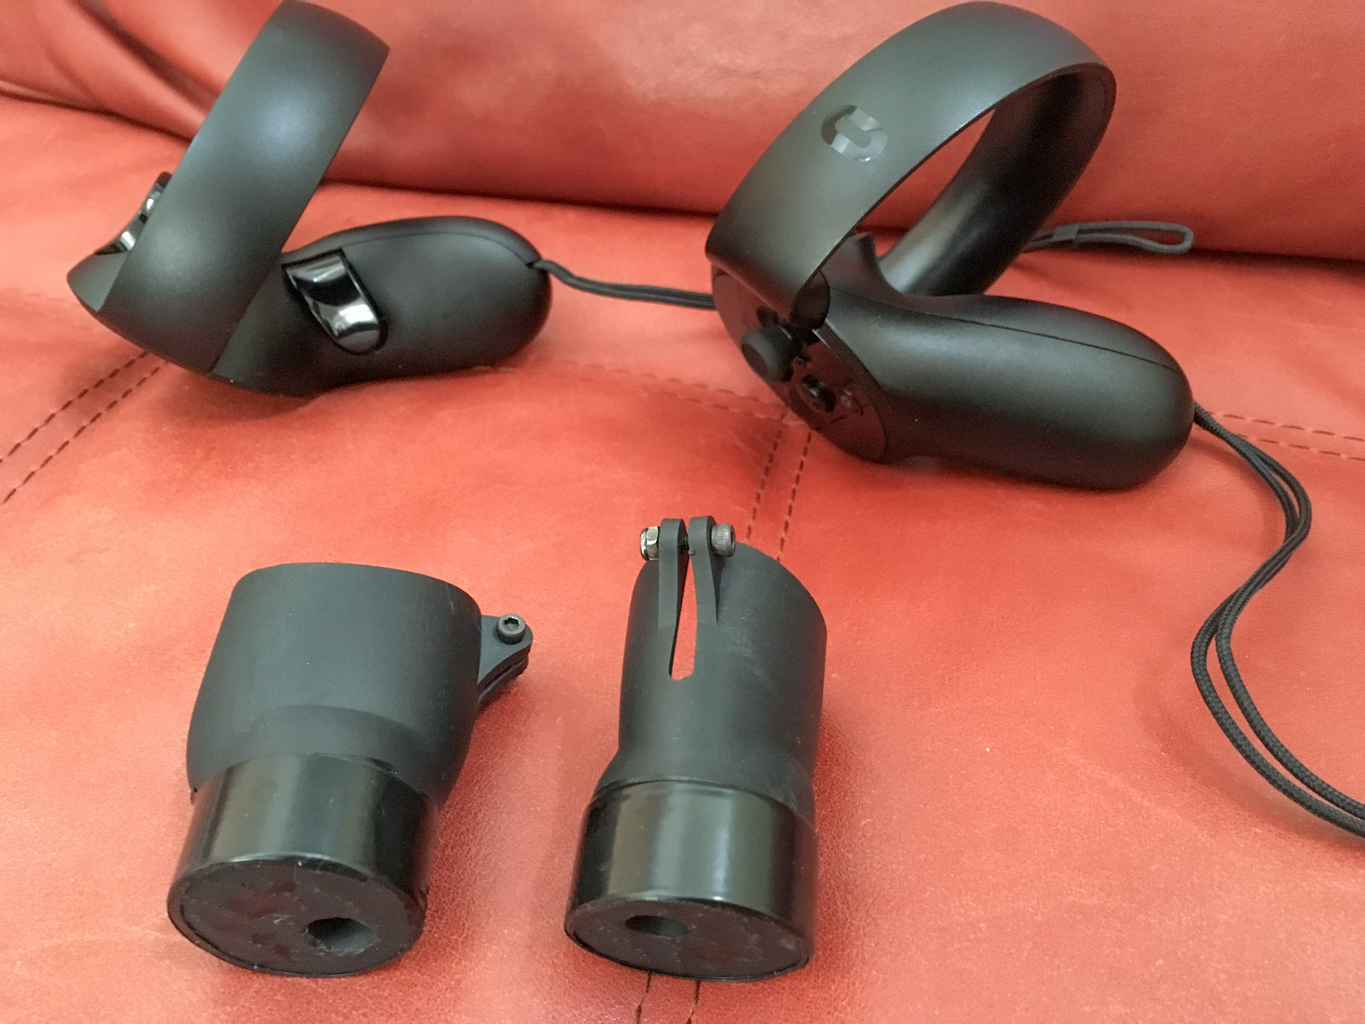
3D-printed adapters for the Touch designed by friedPotat0
Materials and Tools
Here is a list of other materials and tools you will need. First, you need to procure the aforementioned PVC pipe. You will also need a zip tie as shown. More on the zip tie later. You will need M3 screws and nuts, or their equivalents, for use on the adapters to clamp down the controllers. The picture below shows a hex screw and a regular Philips screw. I prefer the hex screw, so that’s what I used. Also get an electrical tape.

Materials You need
You will need to drill holes on the pipe. If you are cutting the pipe yourself, you will also need a pipe cutter. I use a small file to remove jugged edges on the pipe after drilling and cutting. It’s important that you leave a smooth hole, or else you risk wearing the wrist strap from the Touch controller down over time. The end-cutting pliers is for trimming the zip tie when all is done.
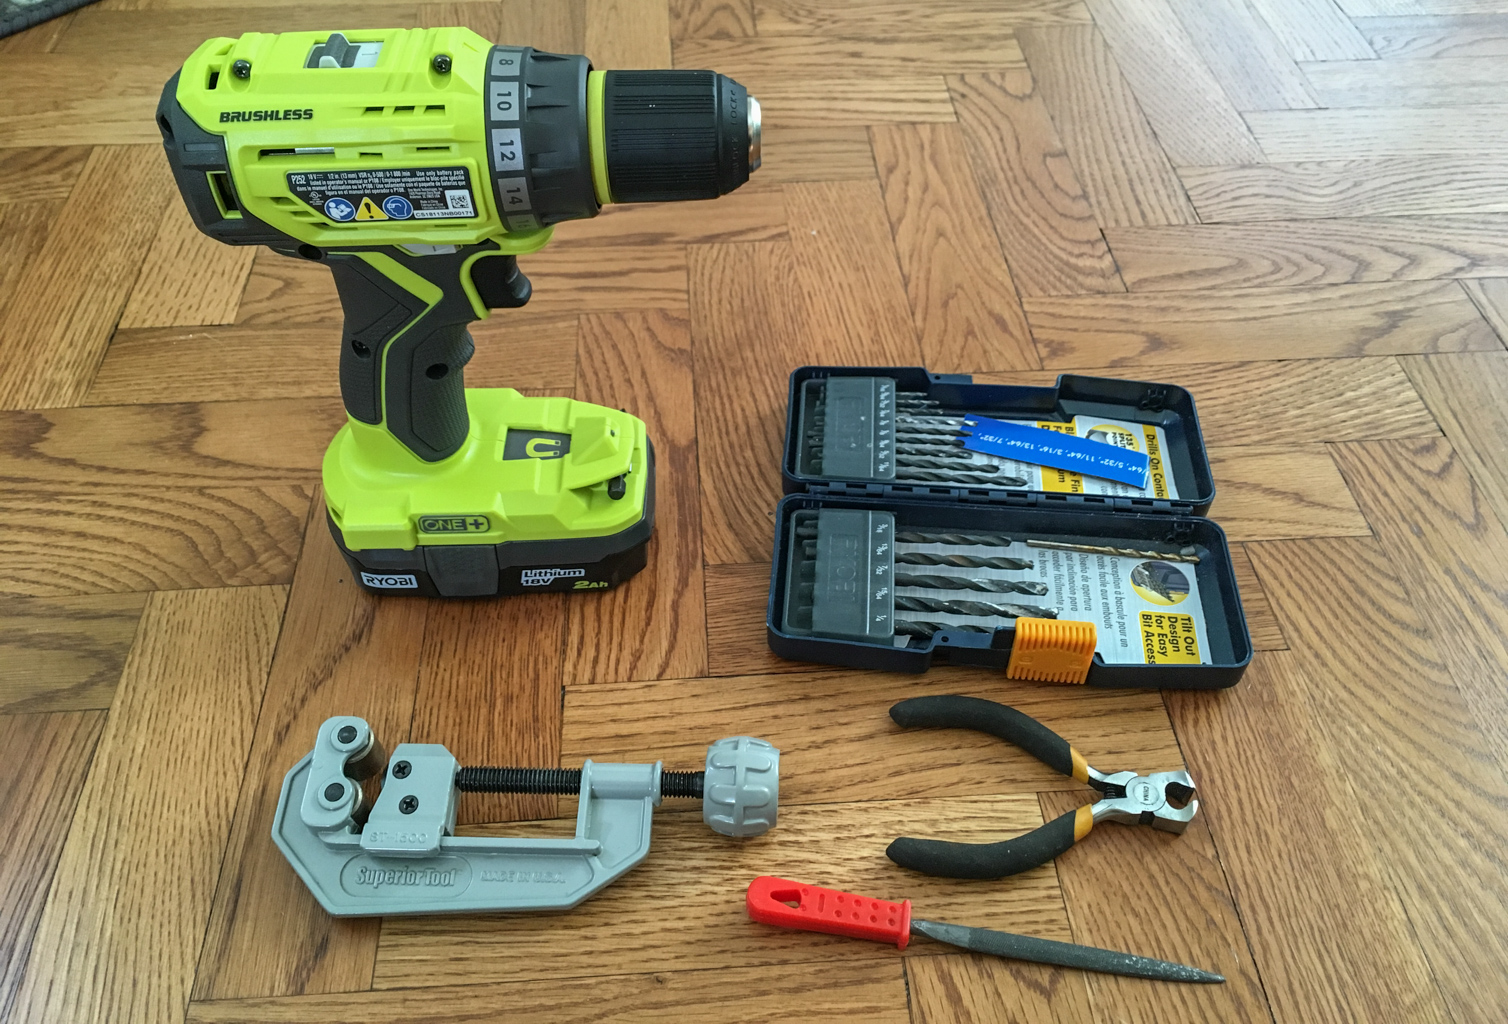
Tools you need
The pipe
 As mentioned earlier, PVC pipe carried in neighborhood hardware stores in the US will not fit the printed adapters. They are either too big or too small. Also, they are too thick and heavy. Instead I found a lightweight pipe that worked, in this box in my garage. It had sat unused in my garage for a decade, since I last moved. Finally my hoarder habit paid off. The PVC pipes in this box were exactly what I needed.
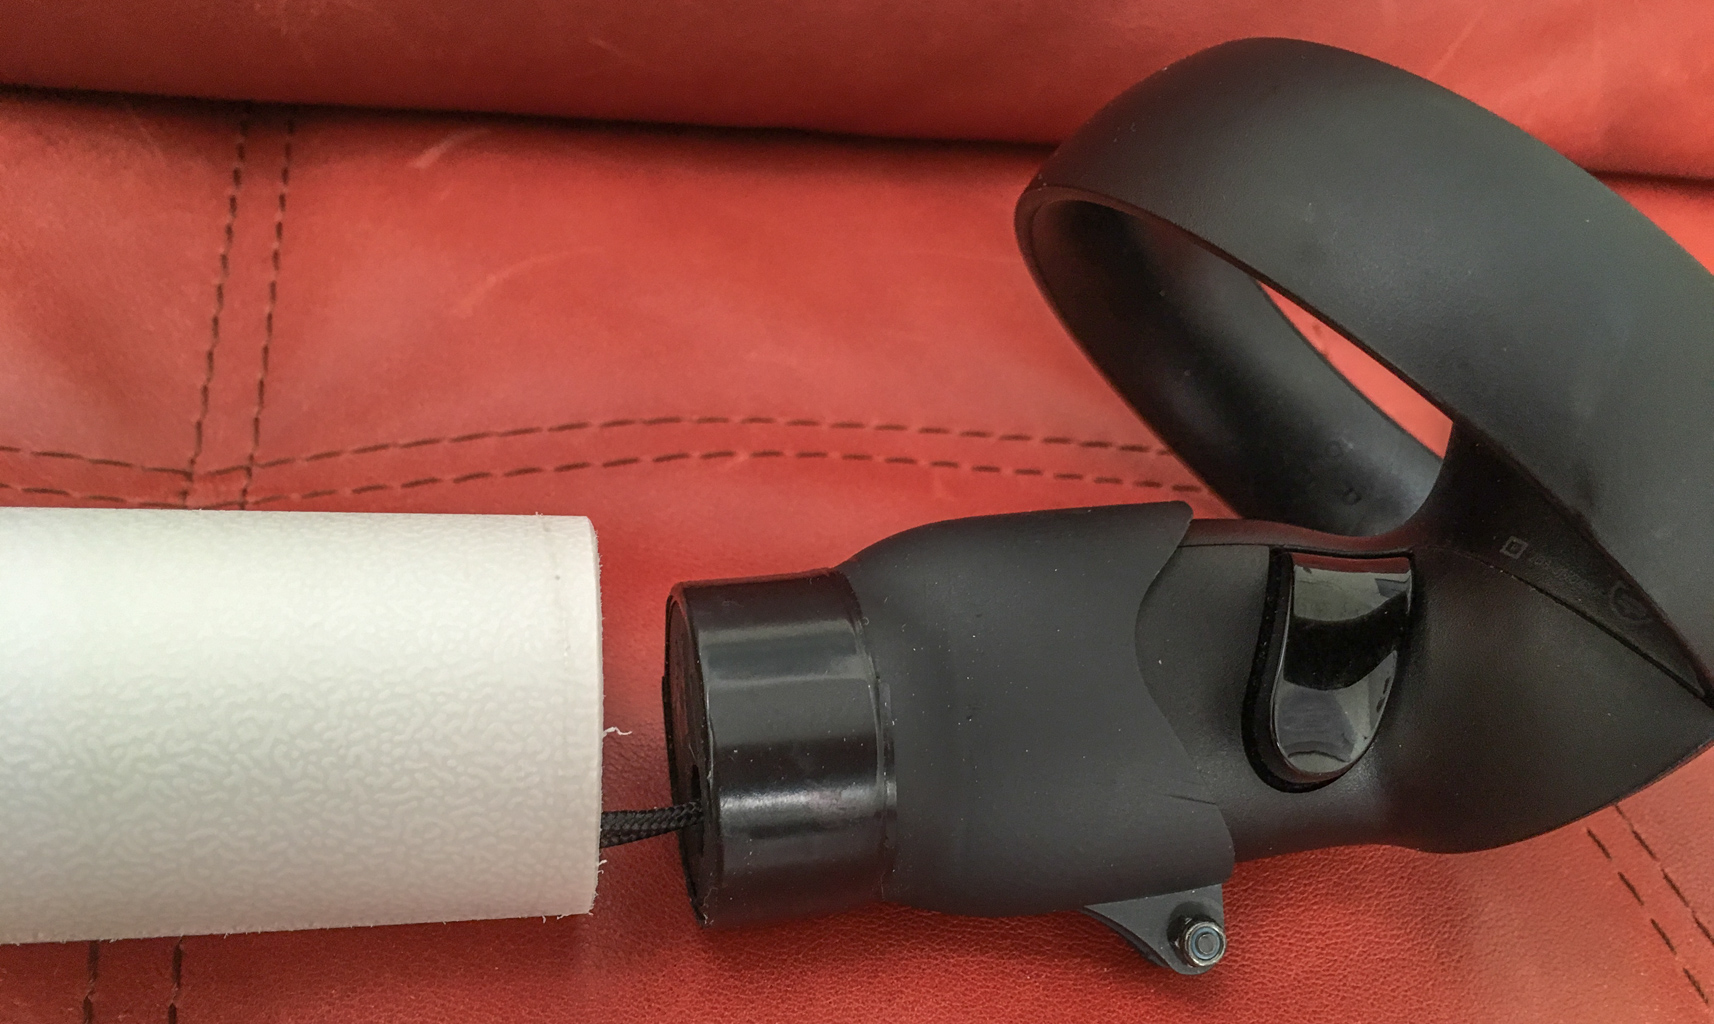
I cut the pipe to 9″ long. I arrived at this length by trial and error. I temporarily attached the controllers to the adapters, and the adapters to the pipe. I then taped everything together, and tried to wield the saber that way. I cut the pipe inch by inch until I felt that the saber was “just right”.

9″-long pipe compared to the original
Wrap the electrical tape around the base of the adapter to create a snug fit. The modeler of the adapter himself apparently glued the adapter to the pipe. I recommend against that. You will need to remove the adapter once in a while, so gluing is unconstructive. If you worry that the adapter will fly off as you wield your saber, don’t. You should worry more about the Touch flying off the adapter instead. More on that later.

Use electrical tape to widen the base of the adapter

The tape provides good grip against the pipe wall
Get the right thickness of tape by trial and error

Perfect fit
The adapter
You may have noticed from earlier pictures that I put electrical tape on the inside of the adapter cup as well. I did this after realizing that the M3 screw and nut alone could not keep the Touch from flying off. The printed adapter is relatively hard, but not hard enough. If you keep tightening the screw, you won’t stop the controller from flying off. You will only bend the plastic taps.
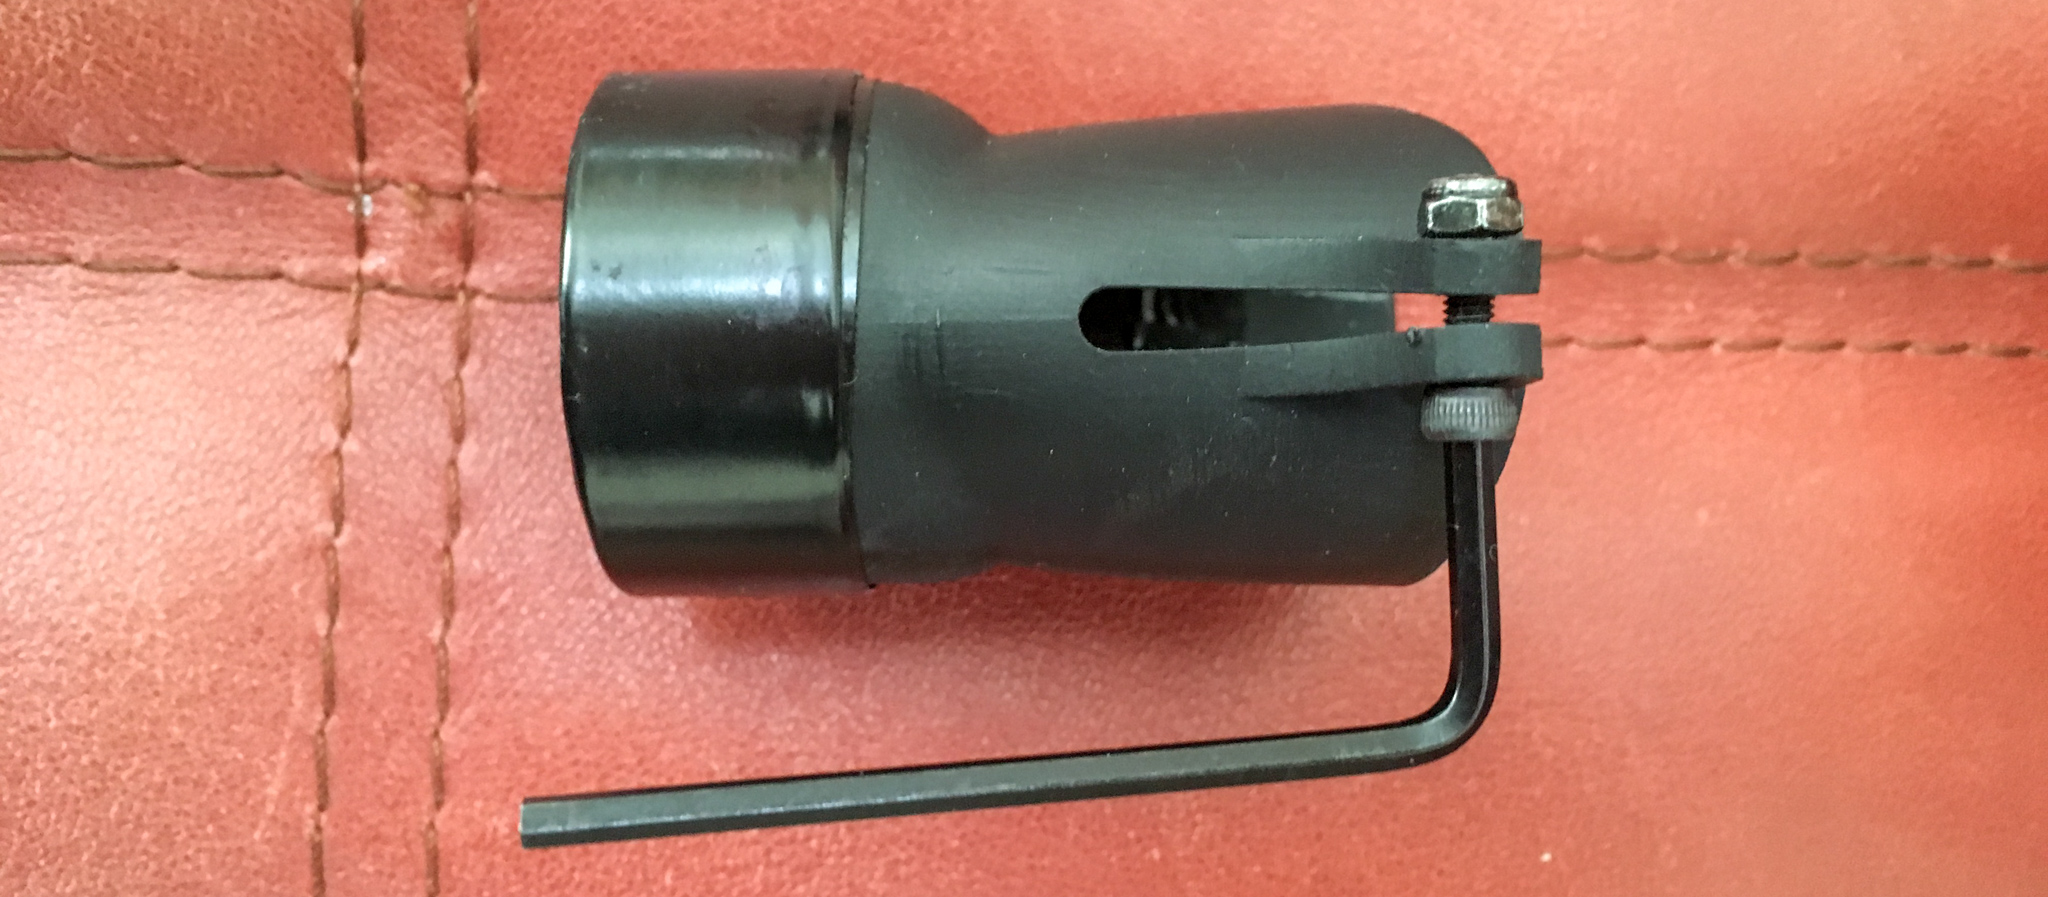
Do not over-tighten the taps
To address this issue, I applied electrical tape on the cup to increase friction. But ultimately I just used a zip tie to tension the wrist straps. More on this later.

Put tape on the inside of the adapter for better grip
Assembly
Drill two holes in the middle of the pipe. Note how I did not drill them exactly 180° apart. Instead, I made them about 140° apart. This gave me multiple options on how to wrap the exposed wrist straps. More on this later. I filed the holes to make them smooth, so that edges do not wear wrist straps down over time.

Drill two holes in the pipe
Use a paper clip to fish a wrist strap out of each hole.

Fish the wrist strap out using a paper clip
Tag on the straps to make sure they are tight. Wrap the exposed parts around the pipe. Choose the best direction for wrapping the exposed straps. Leave enough room for the zip tie to work properly. If one direction isn’t good, try the opposite direction.

Wrap exposed wrist straps around the pipe
In my first attempt, I tried to rely solely on the adapter cup and the M3 screw to keep the Touch controller in place. I did not think much about the strap, except that I had to create a failsafe, as a last resort. I tried to be cute. I used small metal rings and the plastic sliders from the straps, to create a strong yet detachable linkage. But this was not good enough. Fast and heavy swinging motions still made the controllers pop loose from their adapter cups.

Cute but failed attempt at tensioning the straps
Soon I gave up on my detachable linkage. Instead, I now used a simple zip tie, to give the whole contraption proper tension. After several days of use, I can happily confirm that this is the best solution. It works.

Use a zip tie to hold the two straps tight against each other
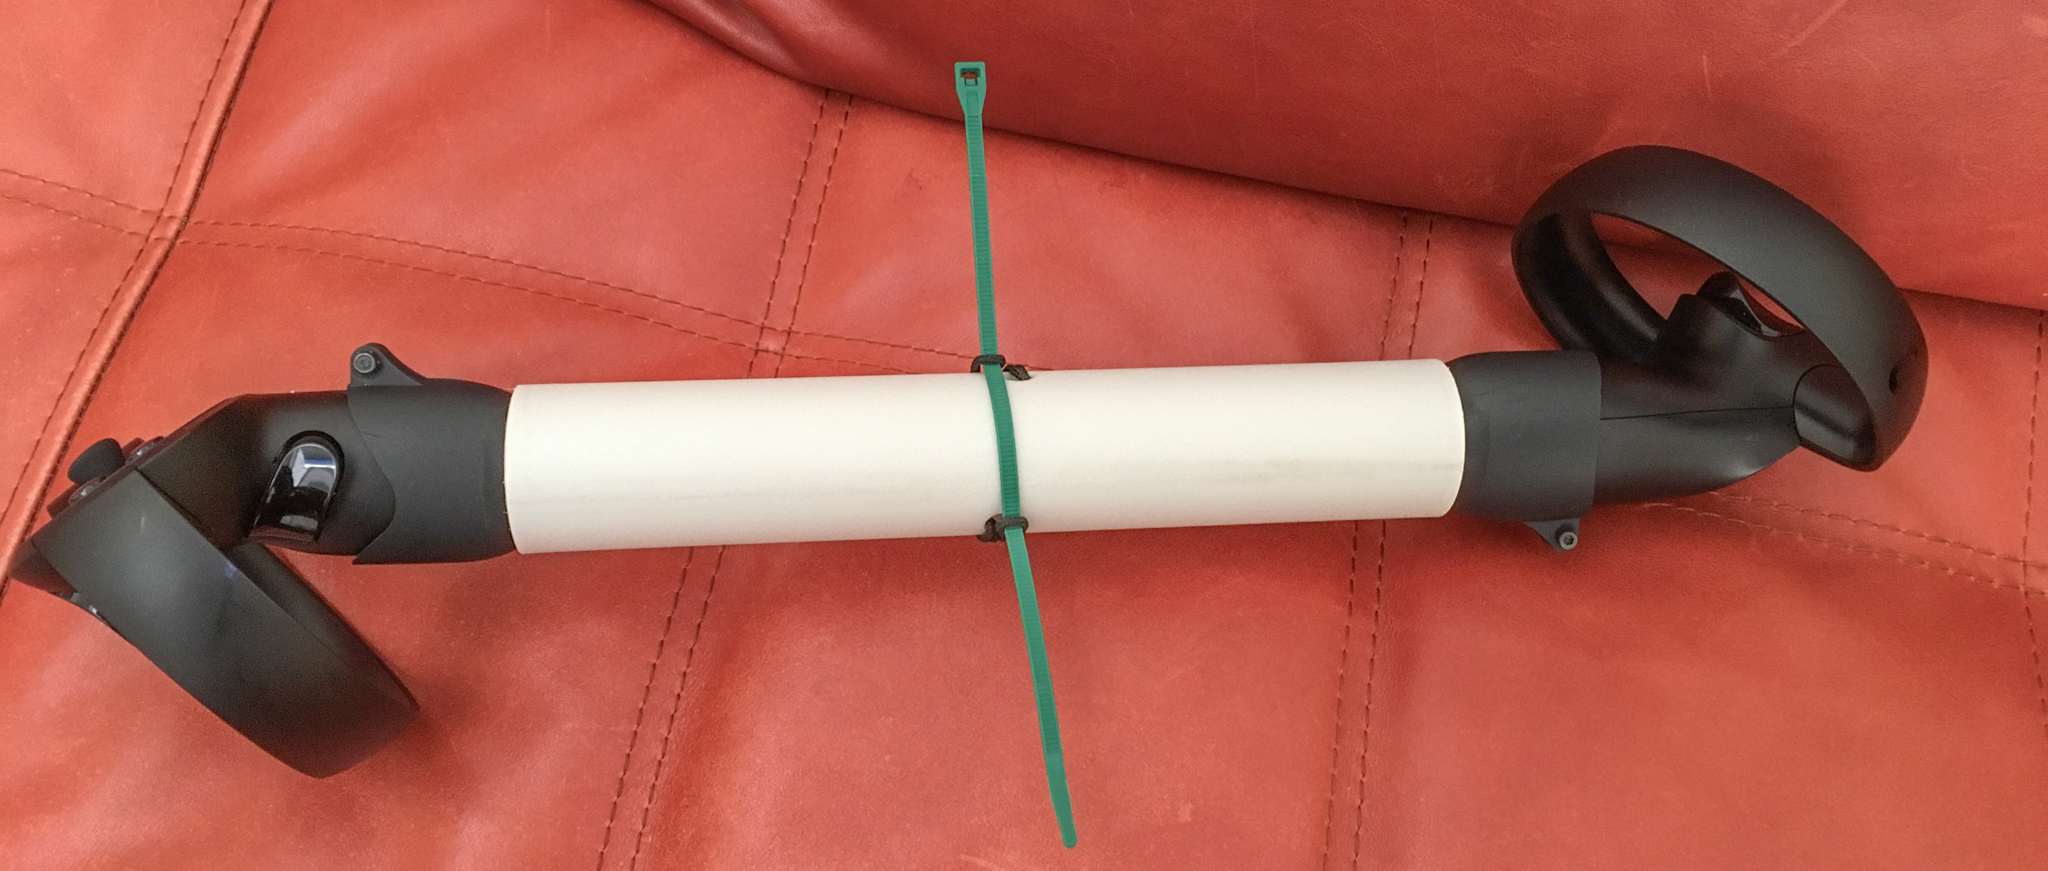
Zip tie is the key to proper strap tensioning
Test the assembled saber a few times, before you trim off the zip tie. You may need to make several adjustments until you find the right length and tension.
Note how I have the two controllers facing opposite directions. This is how friedPotat0 set them up. And this is also how I feel it should be done. The reason is that the controllers are offset from the center of the pipe. Having them facing opposite directions makes the saber more balanced.
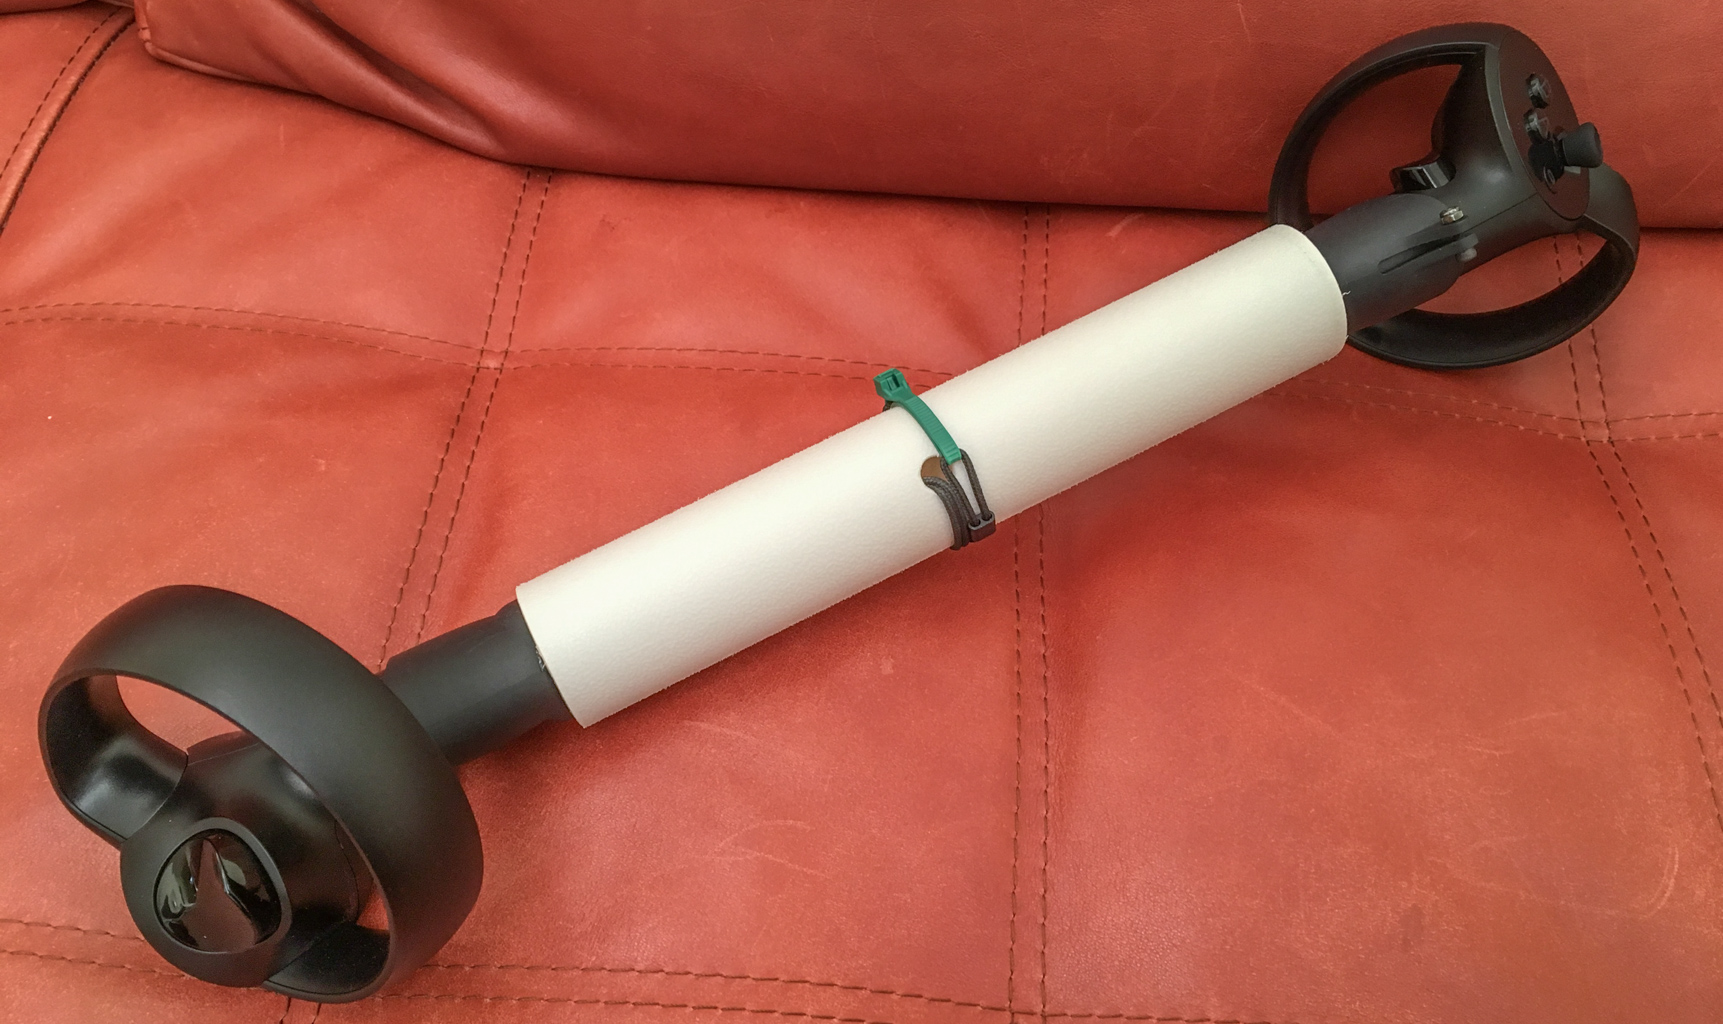
Finished product
My guests commented on the ugliness of the white PVC pipe. I don’t really care. But perhaps I’ll spray-paint it black one day. I do like the textured surface of this pipe I stole from the shelving unit. If I paint it, I’ll keep the paint thin as to not lose this great tactile feedback.
Third-person video capture
There are plenty of YouTube videos showing Beat Saber game captures. But most simply record the first-person view as shown by Beat Saber, such as this popular one. While it’s still cool, the audience cannot fully appreciate the awesomeness of the double-bladed saber from this view. At any point in time, only a part of the saber is in view.
To demonstrate the full immersiveness of the experience to a 2D audience, you will need to capture a third-person view of the Beat Saber session, and add a real-time video capture of the person wielding the saber. This is known as mixed reality, and is explained in details in the following video.
This is how Saq captures all his Darth Maul videos.
But I don’t have a green wall in my room. Nor am I yet incentified to go through the trouble of setting up a green wall, LIV and LIVR. So I am satisfied with capturing just a third-person view, devoid of an actual human body in the game capture.
First, you need to install the unofficial Mod Manager for Beat Saber. As of the time of this writing (2019-01), the article How to Download and Install ‘Beat Saber’ Custom Songs at roadtovr.com is the right guide to follow. As Beat Saber is updated, however, you may need to look for updated guides. After your first installation, you can download the “manager” app for further customization in the future, from the release page. Look for a file named “BeatSaberModManager.exe”. For the curious ones, the manager simply uses ModSaber to find mods compatible with your current version of Beat Saber.

Use the Mod Manager to install Camera Plus for 3rd person views. You should also install a few other essential plugins. See the Other Useful Plugins section further down.

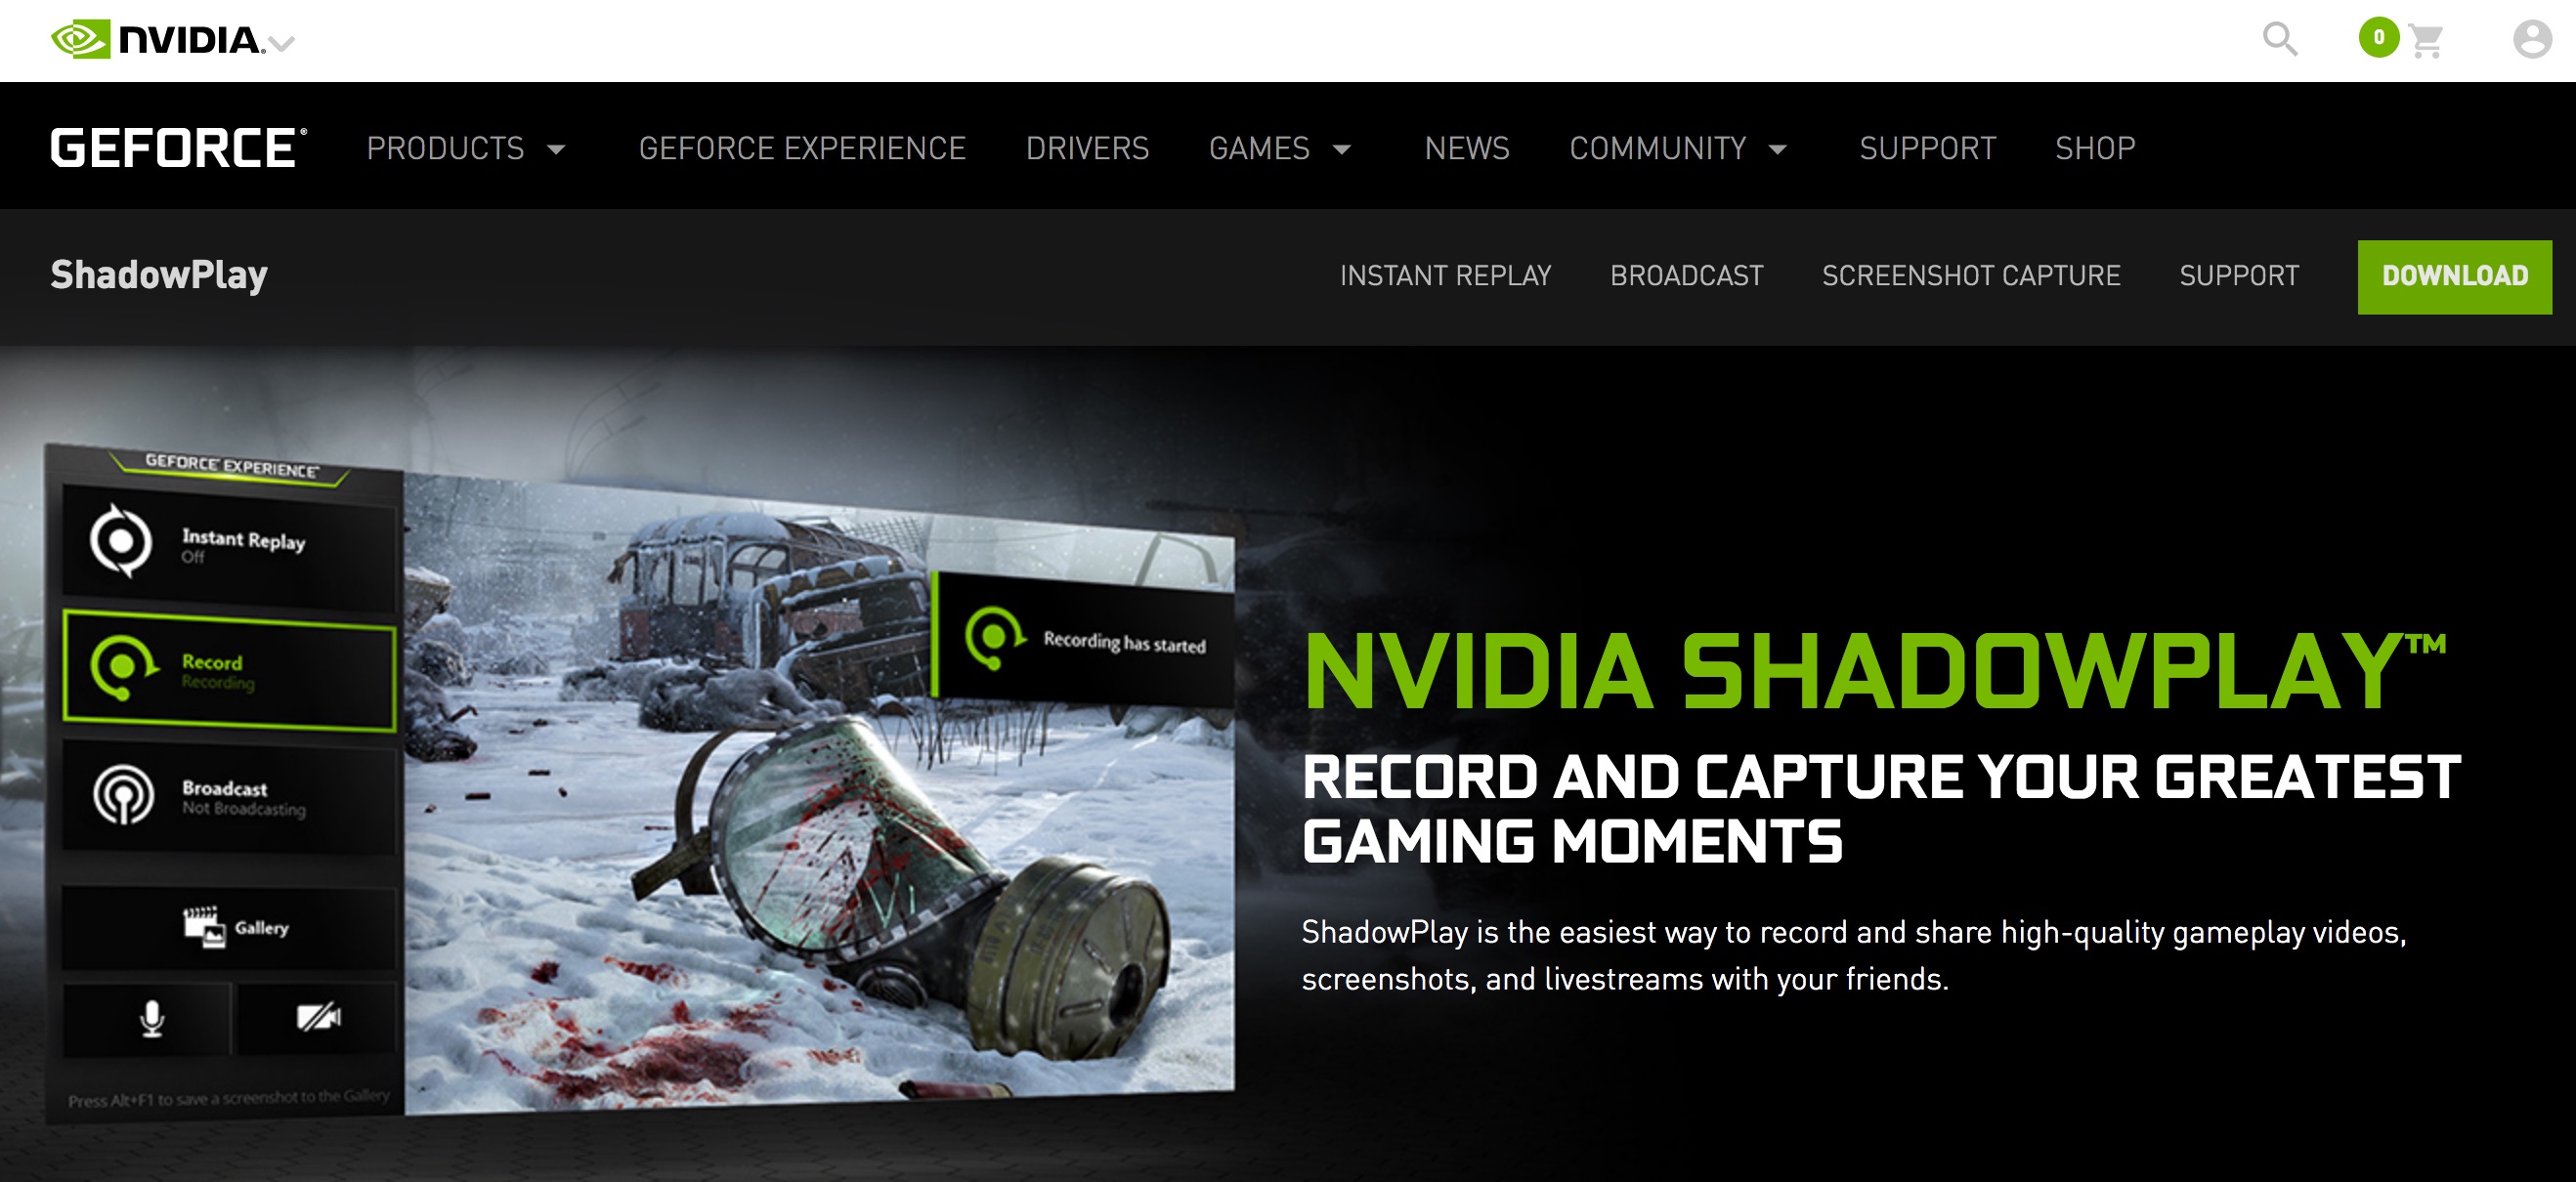
I use Nvidia’s ShawdowPlay to do the actual video recording. It works seamlessly. But I did have to change the video capture FPS from the default 60FPS (for high quality capture) to 30FPS. The 60FPS video capture, for some reason, did not play back correctly on my Windows 10, nor the Mac. The audio part of 60FPS captures confused every player I’ve tried.
Other Useful Plugins
While installing the Camera Plus plugin, you should also install “Song Loader Plugin”, “BeatSaver Downloader” and “SongBrowser Plugin”. These will allow you to access a wealth of songs beyond the dozen that came with the game.
In addition, you will find the Darth Maul plugin by PureDark extremely useful. This plugin does a few things. The most important one for me is this: it allows you to toggle the Darth Maul mode on and off in game, via a Settings menu. When turned on, the plugin snaps the hilts of the two blades together, so that they face away from each other perfectly. The separation distance between the two hilts is configurable in an ini file. See the description of this file on the Darth Maul plugin page, for this variable, as well as other options. I changed the separation distance from the default (15) to 18. Saq told me about this plugin after I recorded the YouTube video shown in this article. If you look at my video, you will see that the two blades were wide apart, because I wasn’t using this plugin at the time.
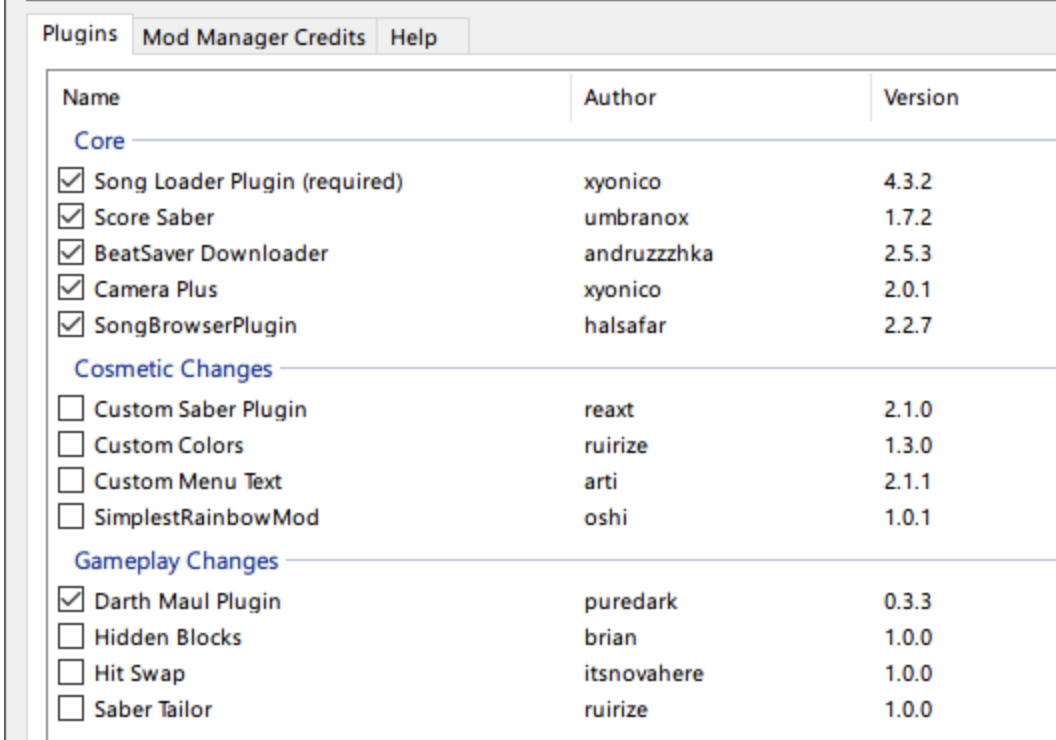
Essential Beat Saber plugins
Note that the Darth Maul mode only kicks in when you are actually playing in the “No Arrows” game mode. That is, while you are in the menu section of Beat Saber, choosing songs for instance, your two Touch controllers are not managed by the plugin. Only after you launch into a “No Arrows” session does the plugin snap the two hilts together. The plugin does nothing if you play the normal, one-saber-in-each-hand game mode.
Roomscale Setup
Beat Saber will work on the Oculus Rift with just two camera sensors. You don’t need a three-sensor roomscale setup in order to play Beat Saber. This is because the boxes are coming at you from the front. In normal game sessions, your two hands are usually in front of your body, and the two sensors can see them quite well.
With a double-bladed saber setup, however, this is not true anymore. The two touch controllers are always pointing in opposite directions. If you are pointing the blue blade forward, the red blade is pointing backward. In great many situations, your body is hiding one Touch controller from both sensors. This is not a showstopper per se. And for people not recording in third-person view using Camera Plus, this is not really an issue. When a blade is behind you, you can’t see it anyway in first person. So what if the tracking of this blade behind you is jittery, when you can’t even tell?
When recording in third-person, however, laggy and jittery blades break the immersion. What looks like one saber turns into two at times, pointing at slightly odd angles. It happens when a simple two-sensor setup loses track of a controller. This can be fixed by installing a proper roomscale setup with three sensors (my previous article on the Rift).

Man cave with Roomscale Oculus Rift setup
Even with such roomscale setup, one can still notice issues from time to time. For instance, look at my own video at 0:55, to see how all three sensors lost track of the controller that was pointing backward.

Sensors lost track of one controller
The same happens to the best. Look at 1:23 in Saq’s video.

Sensors lost track of a controller
These are with a proper roomscale setup. With just two sensors, I imagine a third-person view is unbearable to watch.
If you experience tracking issues, I recommend that you use the free app Sensor Bounds, to debug and fix them. See this tutorial:
Postscript
I posted a link to this article on Reddit. And none other than the Sith Lord u/ragesaq himself showed up to tell me to also install the Darth Maul plugin by PureDark. You can find the right version of it on the releases page, for your version of Beat Saber. Or you can just use the Beat Saber Mod Manager mentioned above to install it seamlessly for you. I’ve revised the article to include this plugin as an essential mod.

