
We’d been mulling over garage remodeling for a decade. The garage remained the same way we found it from the previous owners, for ten years. As cliché as this may sound, we decided to spend vacation money and time that we couldn’t spend this year due to Covid-19, on home-remodeling.

We pulled the trigger, and are very happy about the end result. Whereas tools and stuff were strewn about previously, now they are safely put away inside or behind cabinets. The garage floor is now coated with epoxy for ease of maintenance.
I agonized over a few decision points during this remodeling process. I have documented the entire effort, with pictures showing every step along the way. Hopefully this article will help the next person going through the same process.
In doing my research on garage remodeling, I find Google to be less useful than it used to be. I feel that Google has turned into a portal for commercial sites, in the last few years. Searching for anything nowadays mostly returns online stores, instead of high-quality blogs. When not showing store pages, Google shows discussion pages from popular forums and Reddit. I think forums are very helpful, but one does not get well-articulated and internally-consistent essays on these sites. One gets pieces of useful advices and local perspectives which then need to be carefully weeded and synthesized.
It is possible that folks have stopped writing long blogs, and instead opt for brief Twitter messages, or short Facebook posts. Perhaps writing is dead, and YouTube how-to videos are the only way to get information to an audience going forward.
Table of contents
- What don’t you do with your garage?
- What did you need from your garage?
- Design the new garage in SketchUp
- Emptying the garage
- Laying down an epoxy garage floor
- Building custom cabinets
- Making cabinet doors
- Priming cabinet frames and doors
- Painting cabinet frames and doors
- Finished look
- Using the garage
- Before and after
_
What don’t you do with your garage?
Google search led me down many rabbit holes dug by online stores and the service sector. I was dazzled by service companies and the stories they painted, about how you could turn your garage into a dozen multi-uses.
For instance, you can set up a great workbench on one side of your garage, so you may pick up a new hobby in the art of the carpentry, one day.
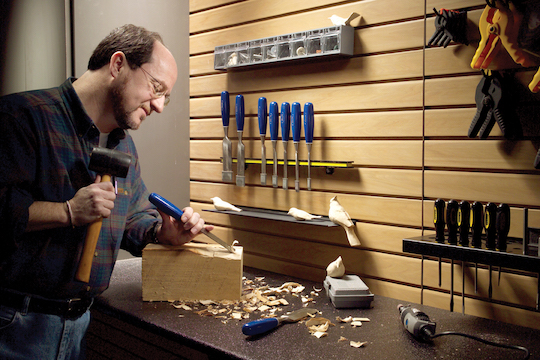
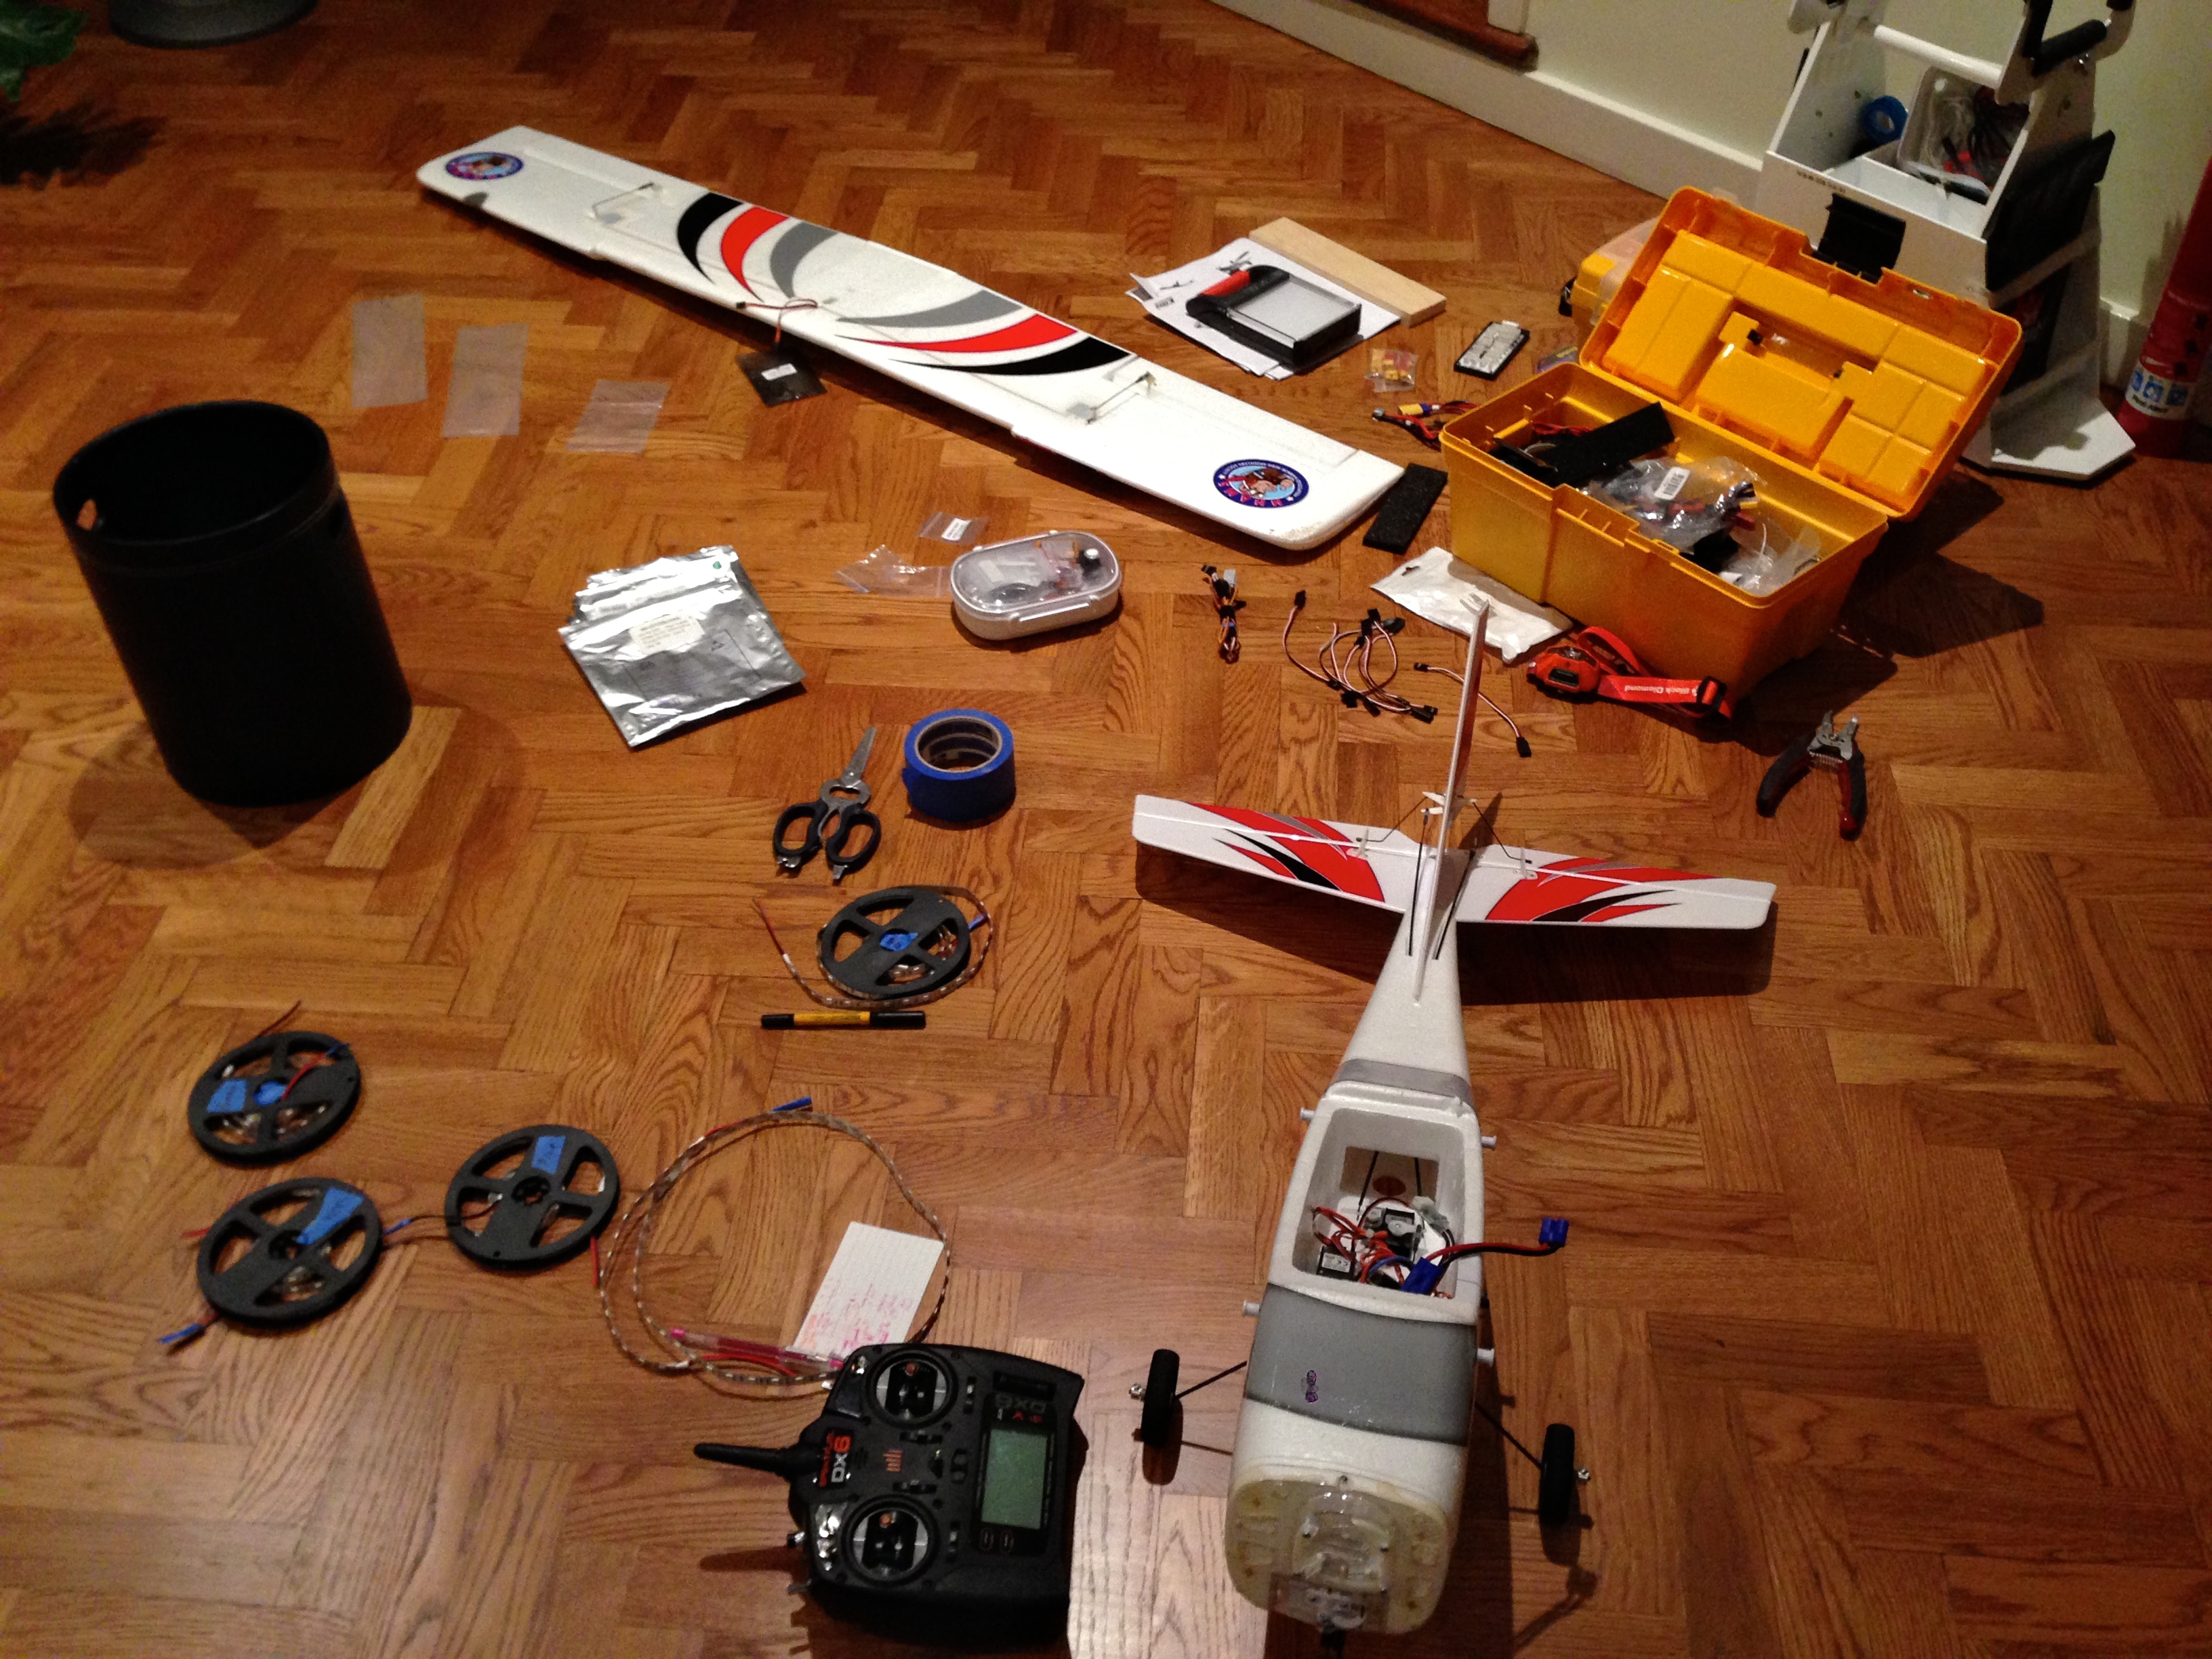
I spent great deal of time evaluating different tabletops, and assessing their merits. I agonized over the choice of pegboards vs slatwall panels. But then I realized that in my whole life of tweaking things, I’ve never used a workbench, even when one was available. For RC model planes, I usually monopolize the whole living room, when I assemble my planes. I like to see all parts around me where I can find them at a glance. I sit on the floor as I worked on the plane, as I did when reshaping a beat-up Apprentice into a night-flying machine.
It turns out that I don’t need pegboards and slatwalls. I don’t like to leave tools around. I pack them into toolboxes when I don’t use them. I have a dozen toolboxes for different types of tools in the basement. I bring the right toolboxes to the job. That’s just who I am. It is unlikely for me to have a personality shift this late in my life, where I suddenly want to hang everything on a wall only for them to collect dust.
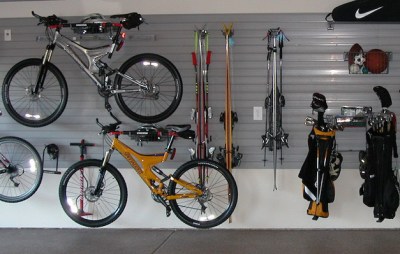
Similarly, I don’t need a slatwall for hanging all sorts of sporting equipment I’ve not had, and will most likely never have. I do own two folding bikes. They don’t take up much space. Despite lots of time spent researching slatwalls, I decided in the end that this was not for me.
After all, I pack my inline skates and protective gear in backpacks. I grab these backpacks when I go out, and throw them into the car trunk. Individual skating equipment does not need to be removed from bag and hung on a slatwall when I come home, only for me to pack them up again when I head out in a hurry.

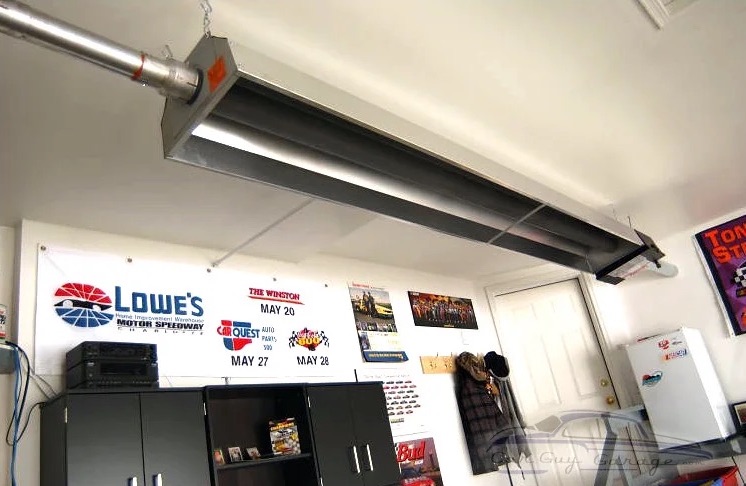
I also don’t need a 75,000 BTU heater for the garage, as many websites urge you to get. In fact, I don’t need any heater for the garage. It’s attached to the house, but is not weatherproof. Without HVAC, it gets cold in the winter, and can be humid and hot in the summer. And that is fine. I don’t use it as a workshop.
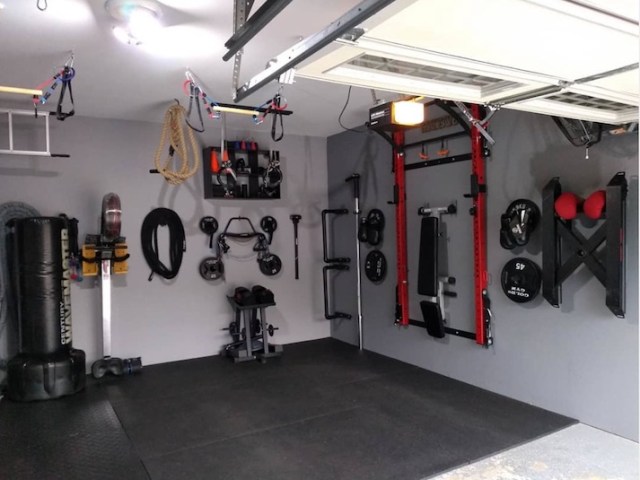
I also don’t need the garage to double as a gym. We have a treadmill in the finished basement which gets used a handful of times a year. We don’t trust ourselves to make more frequent use of it, simply because it is moved to a corner of the garage.
_
What did you need from your garage?
After several false starts, we sat down to rethink the project again. We stopped trying to force the garage to do something new in the future. Instead, we re-imaged a garage that would have served us well in the last ten years.
We keep only one car in this household. We park one car in a two-car garage. This is why we ended up with lots of extra space, and we simply squandered all that space by leaving stuff everywhere around the car.
We took stock of everything in the garage. And thought about how often items were used, and how we used them. We considered their sizes, and how easily they could be stored. The focus now was on making the remodeled garage fit our lifestyle, not the other way around. We decided that the main purpose of the remodeling was to create storage spaces to keep all of these things out of sight.
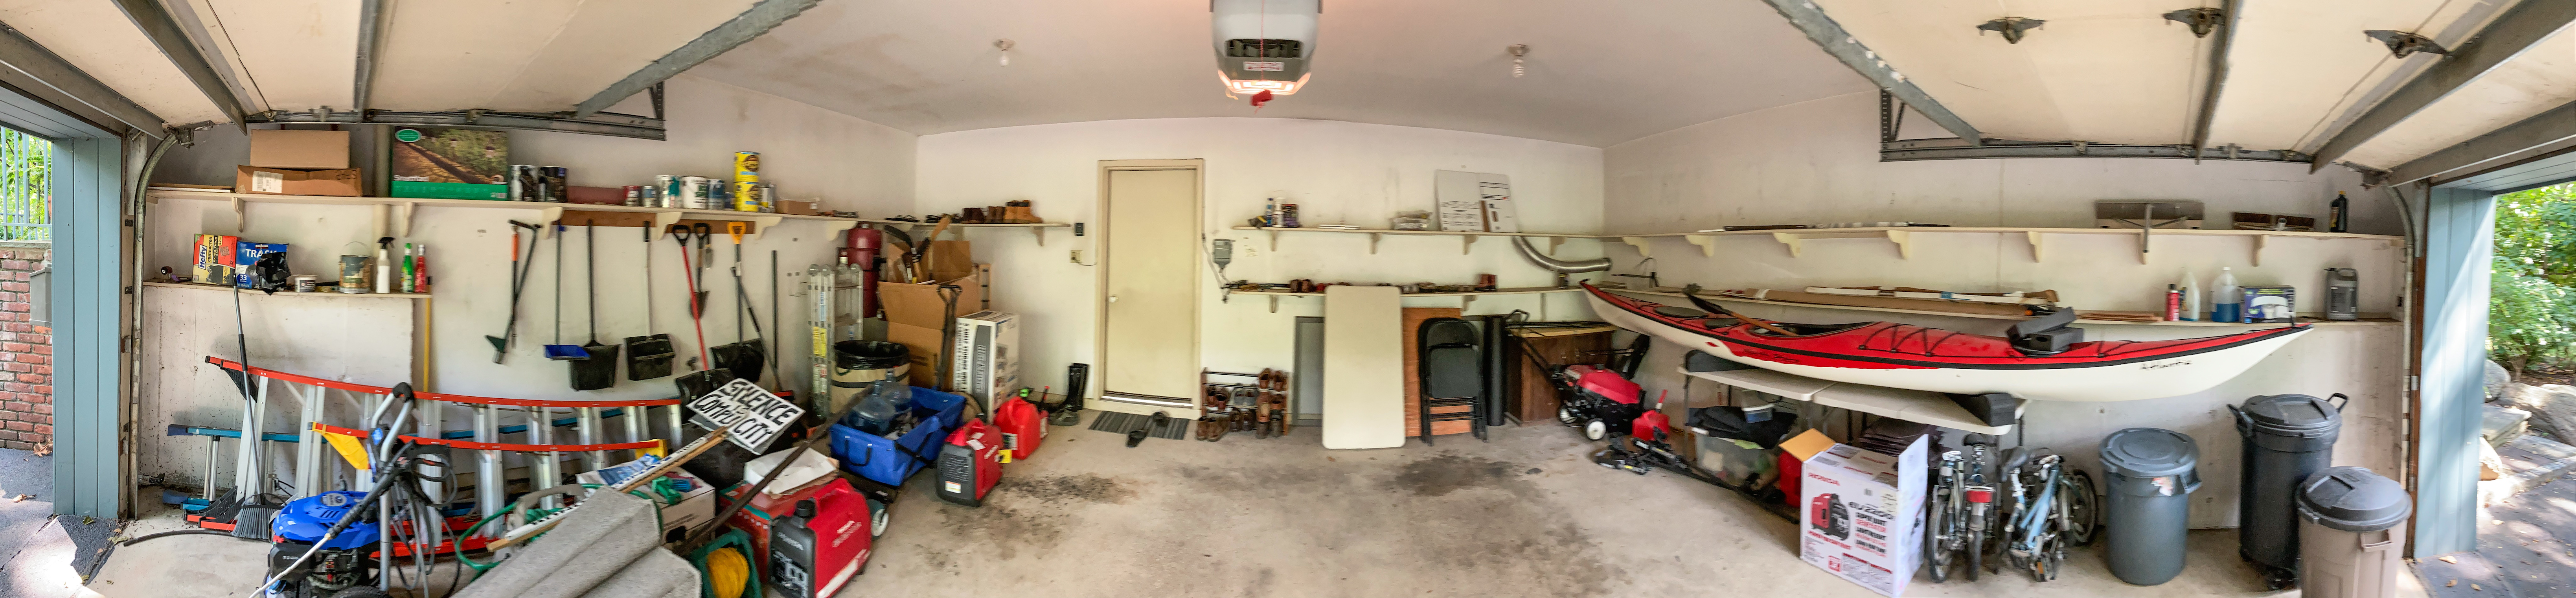
First, on the right side of the garage there are 3 trash cans. These are used every day. Three times a week they are taken out for collection. We really don’t want to see them around until collection time. We are going to put these behind cabinet spaces with ventilation gaps.
Then we have the two folding bikes I mentioned. We hardly use them at all. In fact, all four tires are flat right now. Behind the inverter box are extra synthetic slate tiles left from our roof overhaul. We hope we’ll never have to use these spare tiles. We’ll hide them somewhere.
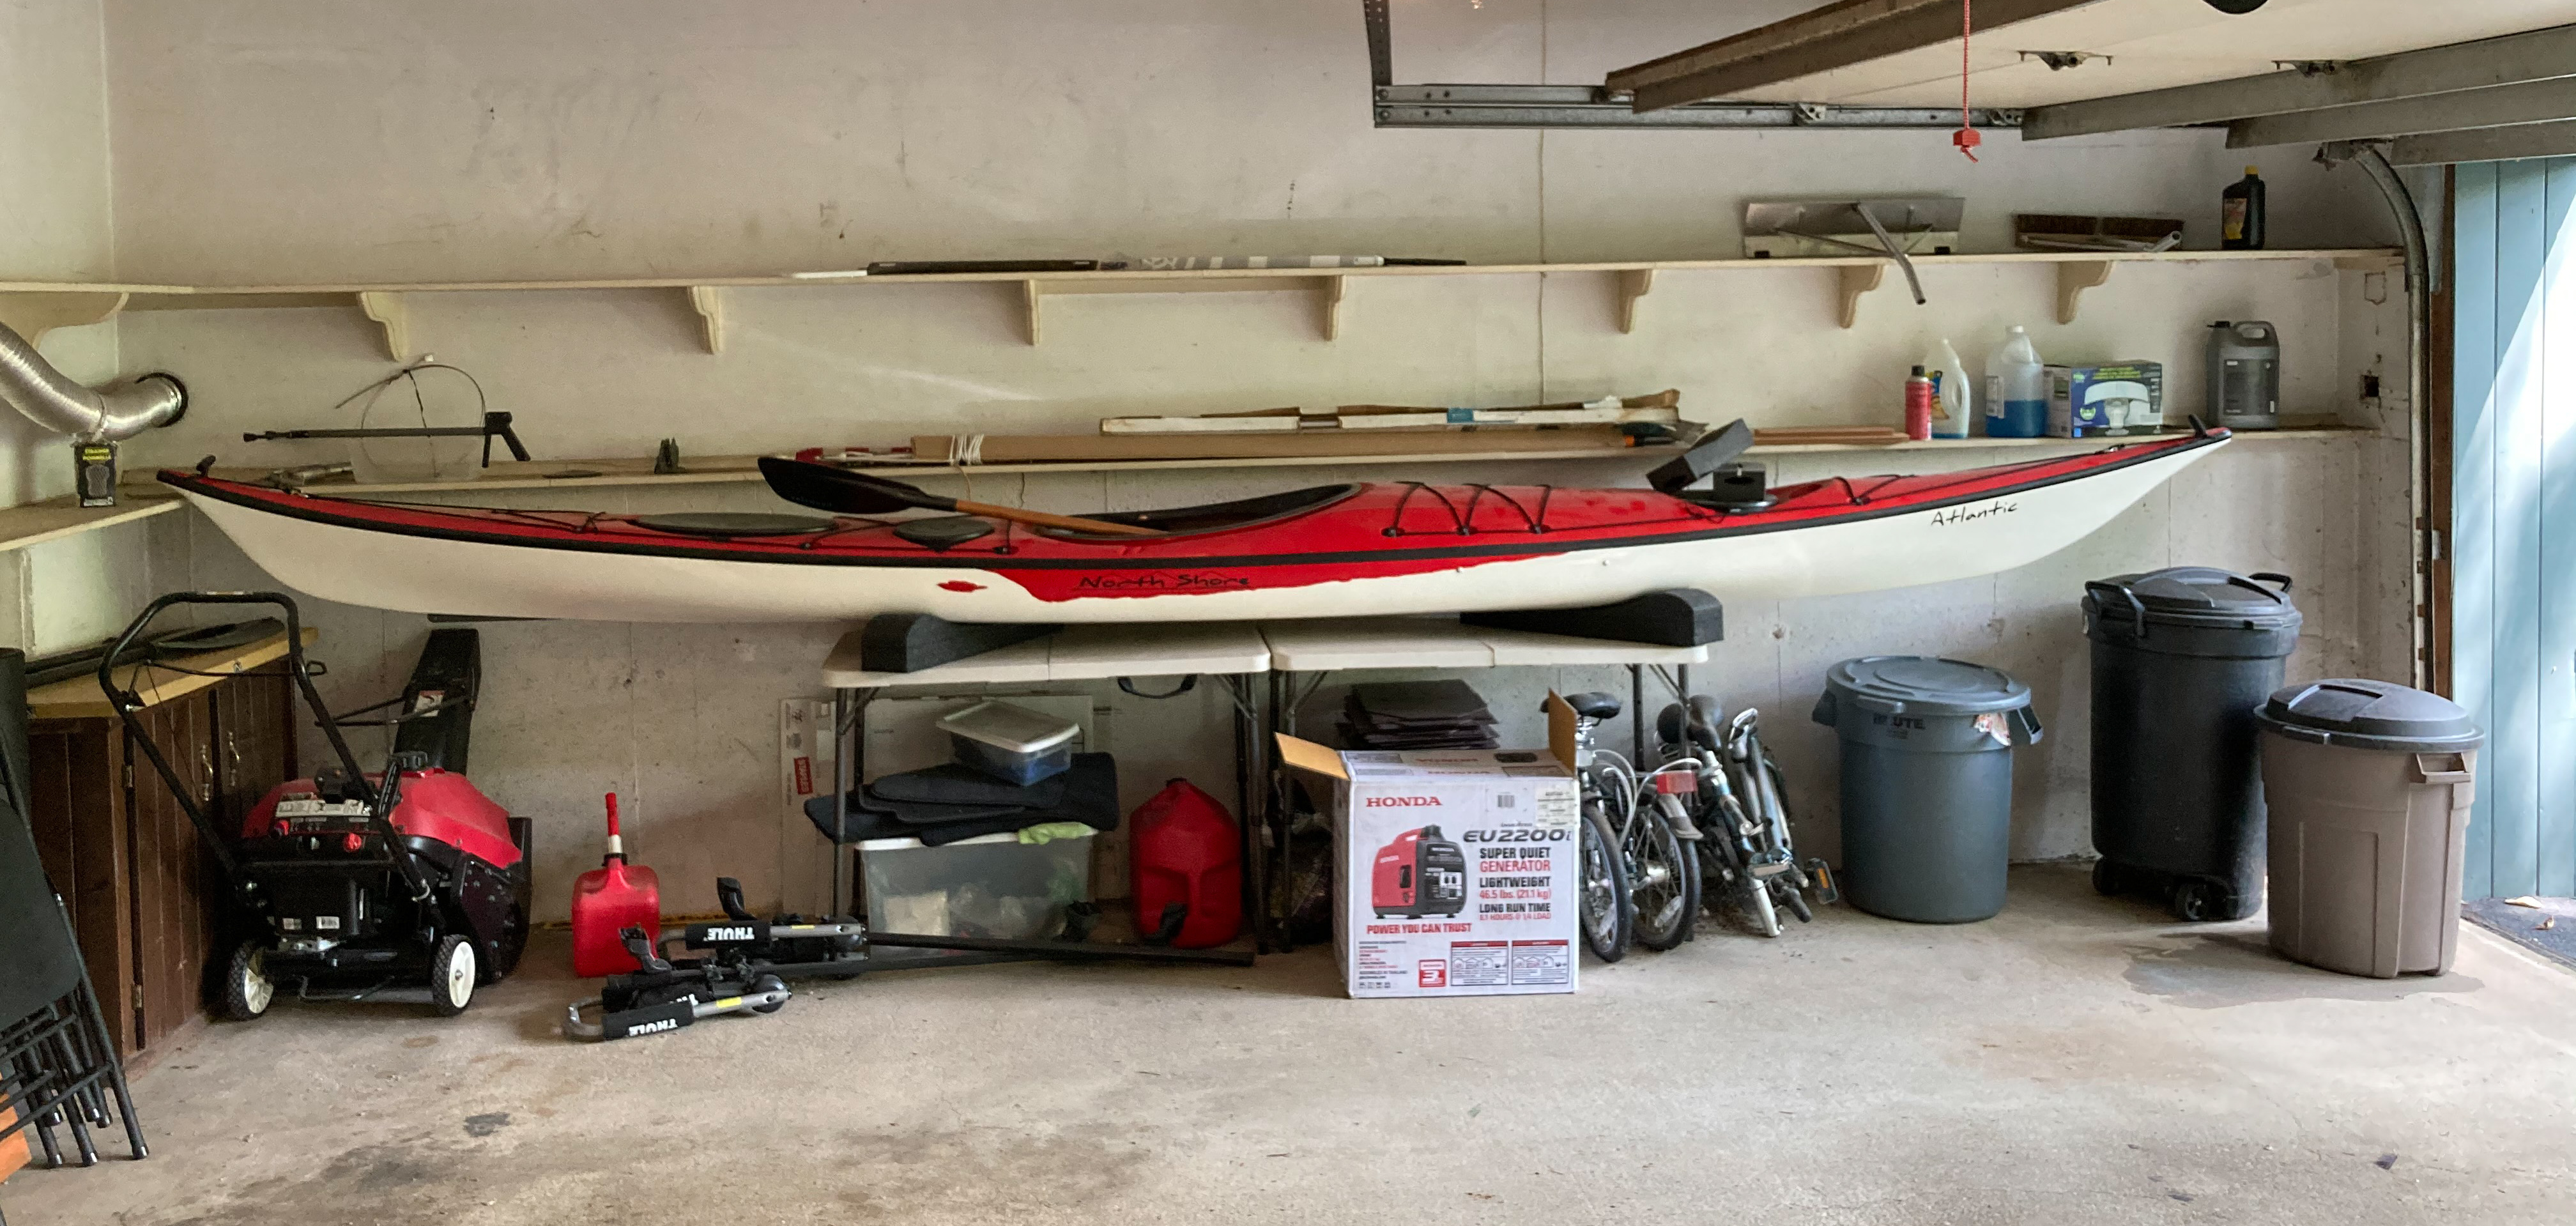
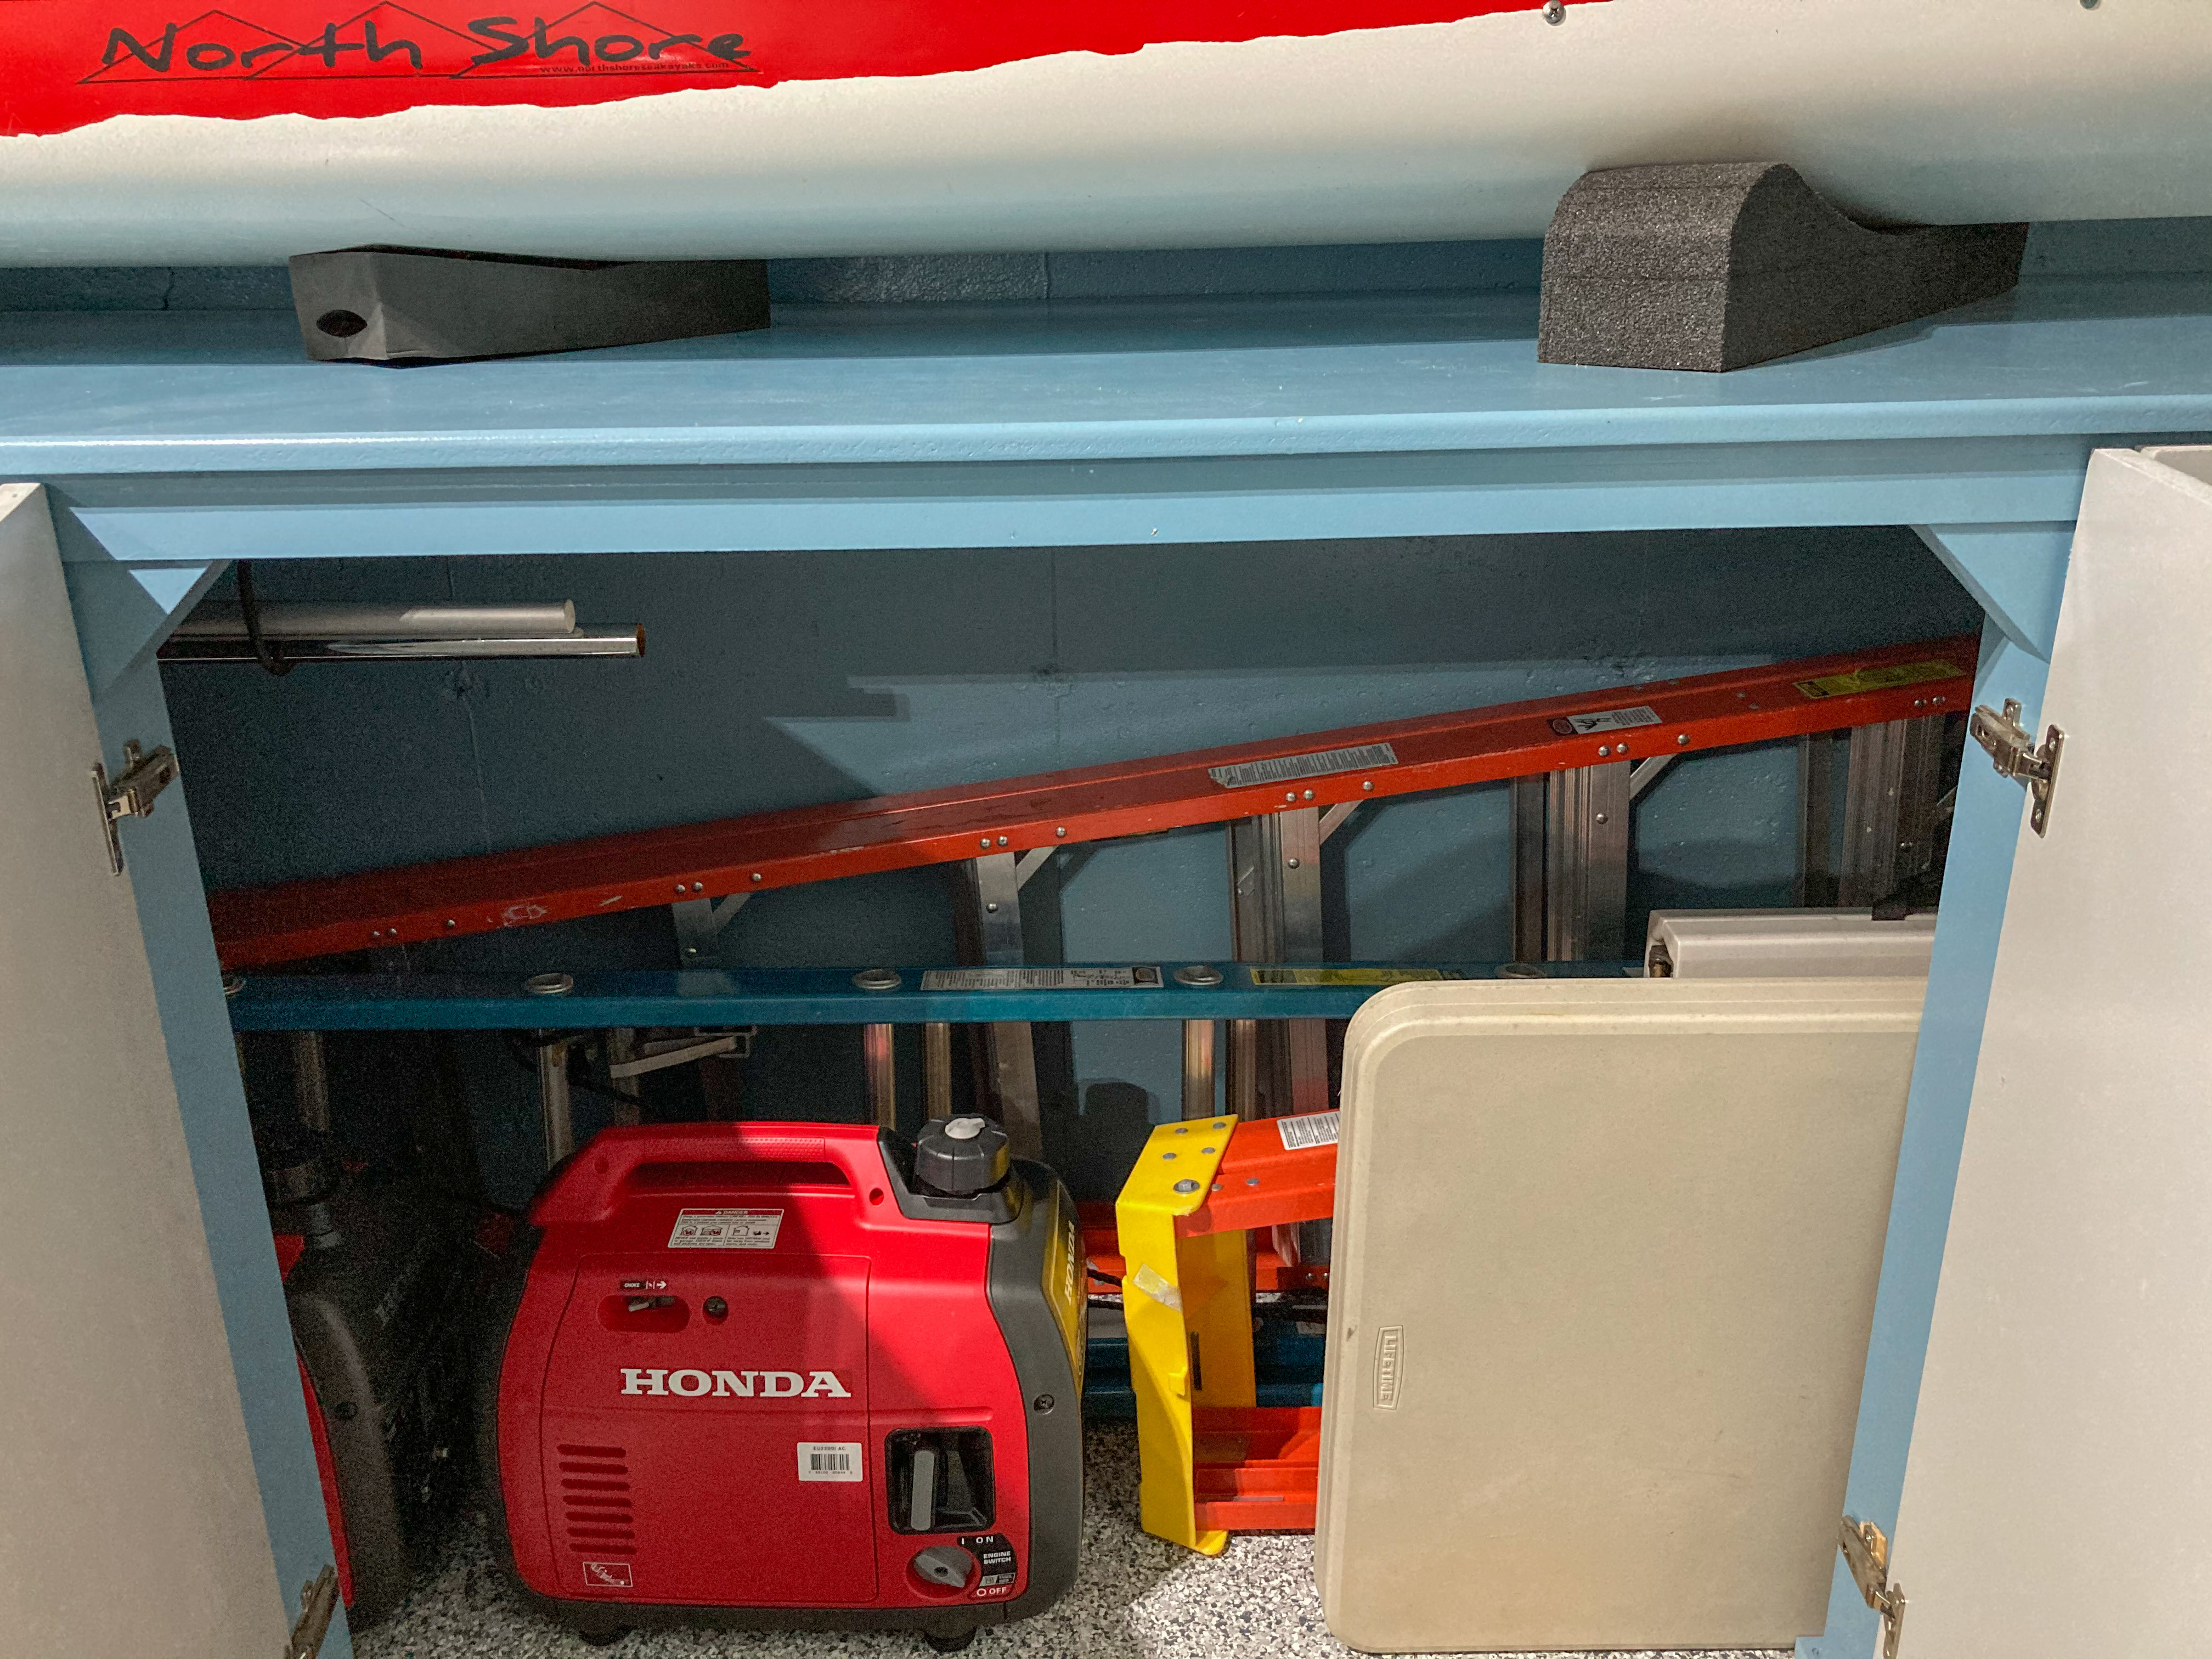
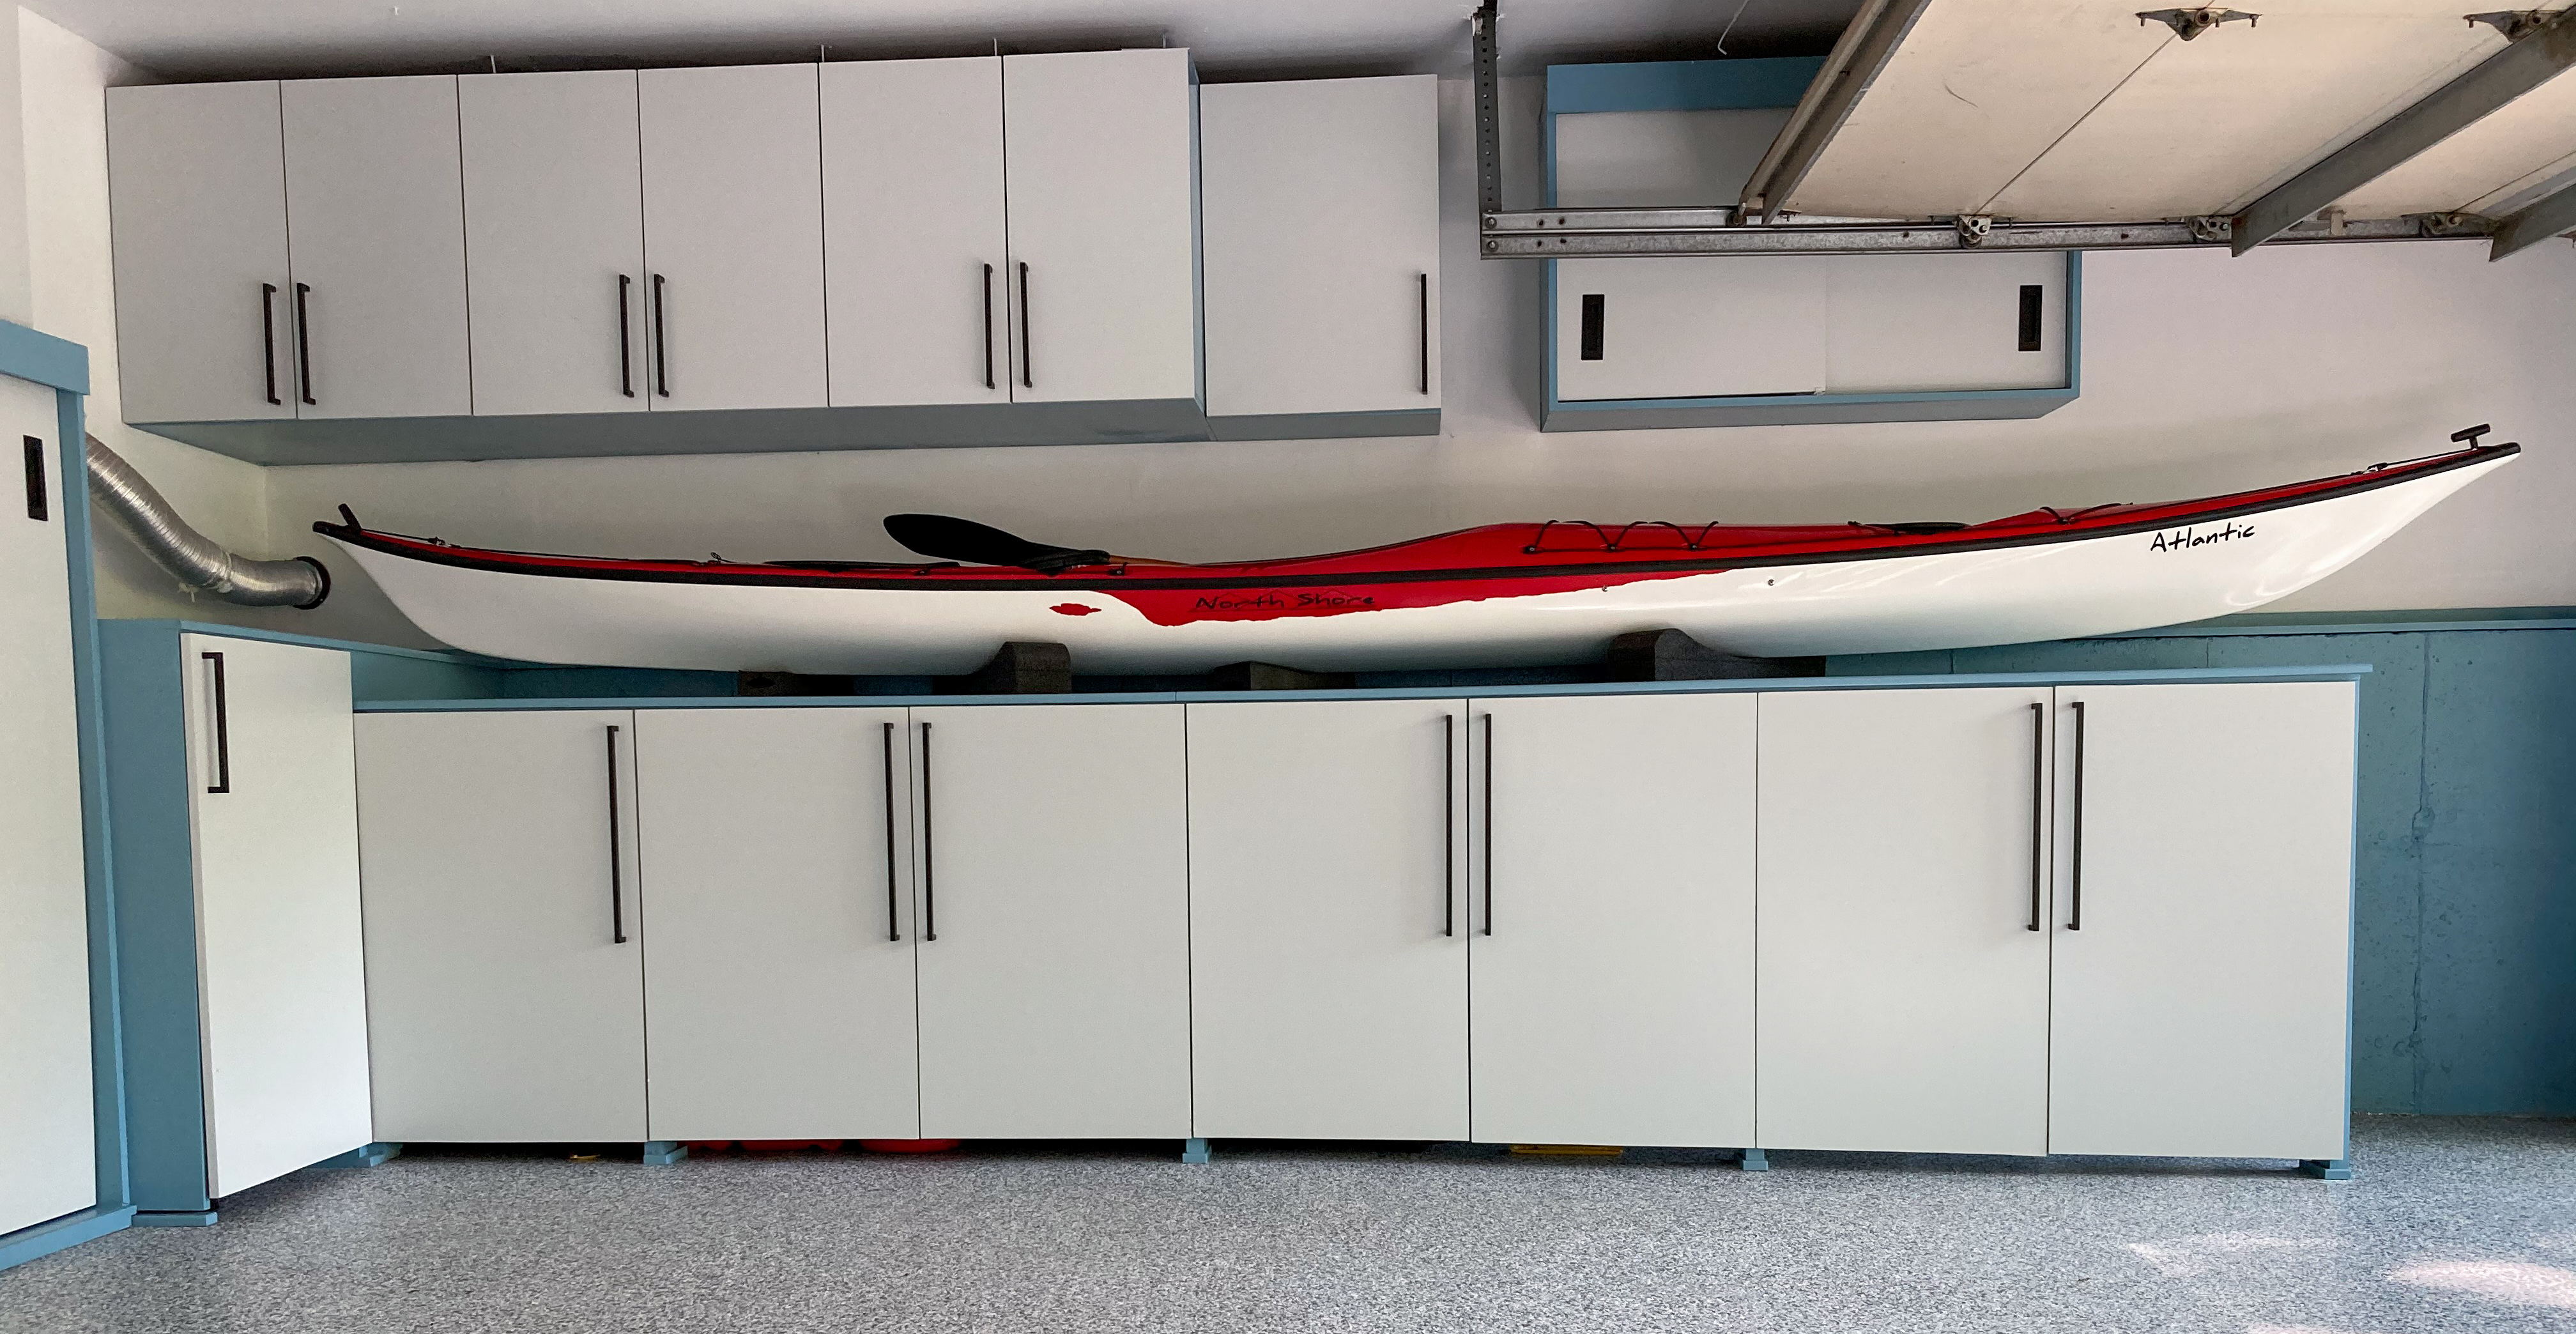
My treasured touring kayak is the single longest item in the garage. It’s longer than our car, by far. The kayak presents a logistic issue for the design. This is the only item that won’t be hidden in cabinets. There are two Thule Hull-a-Port kayak racks on the floor. These are fairly long as well. Regular, compartmentalized cabinets won’t accommodate them. We’ll need cabinets that accommodate long items such as these kayak racks.
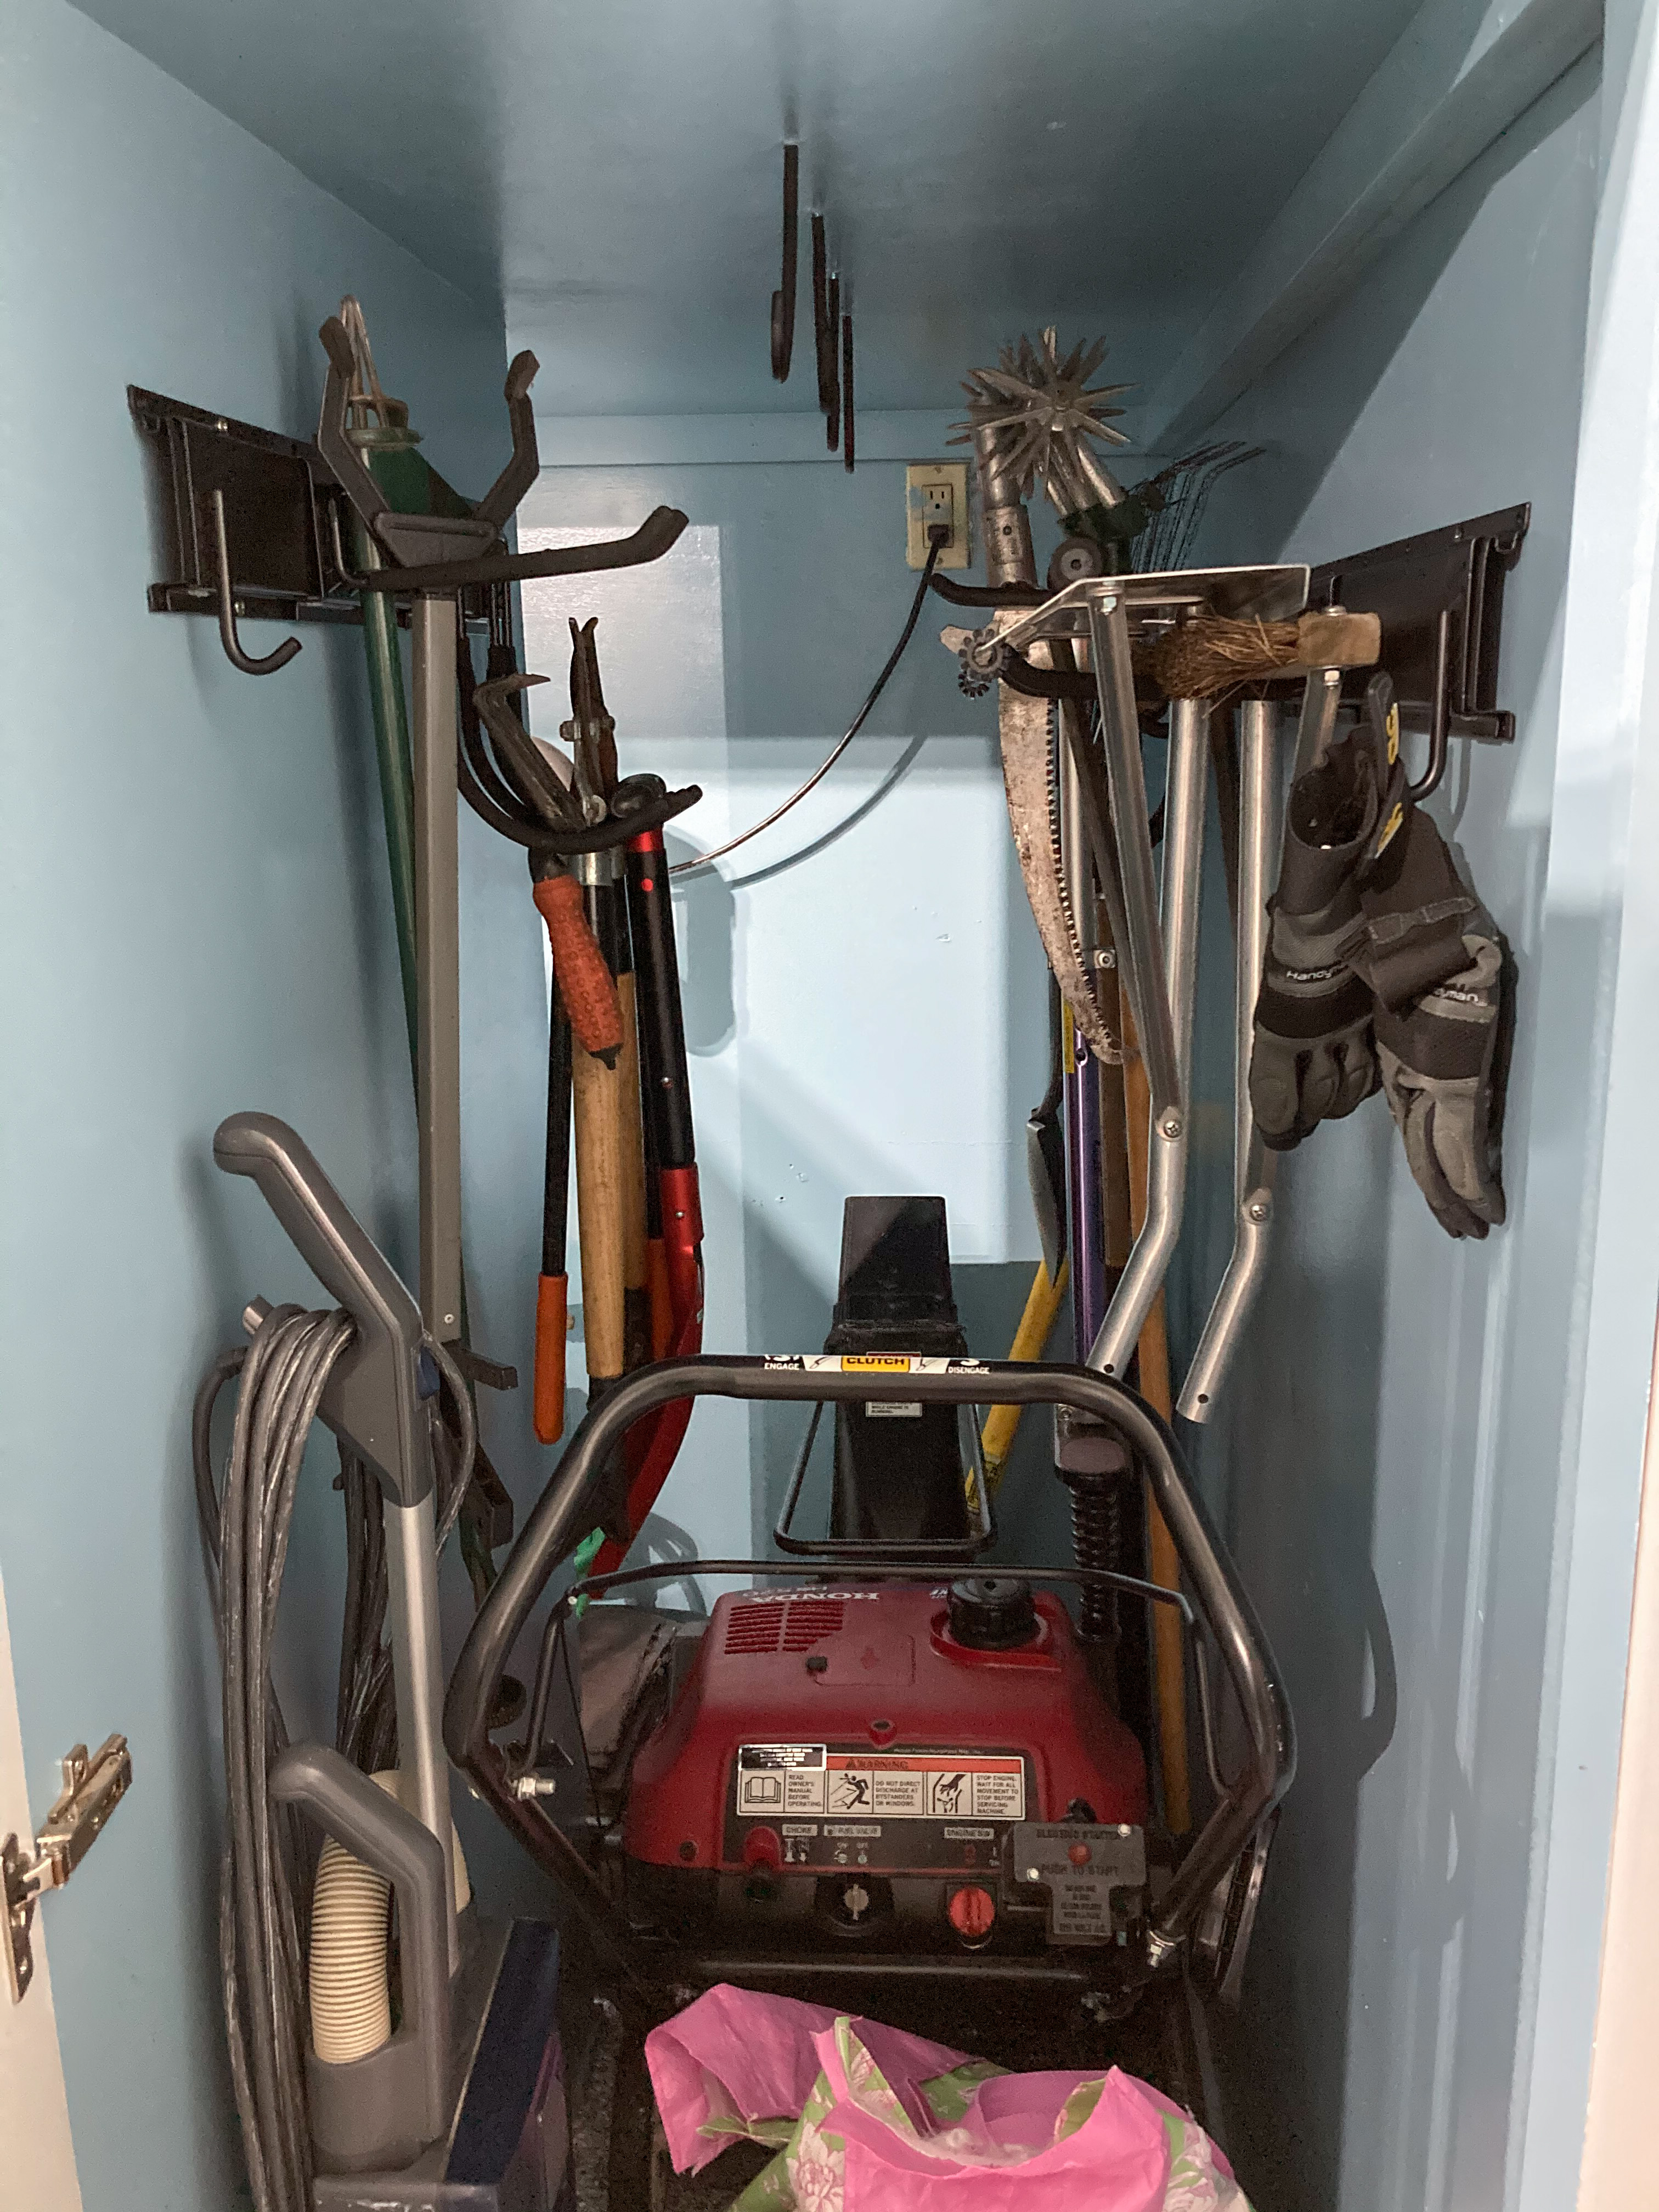
Then there’s the snow blower which is bulky. Its long handle can be disassembled for easier storage packing. But I can’t be bothered to do that. So we’ll have to figure out a way to accommodate it. The gas cans need to be kept in a place with good venting.
On the shelf, above the kayak cockpit, is a long tree pruner. It is also hard to store. On top of it is a box of aluminum poles for the snow rake found at the top right of the picture. We use the snow rake in winter to get snow off the north side of our roof which hardly gets any sun.
At this point, we decided to find a way to visualize everything we had to hide. The picture below shows some of the initial items in the inventory. I downloaded pre-made 3D items into SketchUp, and sized them properly. Actual 3D items may not look identical to real items, but their dimensions were correct. More on SketchUp later.
There aren’t a lot of items on the front side of the garage. Shoes are rotated out based on seasonal needs, due to the lack of storage space in the garage. It was decided that there would be a big shoe cabinet here, where many more shoes could be stored.

The portable table in the middle functioned as poor man’s car parking aid. When the car bumped into it, we then knew we had driven the car past our normal parking space.
There are a lot more stuff on the left. That patio umbrella was removed in preparation for the last hurricane. It needs to be stored in the garage during the winter. and it has a long, non-retractable pole. Leaning against the wall are three ladders of various length. The tallest ladder measures 12 feet. All of these are longer than most commercial cabinet solutions can accommodate.
The power washer (blue, behind the umbrella) and the two power inverters are heavy. We’ll probably want to leave them on the ground, instead of hoisting them up to a cabinet above ground level.
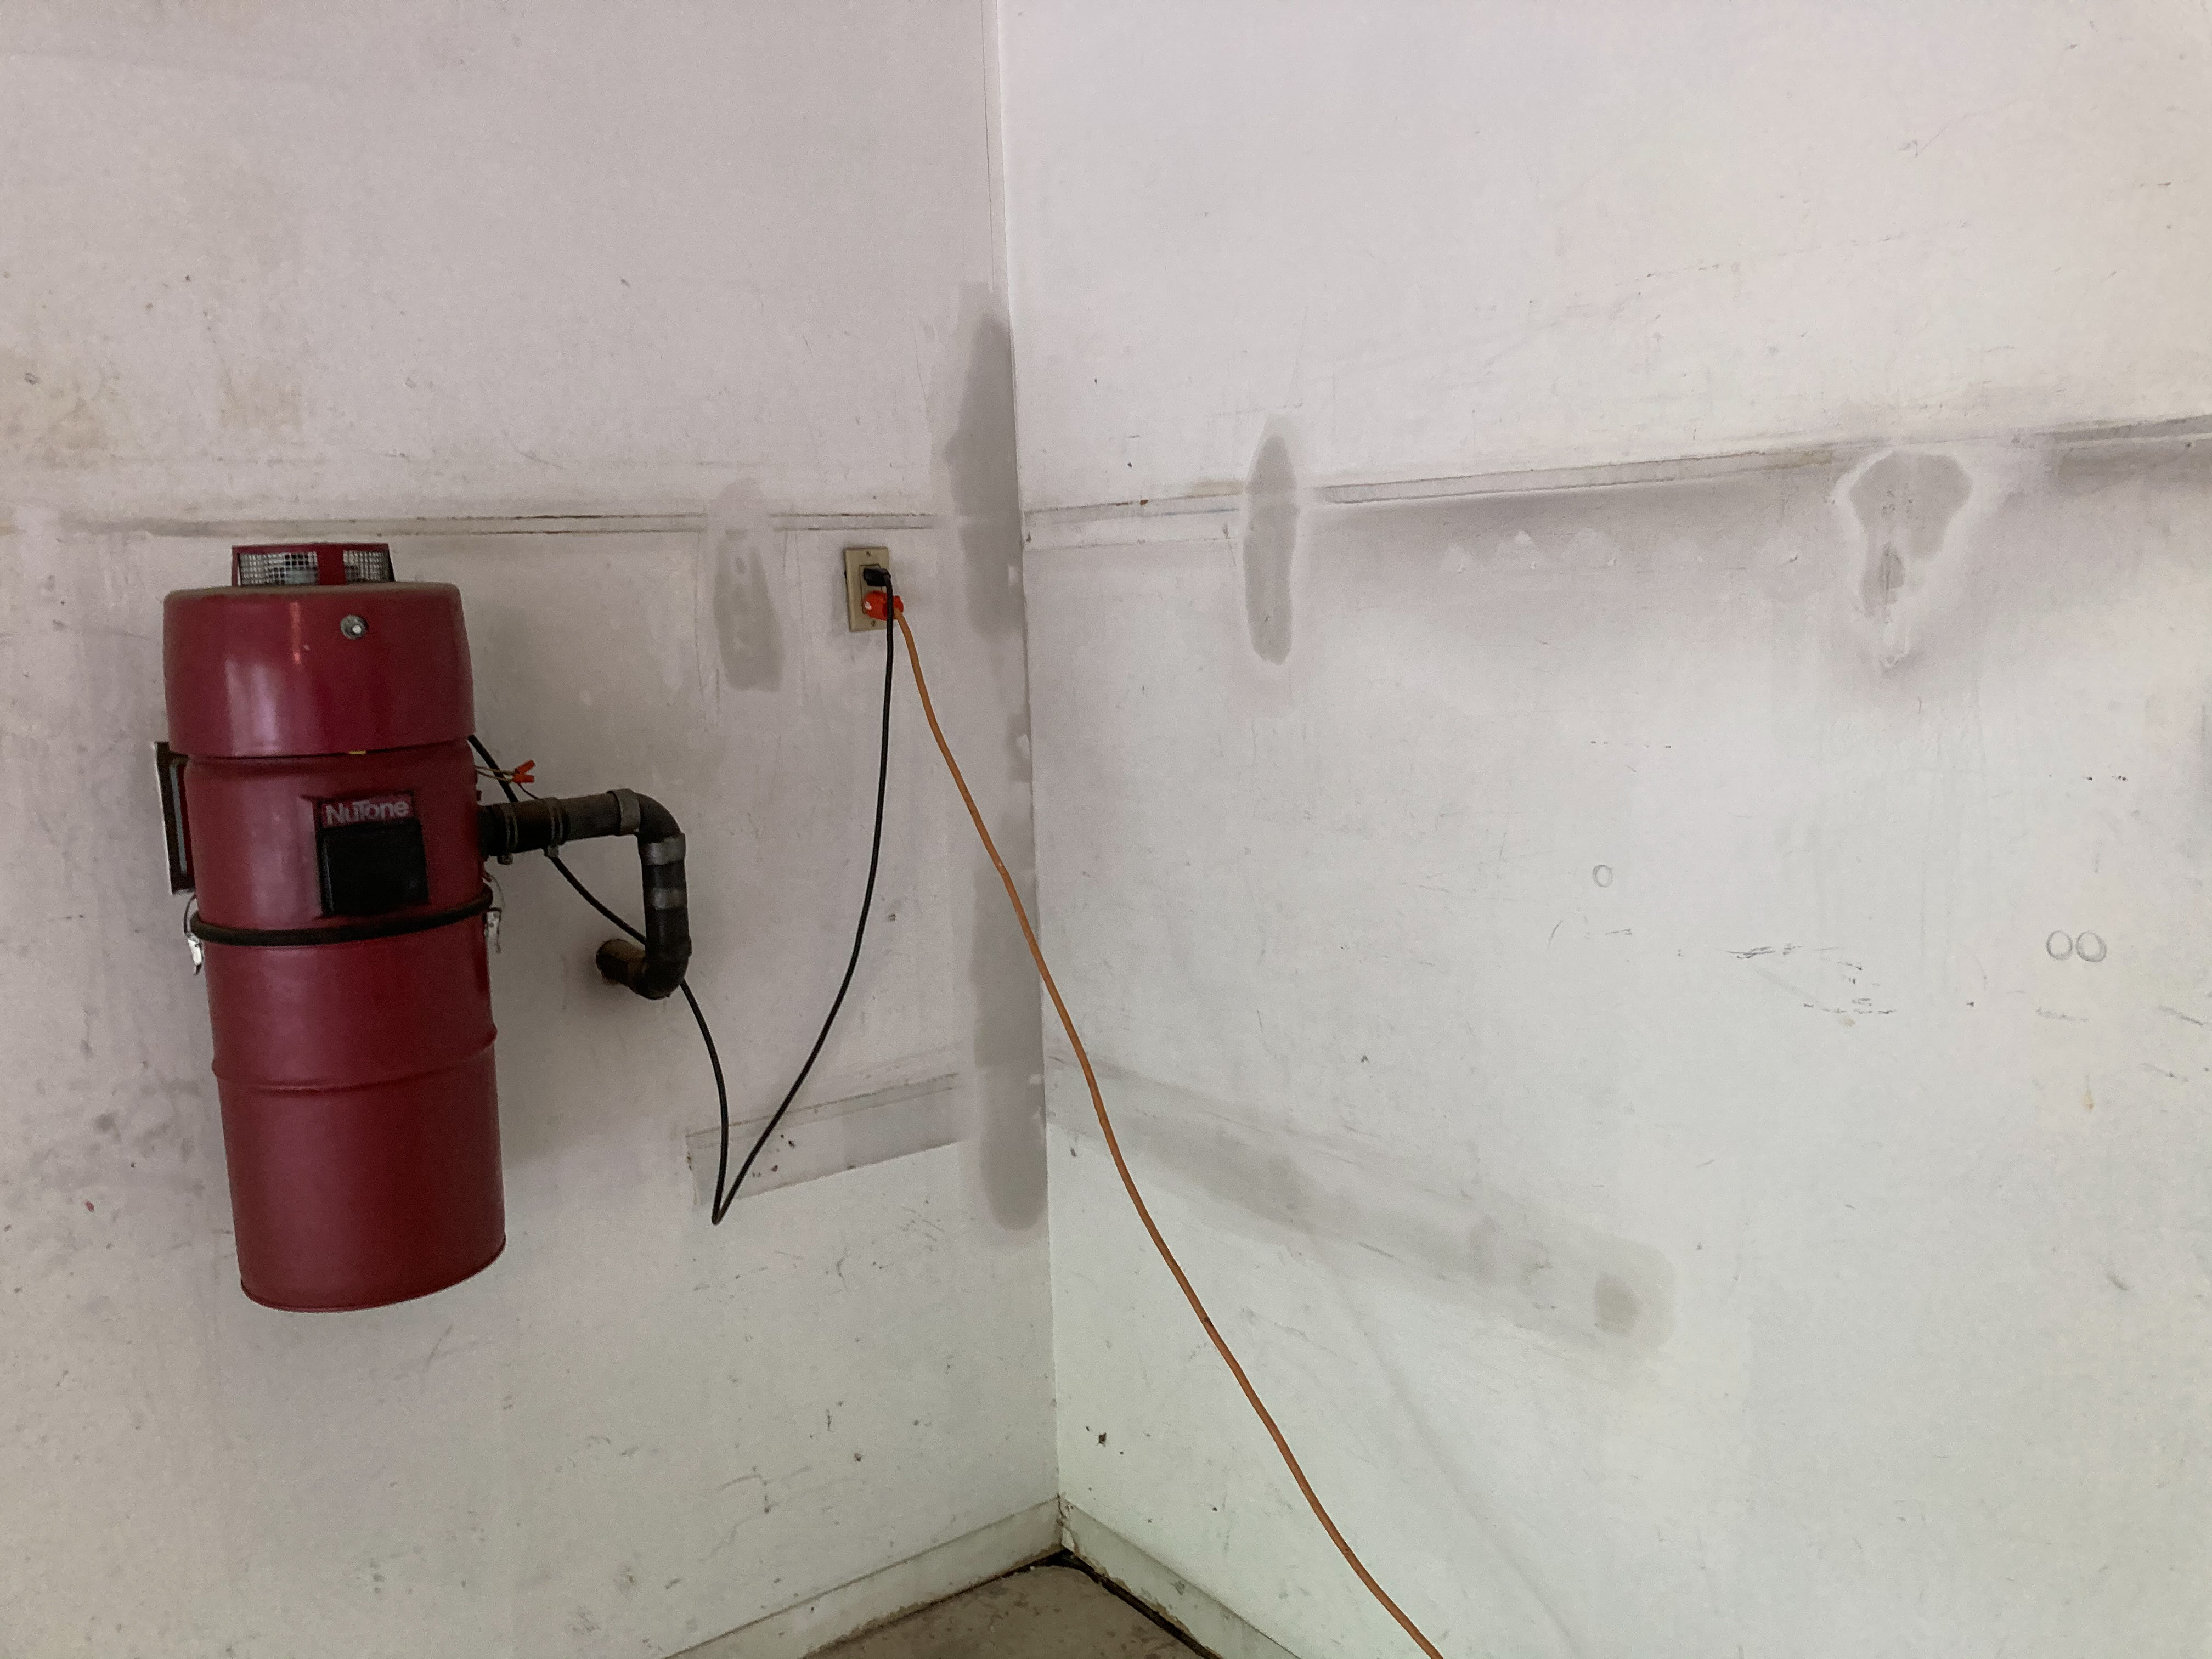
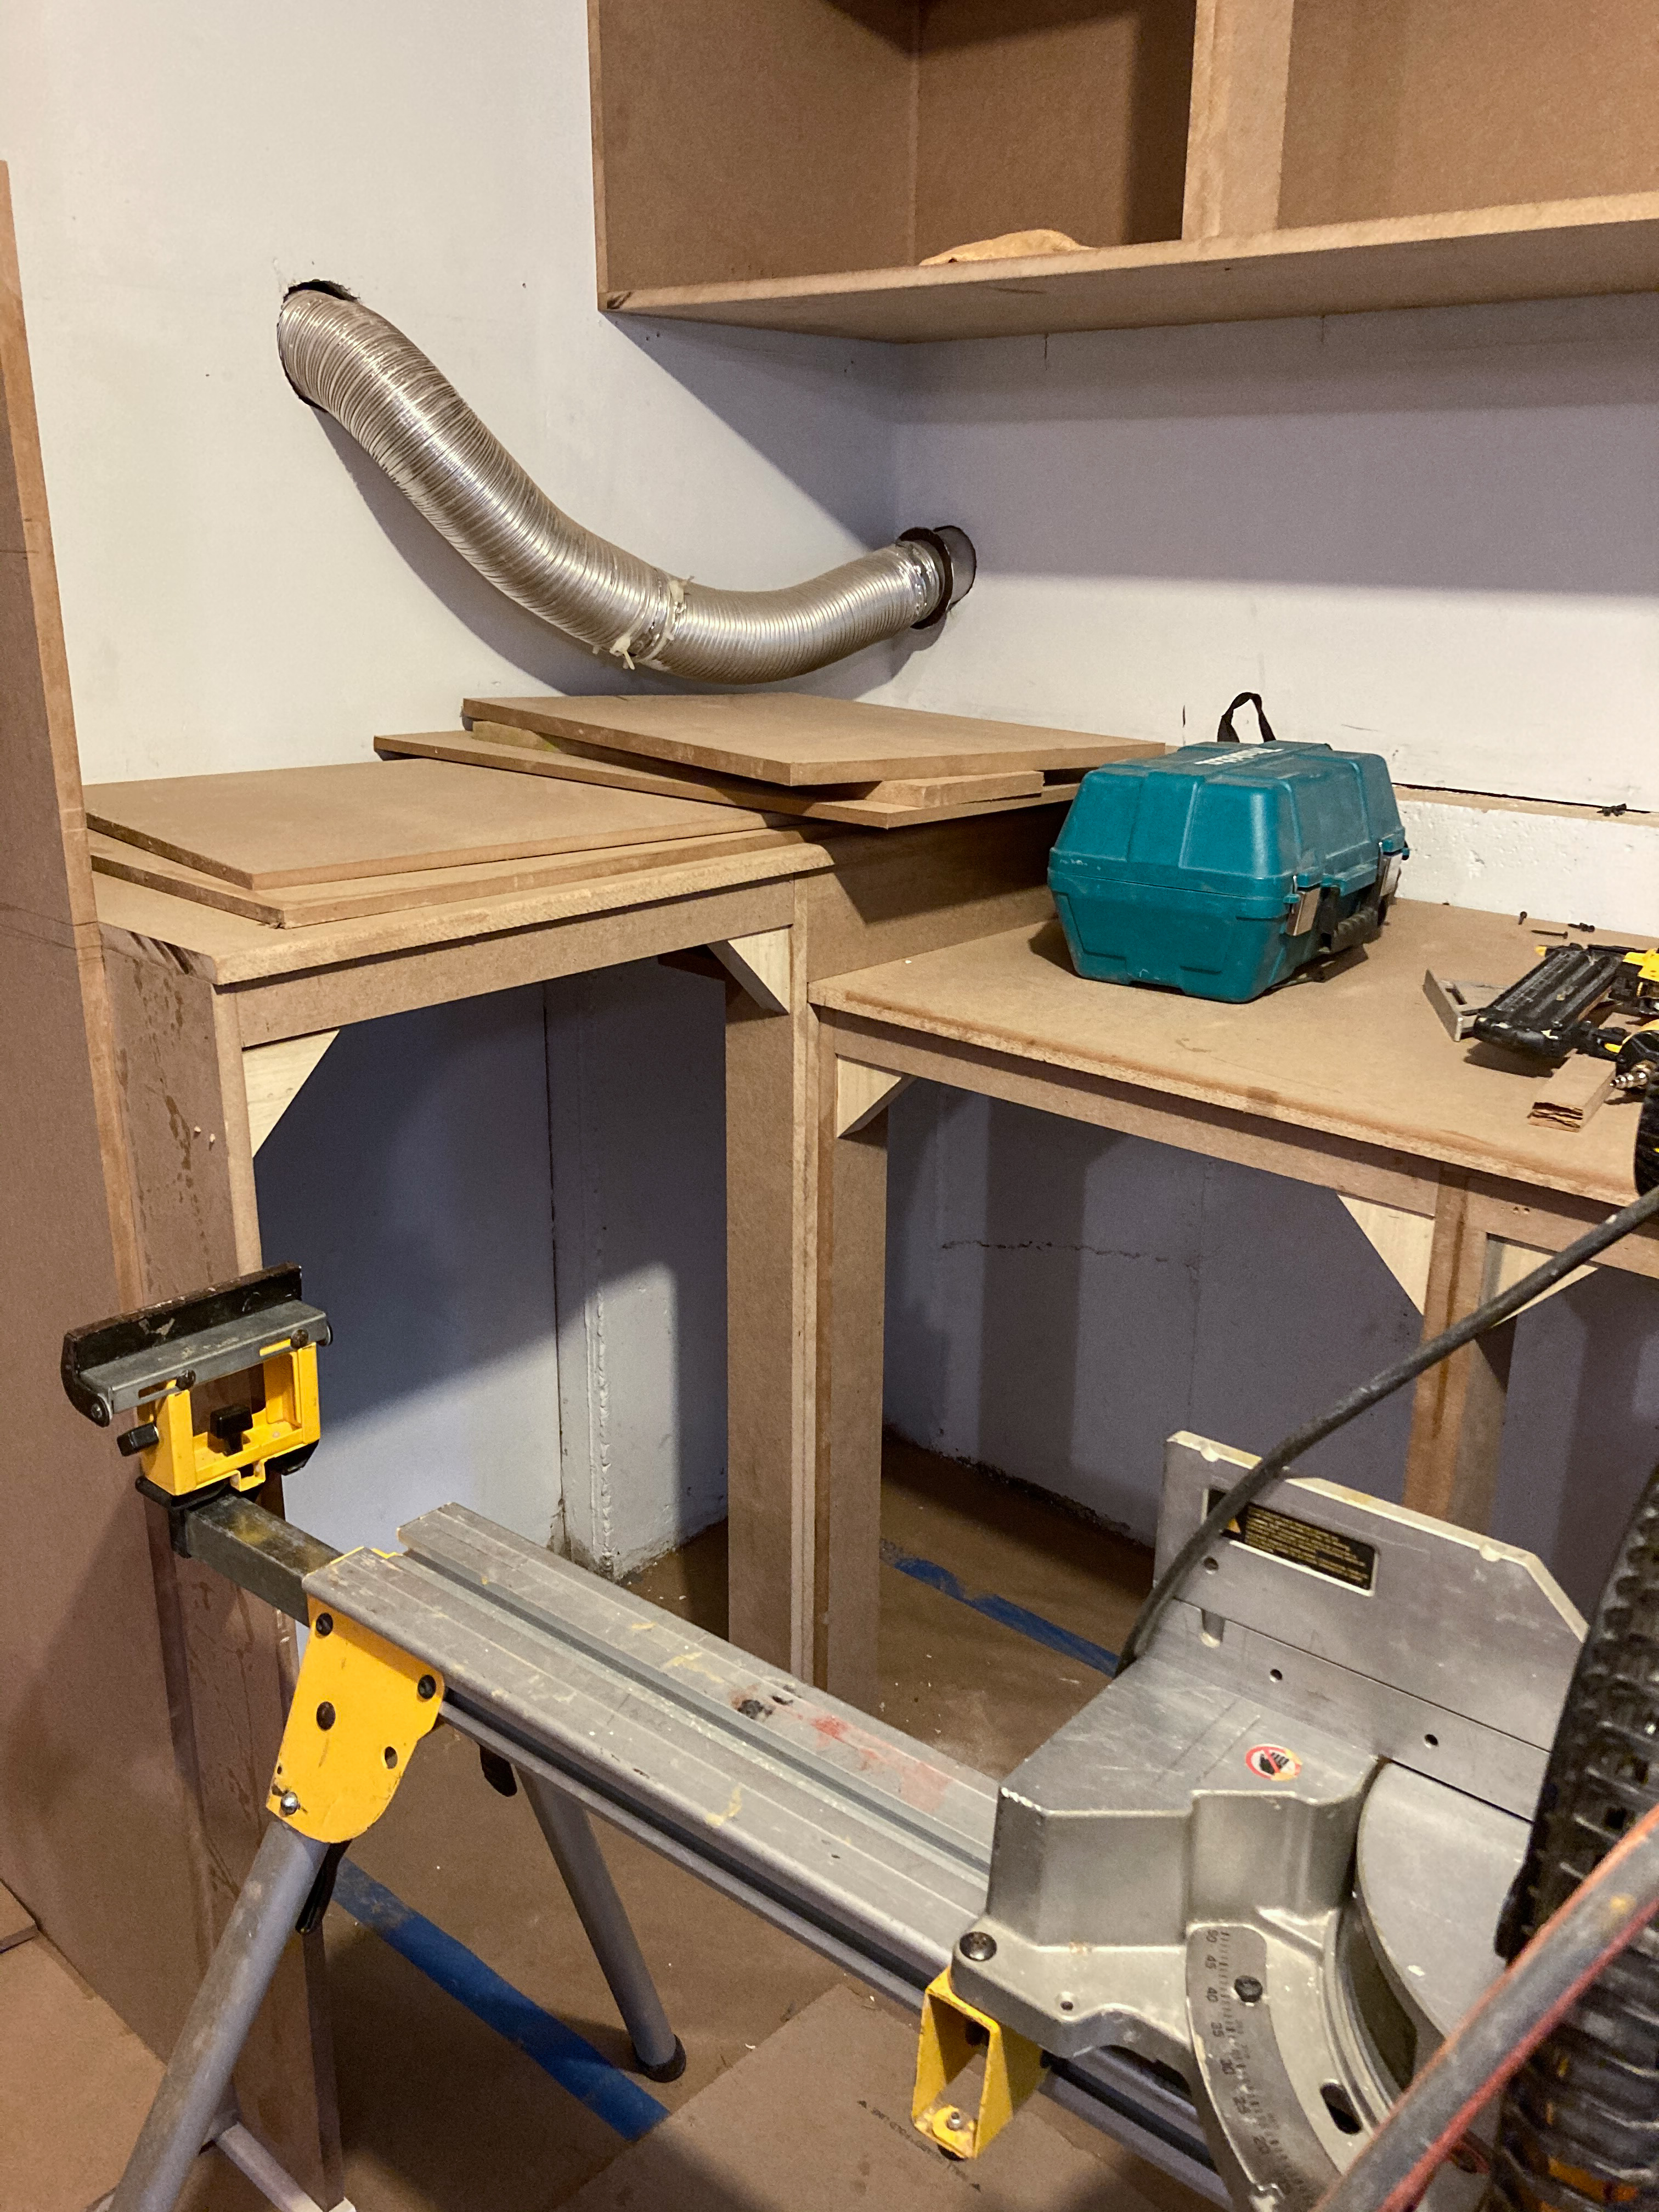
The folding ladder shown below is heavy. It has non-retractable extended legs. We’ll have to set aside a storage space for it. The magenta cylinder is a whole-house vacuum. It cannot be moved. And the cabinets will have to accommodate it, as it needs to be serviced periodically. More on it later.

That big cardboard box came from the moving company that moved us here more than a decade ago. It is time we chucked that box. In fact, we decided to get rid of everything in the garage that we have not used in the last ten years, including a beautiful wooden base for a 36″ aquarium.
That leaves the following key items based on which the remodeling plan will be created.

Lastly, we had enough with our concrete floor. It was not easy to keep clean. Paints, paint thinner, and various fluids dripping down from the car stained it. Dust settled in between cracks. Sweeping the floor stirred up seemingly inexhaustible amount of dusk. It seemed like the right time to put down an epoxy floor.

_
Design the new garage in SketchUp
I looked for the best and the most popular software for 3D modeling of a garage. Plenty of “top-ten-item” websites talk about Floor Planner, Big Hammer, Easy Garage, etc. They either suck or are abandoned. Some look promising, such as RoomSketcher and Elecosoft Home Designer. But these seemed too constraining – they are written for non-techies.
In the end, I ended up using SketchUp. This is the same software I used ten years ago when I remodeled this house. Then, it was an upstart in the world of modeling. But it appears to be the undisputed king of the field now, unless you are an expert in AutoCAD. This app now comes with LayOut, an incredible 2D projection and annotation tool for this 3D modeling software.
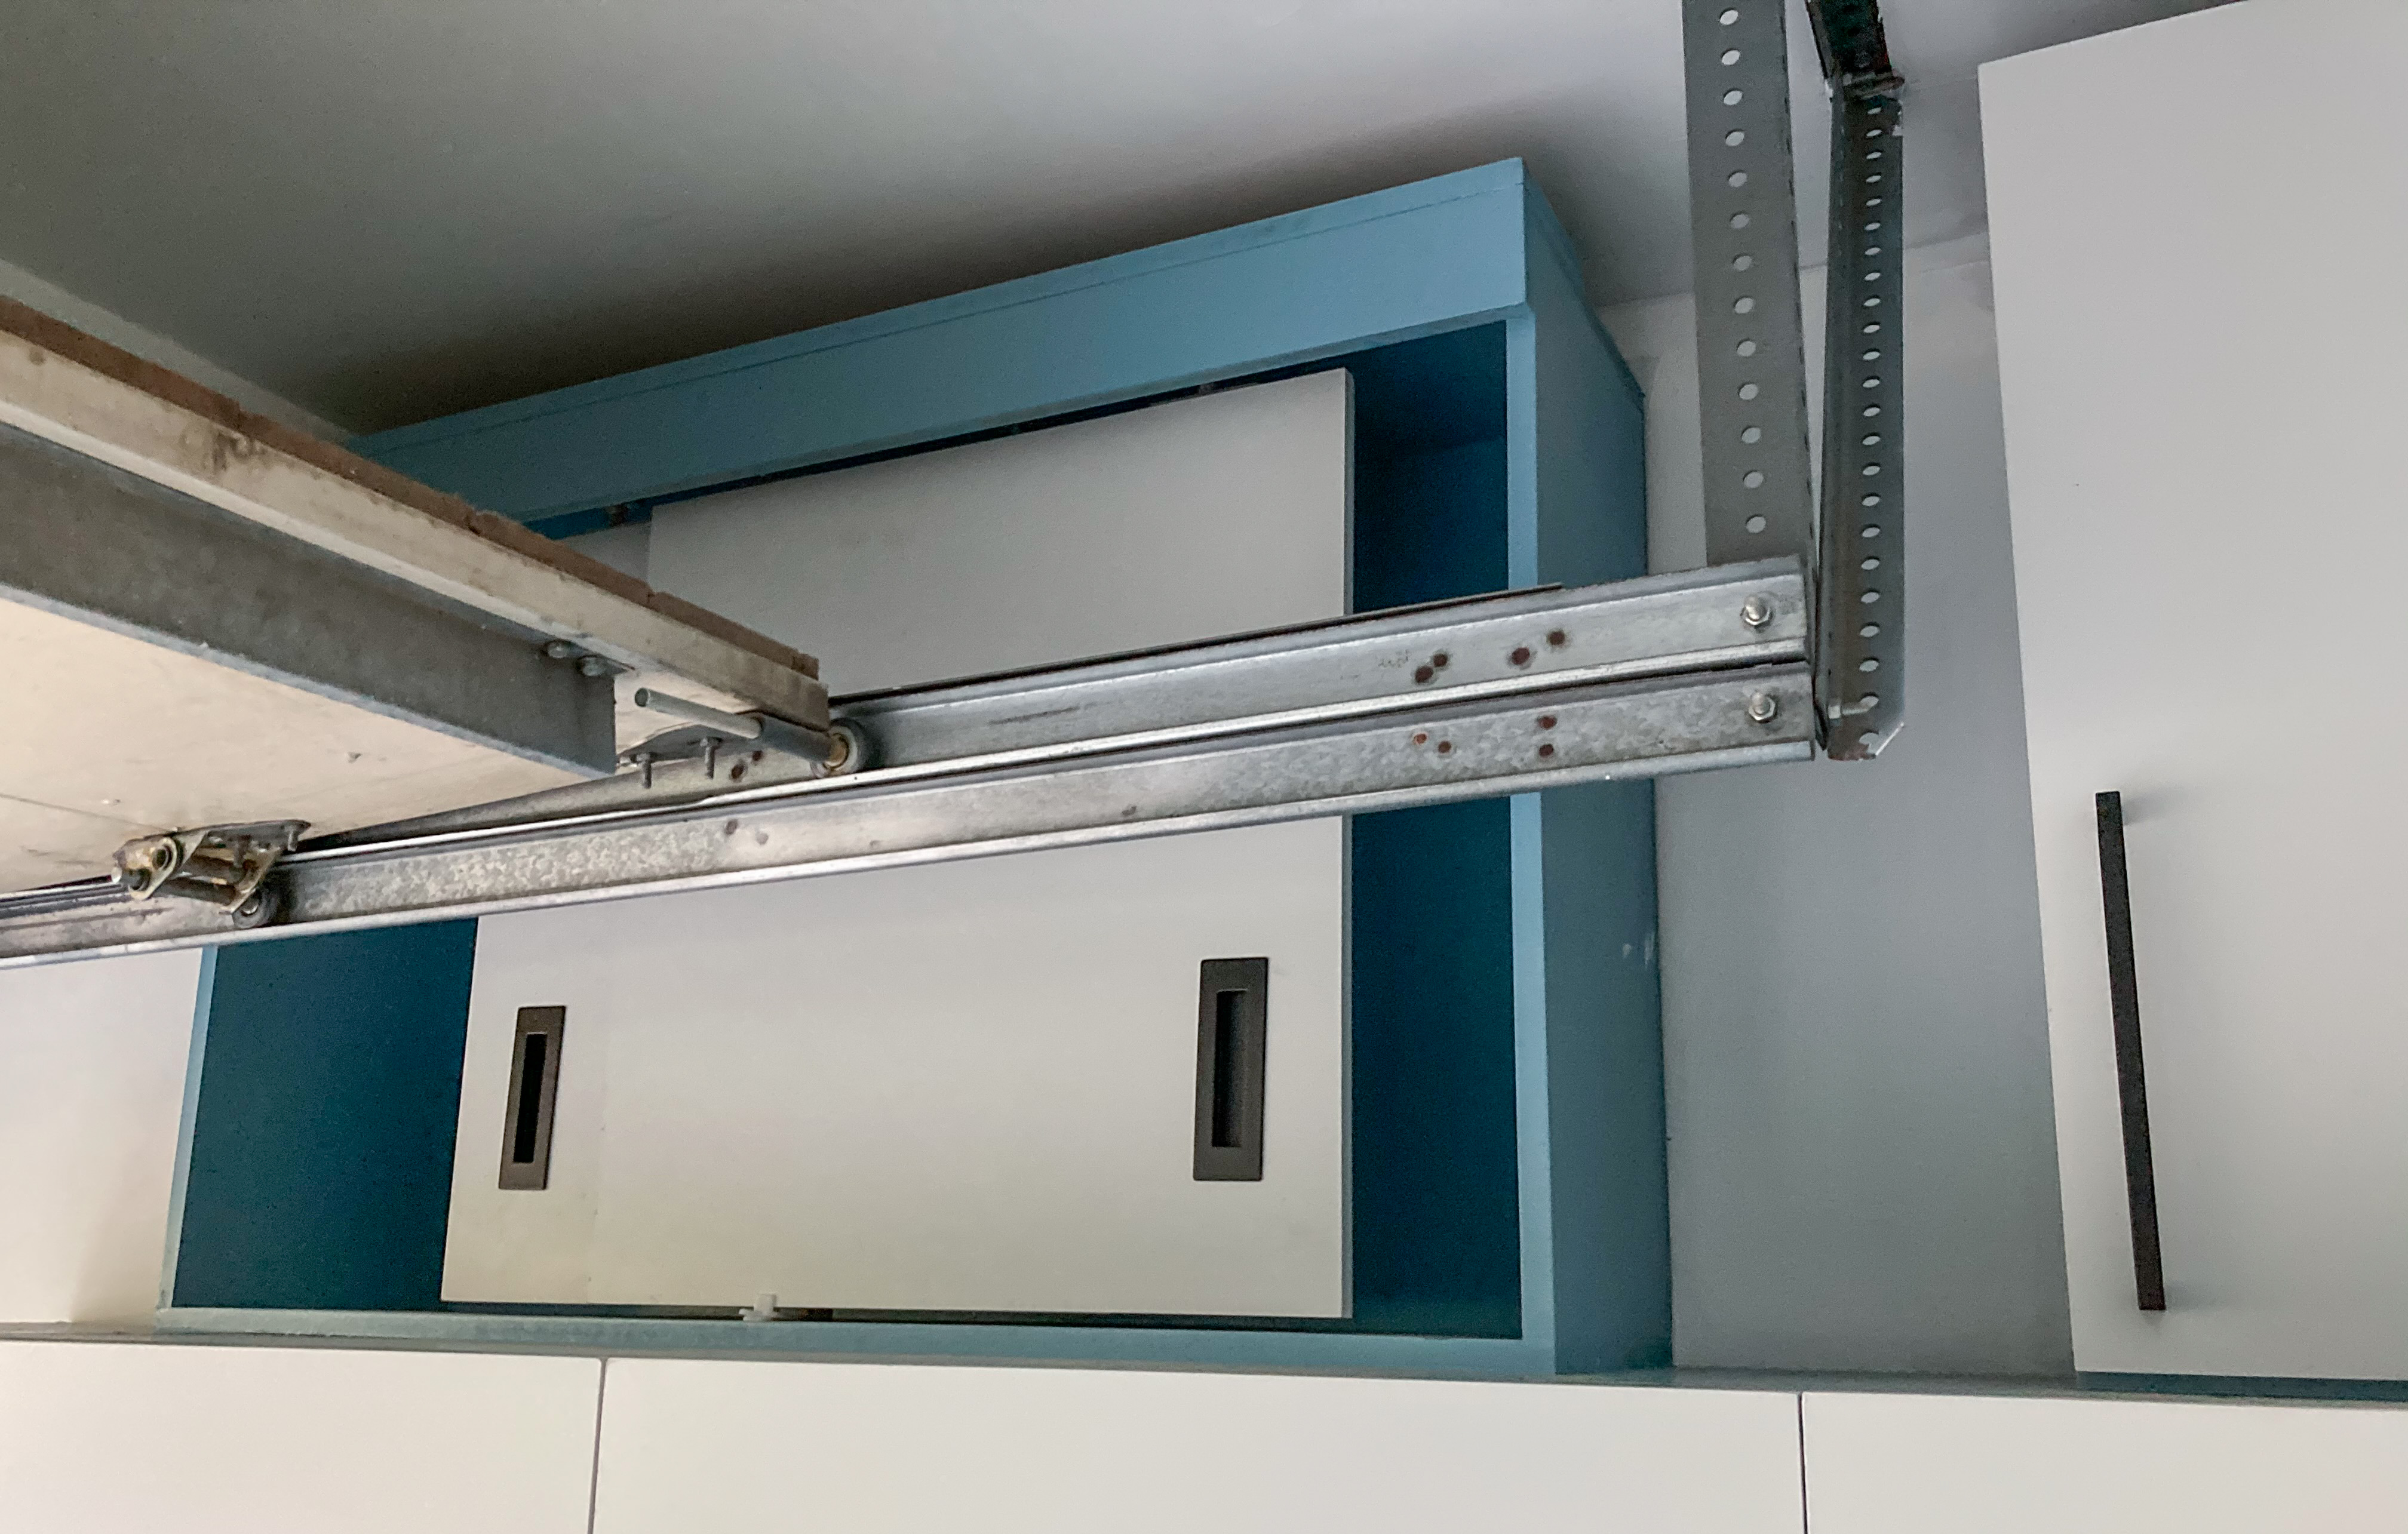
The first thing I did was to map out room dimensions, and identify various constraints in the room which I had to work around. The gray blocks are part of the concrete foundation of the house. The two triangular brackets are anchors for garage door rails. On the walls, from top down, left to right, are drain pipe, faucet, central vacuum cleaner, outlets, door switch, sprinkler control, and dryer vent.

I downloaded a car model from the SketchUp online collection, and sized it properly. I usually hid the car during design, and only unhid it to check that cabinet doors and car doors do not hit each other.

Then I made an initial arrangement of items to find the right way to fit them. Following was the first attempt at arranging tall ladders, the patio umbrella, the snow blower, the power washer, the inverters and gas cans along side the concrete foundation wall on the right side.

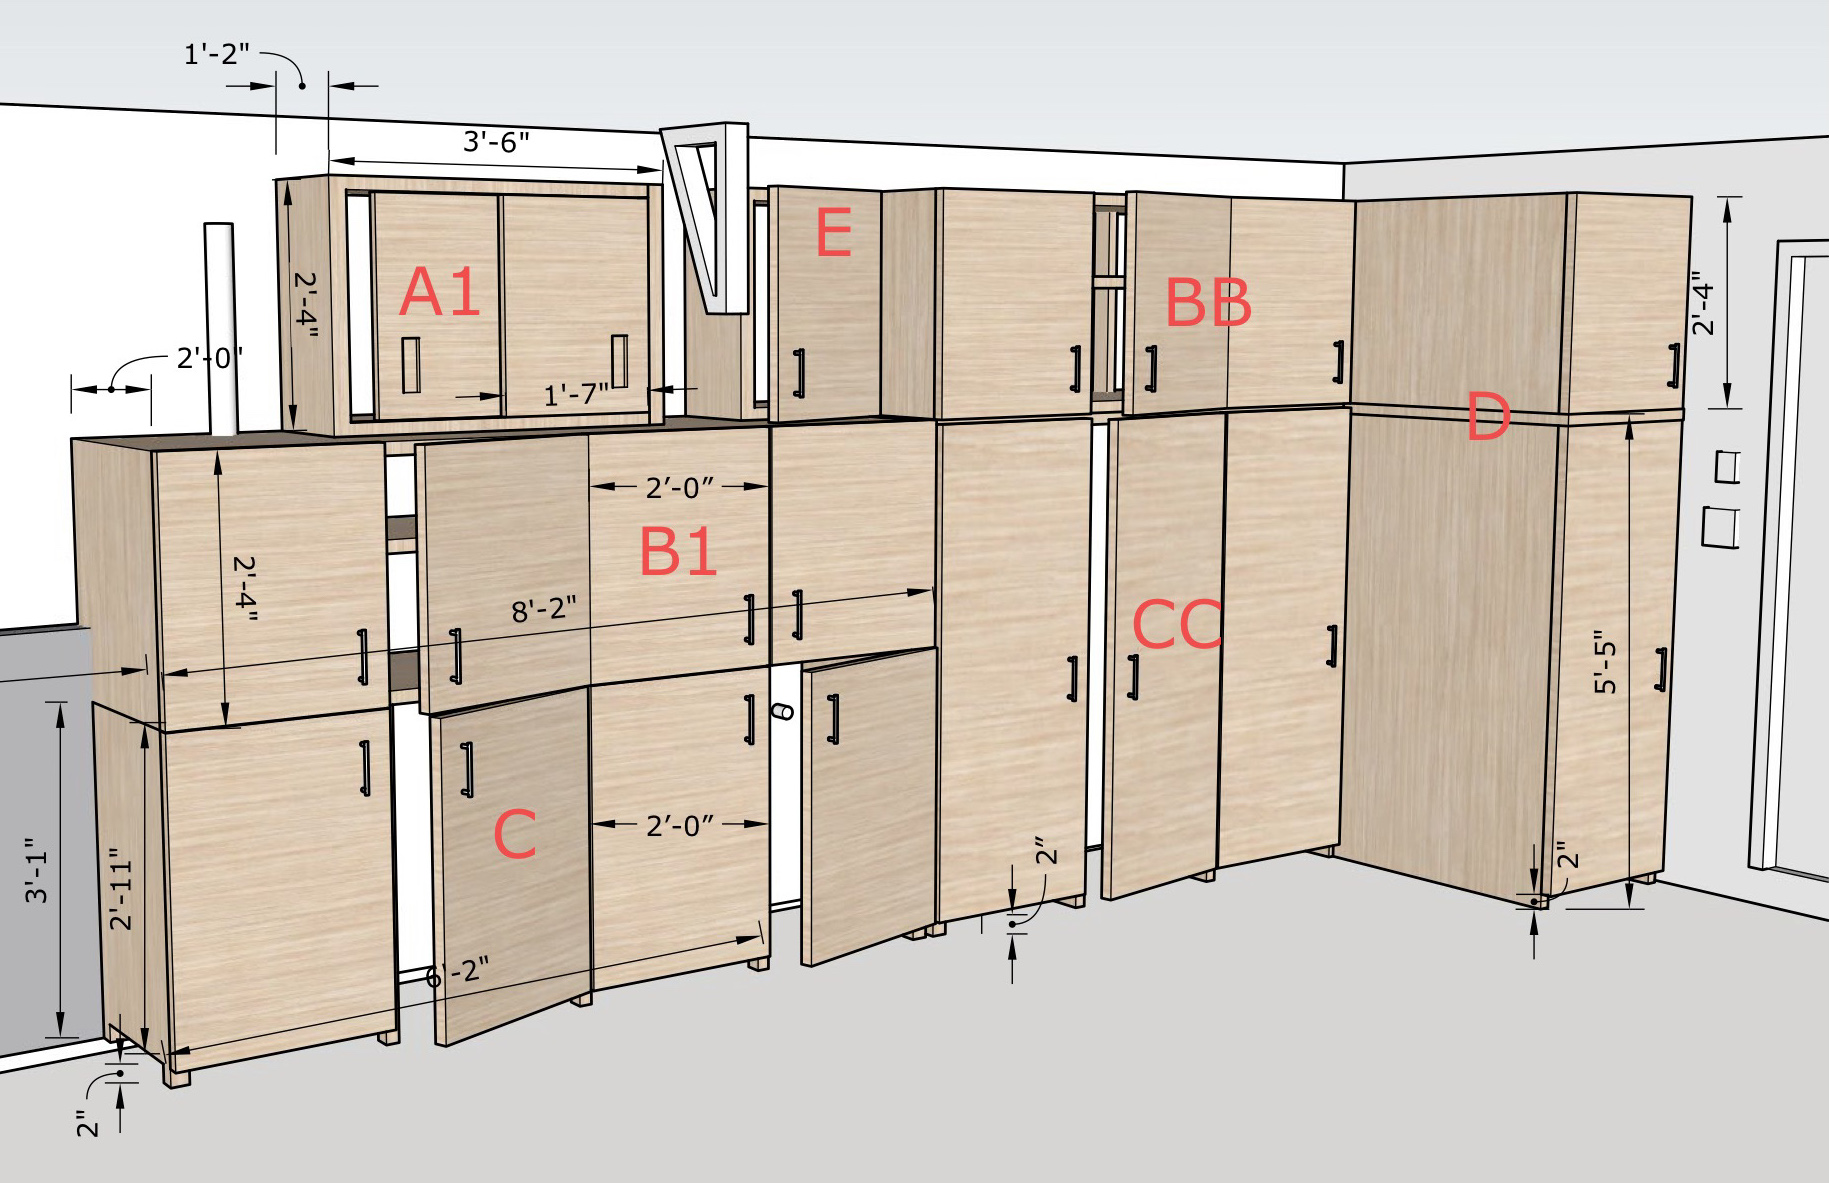
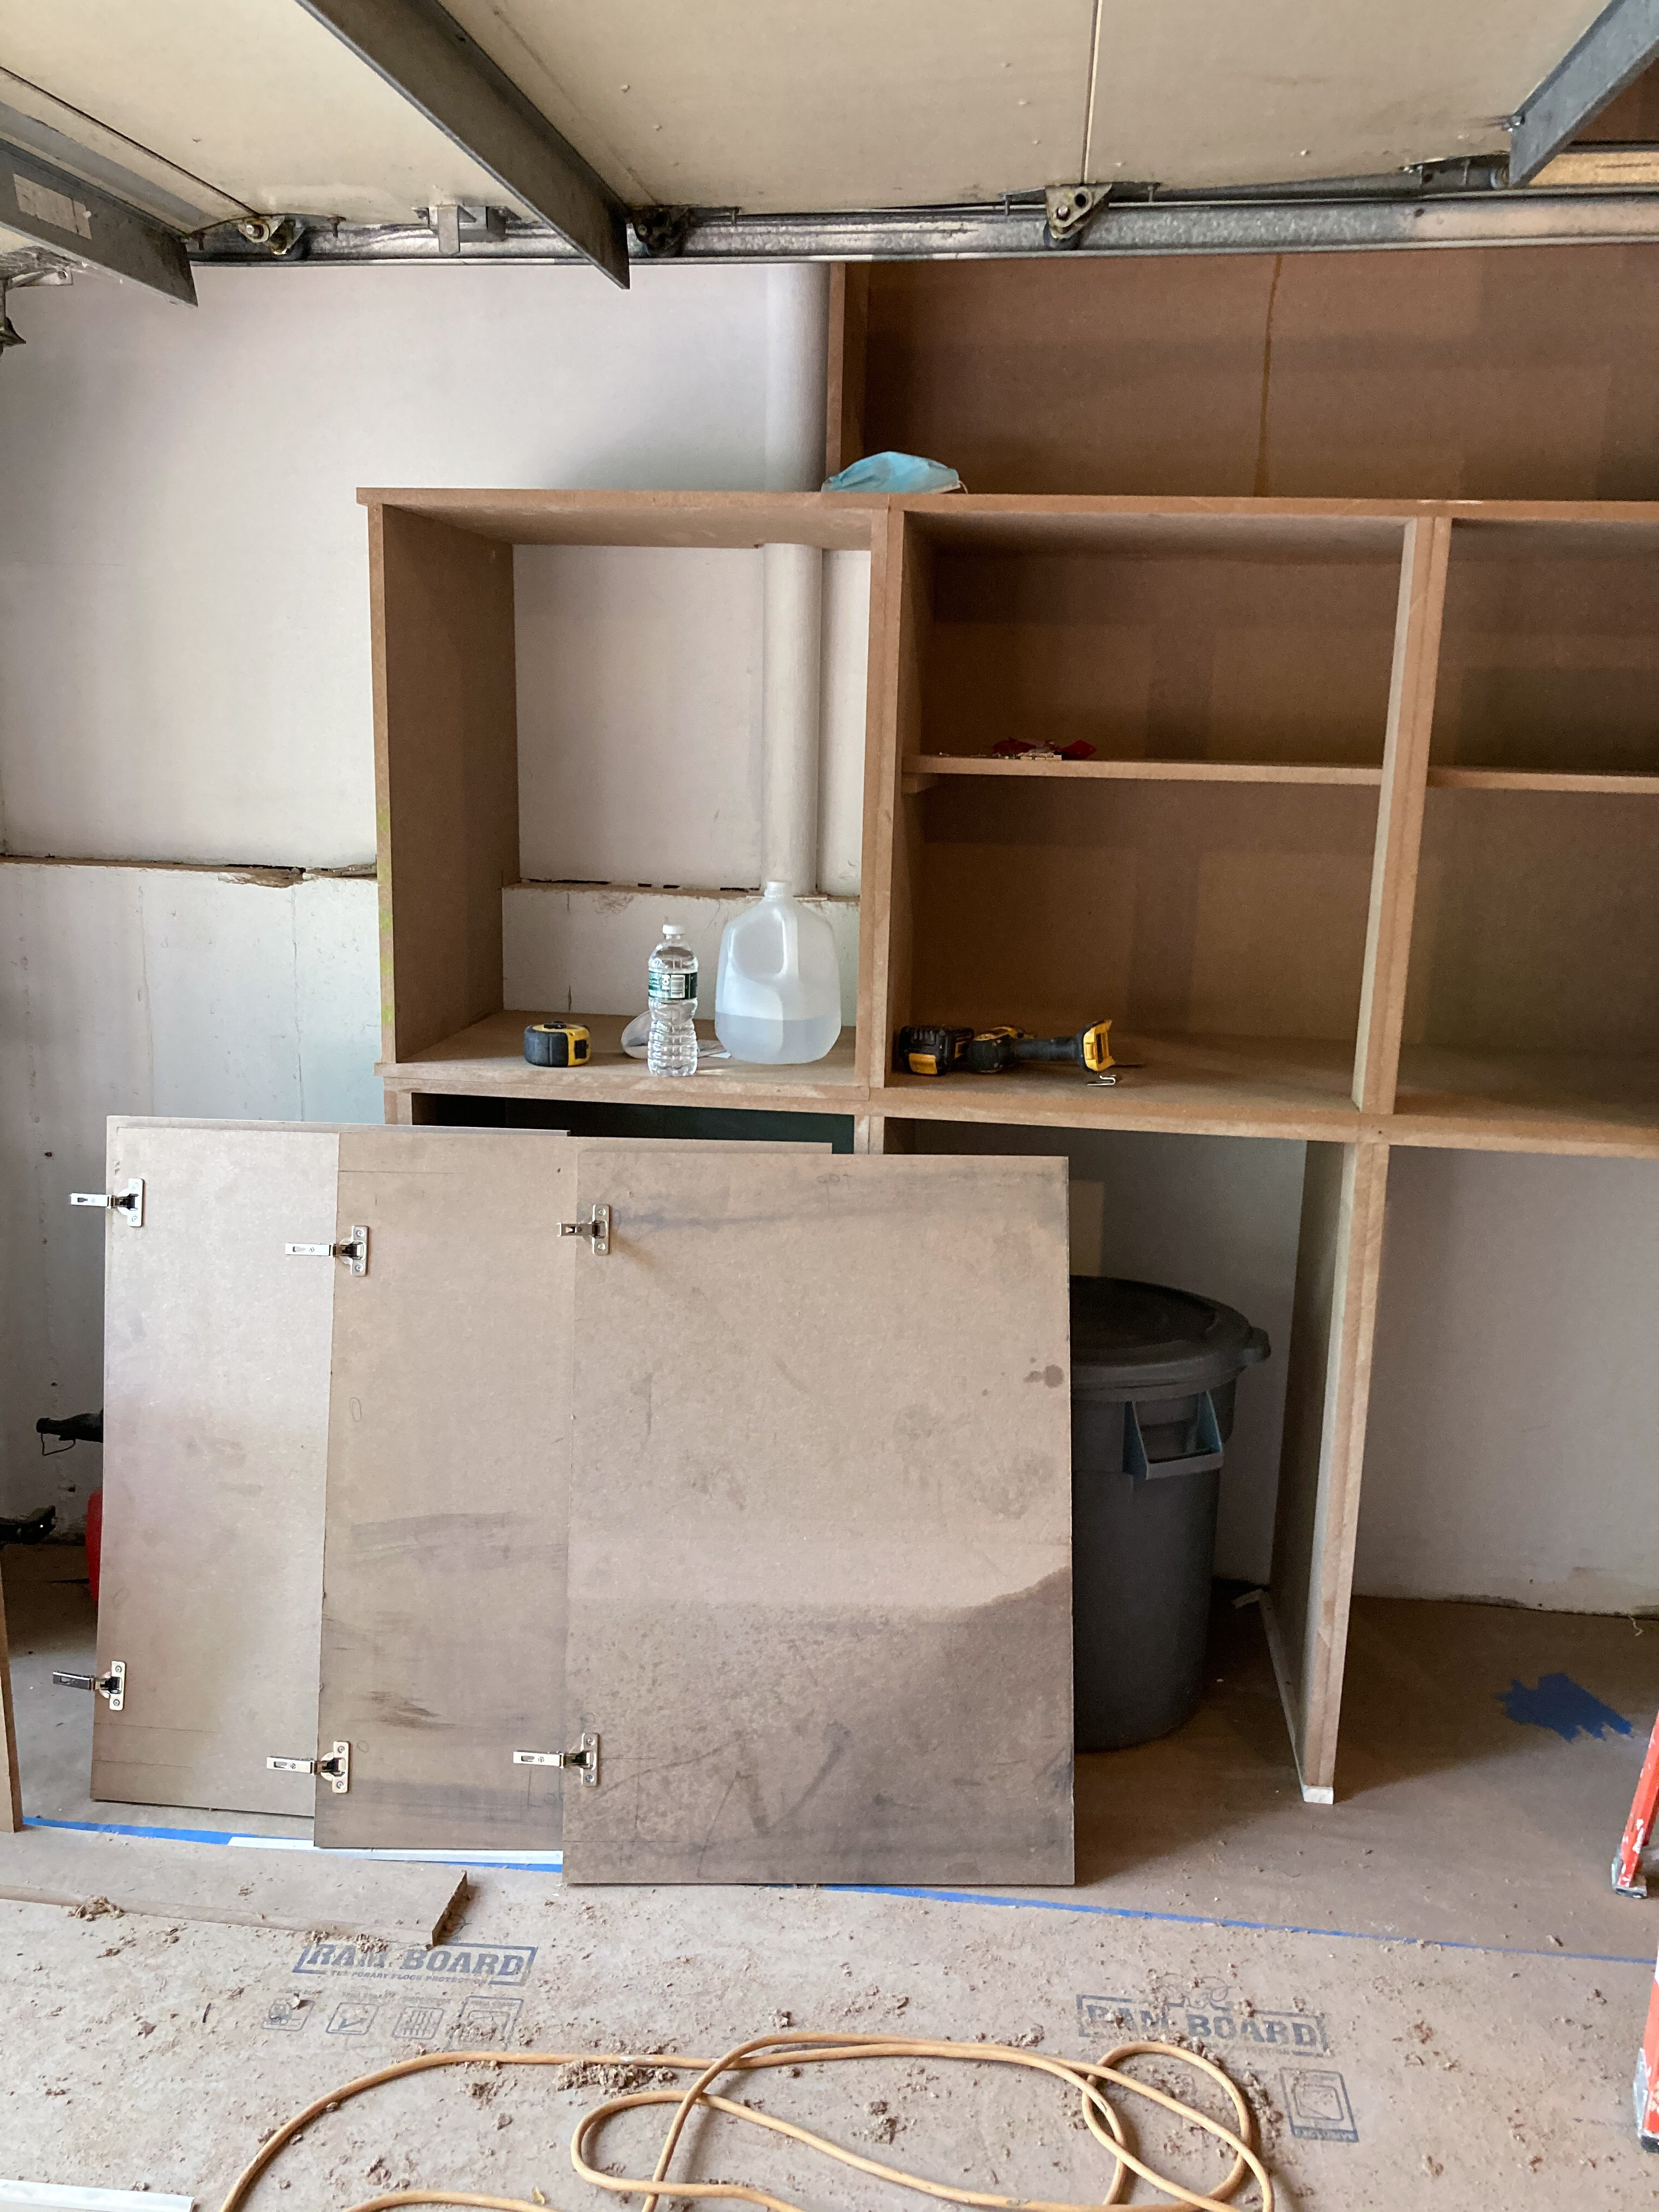
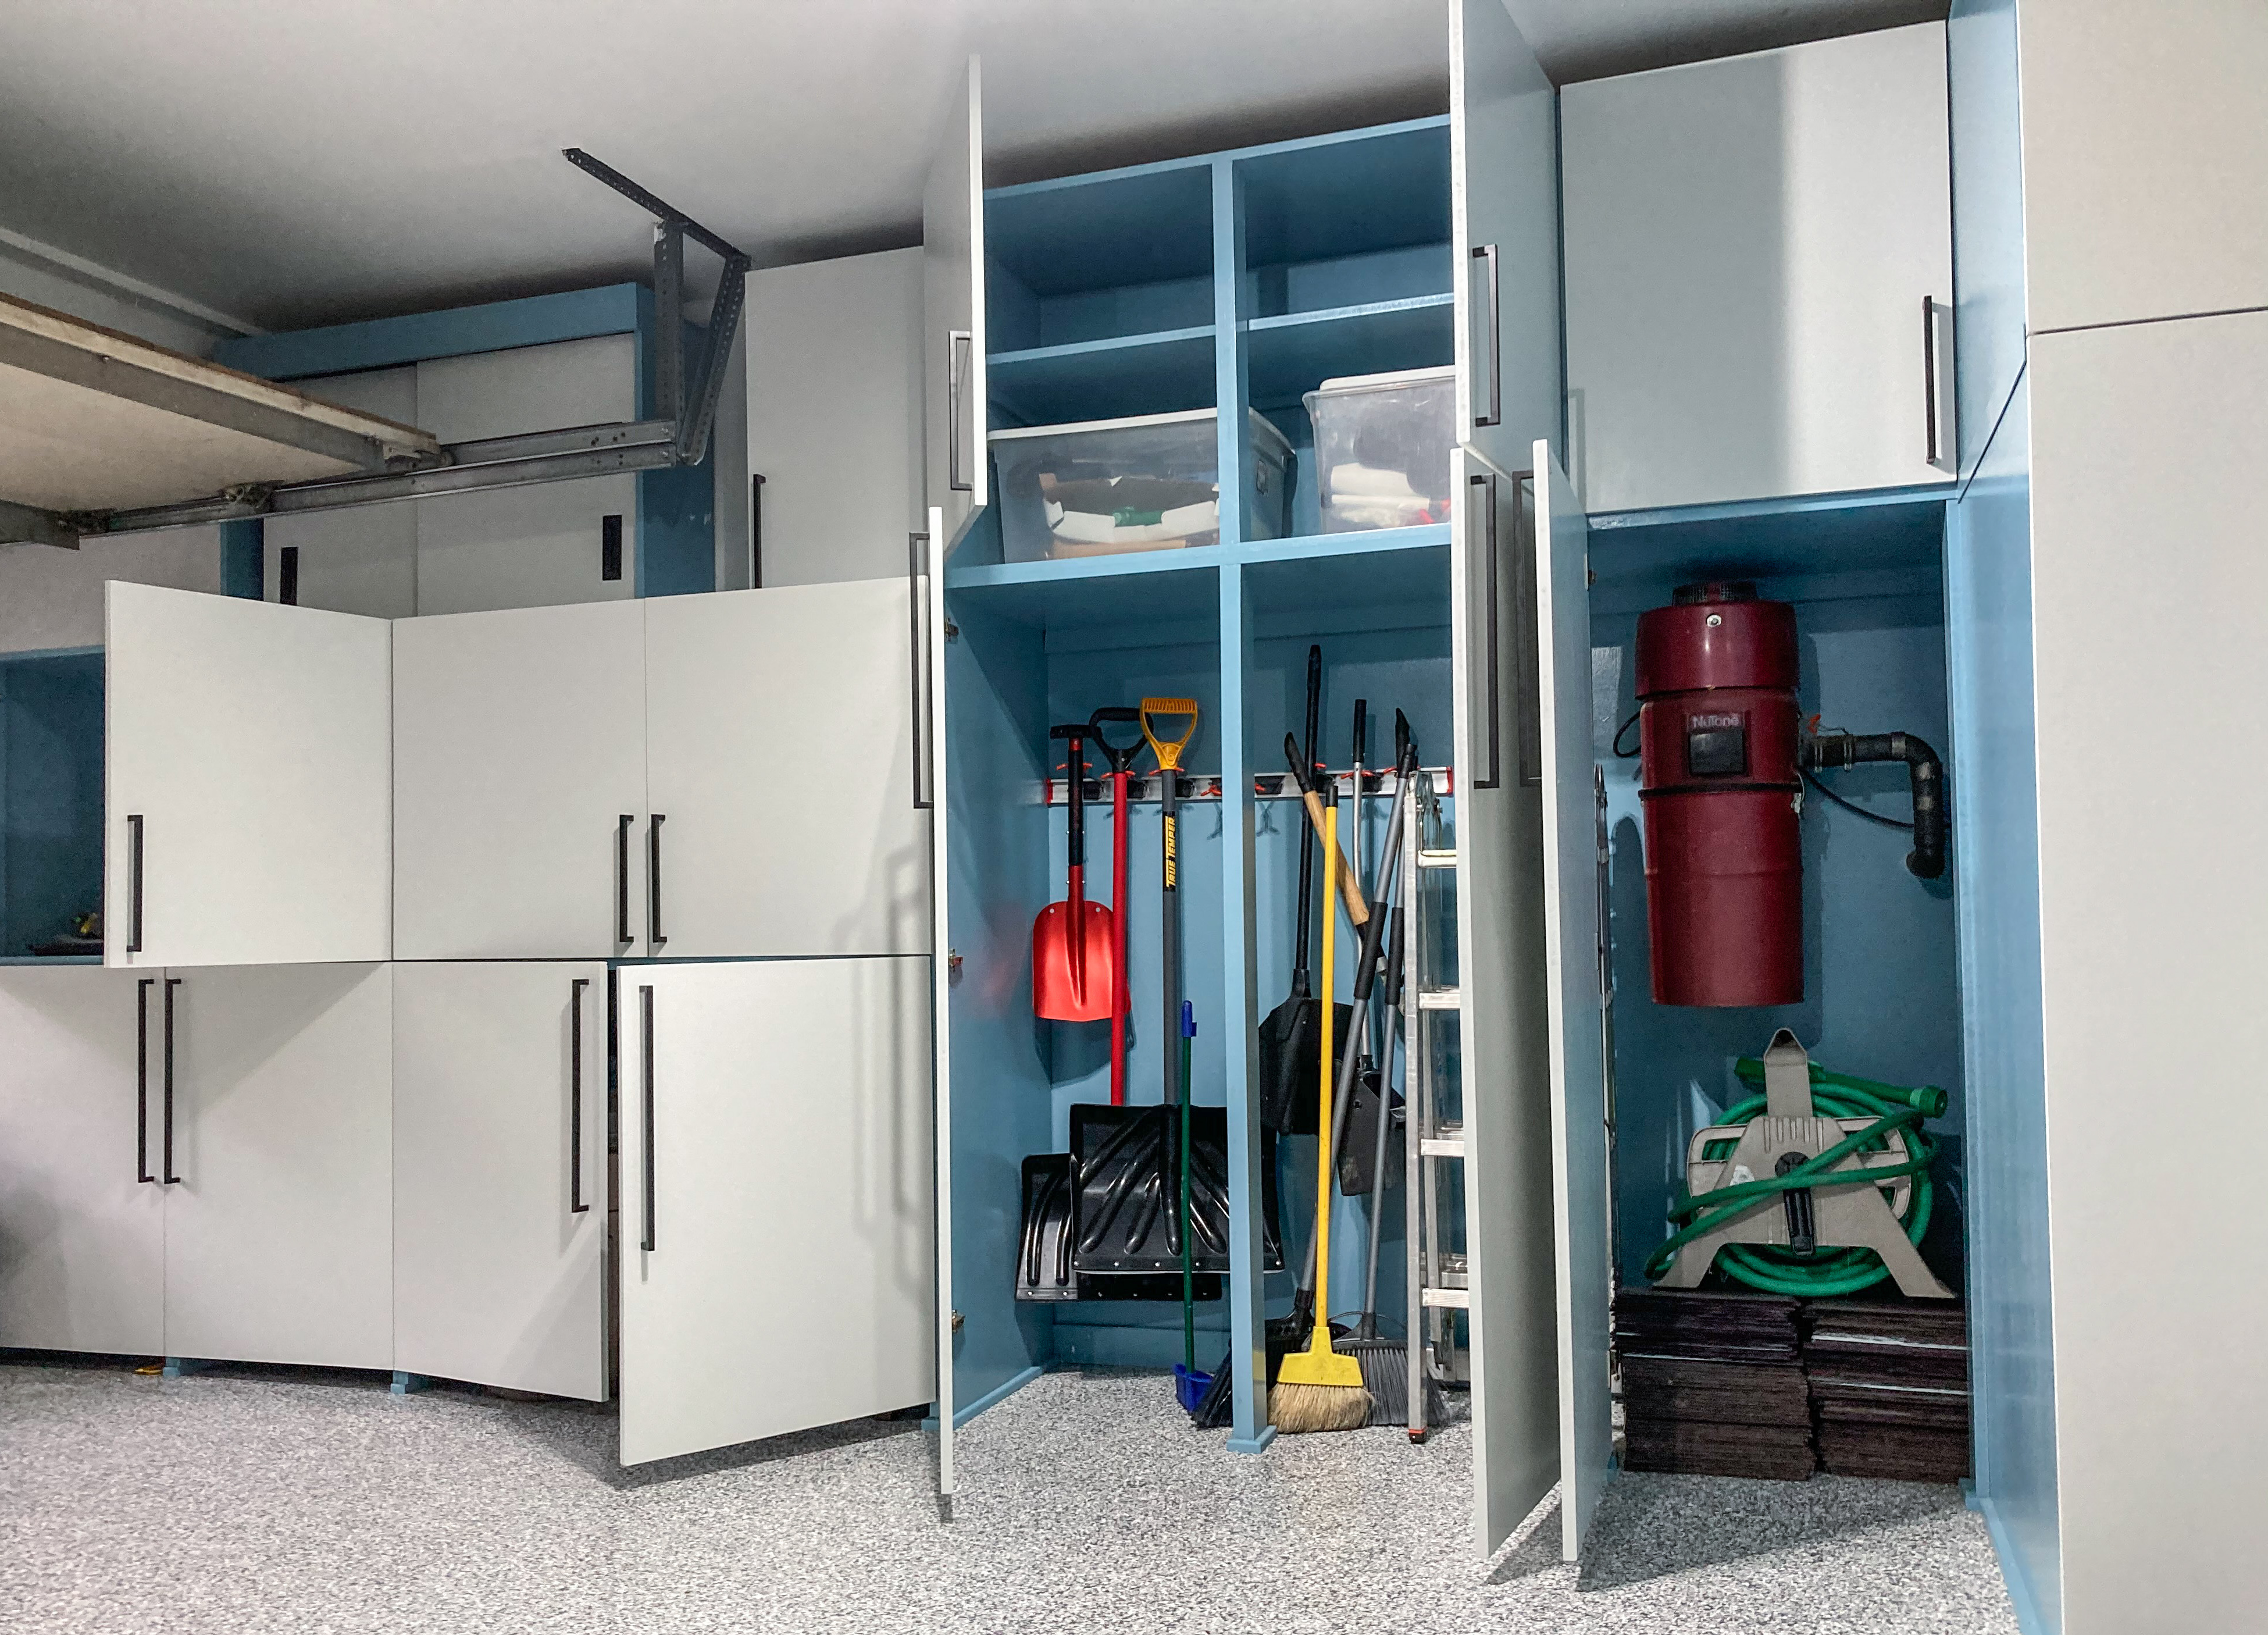
Half of the cabinets in the final design are not compartmentalized. Some sections of cabinets are really just an empty shell for housing long or tall items. The top view has cabinet doors removed to show how things fit inside these cabinets. The bottom view shows the finished look with doors in place.
Some cabinets do not have horizontal shelves inside. I plan to stack big, clear plastic containers inside them. The long table section doubles as tabletop for the Kayak, and as a storage space for tall ladders. One end of this section is open, otherwise there would be no way of getting those ladders in and out.
Following is the left side of the garage, showing deep cabinets. We are going to house every trash can in its own compartment. There are gaps for venting at the bottom of cabinets and doors.
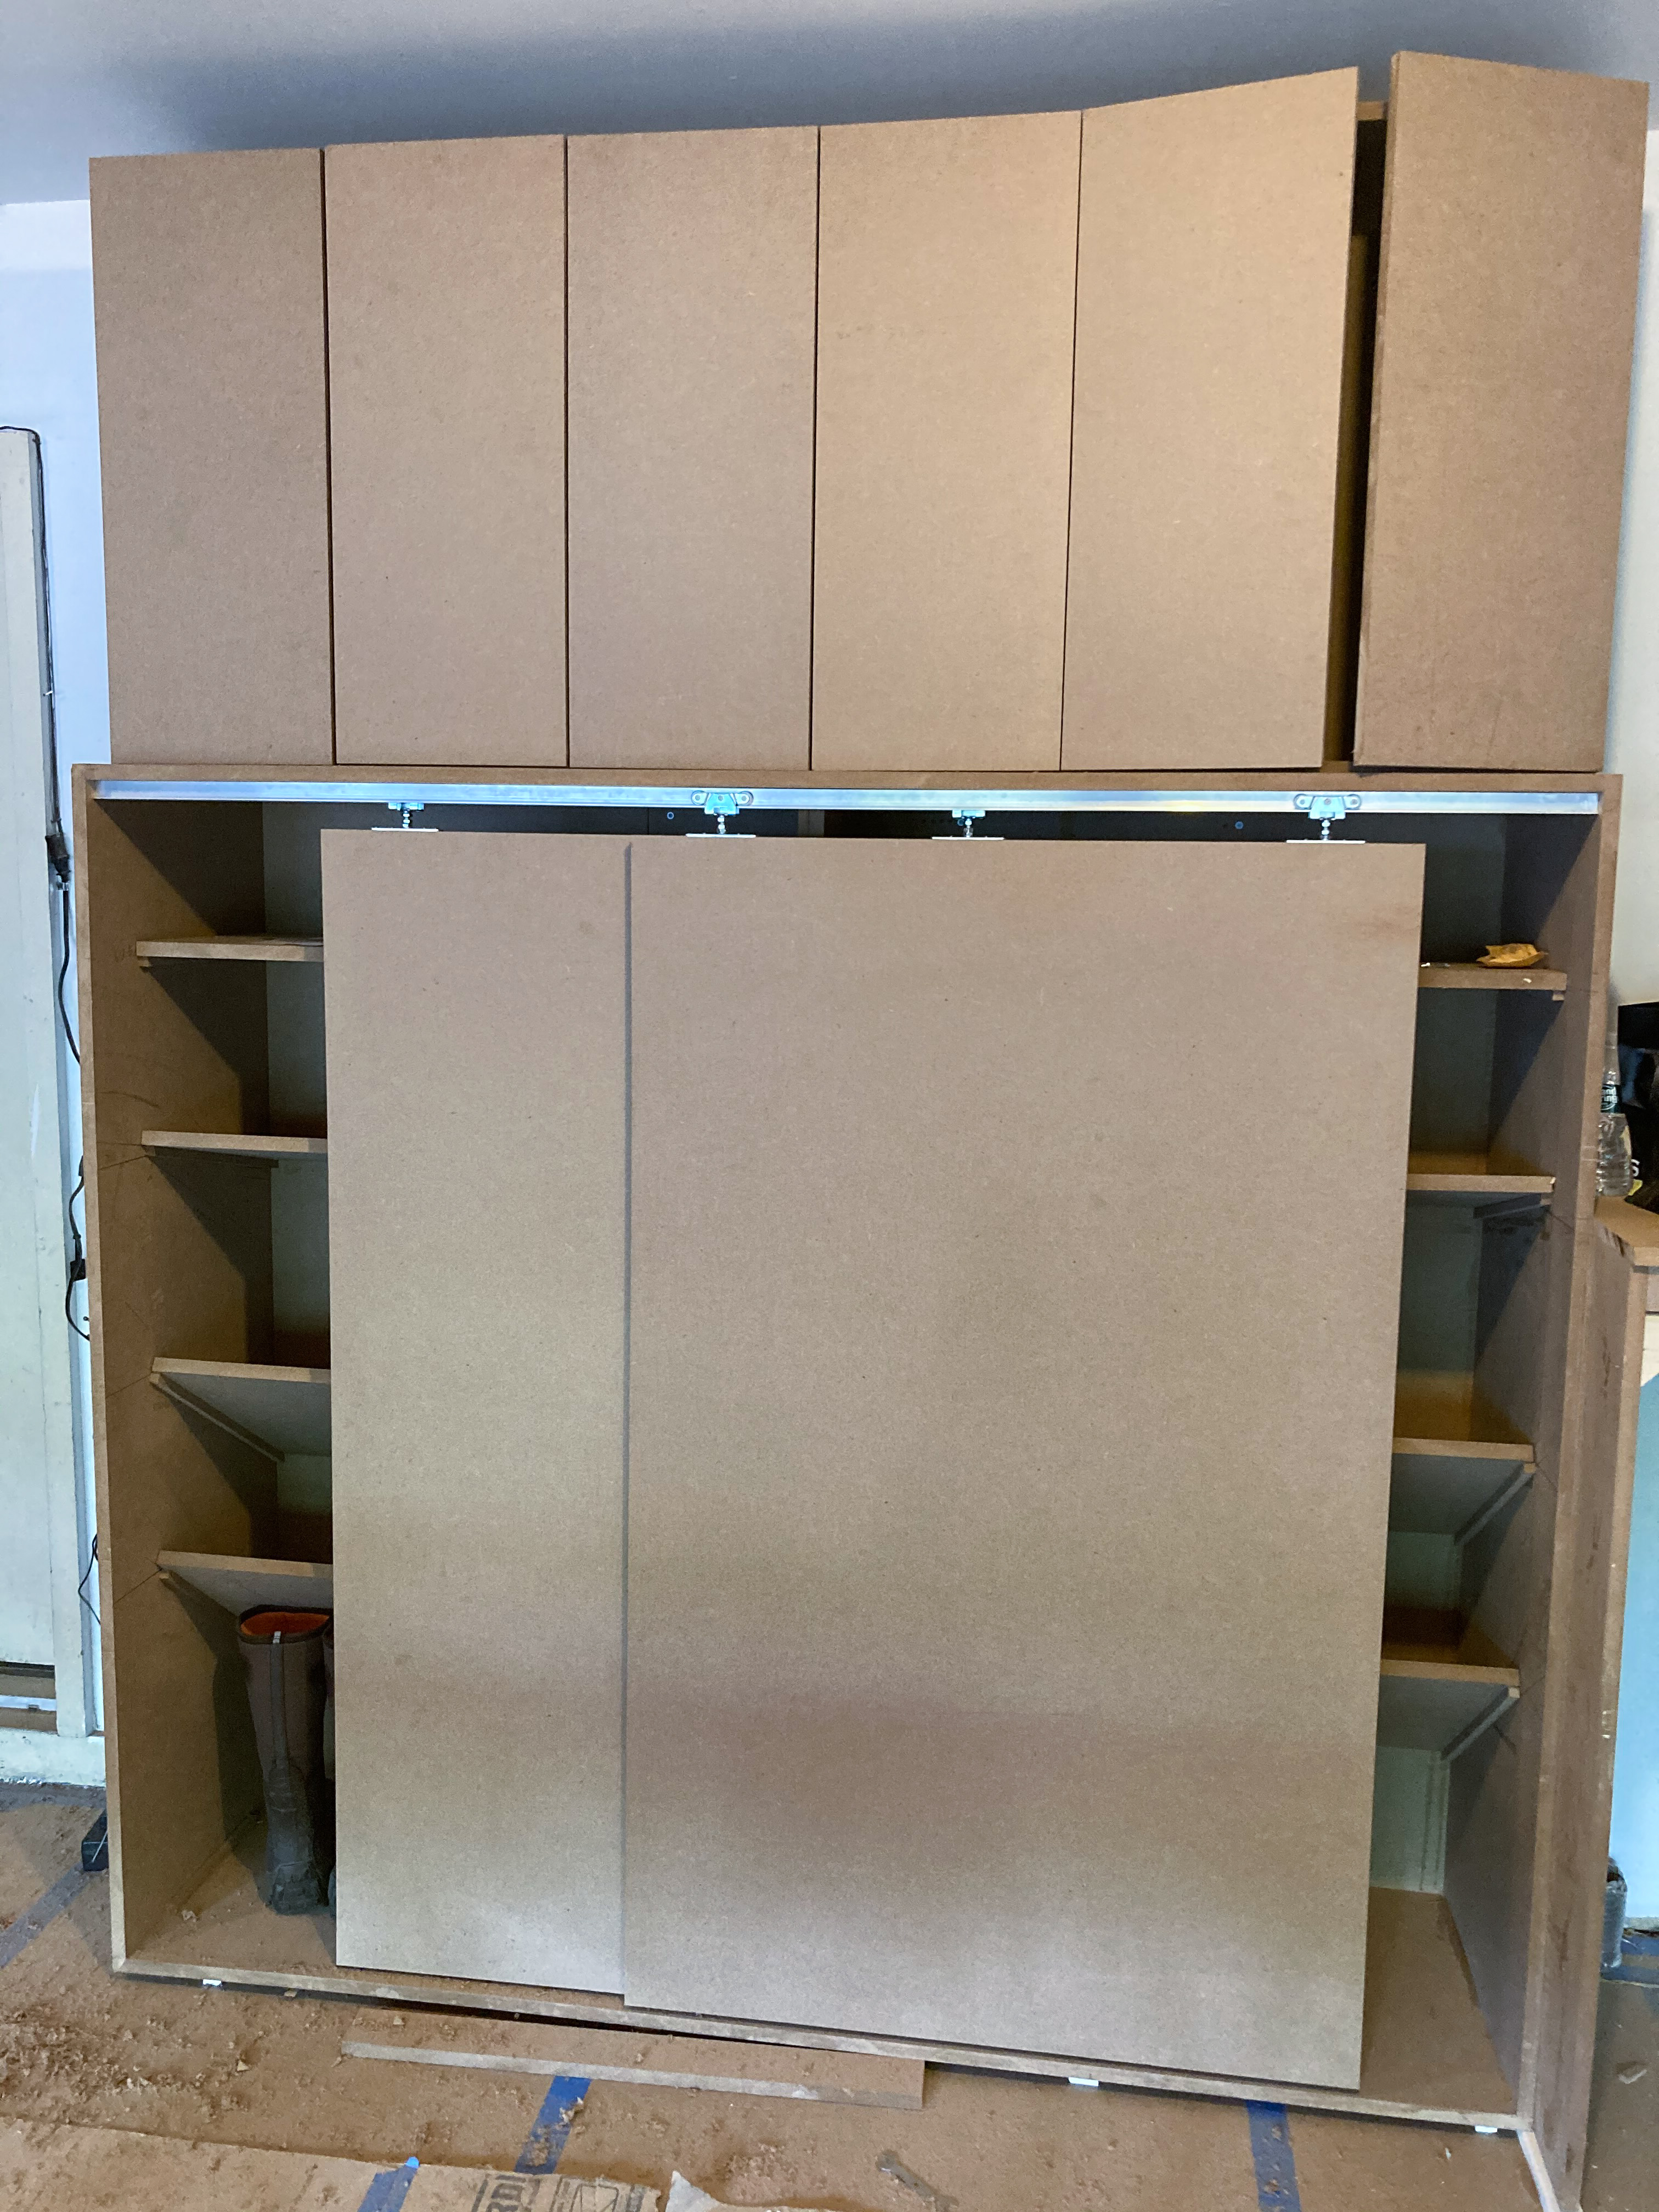
The shoe cabinet has shelves with increasing angle of inclination. This allows a person to see all shoes standing up. The shoe cabinet is outfitted with sliding doors. I can’t use regular cabinet doors on the shoe cabinet, because there is barely any space between the car and the shoe cabinet, when the car is parked.
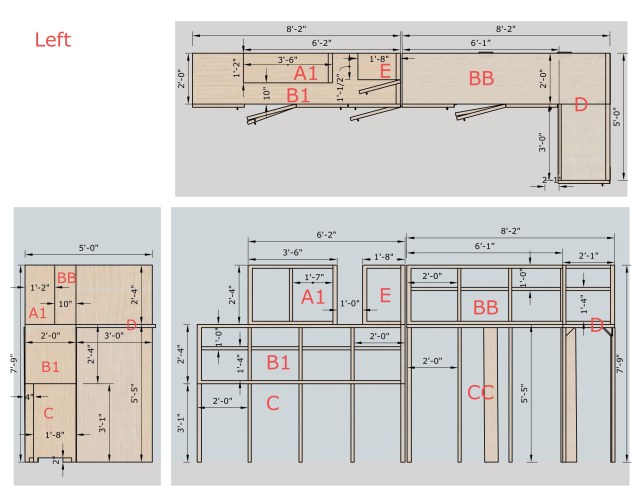
Following shows all cabinets in a single view.

I used LayOut to create a nice PDF file showing different views of the cabinets I modeled in SketchUp. I also annotated cabinets with dimension measures. We handed a PDF printout to our carpenters, so they could estimate material and labor costs, before work started.
_
Emptying the garage
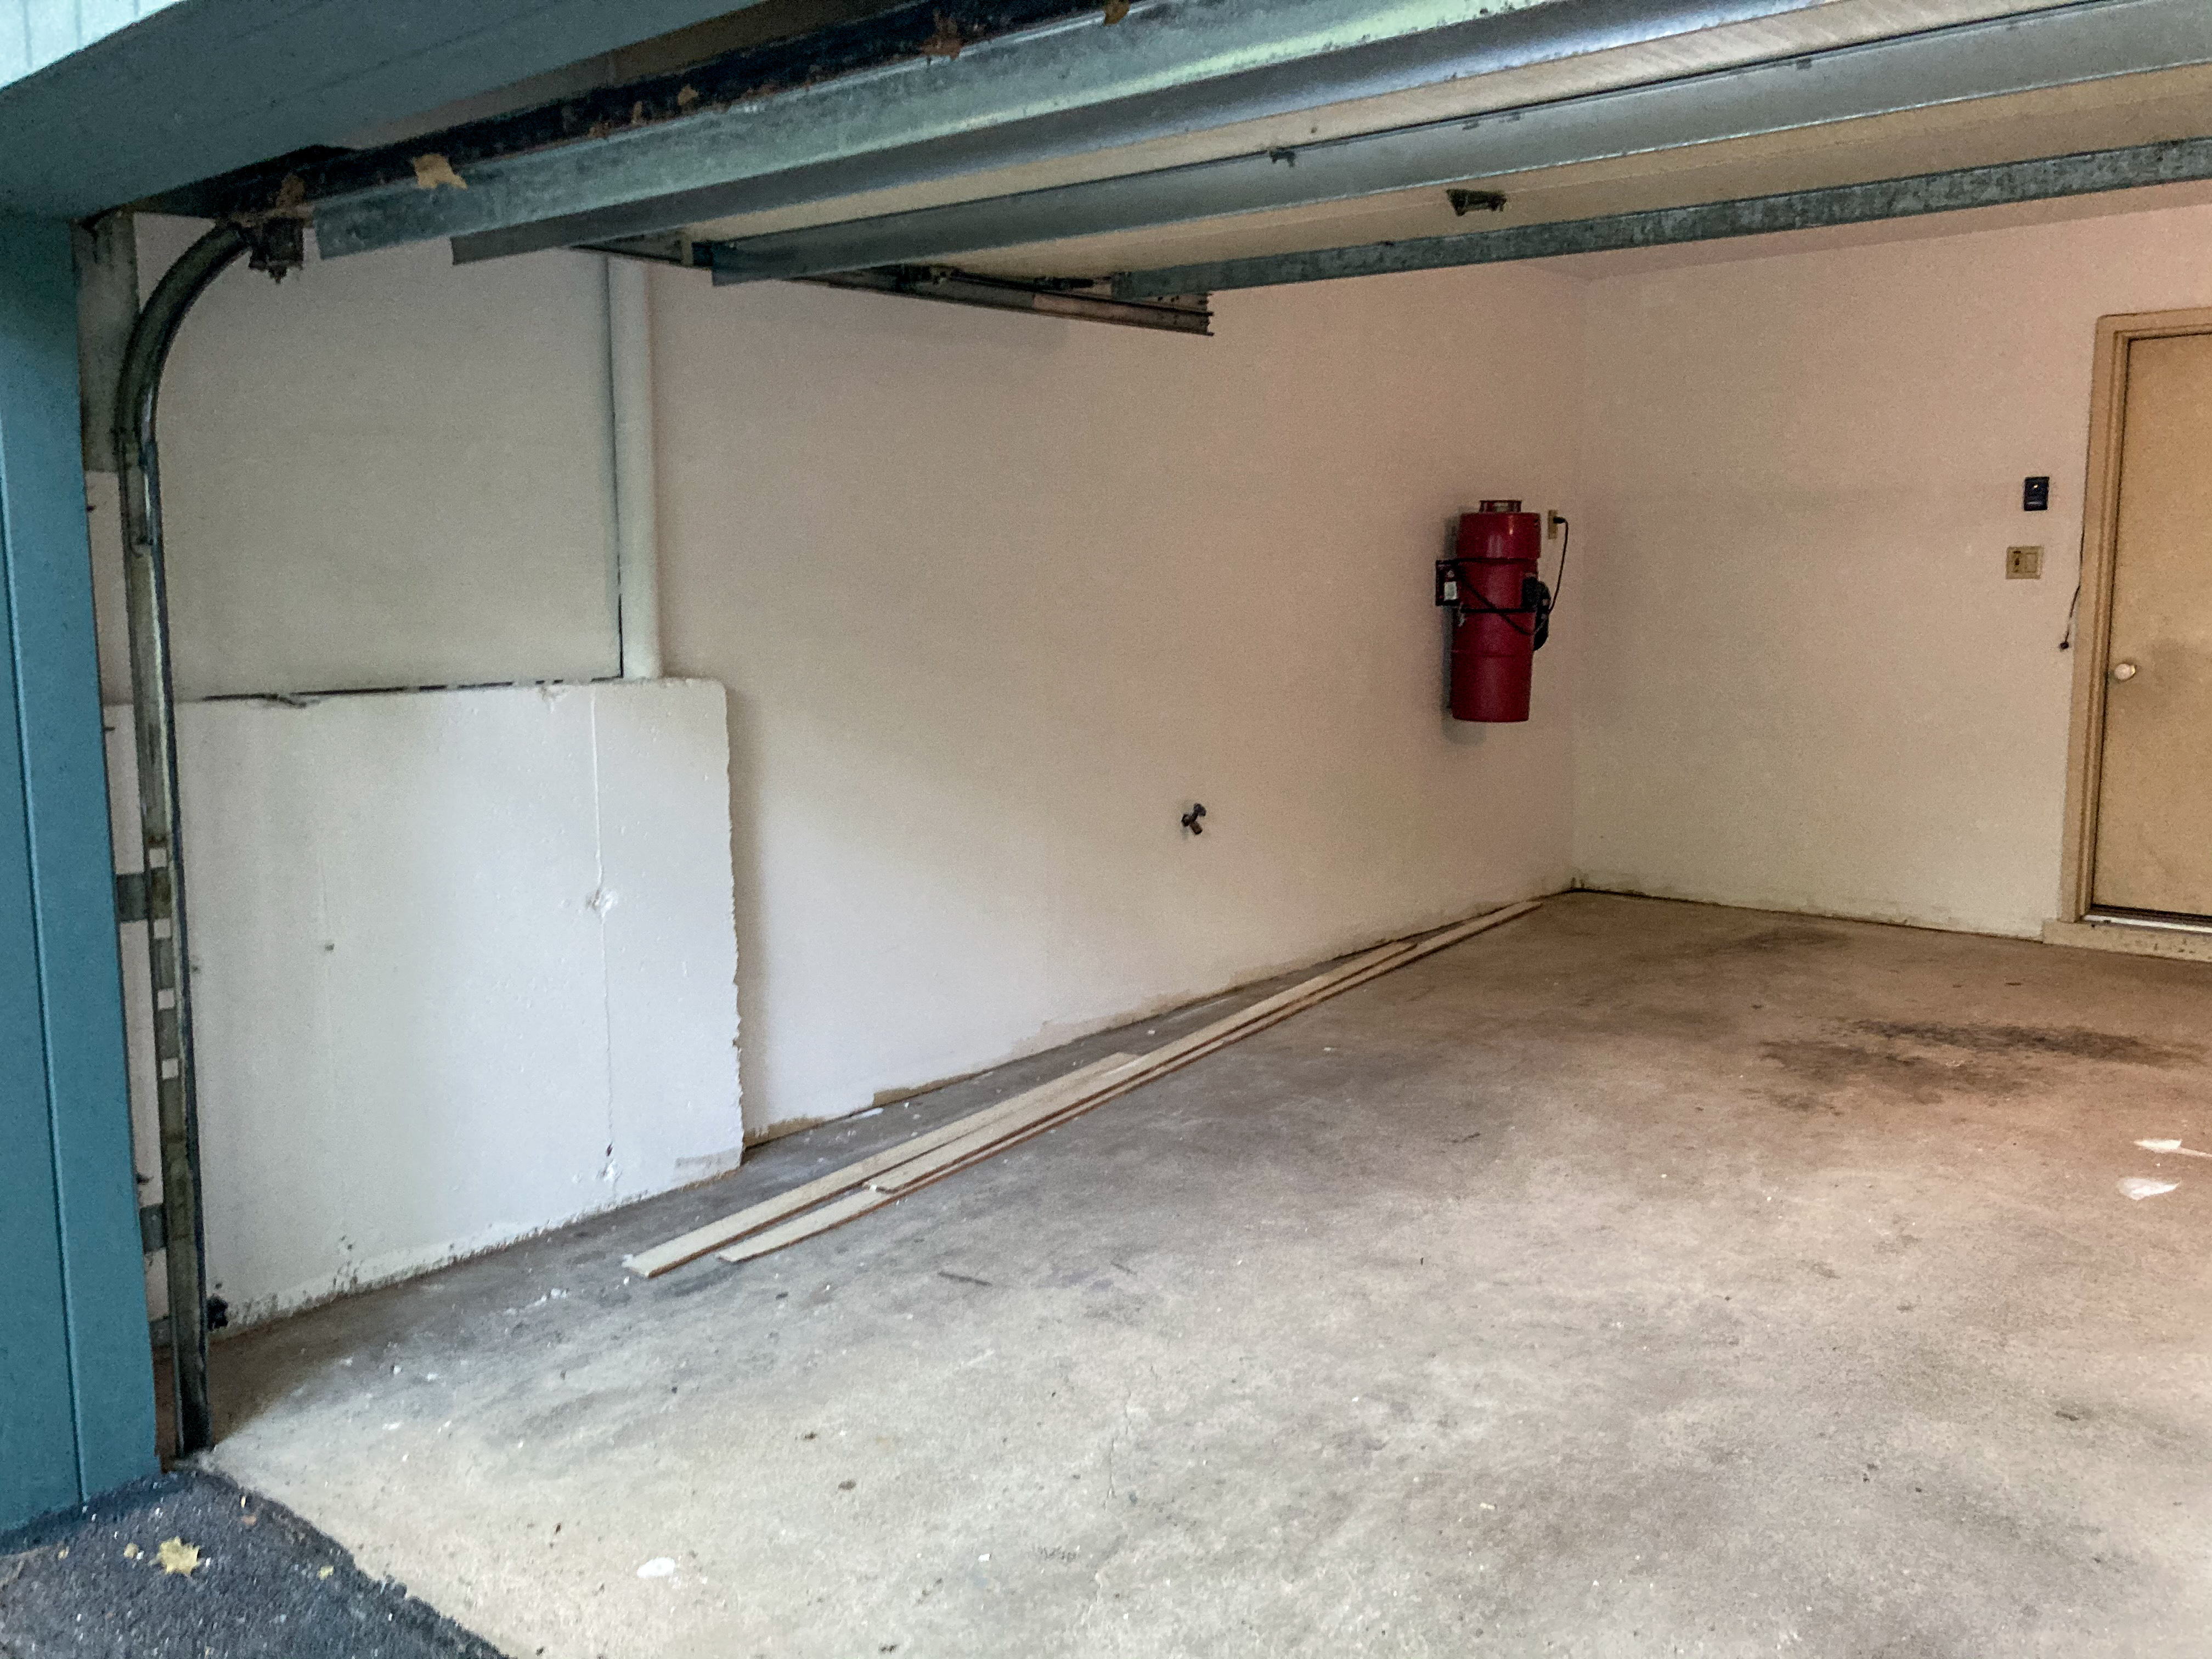
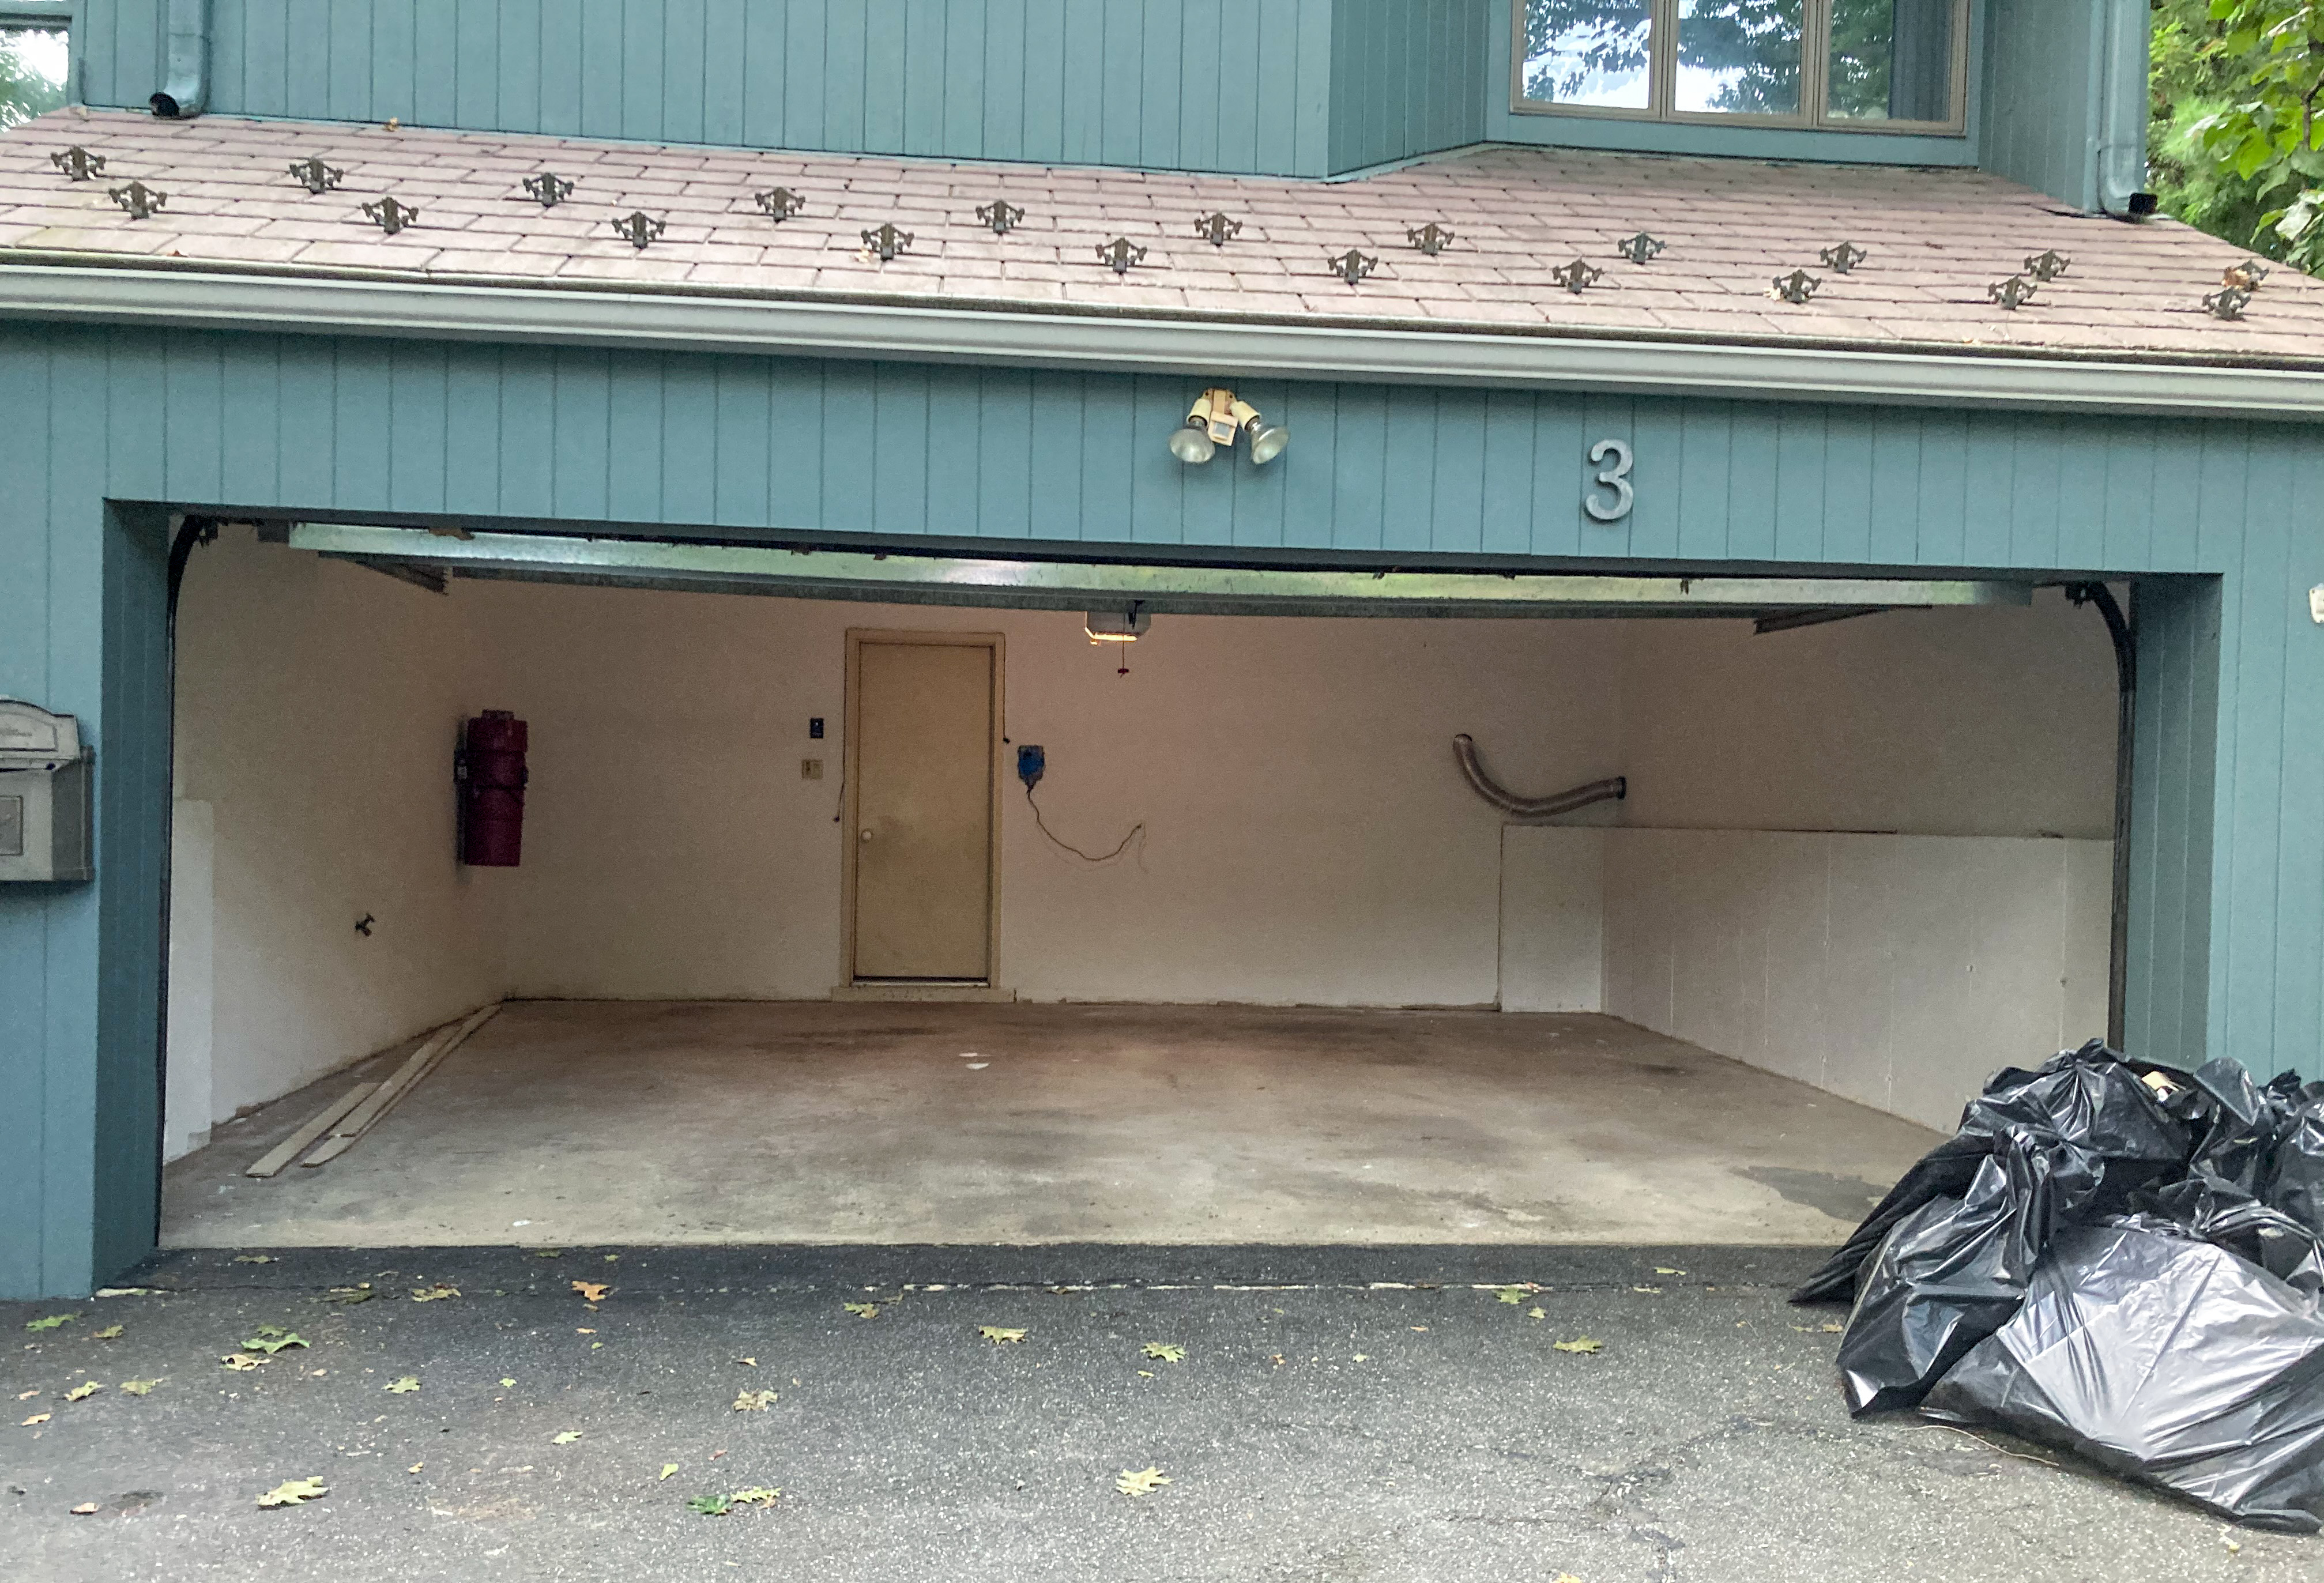
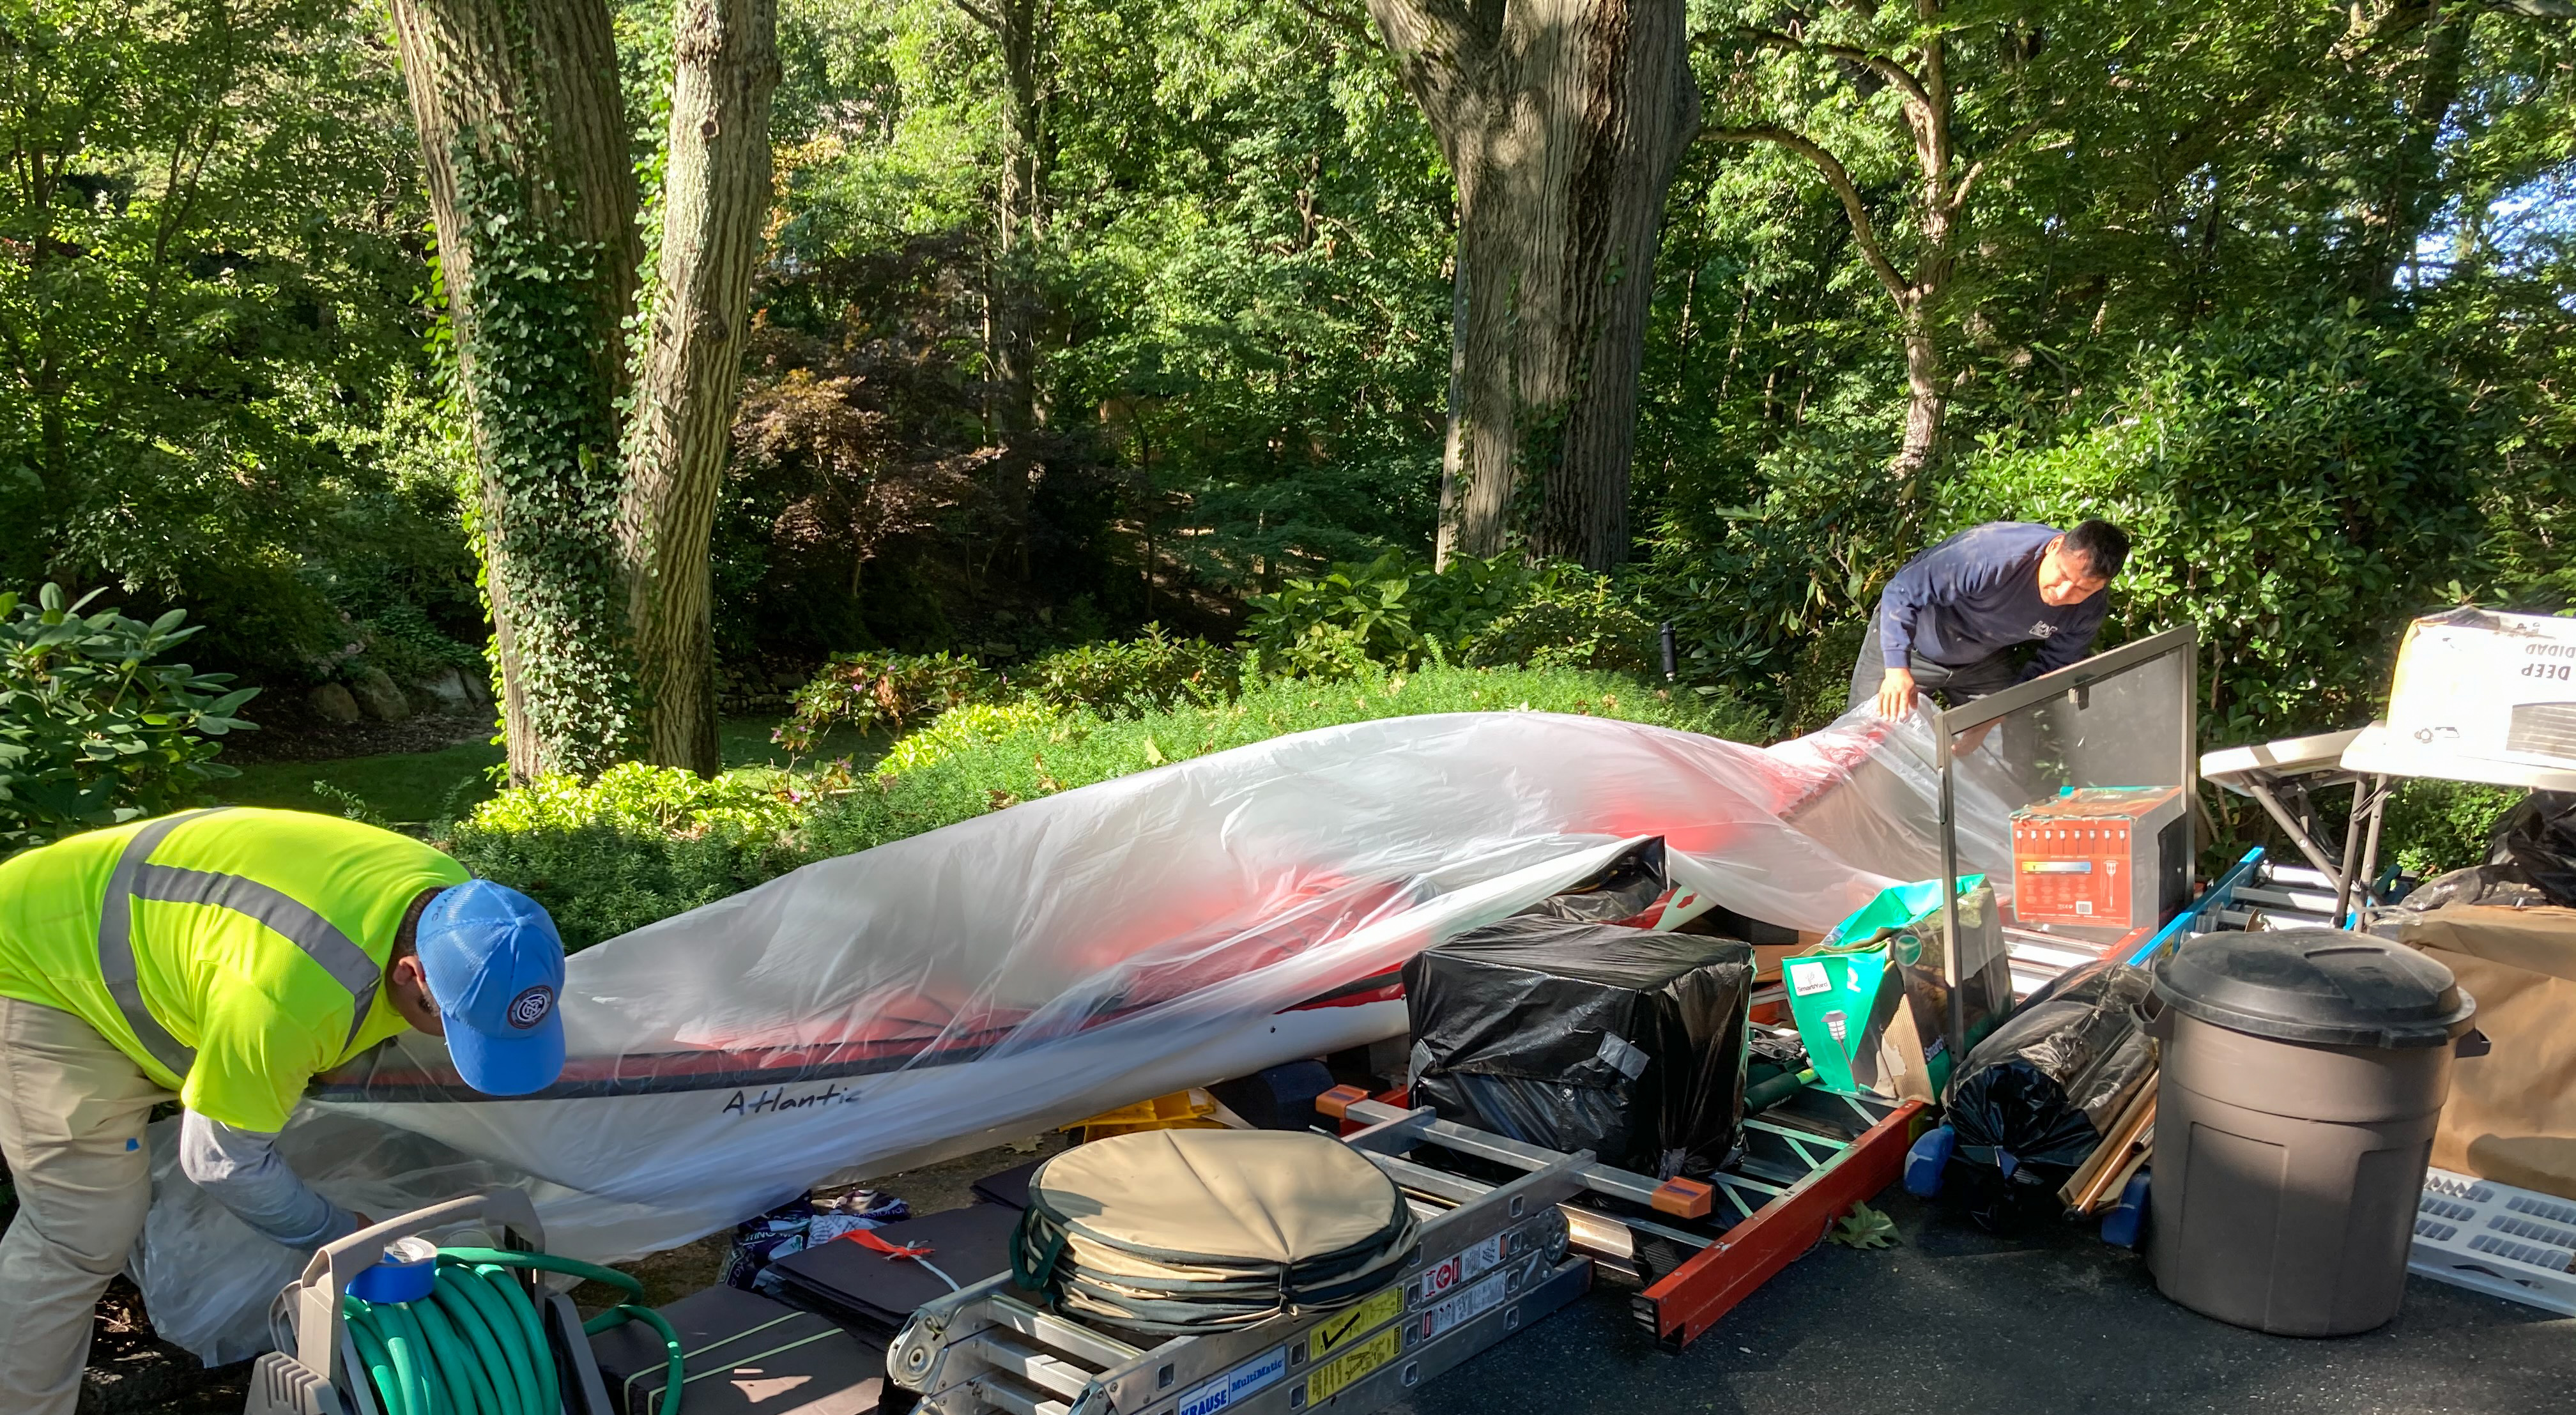
Before any work could start, we needed to empty the garage. As mentioned earlier, we parted ways with anything we hadn’t used in ten years. The rest we moved to the front yard.

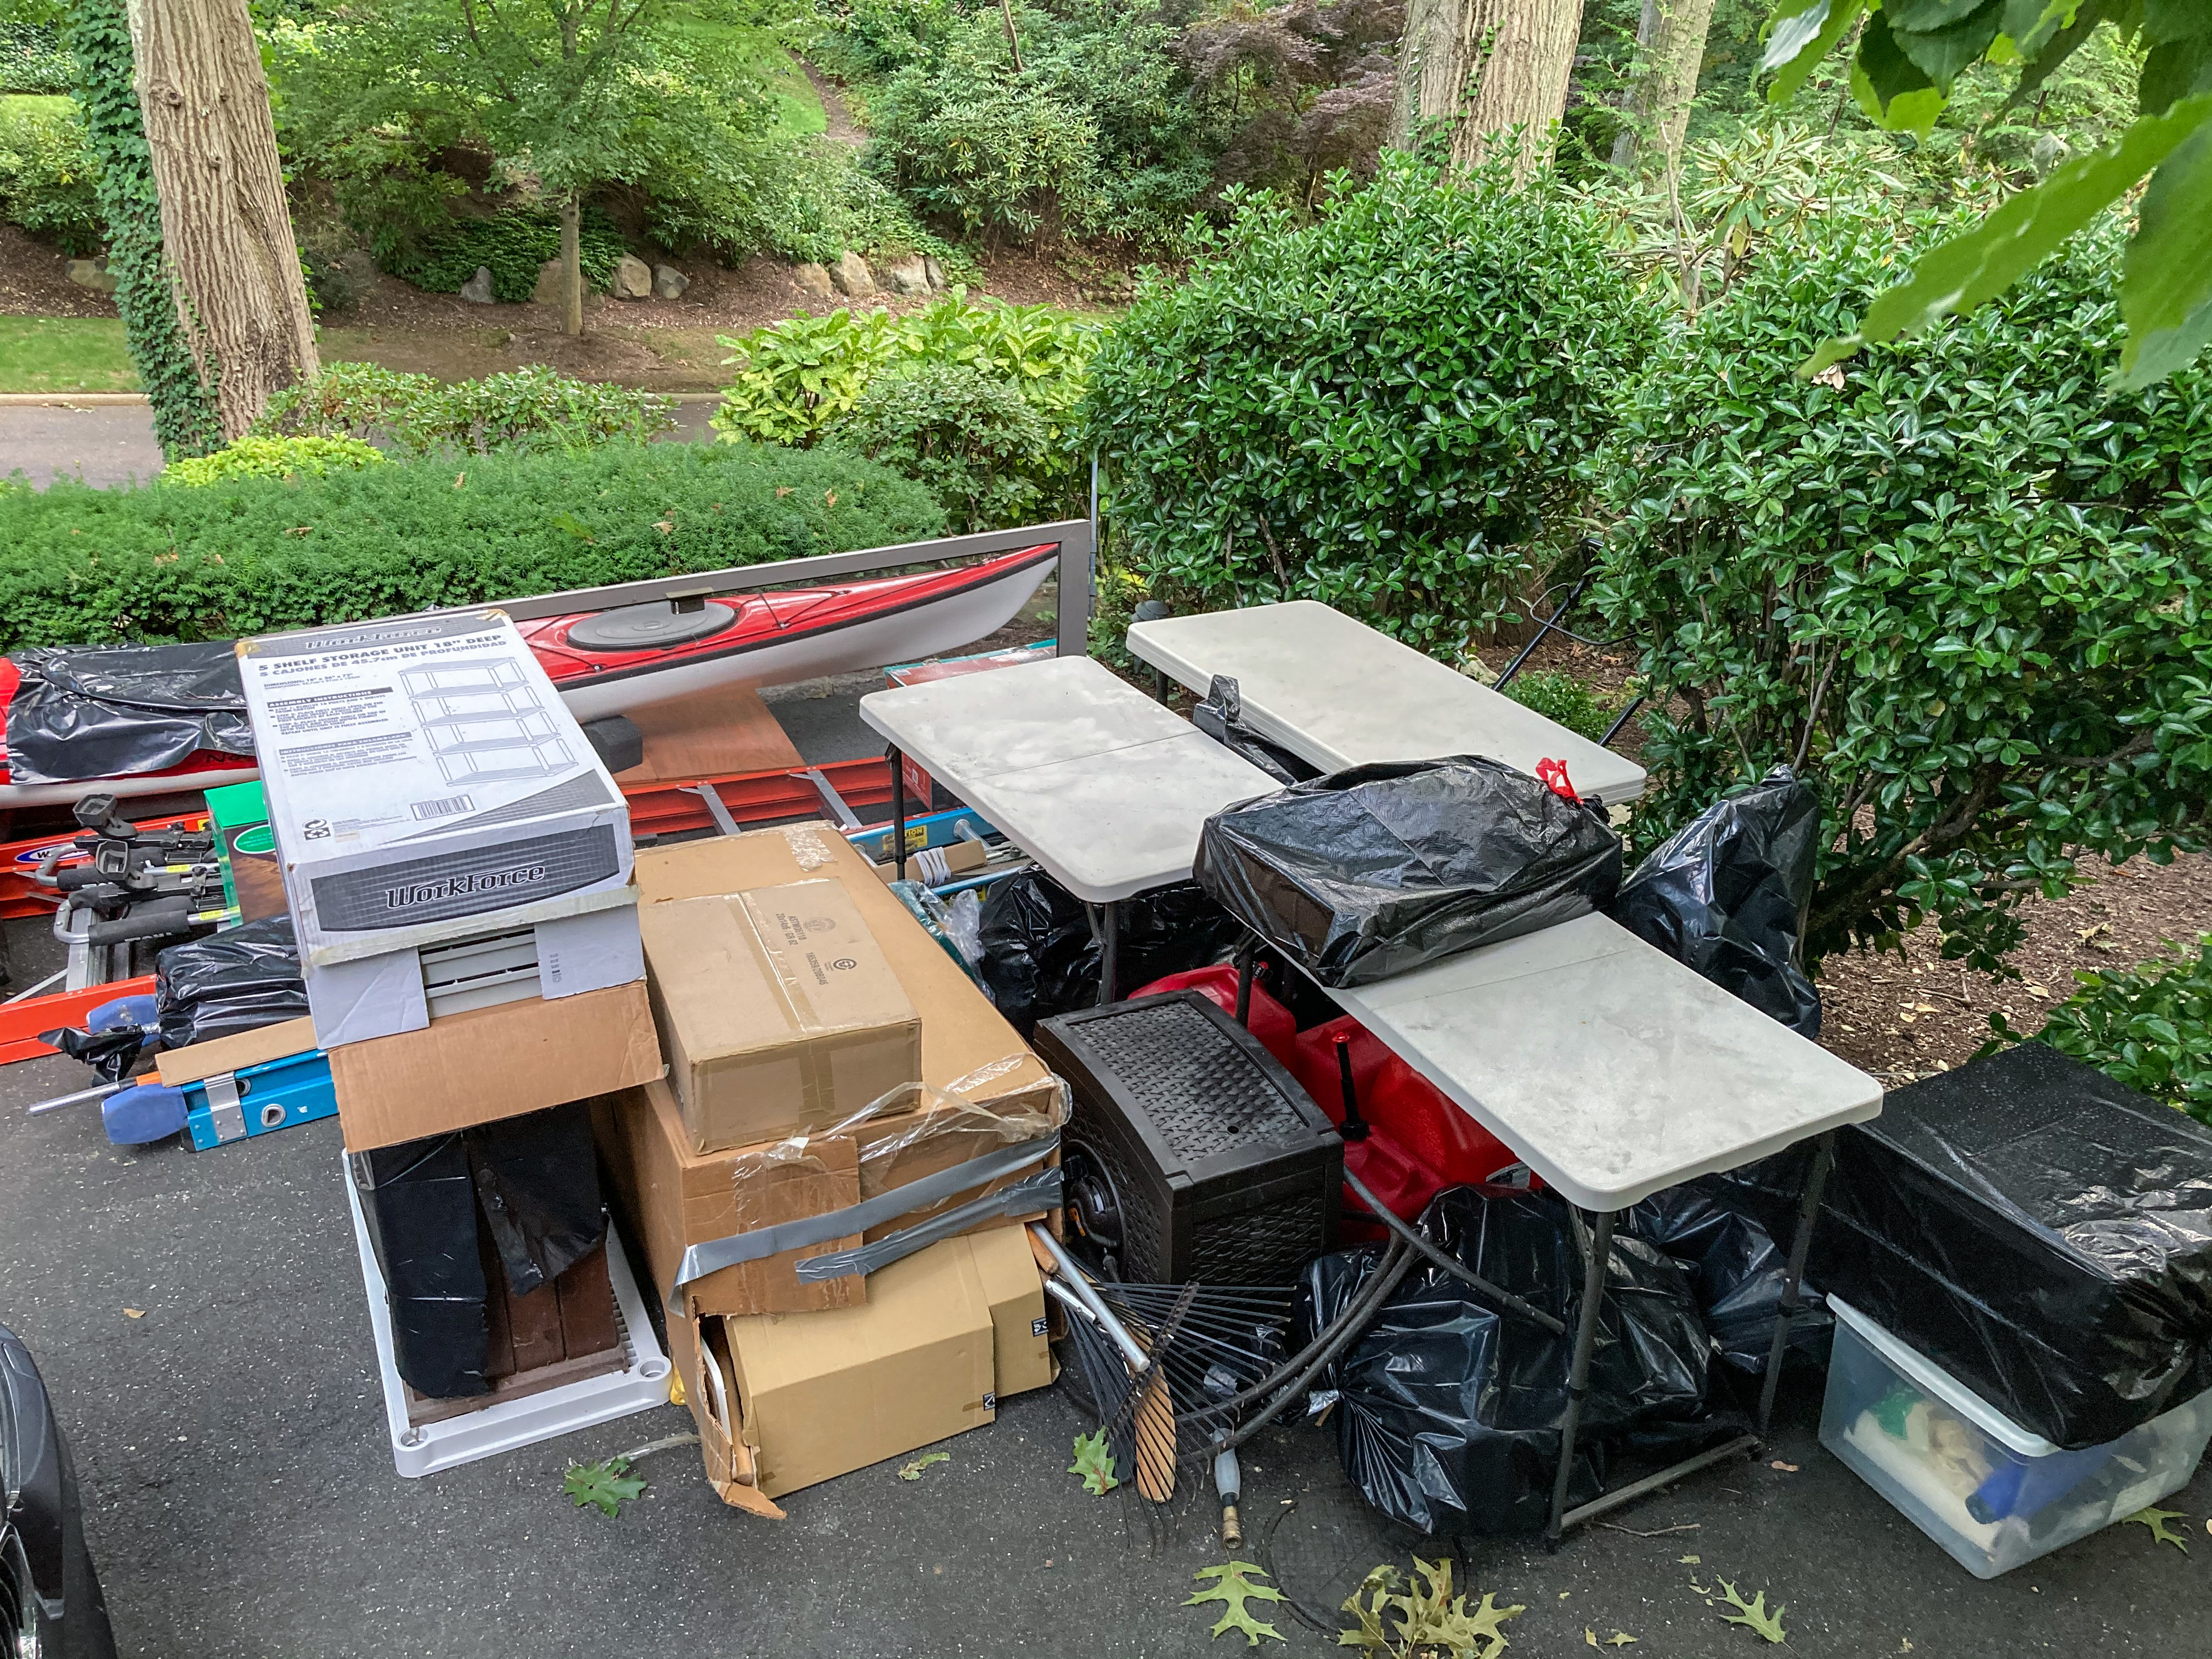
Walls of the emptied garage were patched, after shelves were removed.
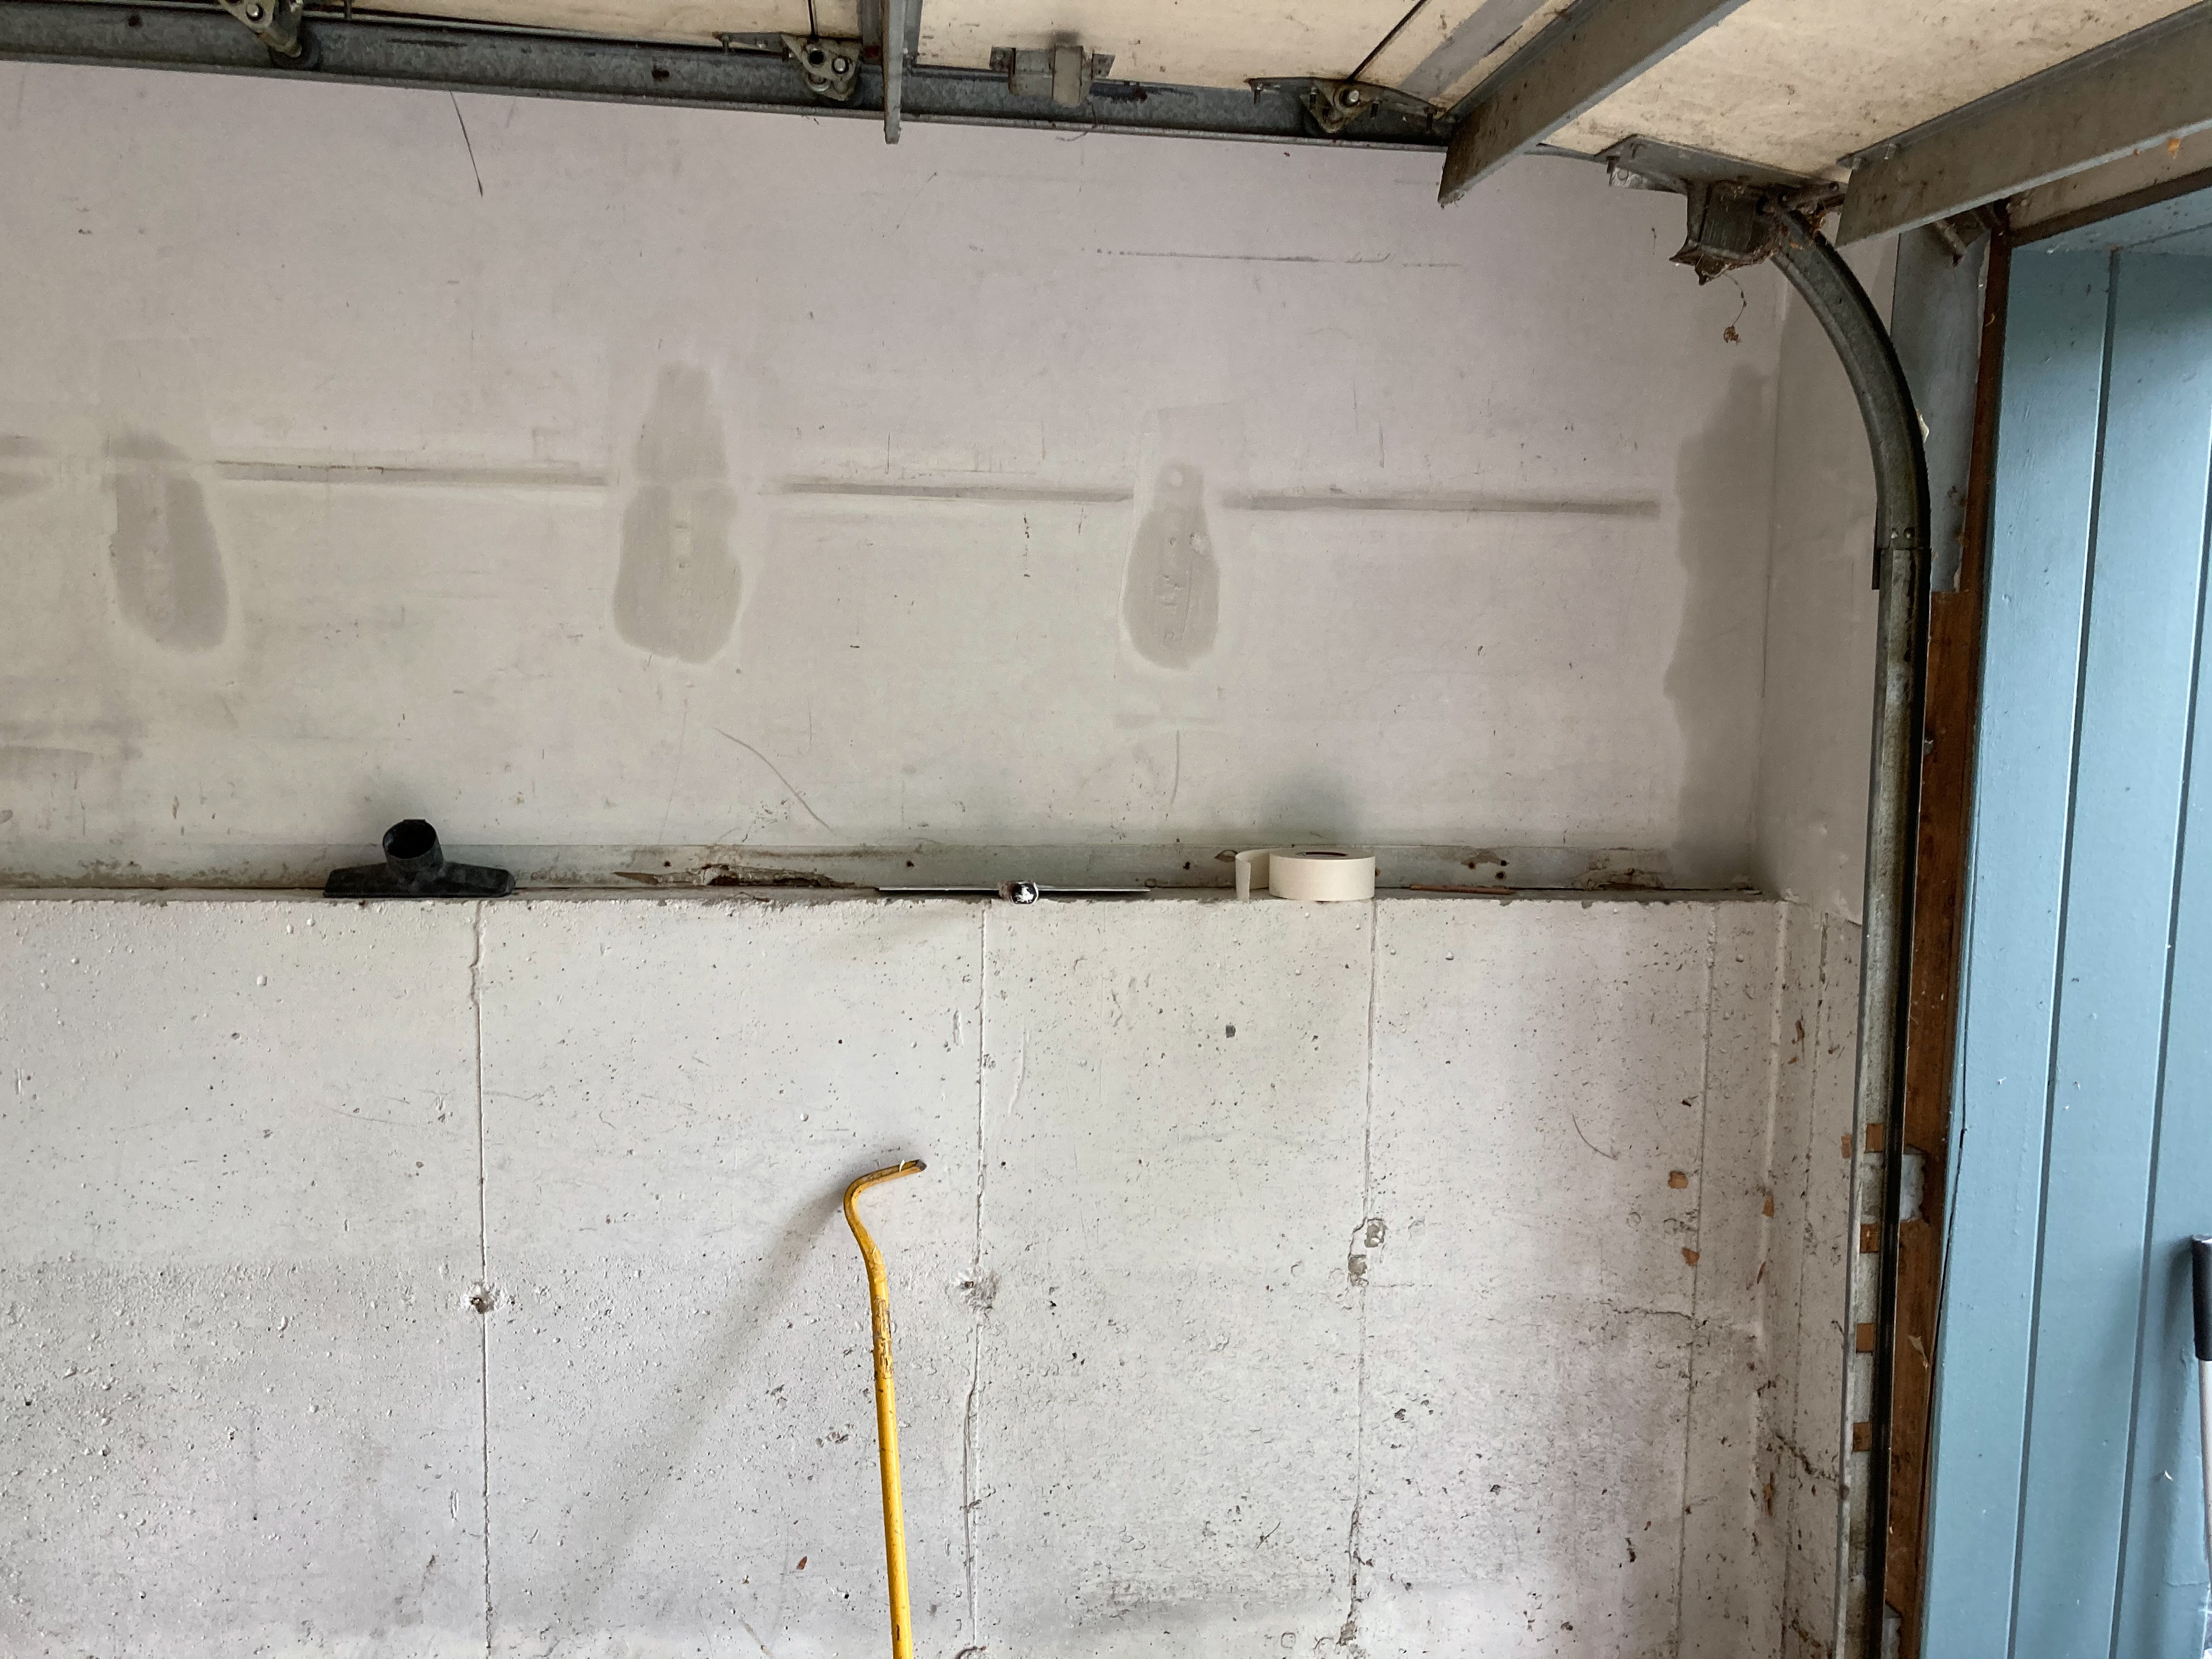
The bare garage was now ready for the next step, where we put down an epoxy floor.

_
Laying down an epoxy garage floor
We contracted to have an epoxy floor installed, with Spartacote 1/4″ Salt & Pepper flakes, plus a topcoat with Duraamen Perdure P72 Polyaspartic epoxy. Duraamen Perdure MVT moisture barrier base was used as the primer.
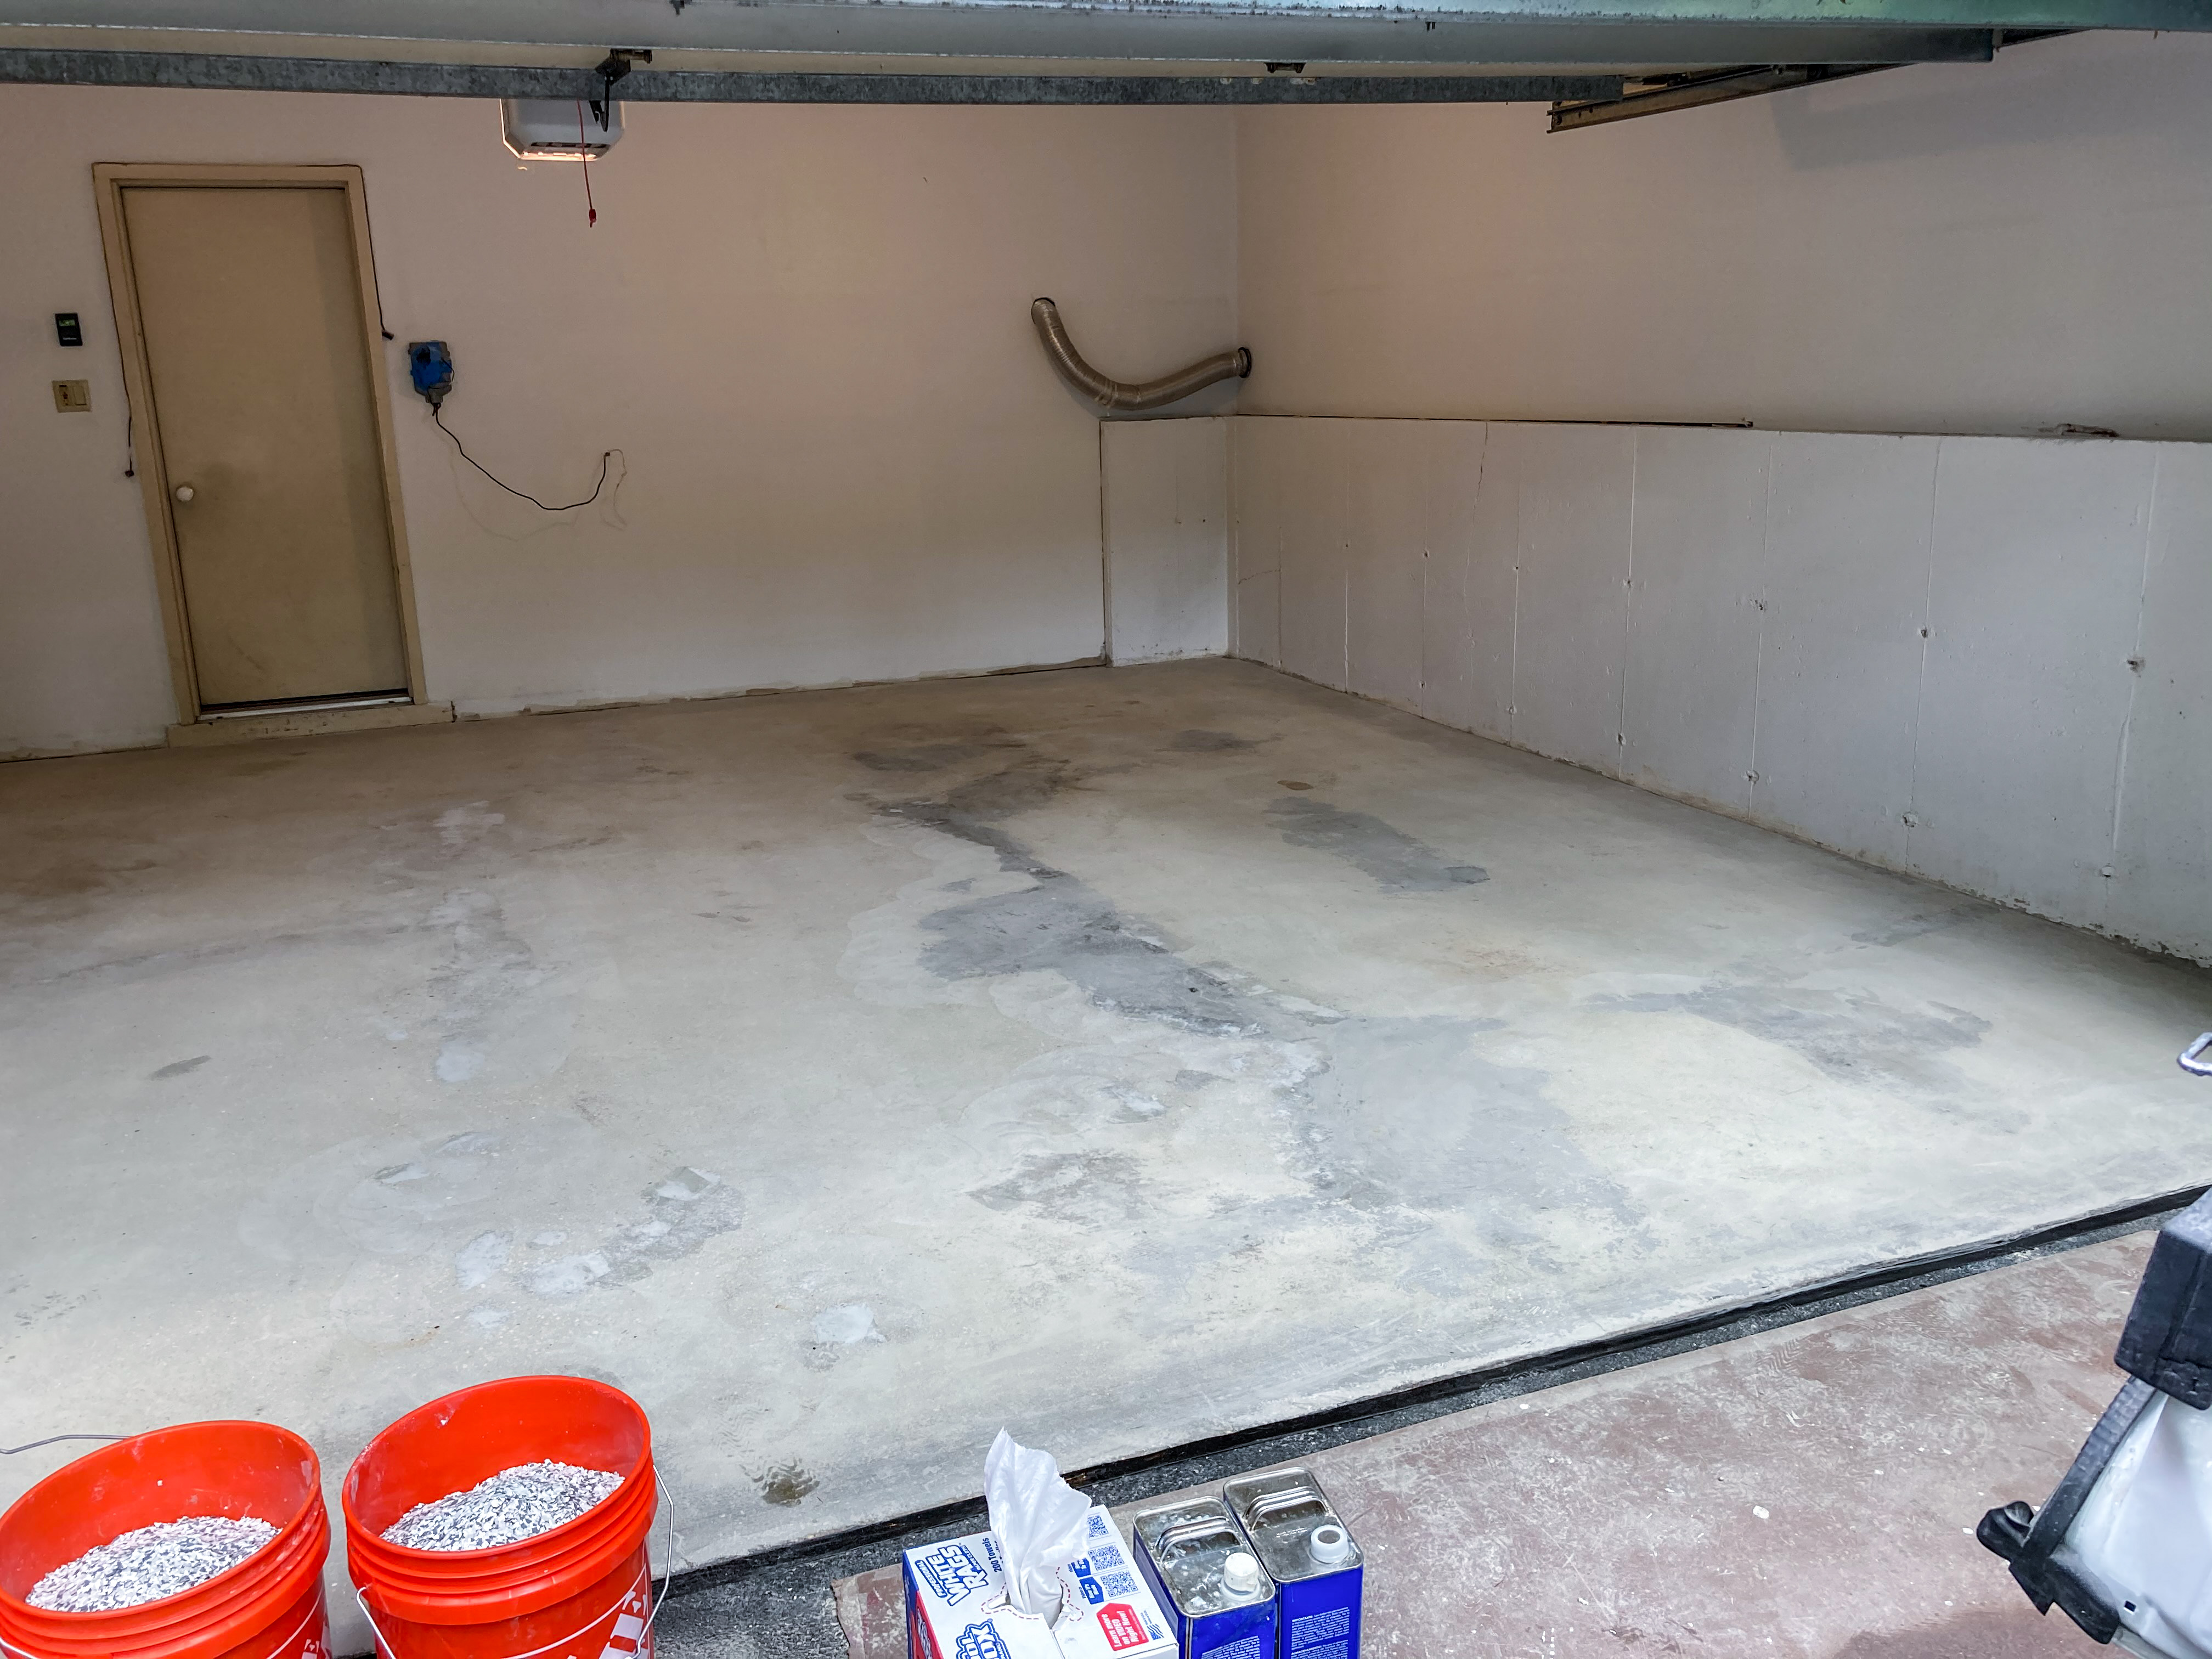
First, the concrete floor had to be diamond-ground. The attached vacuum collected a huge bag of sand so heavy that I couldn’t lift by myself.

The floor was then patched, and cleaned.
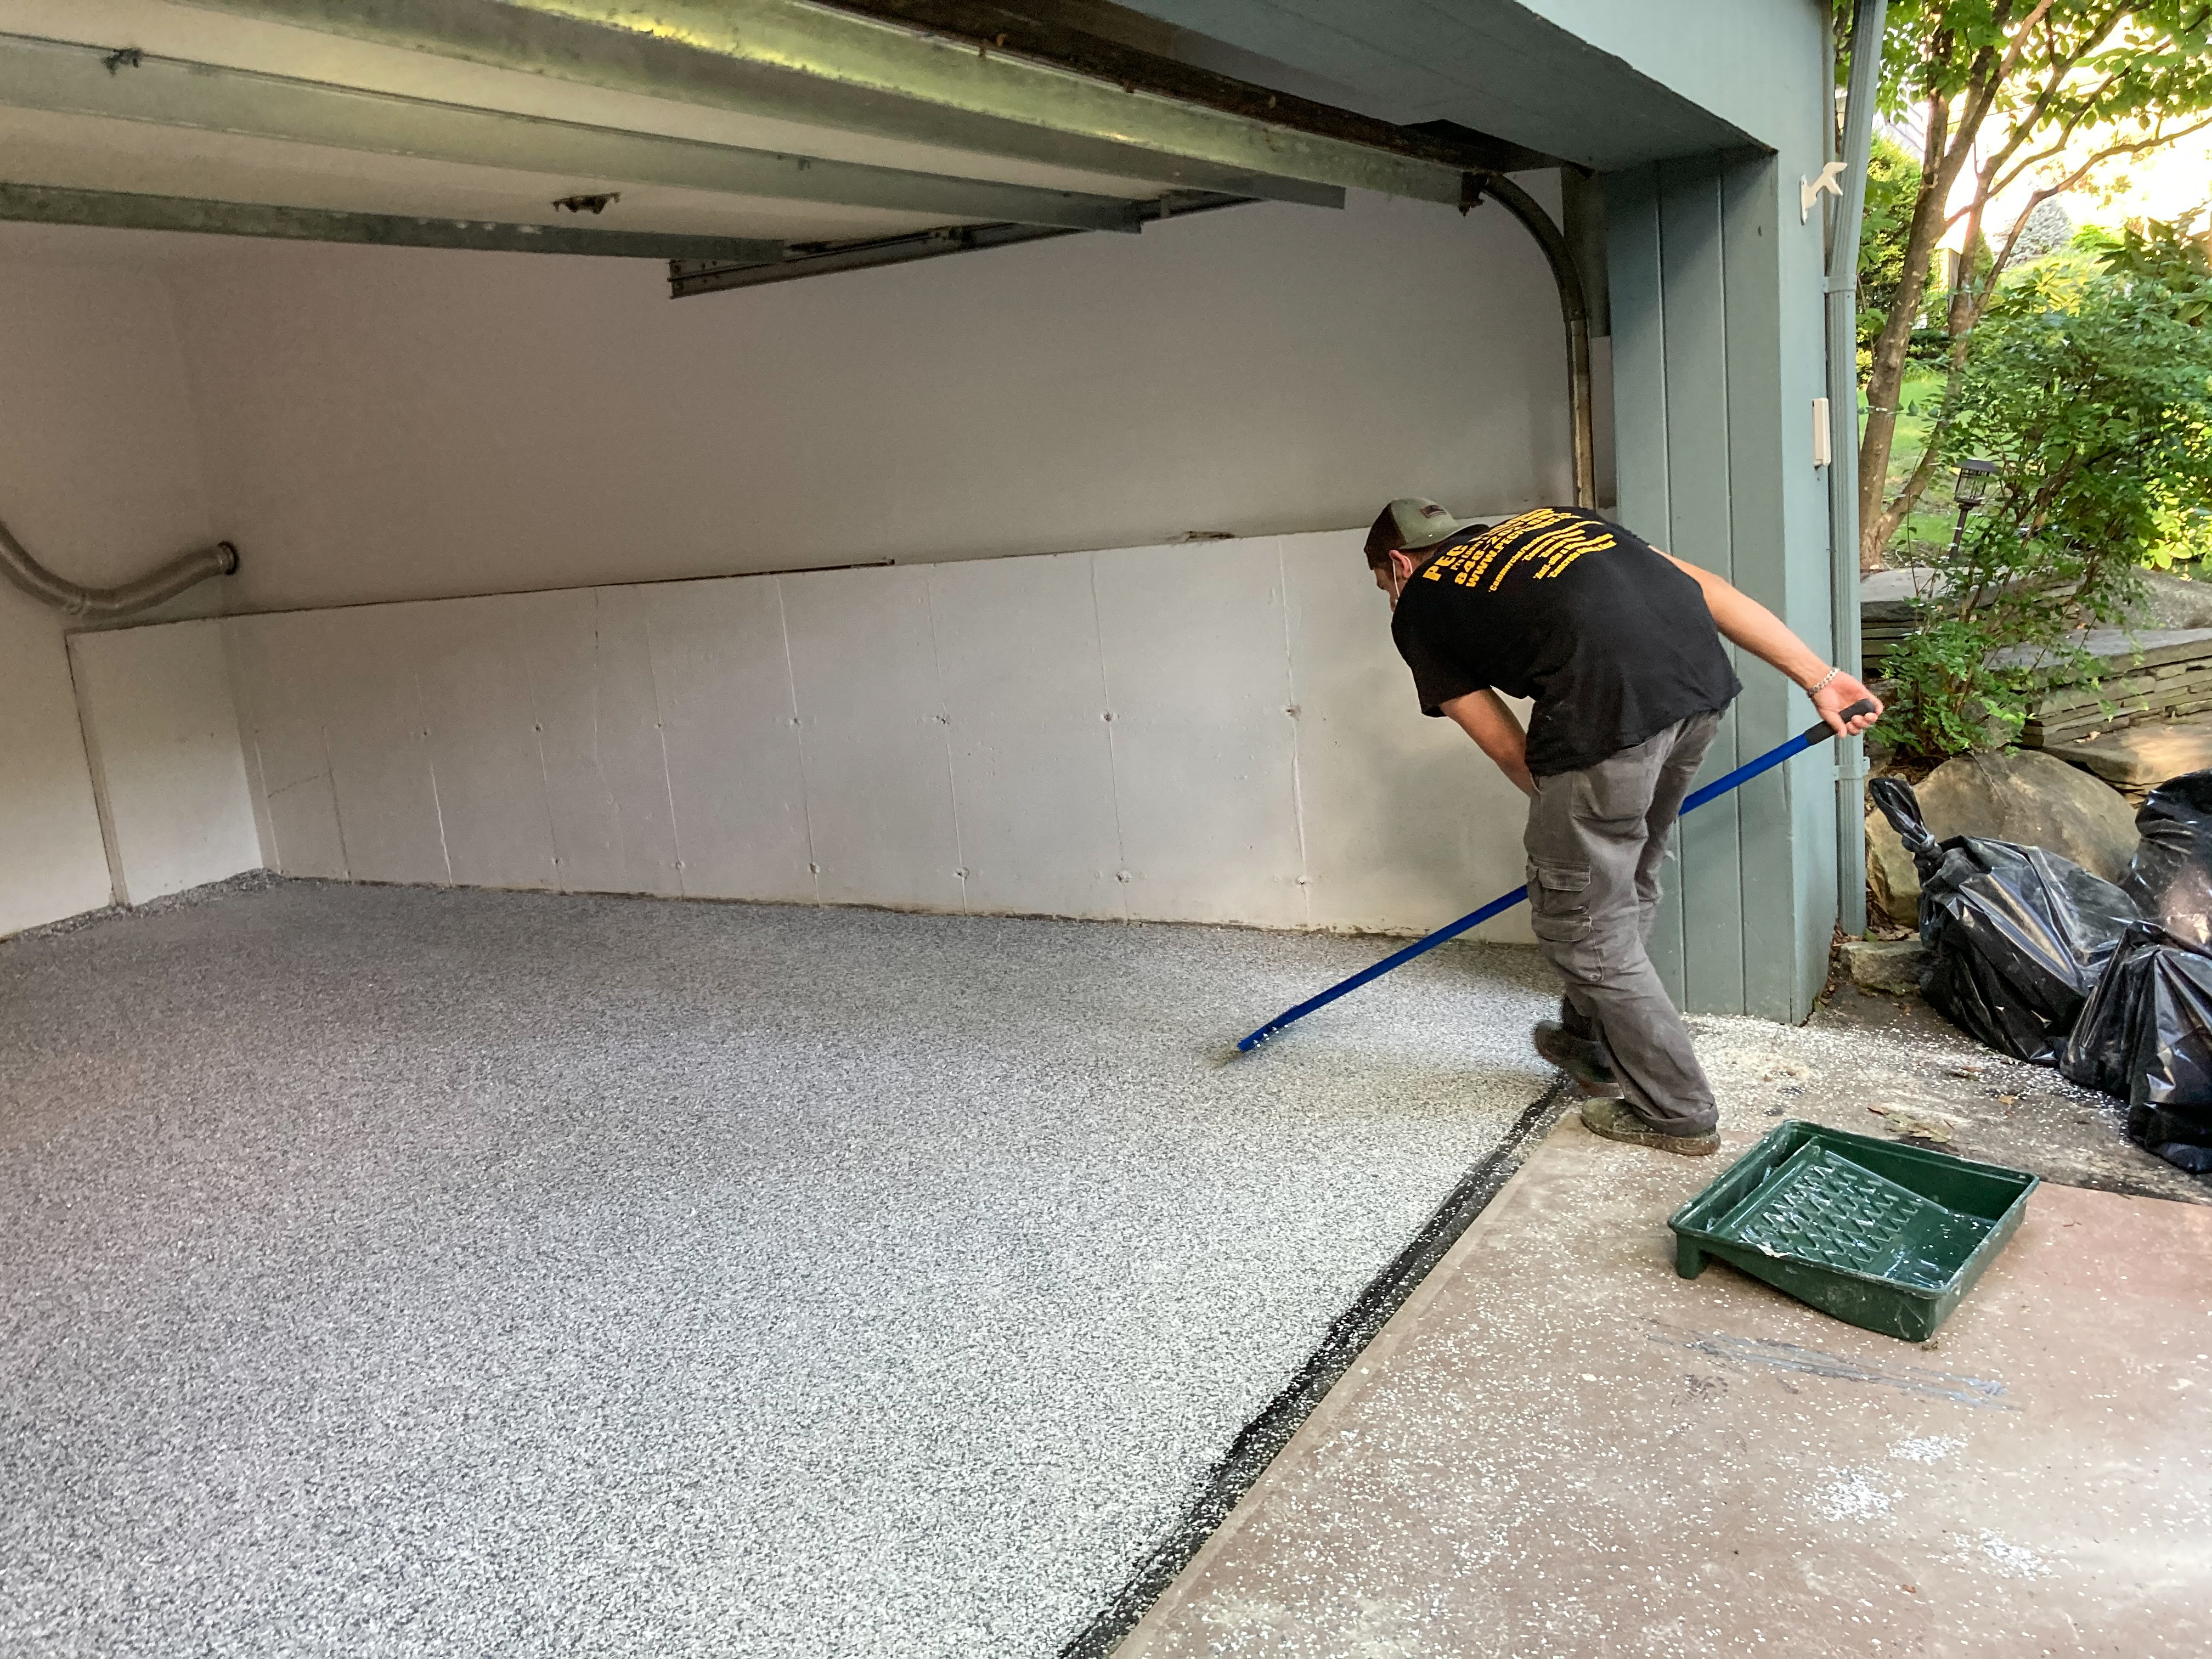
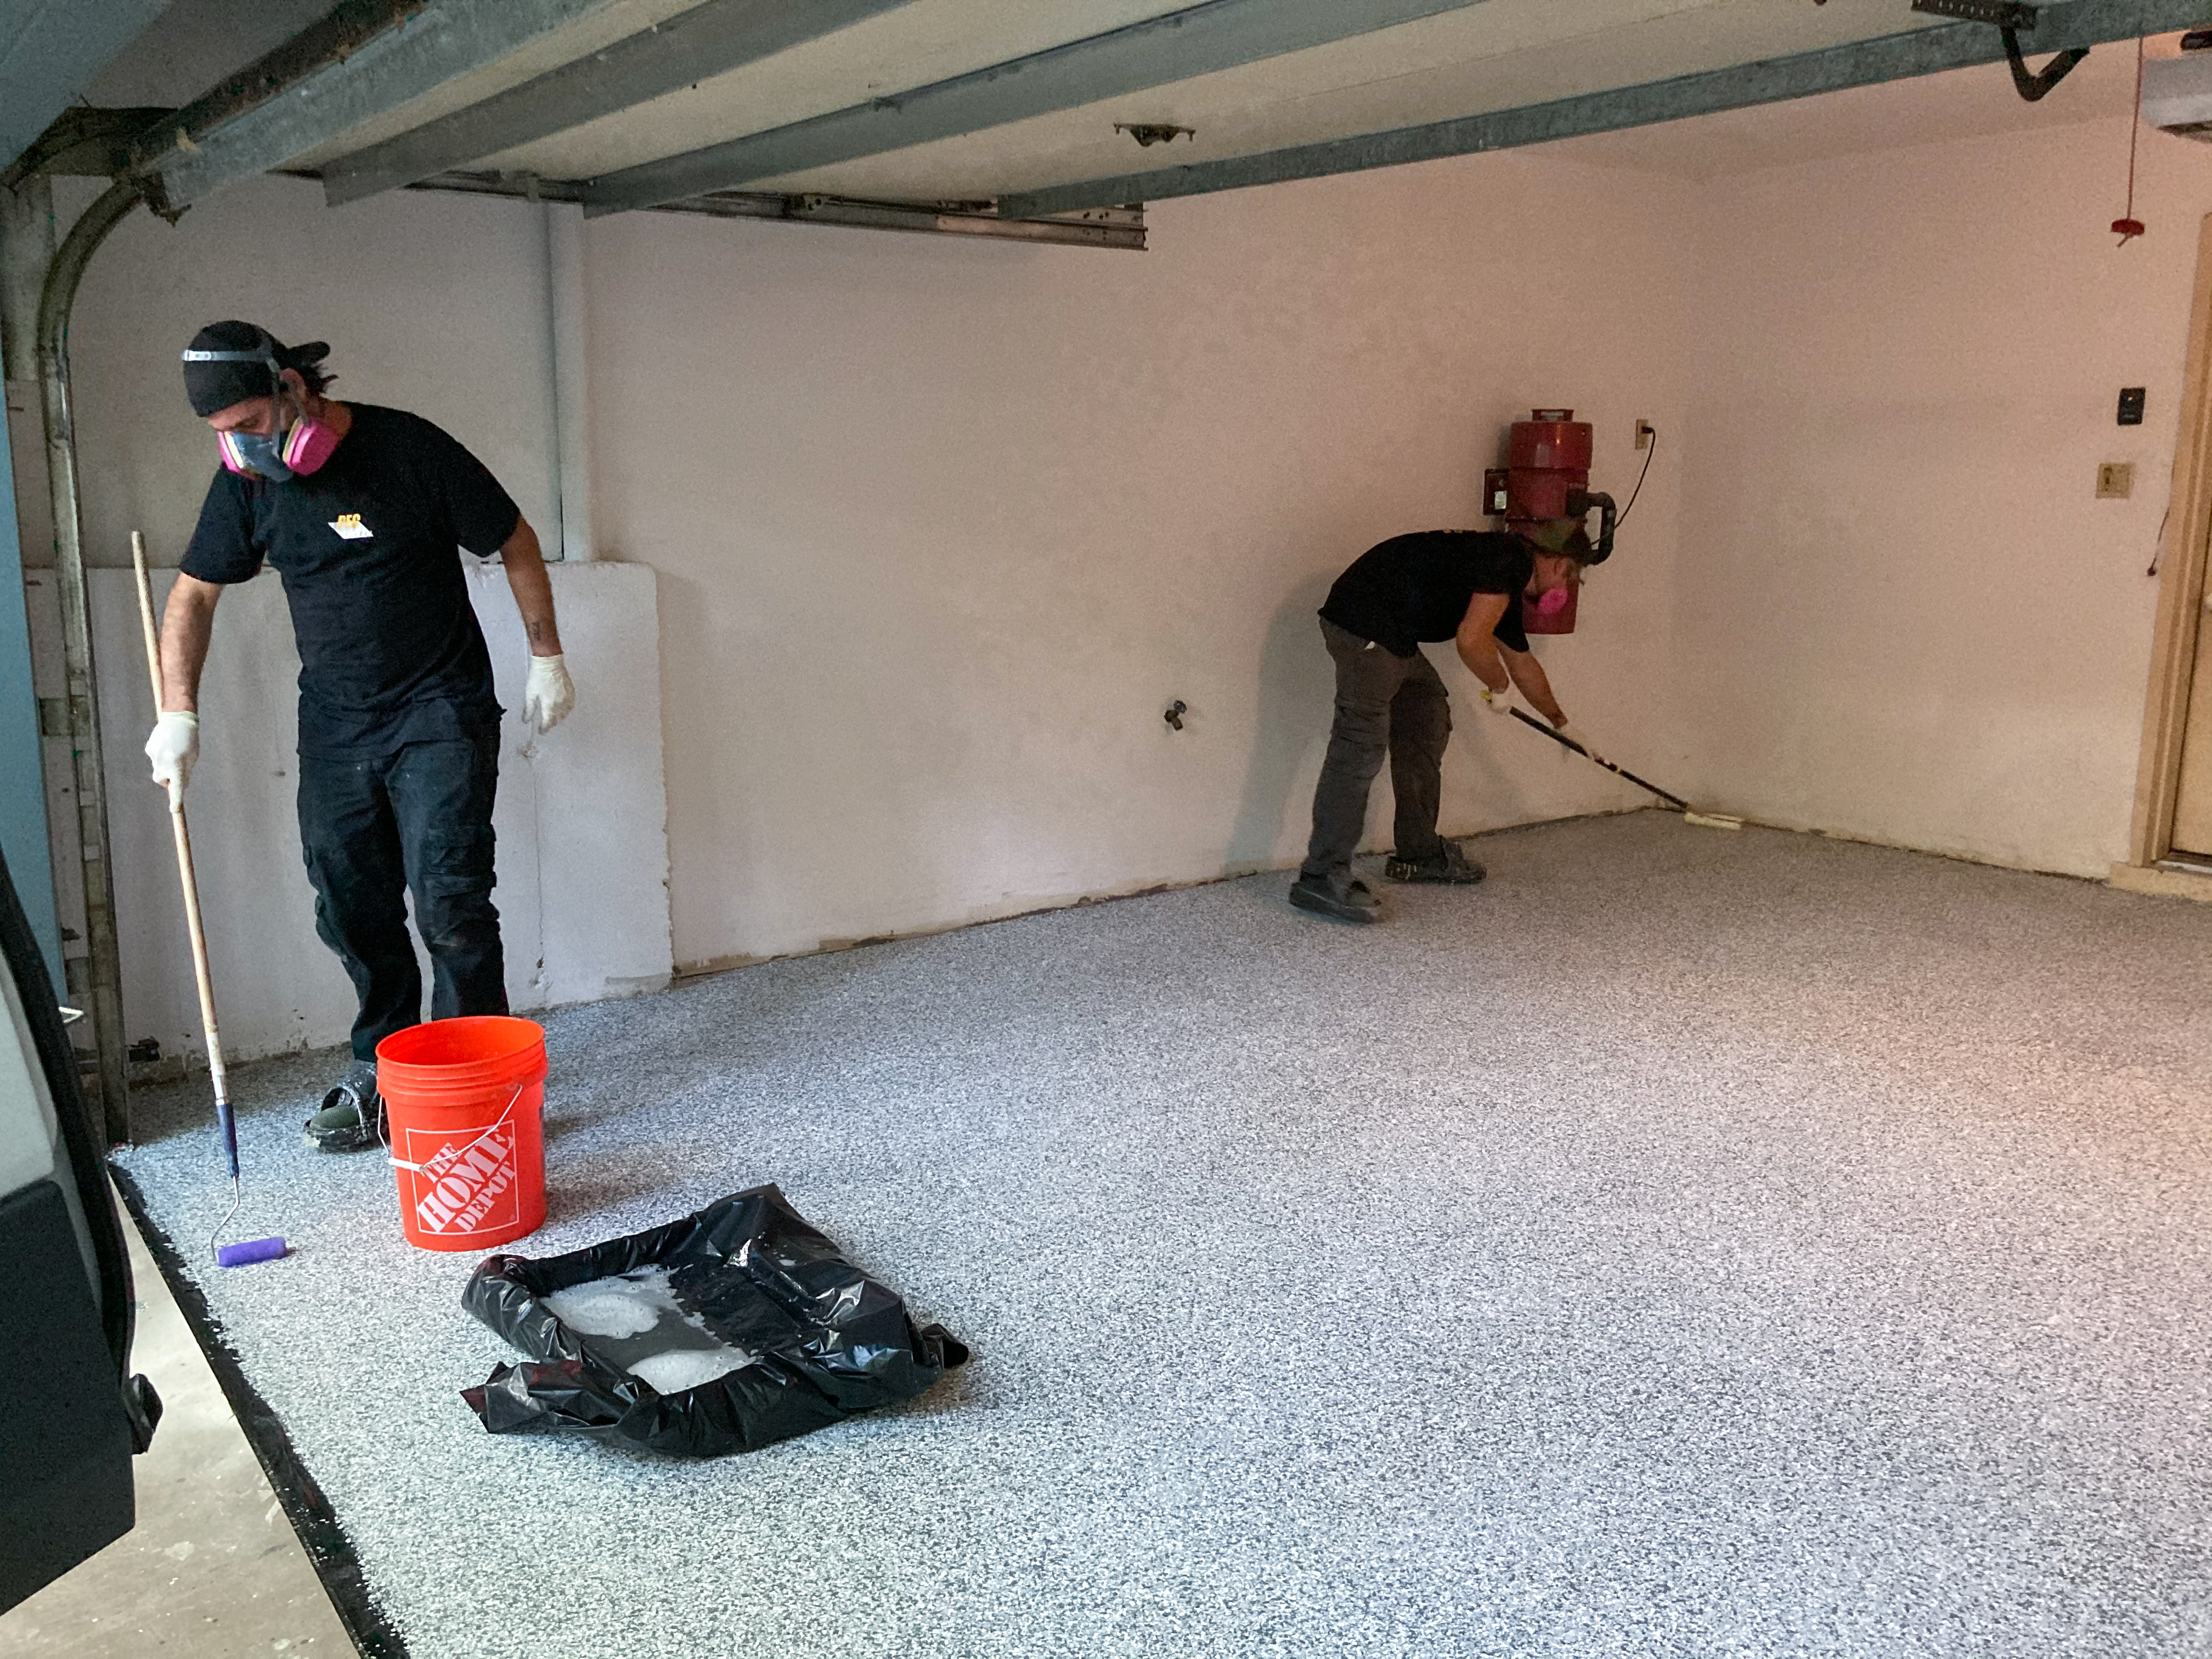
Epoxy primer was applied. First the epoxy was poured on the floor, and pushed around with a squeegee. Then rollers were used to apply them evenly everywhere, including corners.

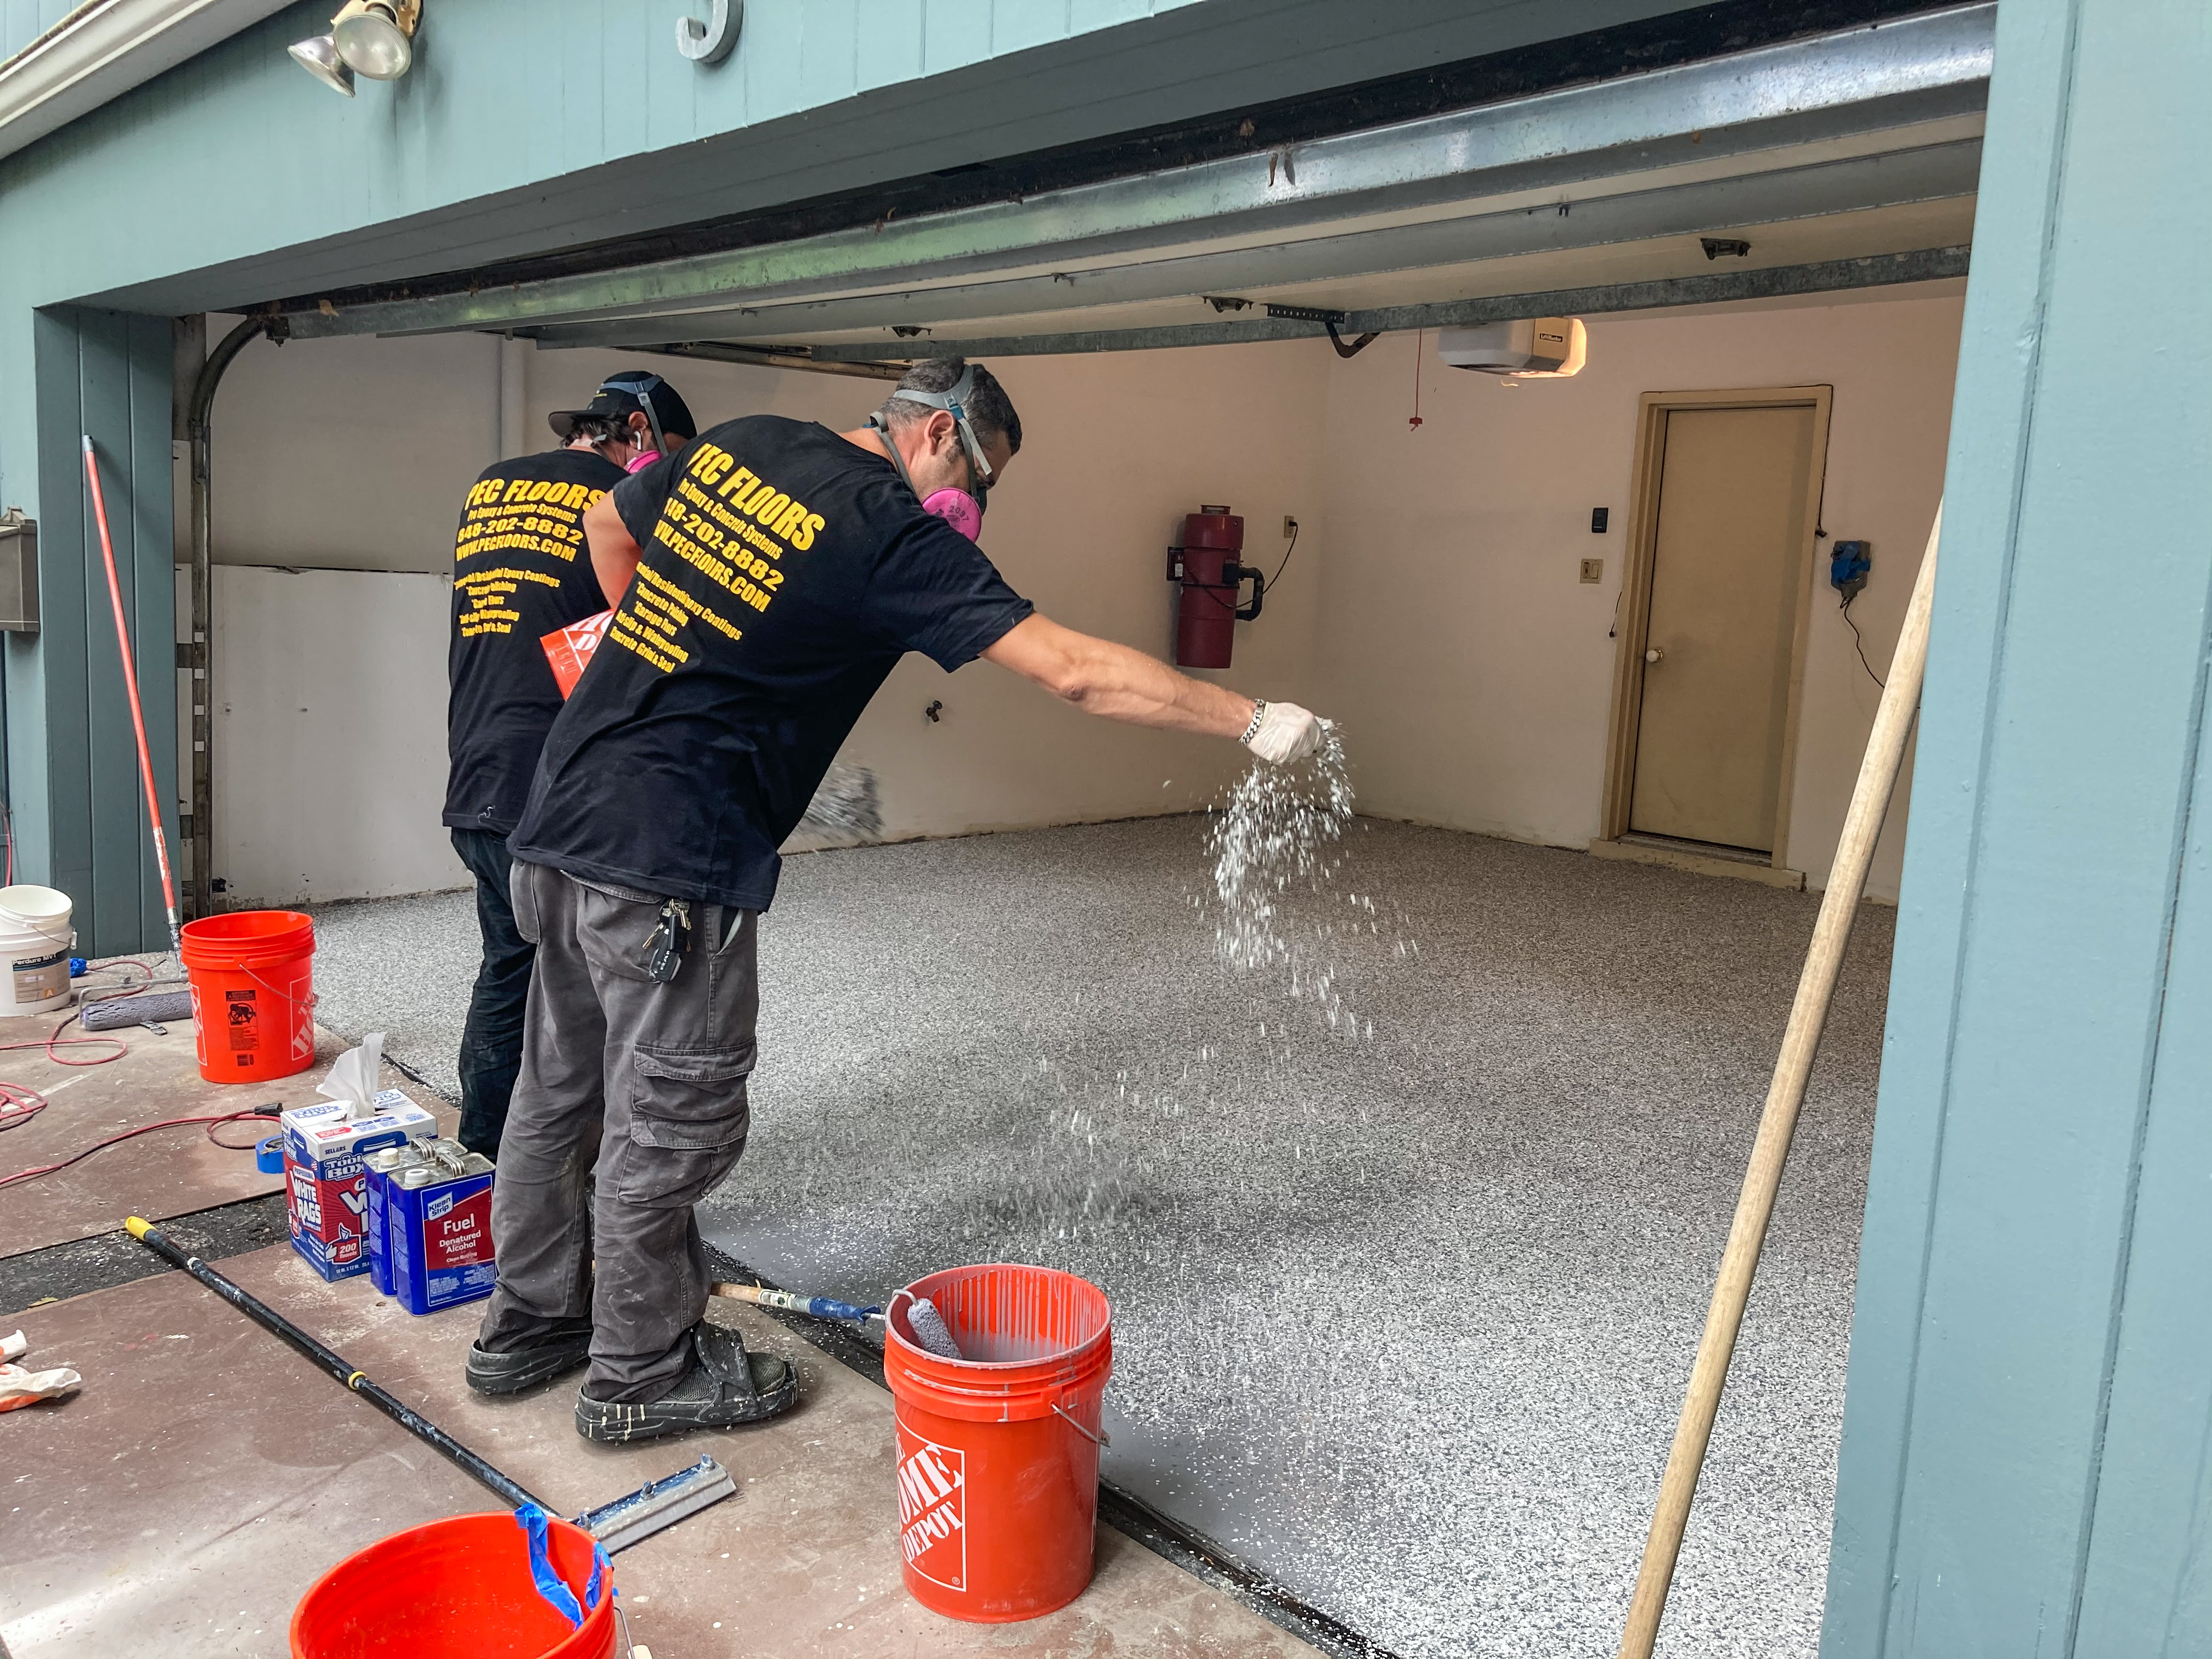
Vinyl flakes were broadcasted. These flakes bound with the epoxy primer. A lot of them were applied, much more than I anticipated.
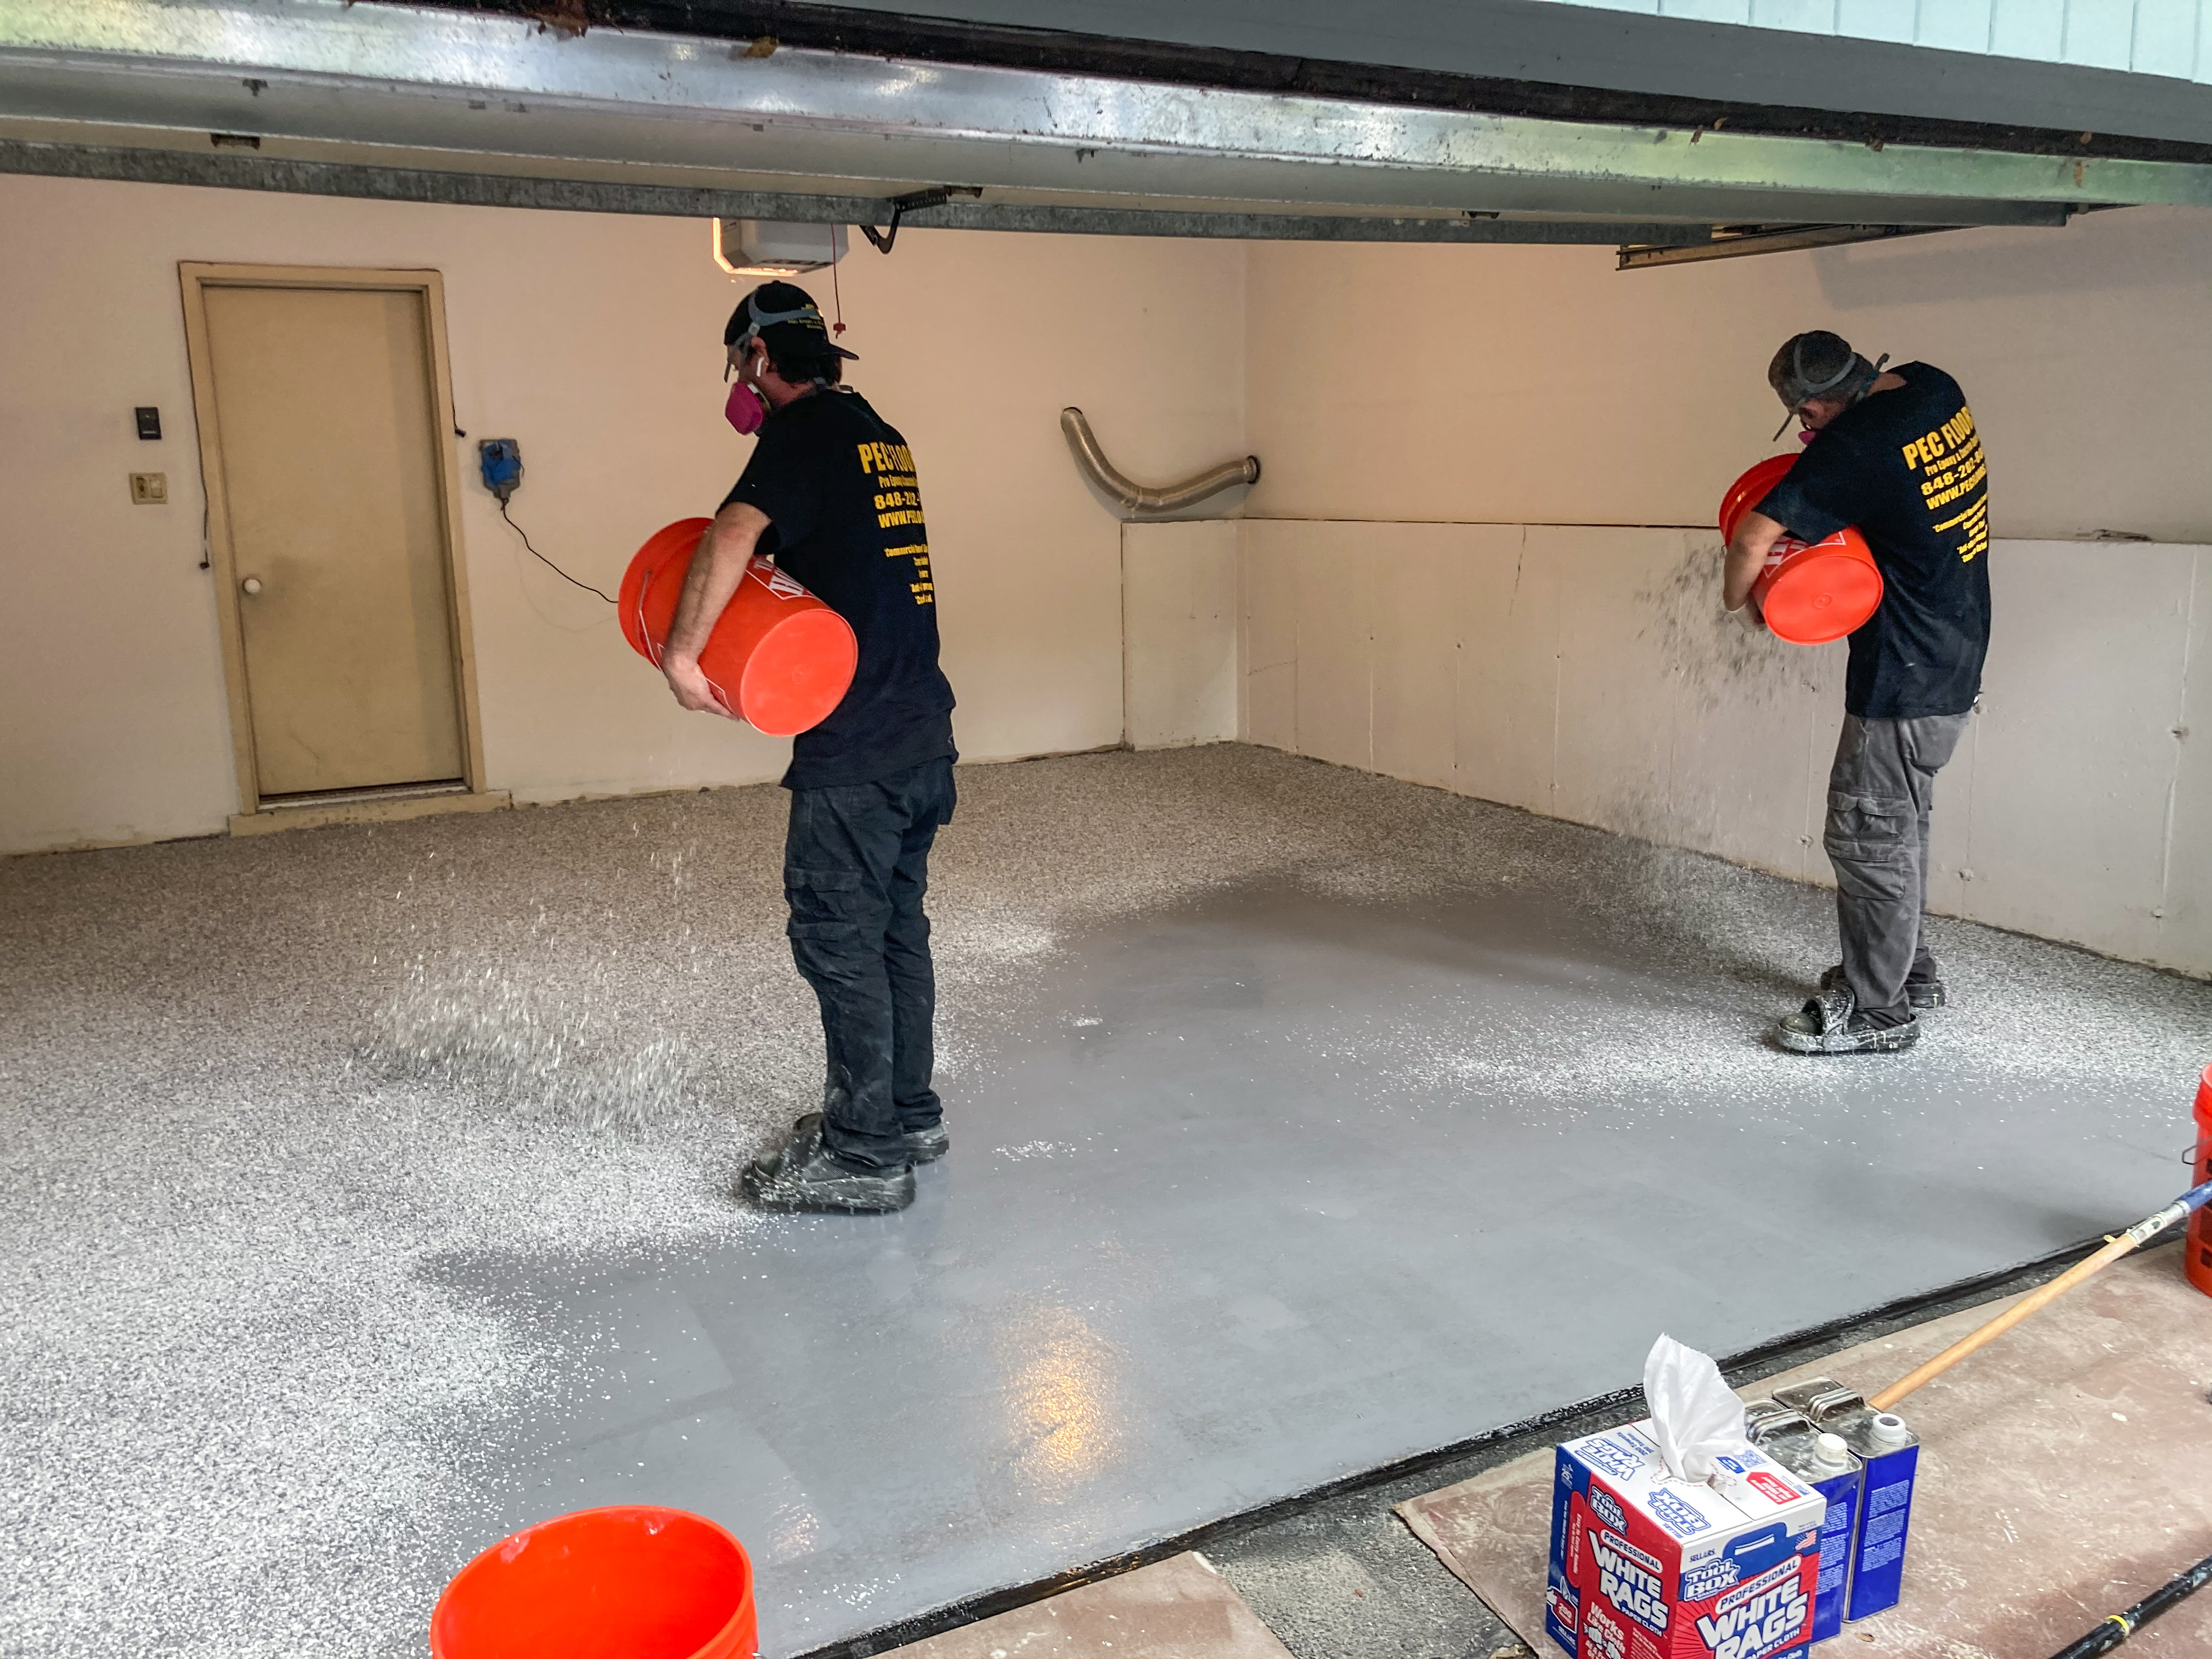
More flakes than needed were broadcasted. Not all of them make contact with the primer. Those that remained loose would be taken care of in the next step.
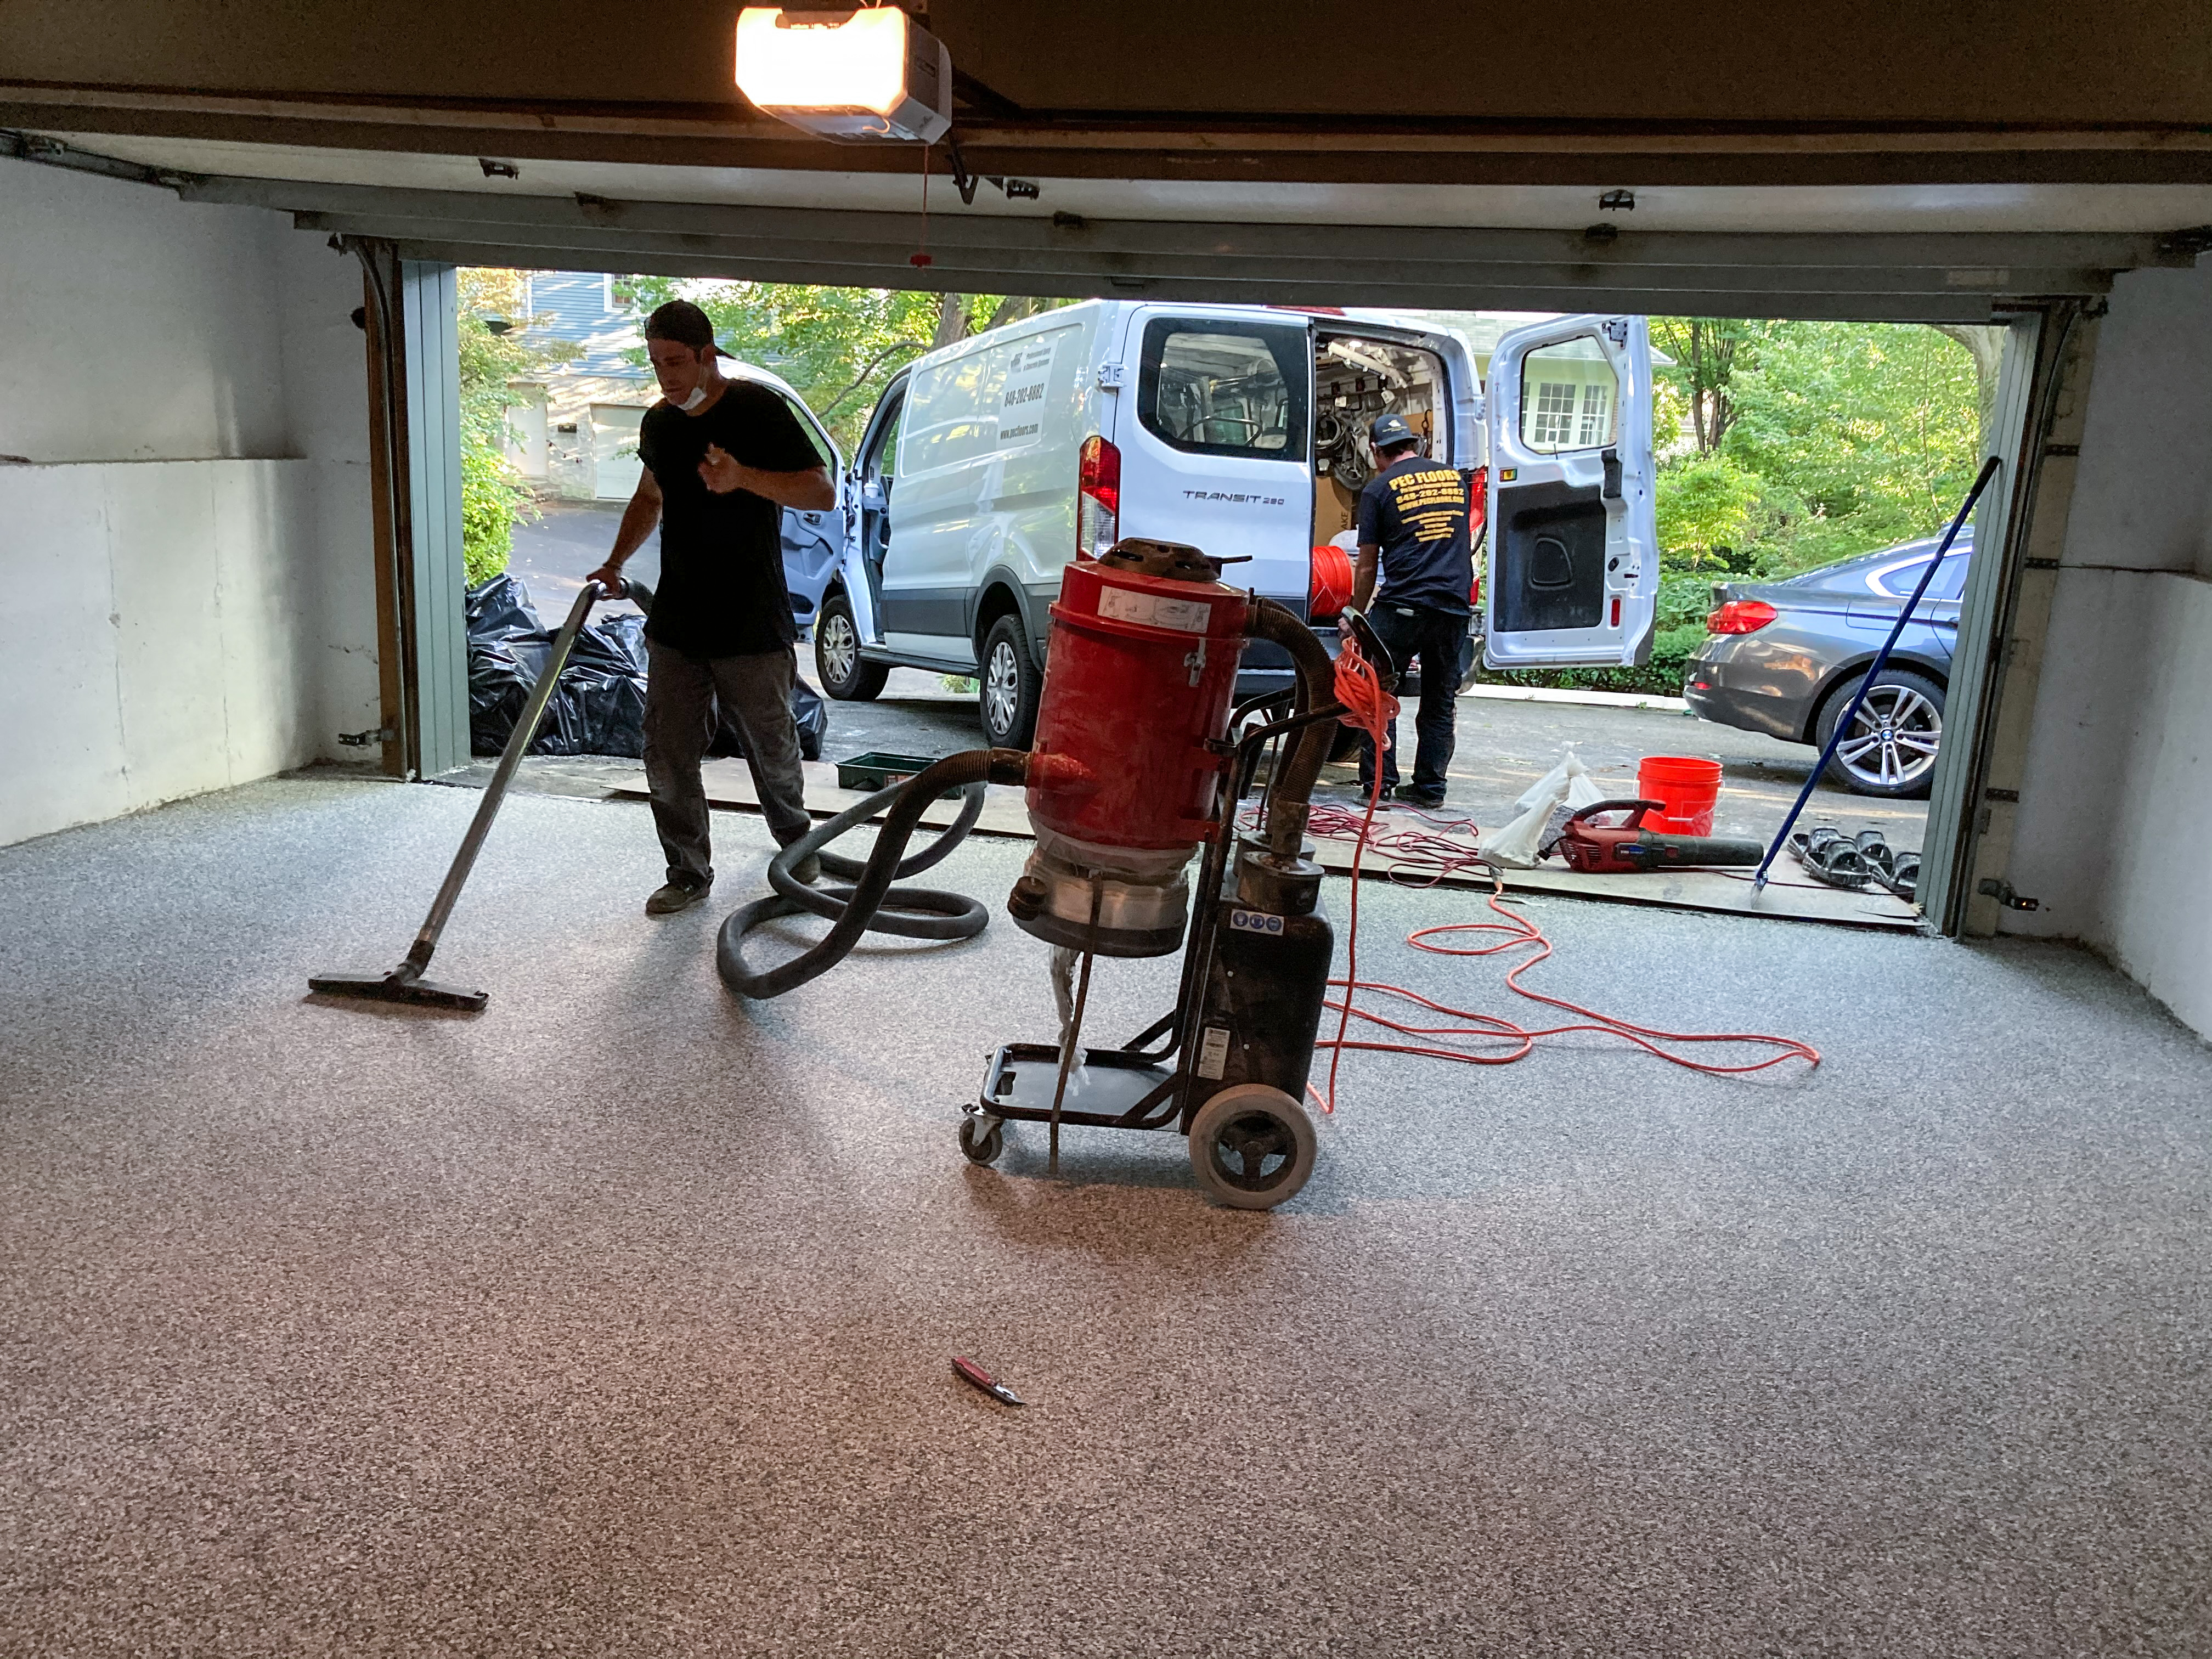
After the epoxy primer solidified, lose flakes were swept. Exposed flakes were chipped off, and shoveled into piles against walls.
Flakes thus freed were vacuumed off. They would be reused in other jobs.
A polyaspartic topcoat was applied. This topcoat solidified in about 20 mins. This was a nerve-racking exercise. This step was done, when the 20 minutes were up, whether actual work was finished. It allowed no mistakes.
The edge tape was pulled off, when the floor was done.

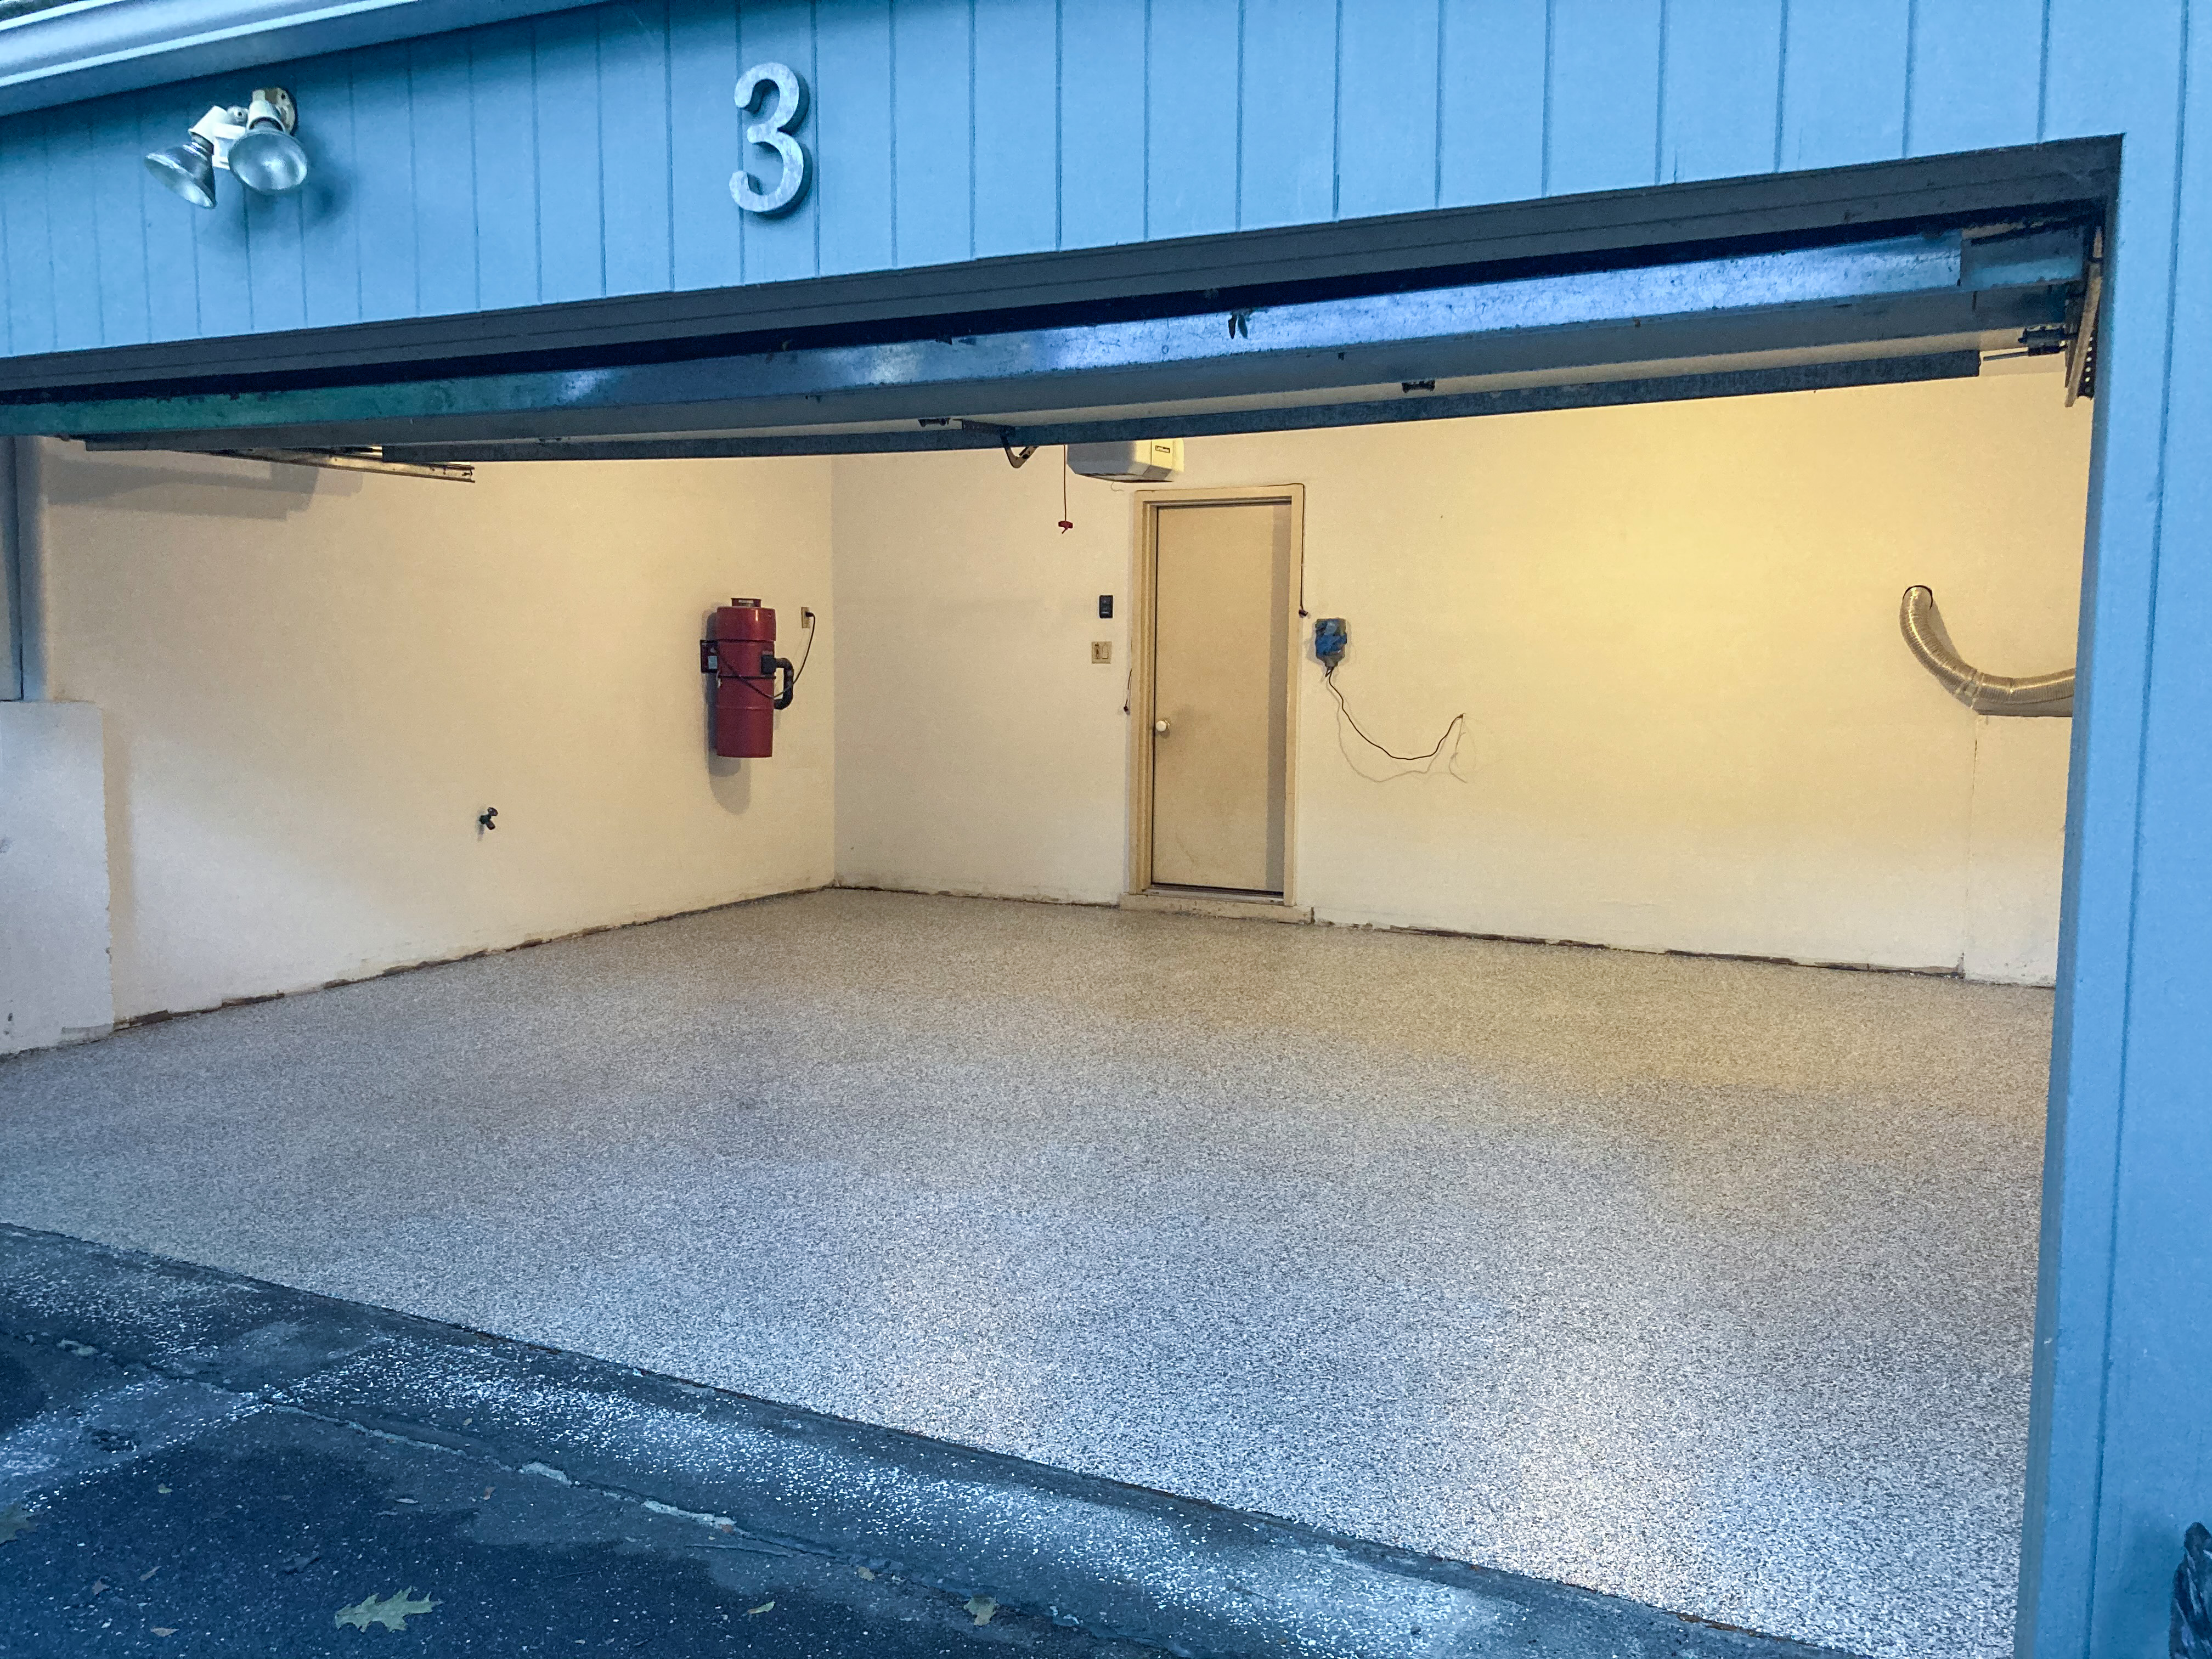
Here it was, the finished epoxy garage floor.
_
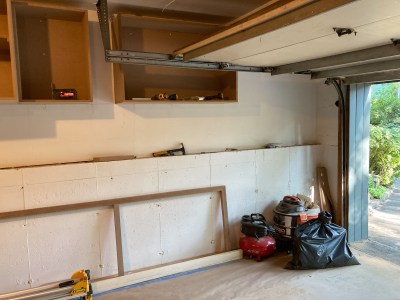
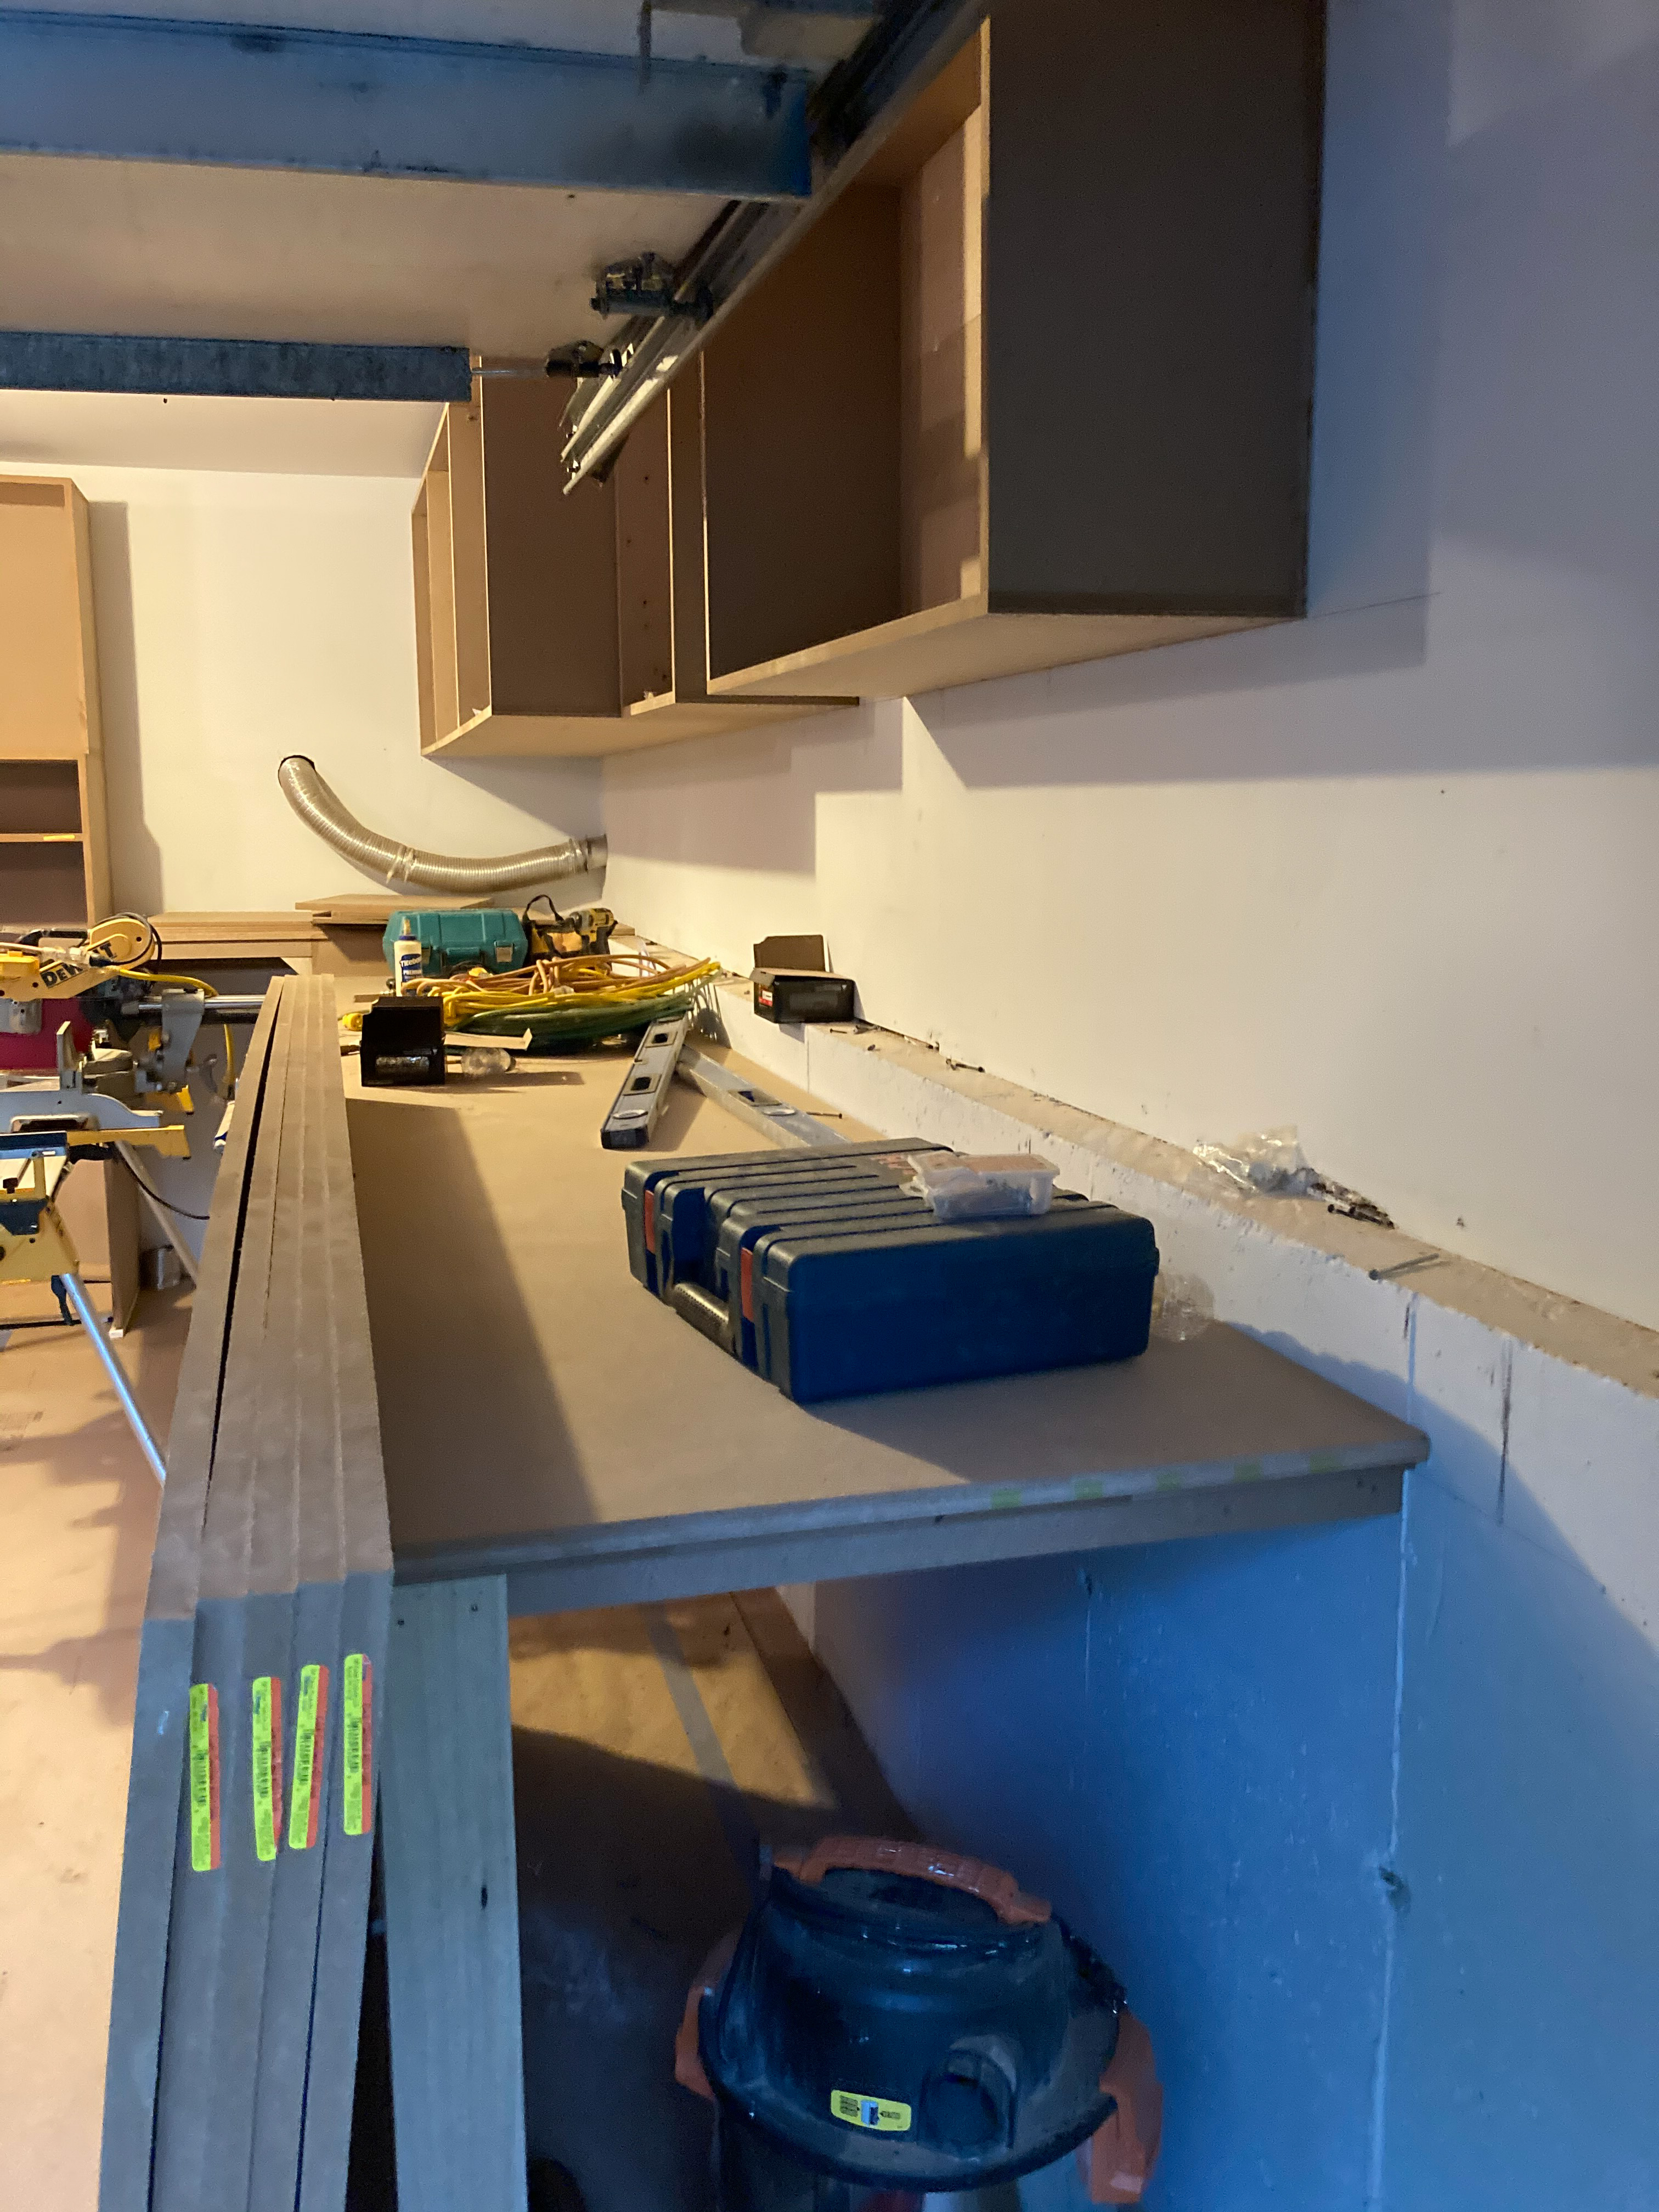
Building custom cabinets
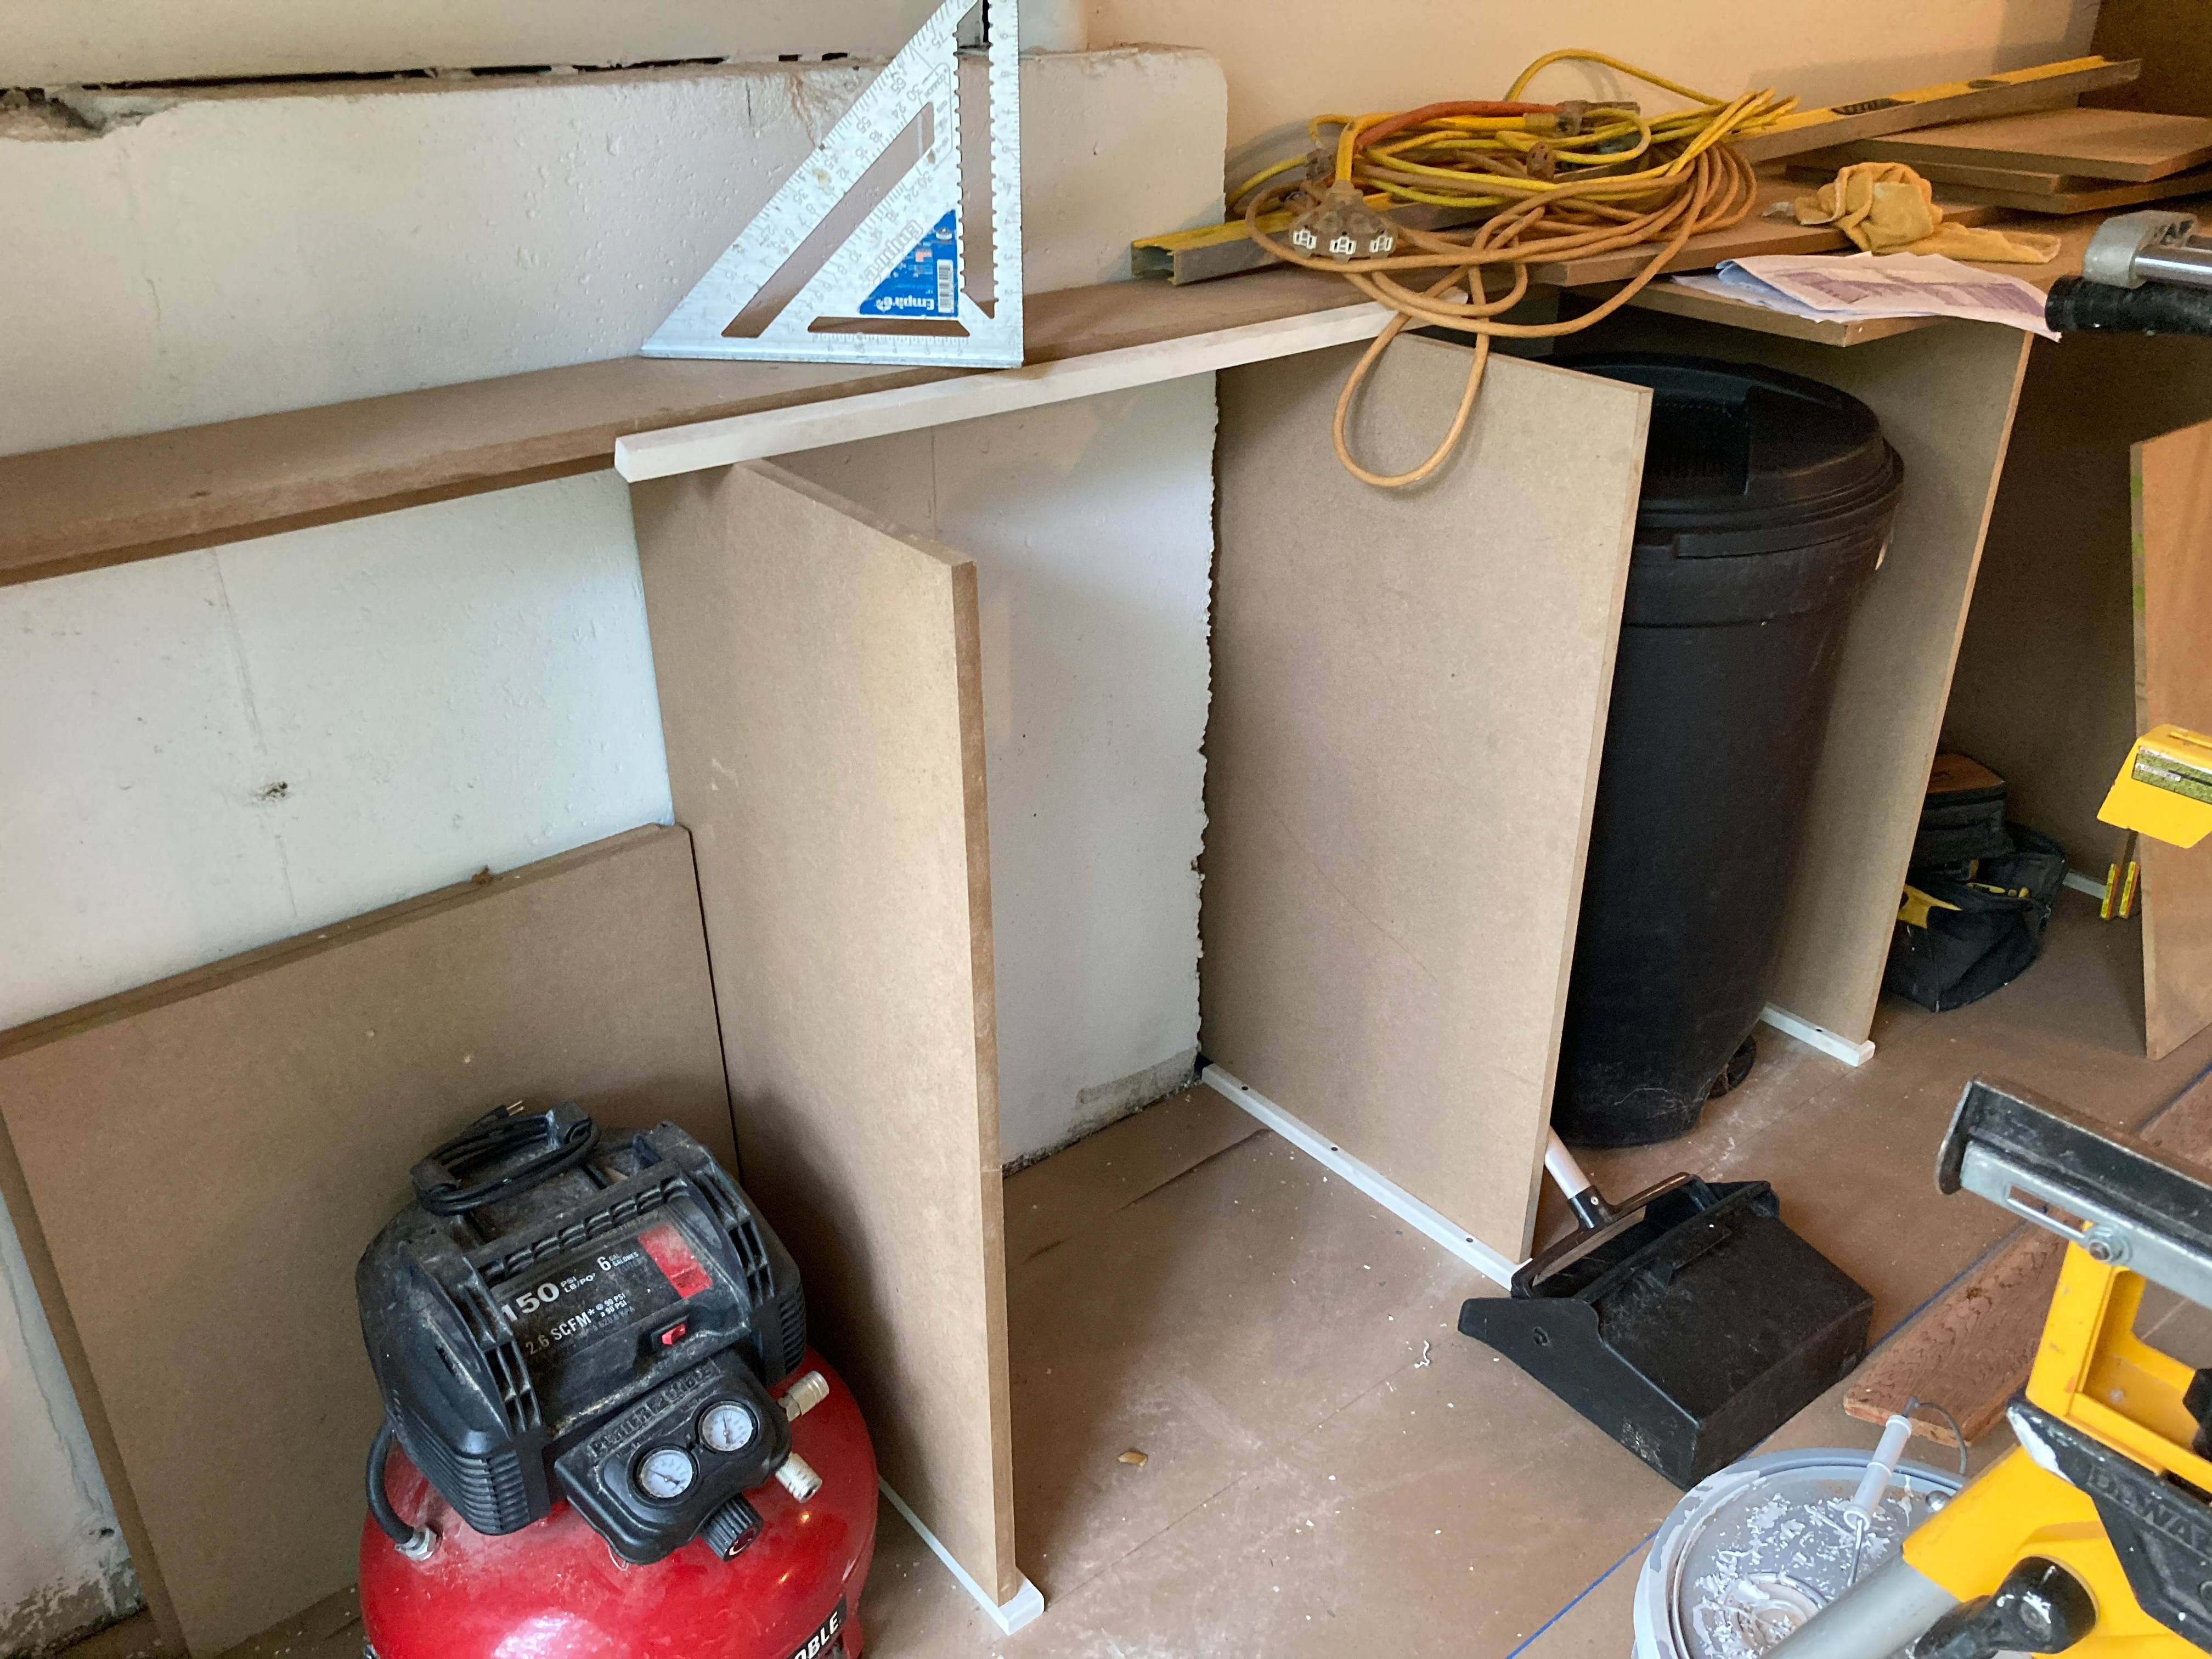
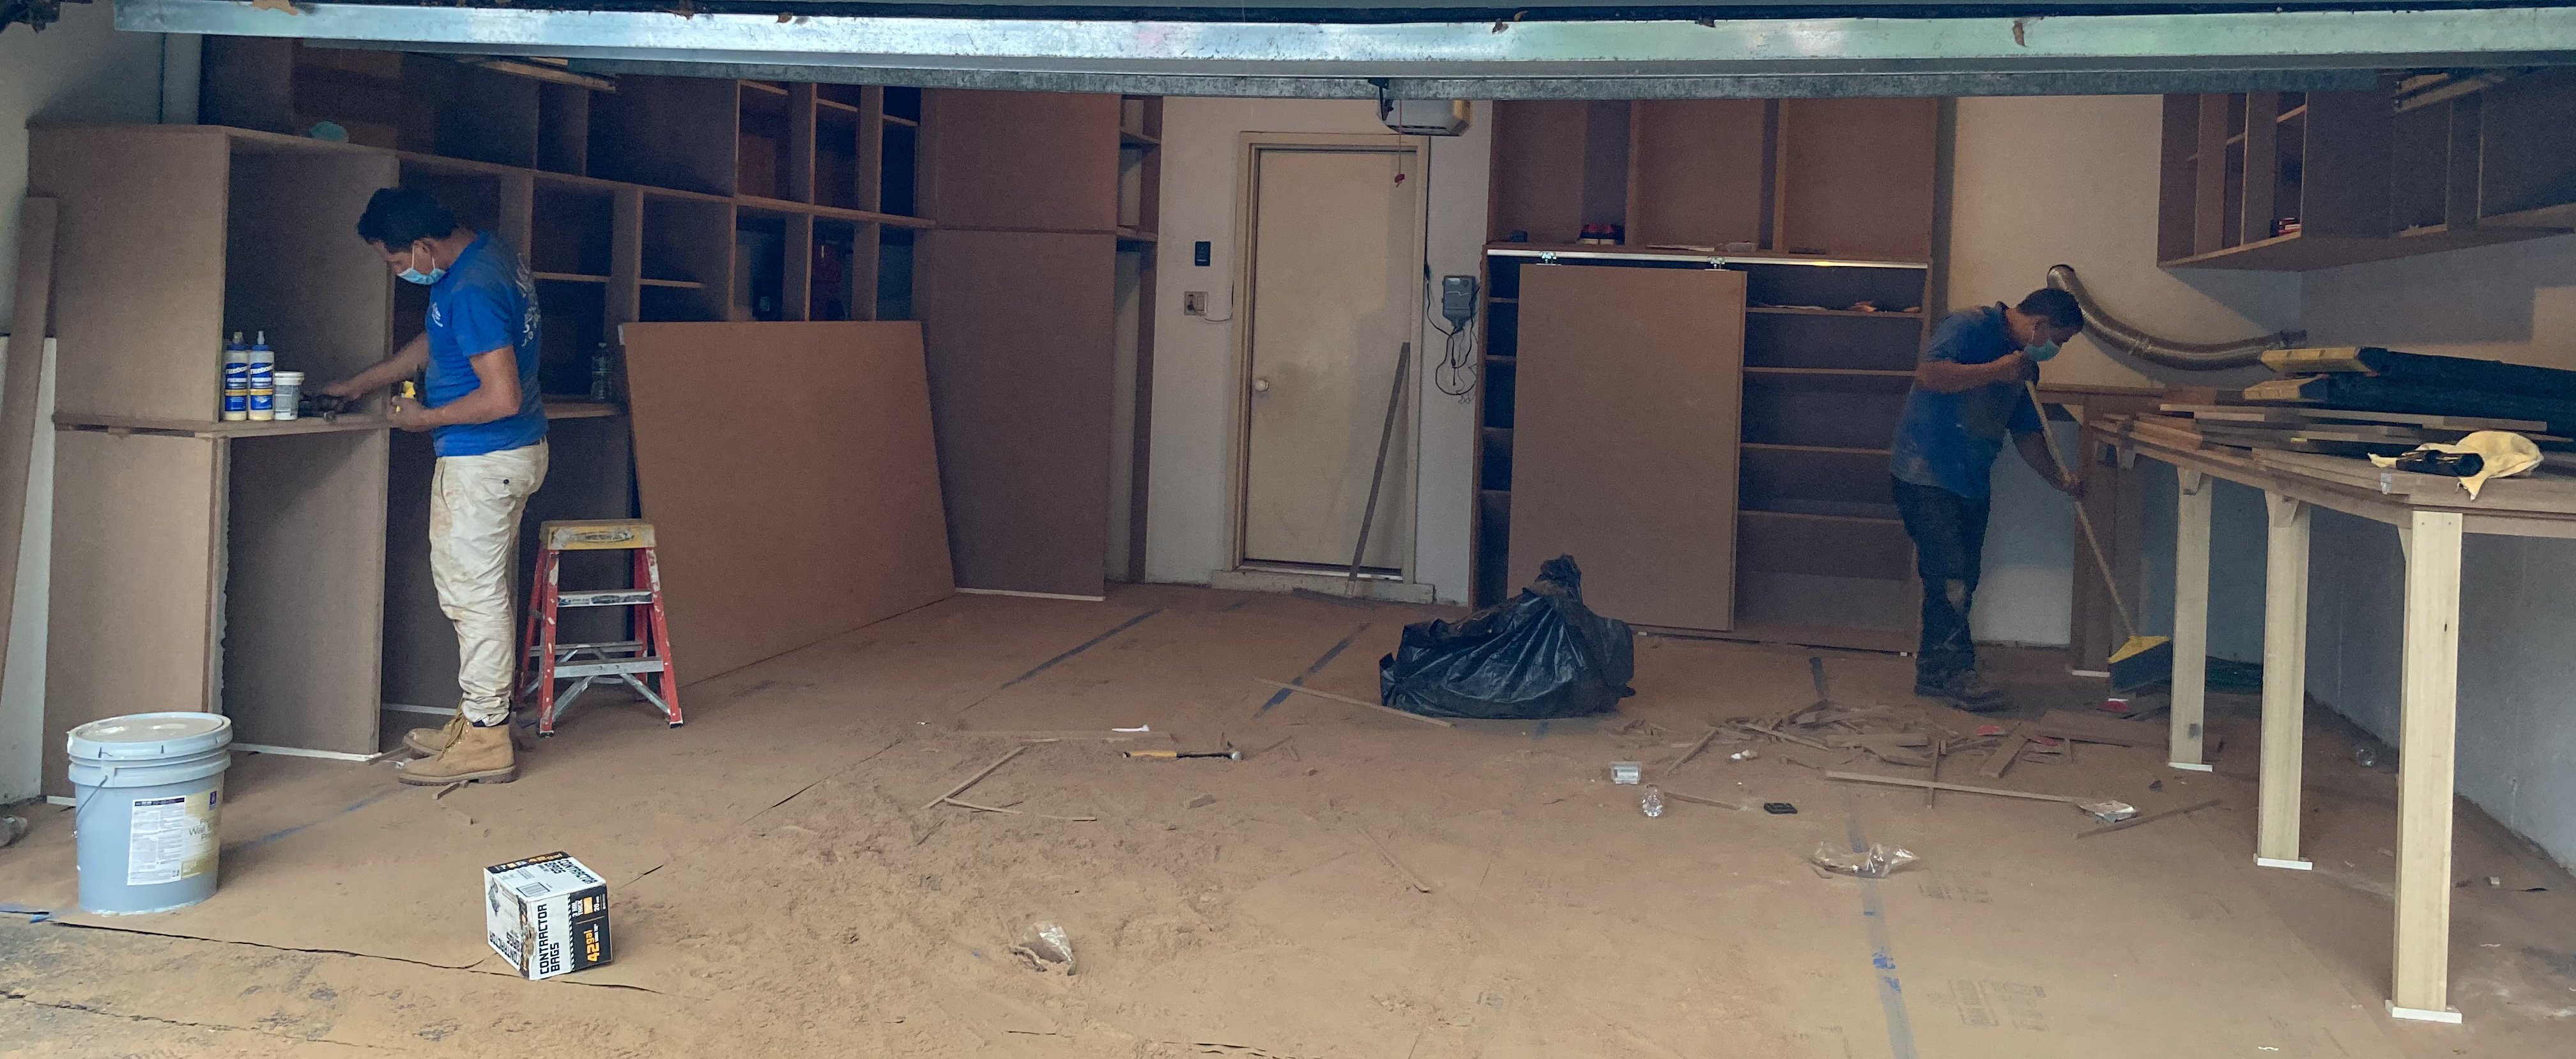
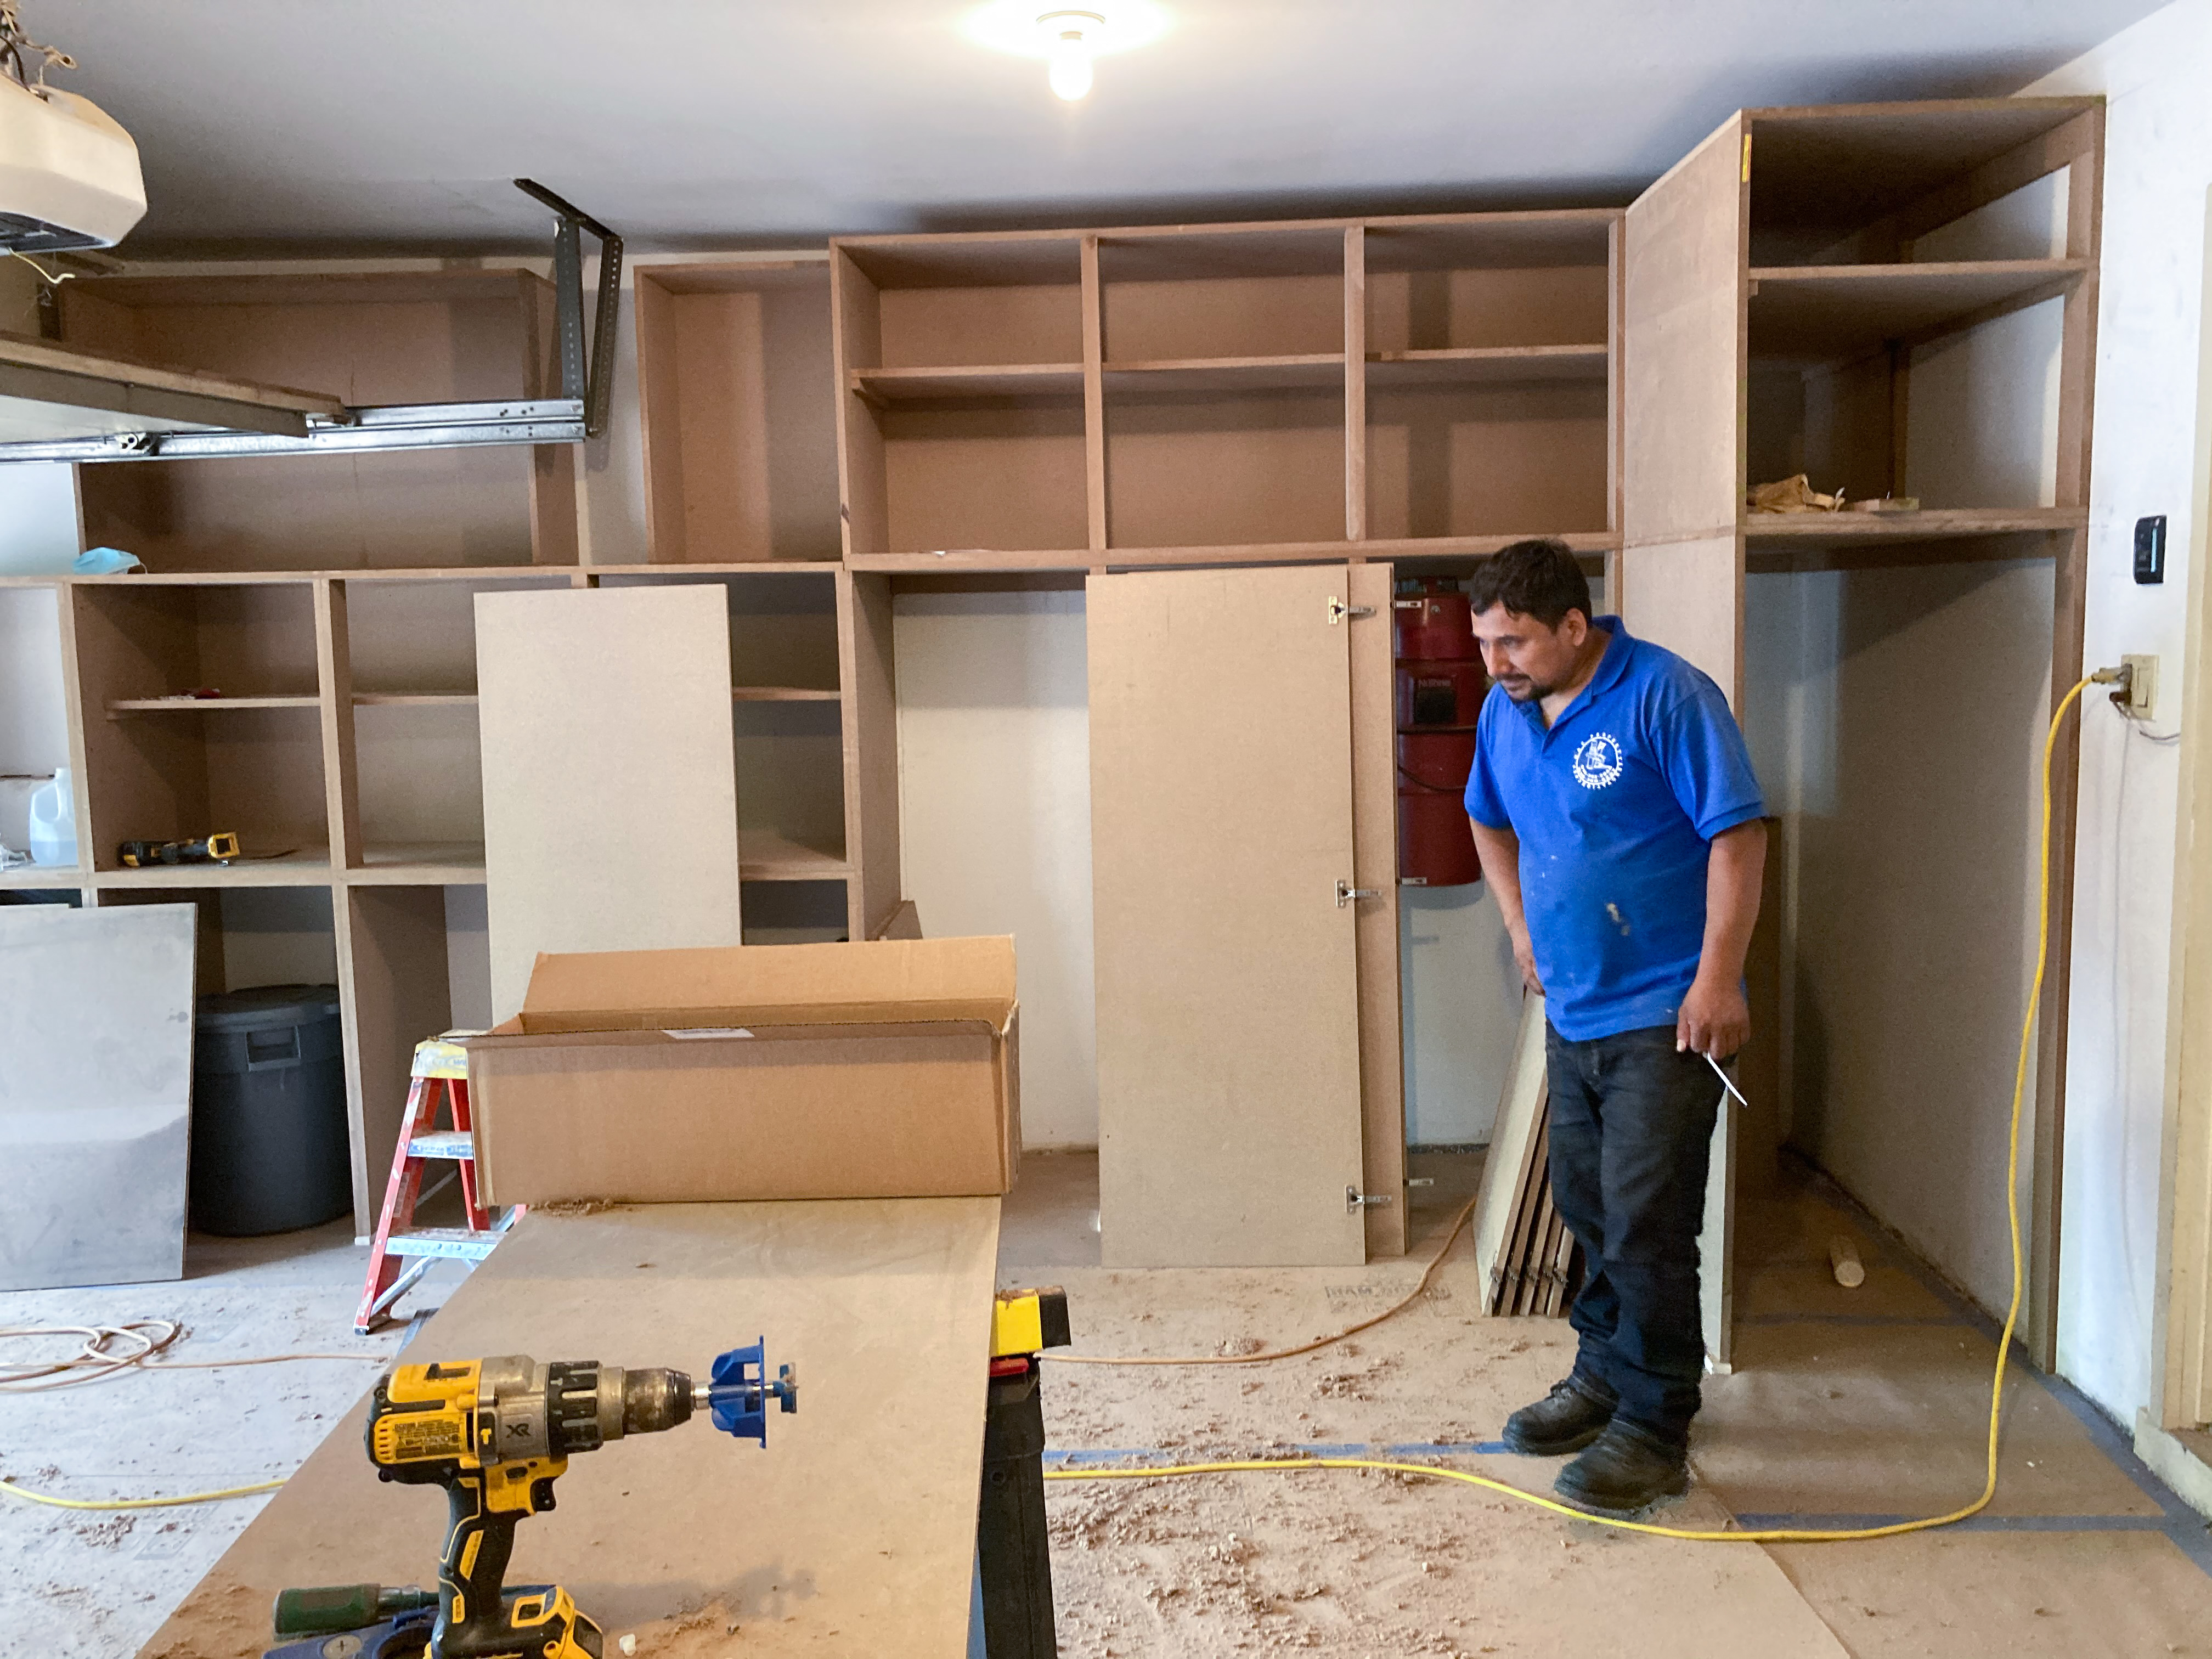
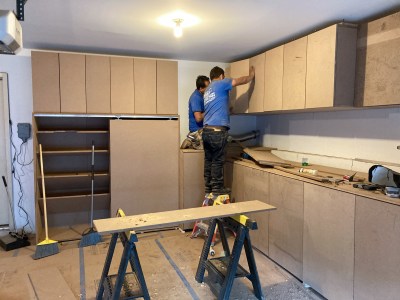
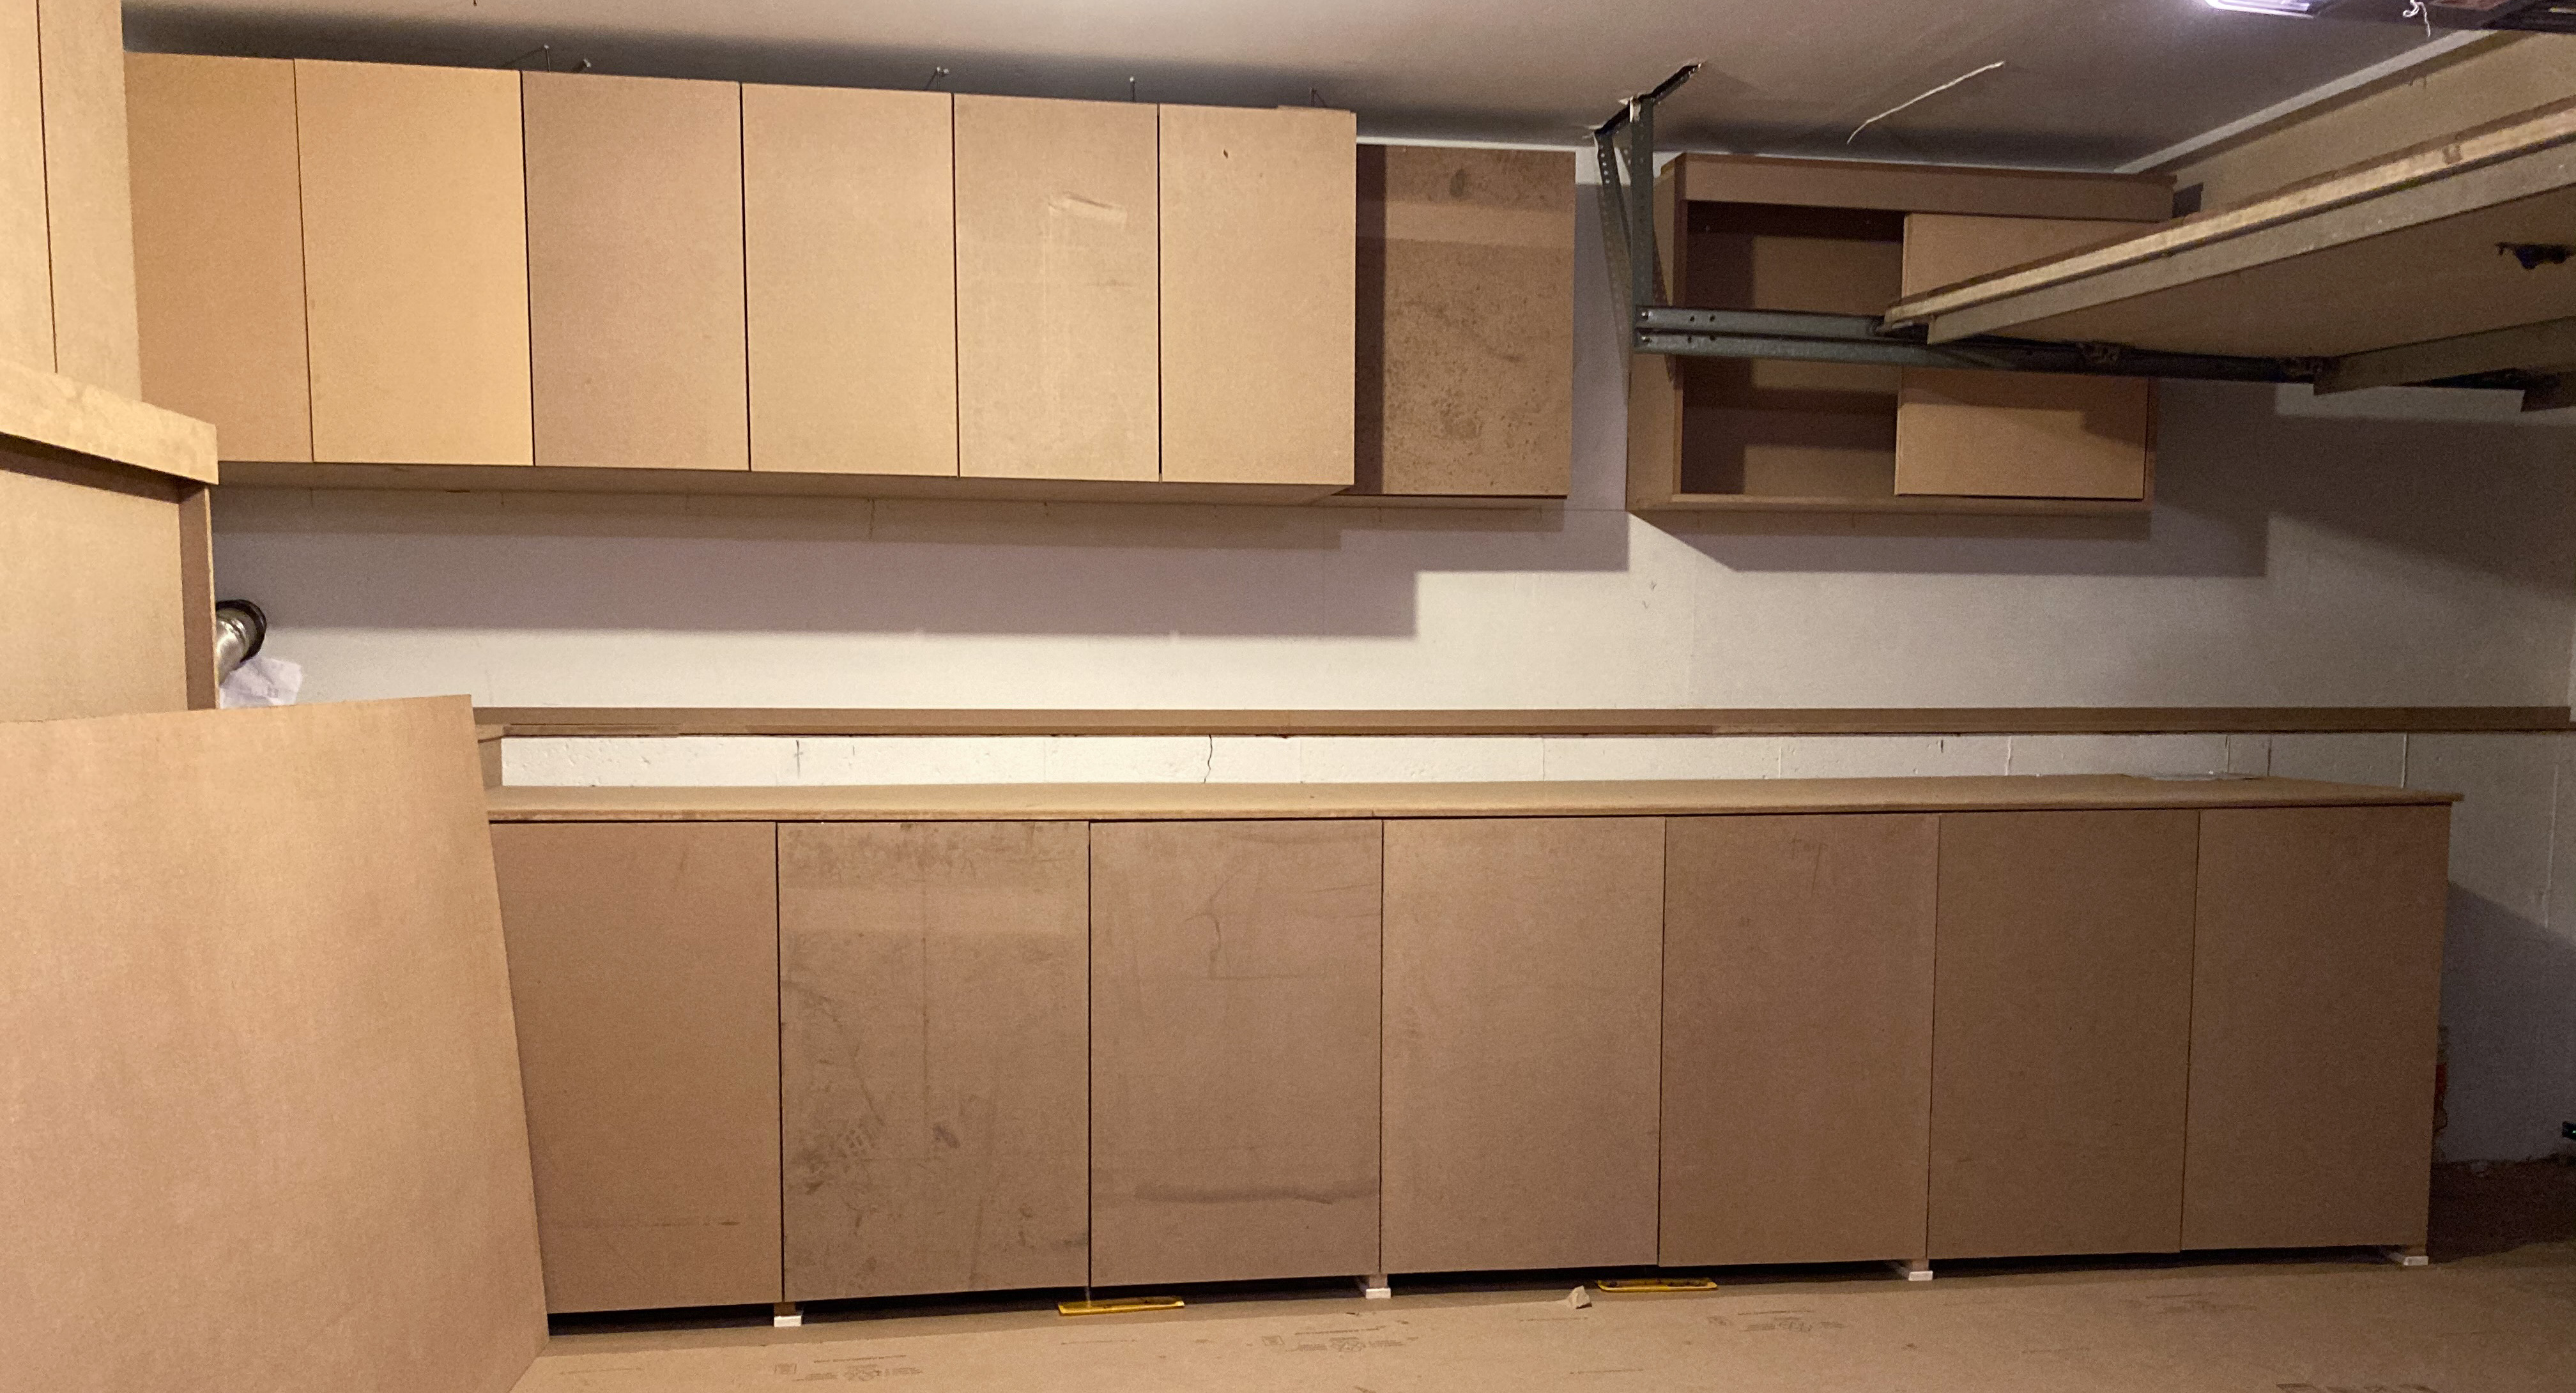
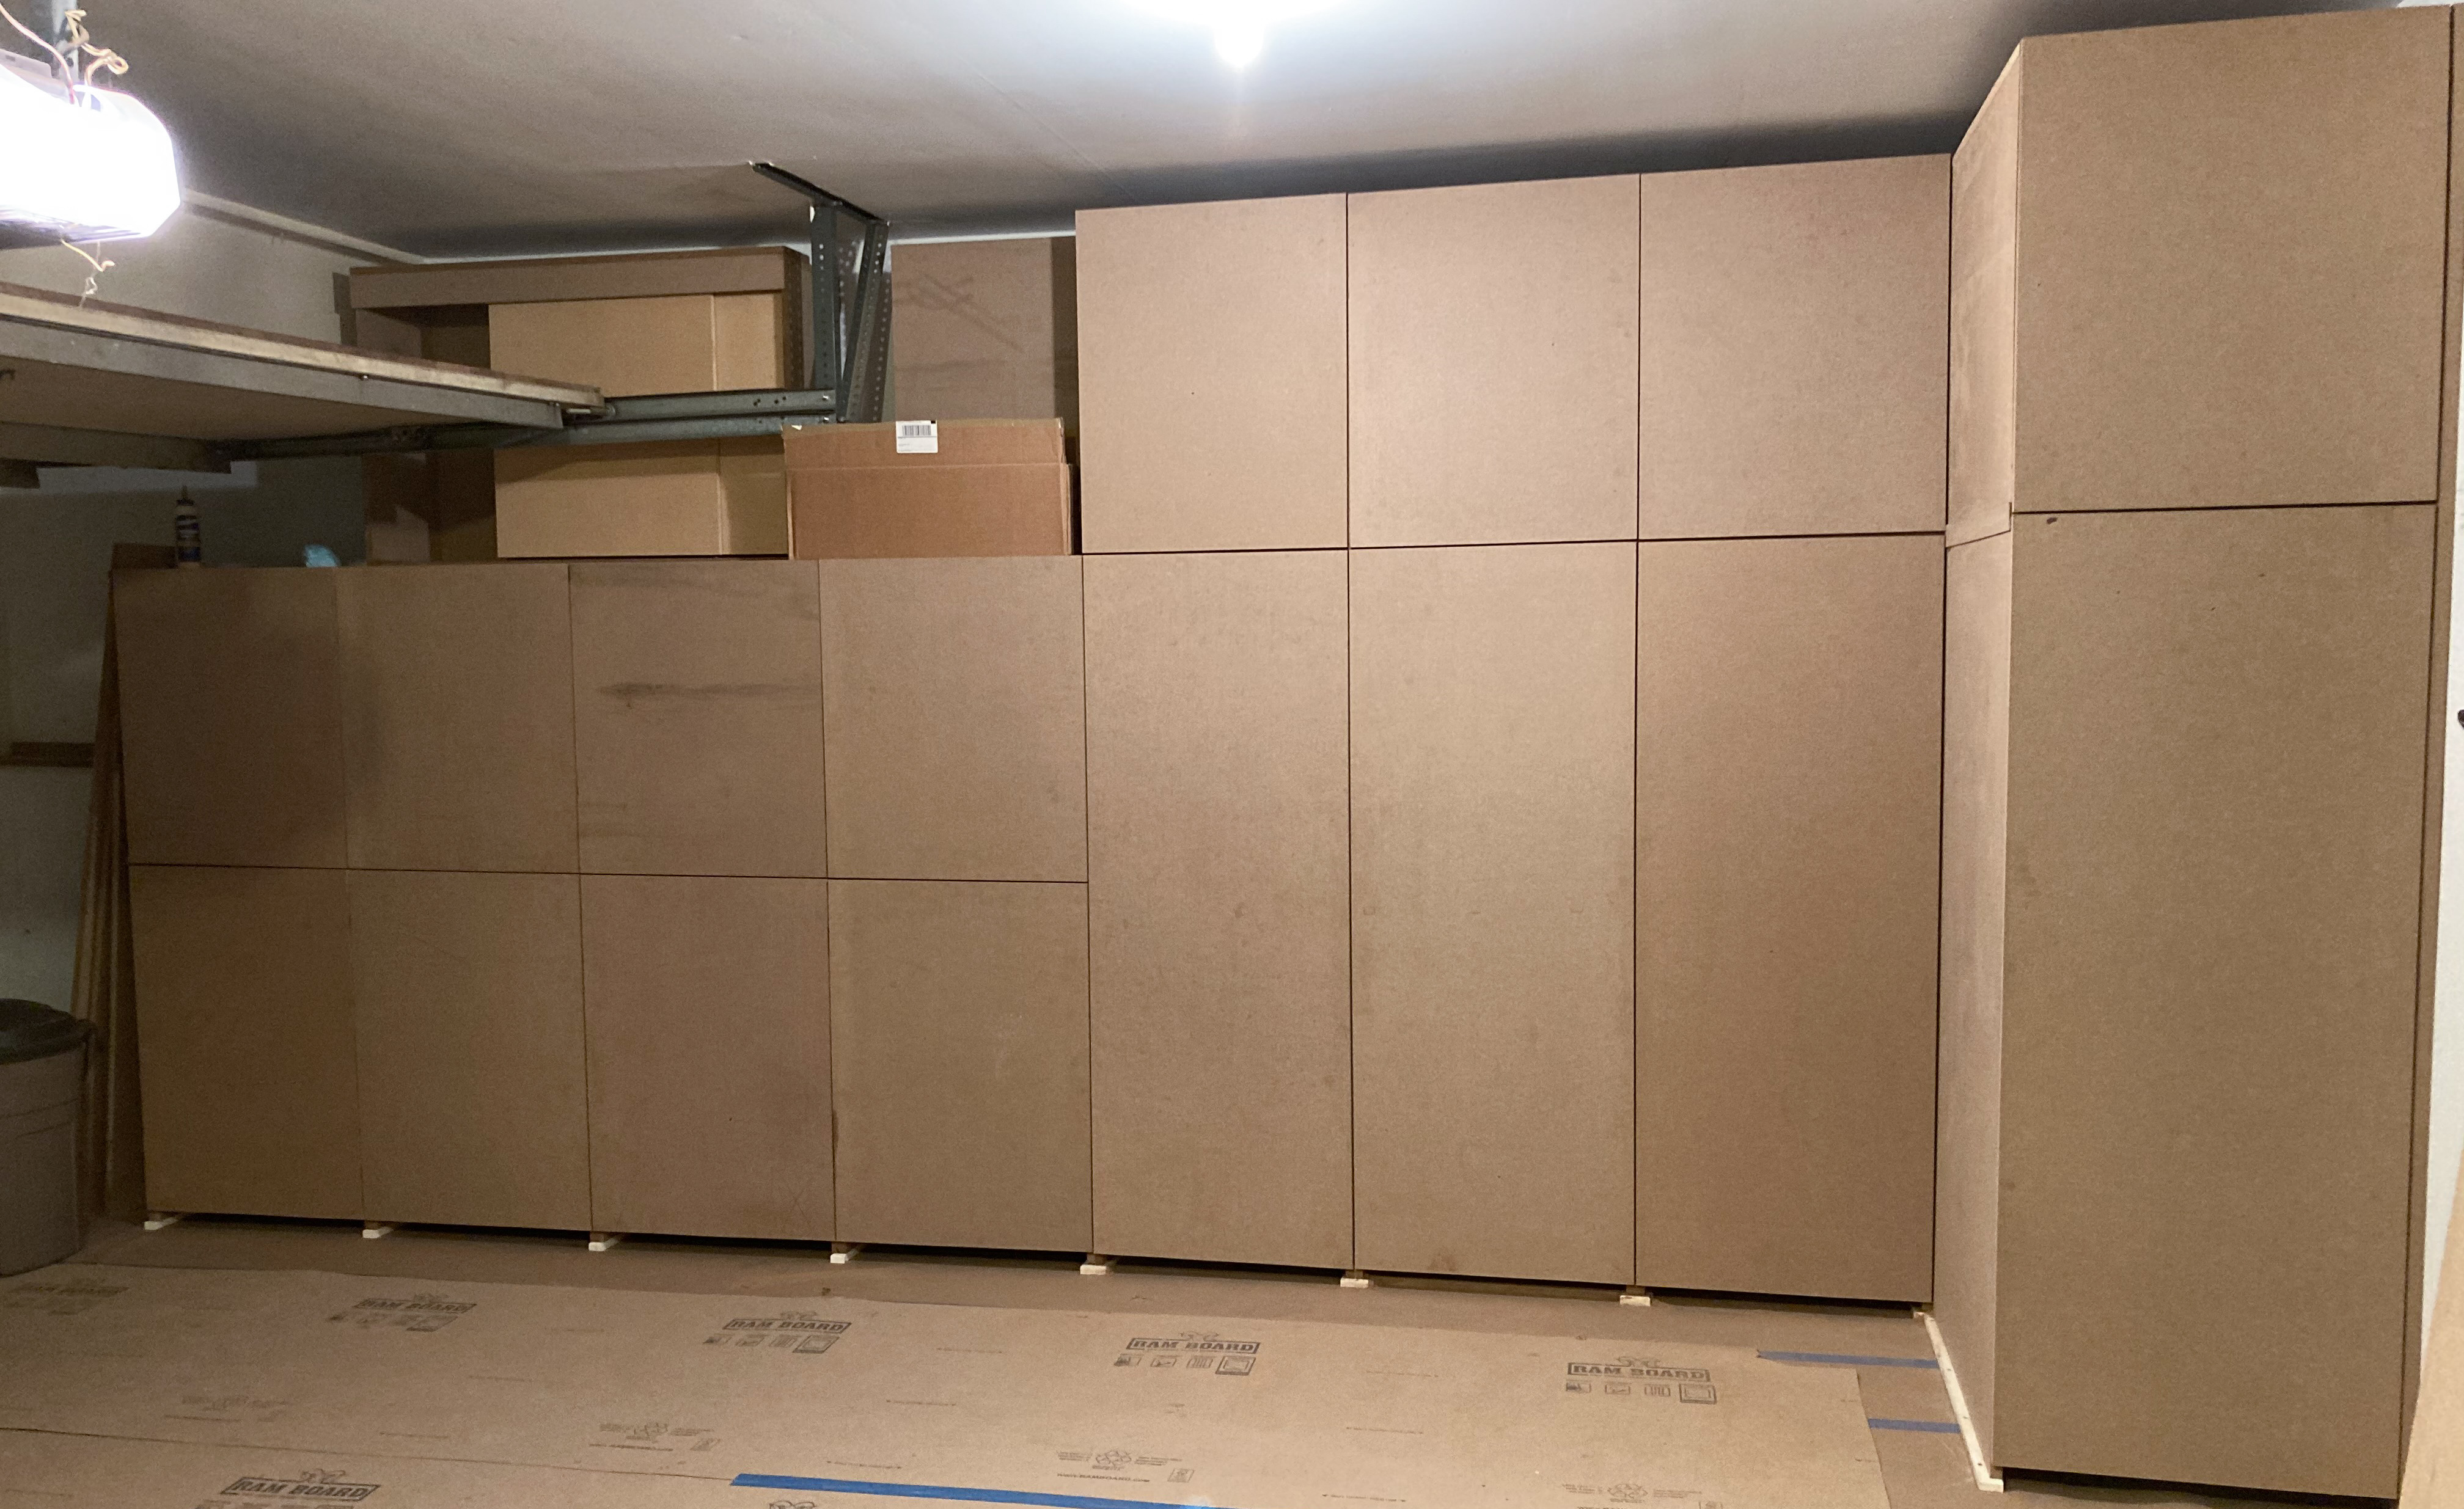
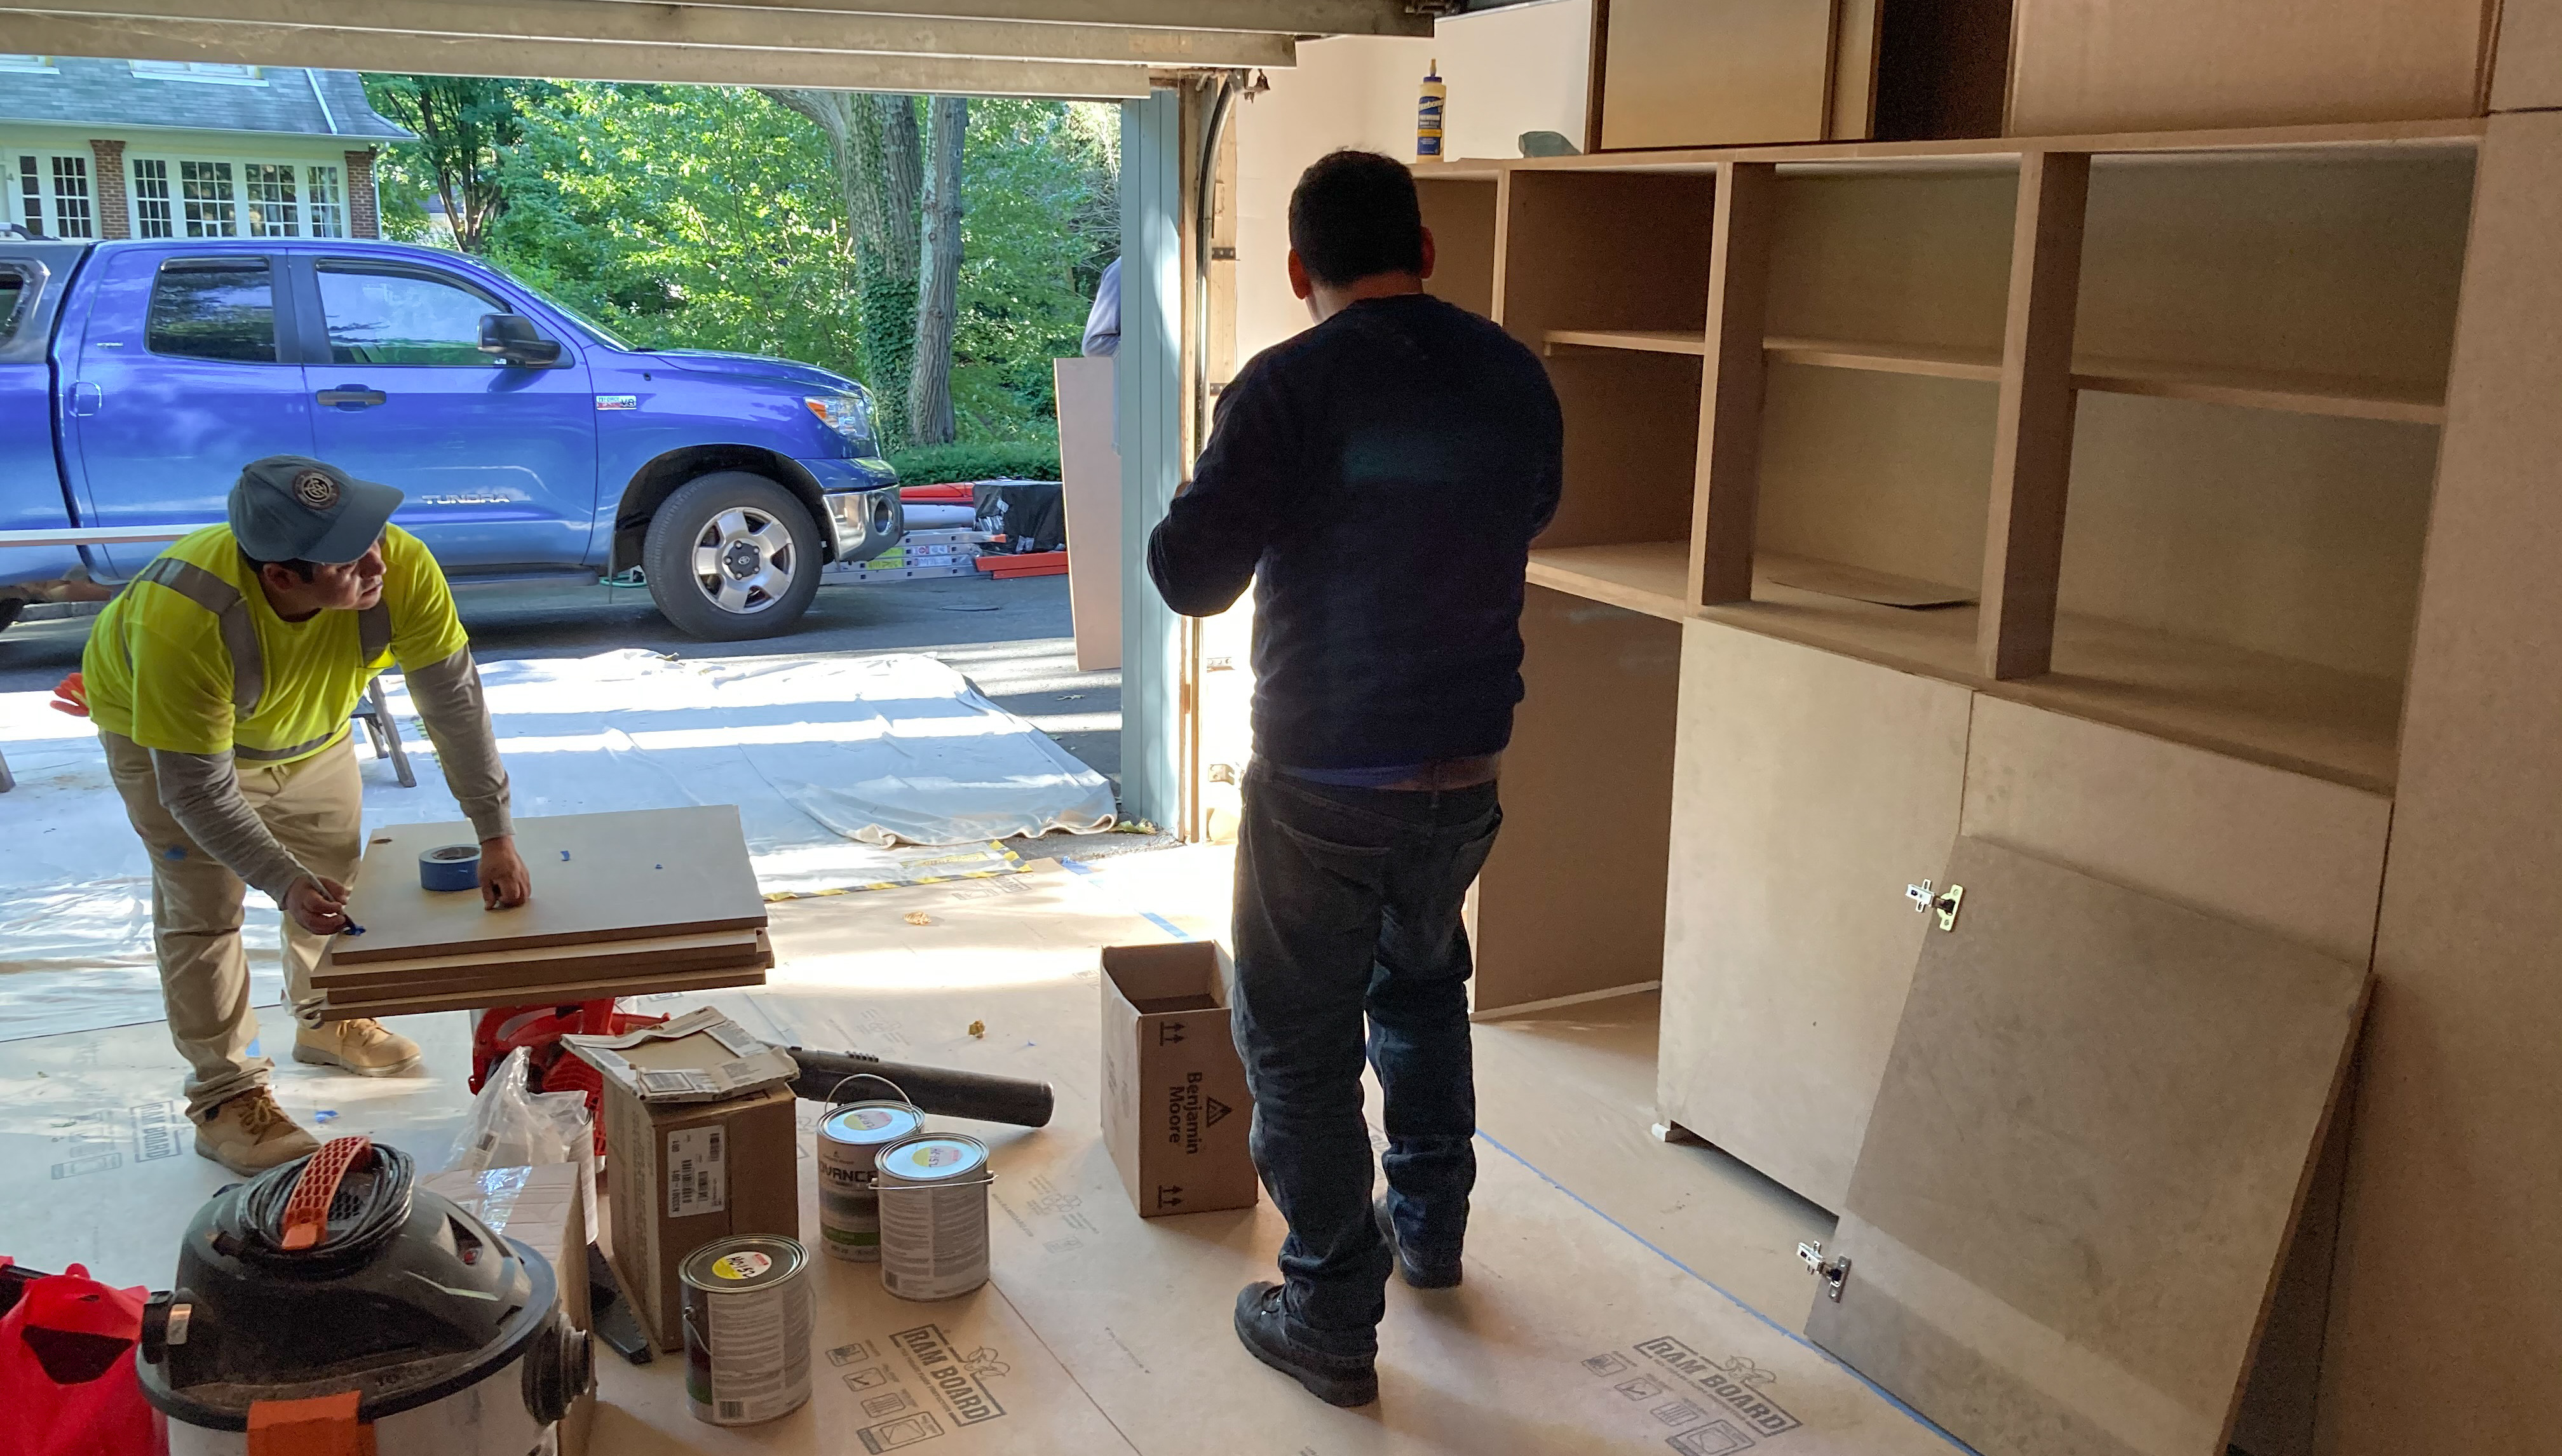
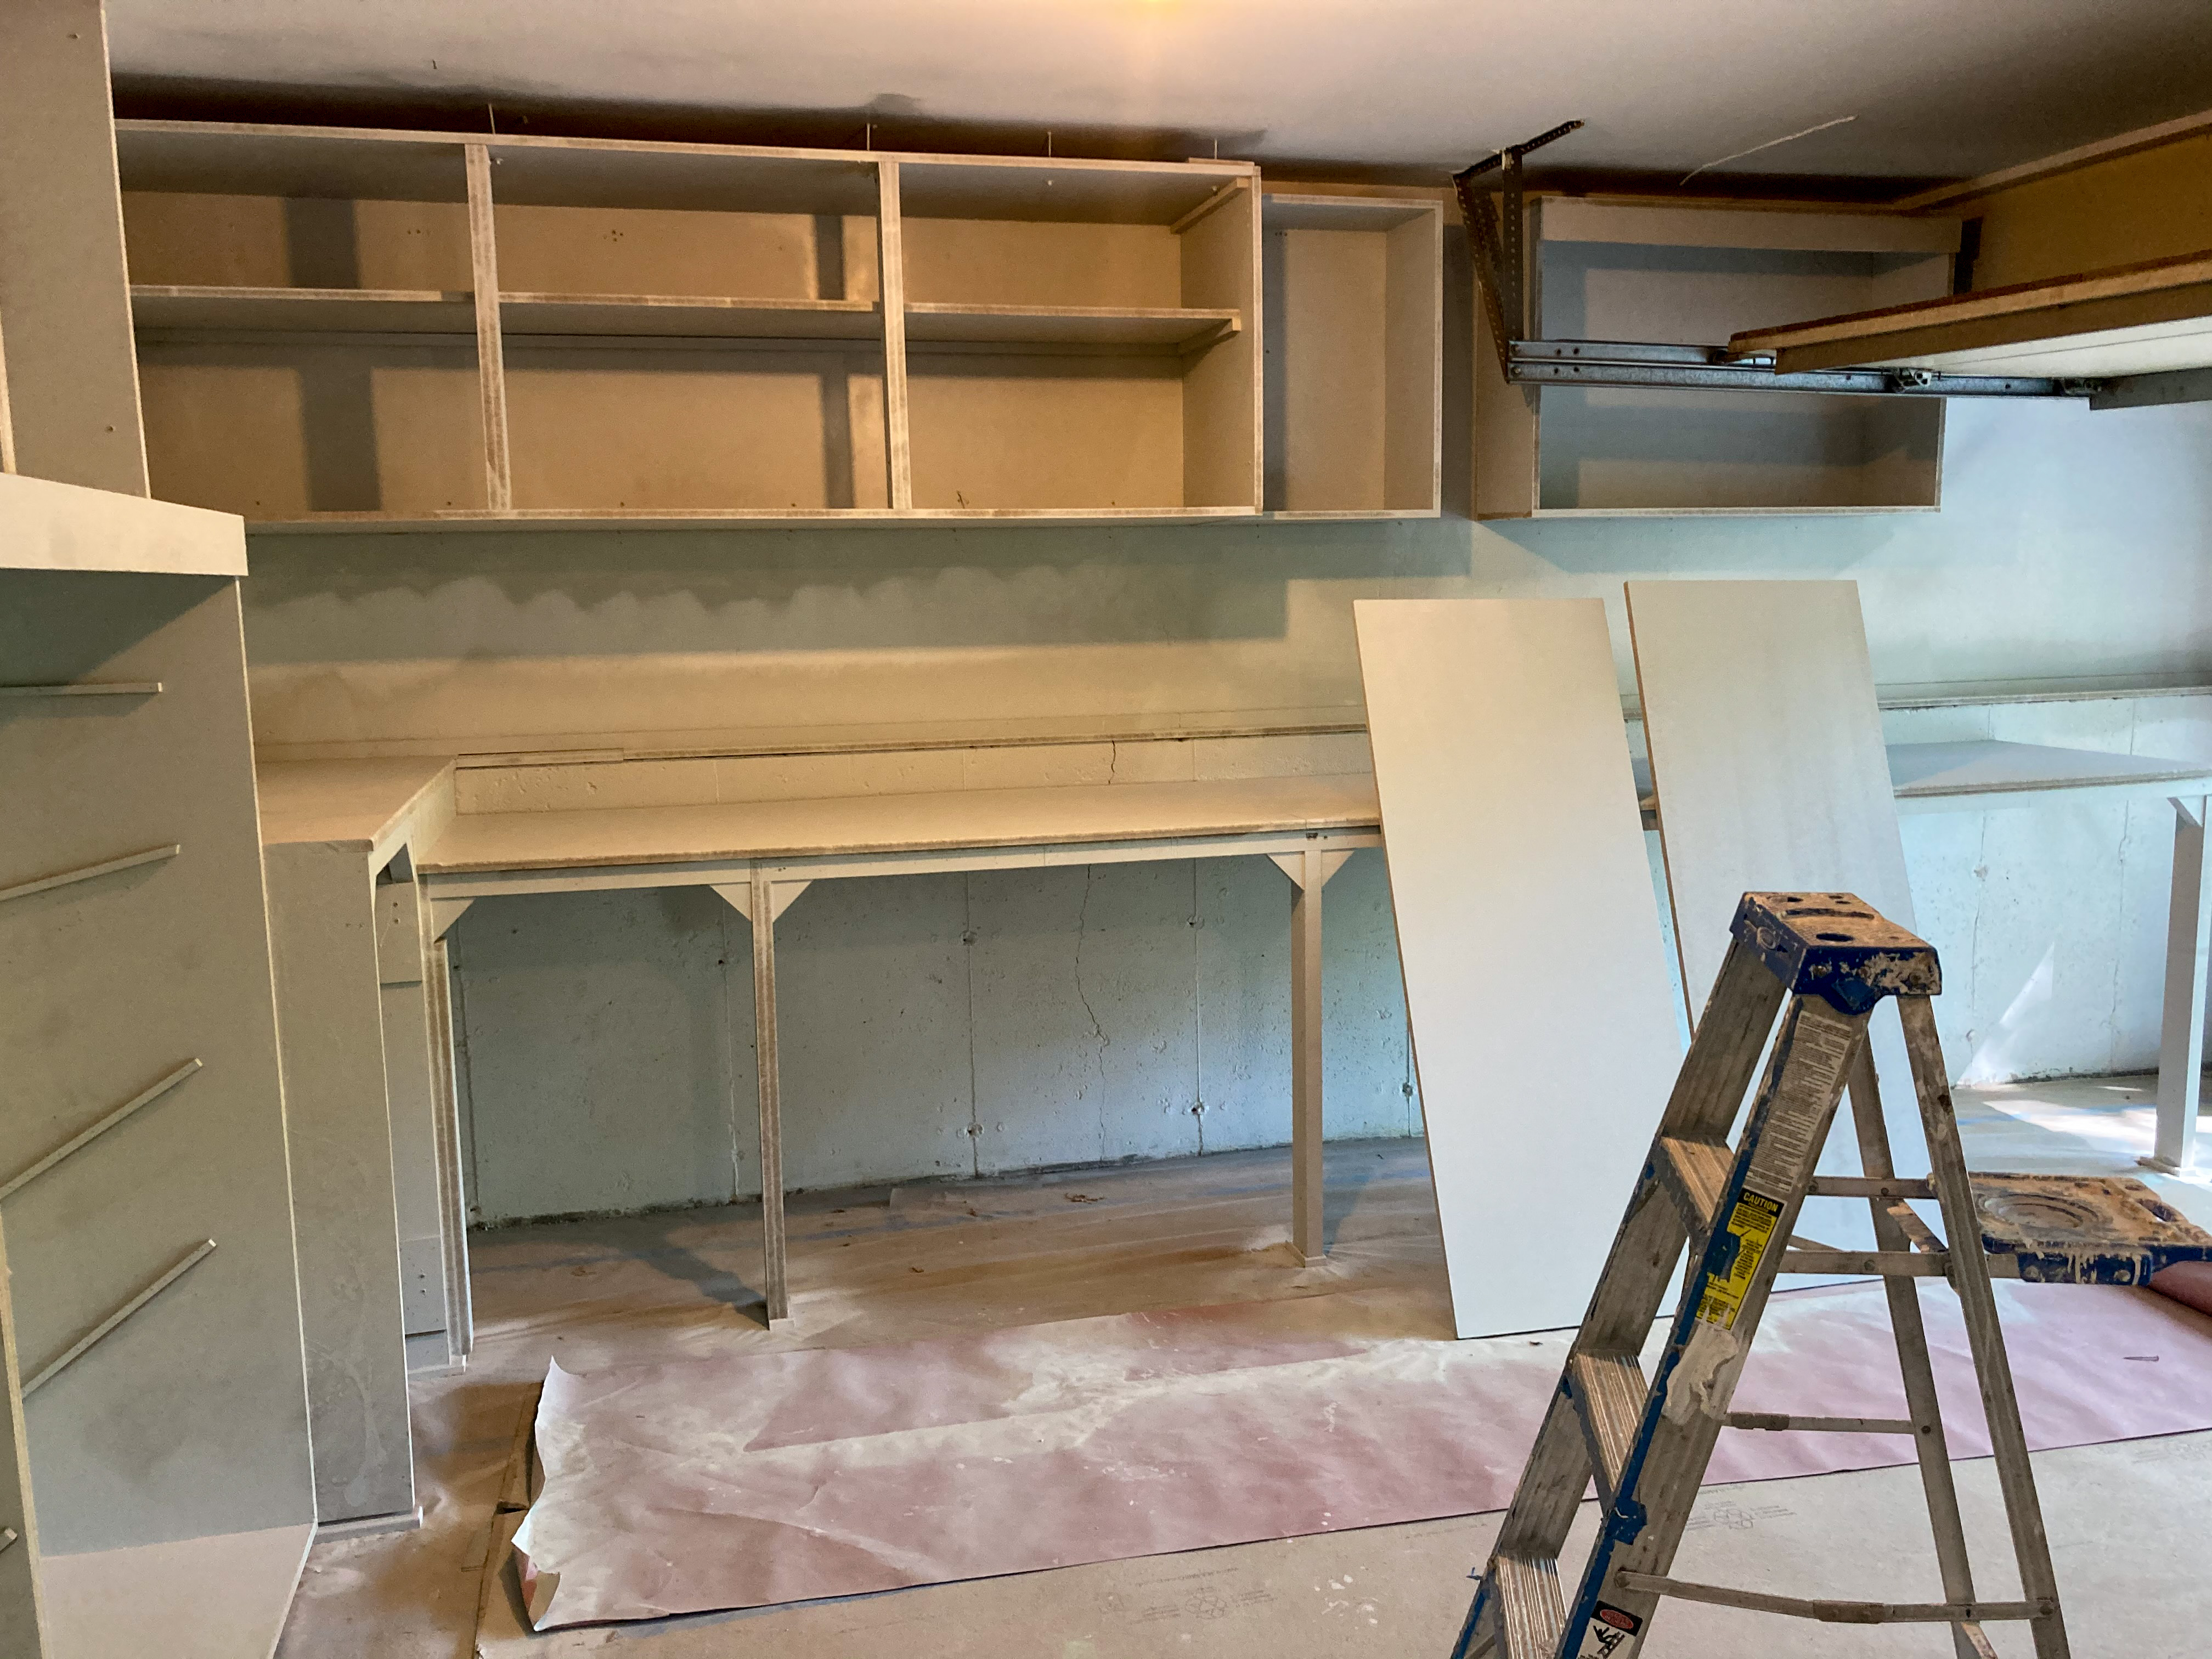
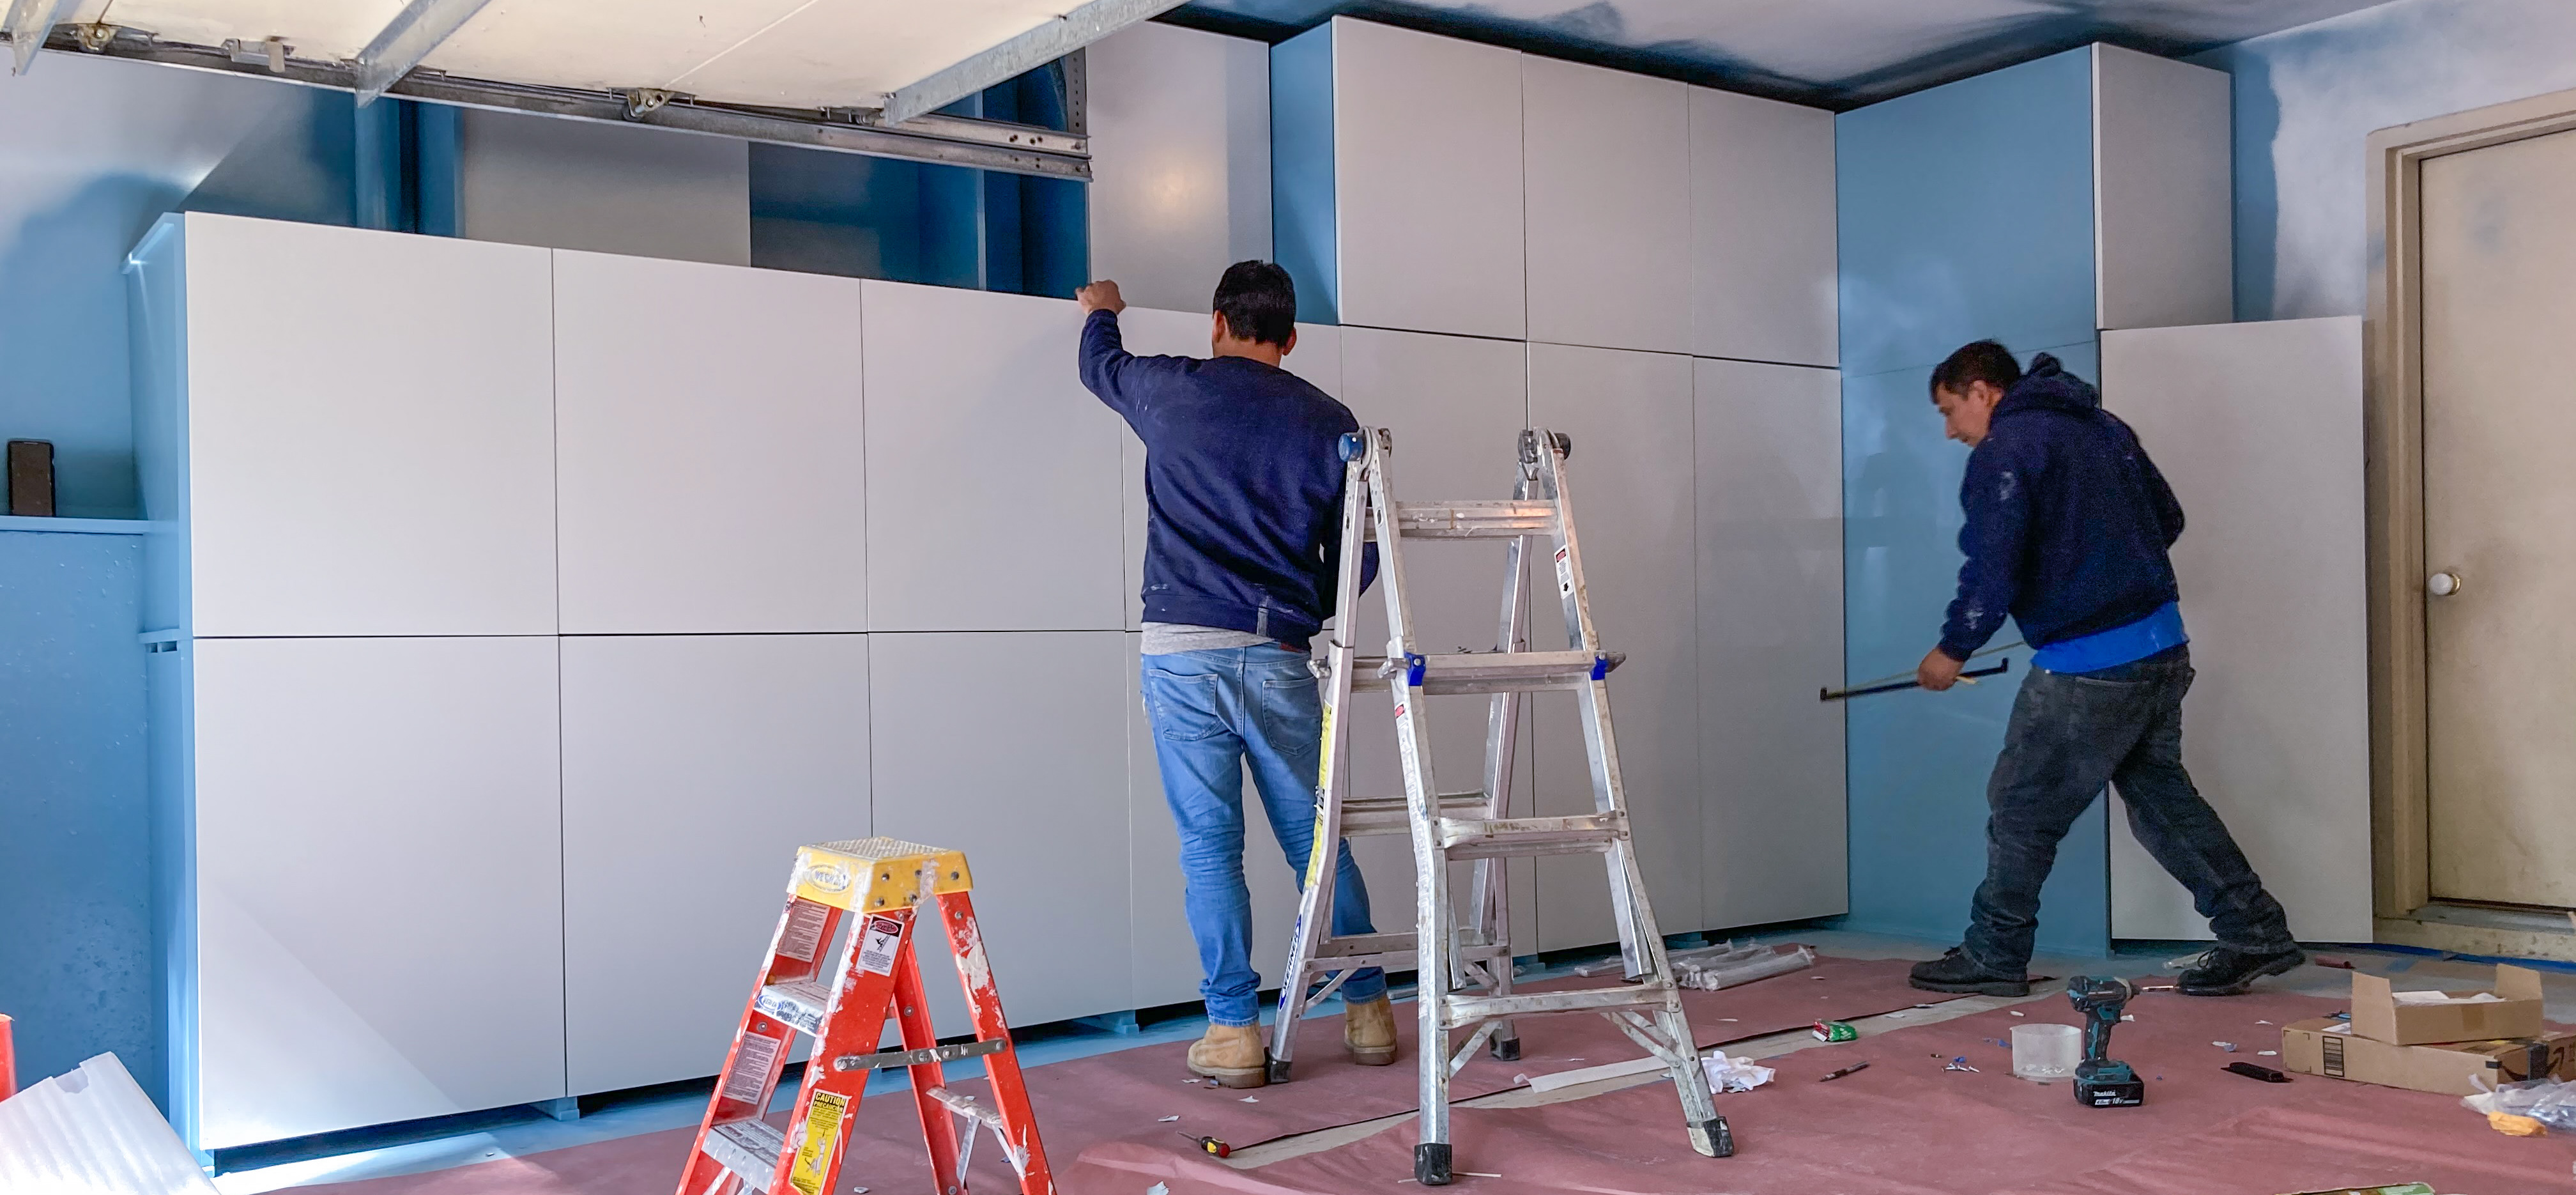
Because of the nature of these cabinets and their shared sections, it was futile to try to mold pre-made cabinets around constraints of this garage and to our particular needs. It was easier to get local talents to build custom cabinets. They built these cabinets to the plan I made in SketchUp.

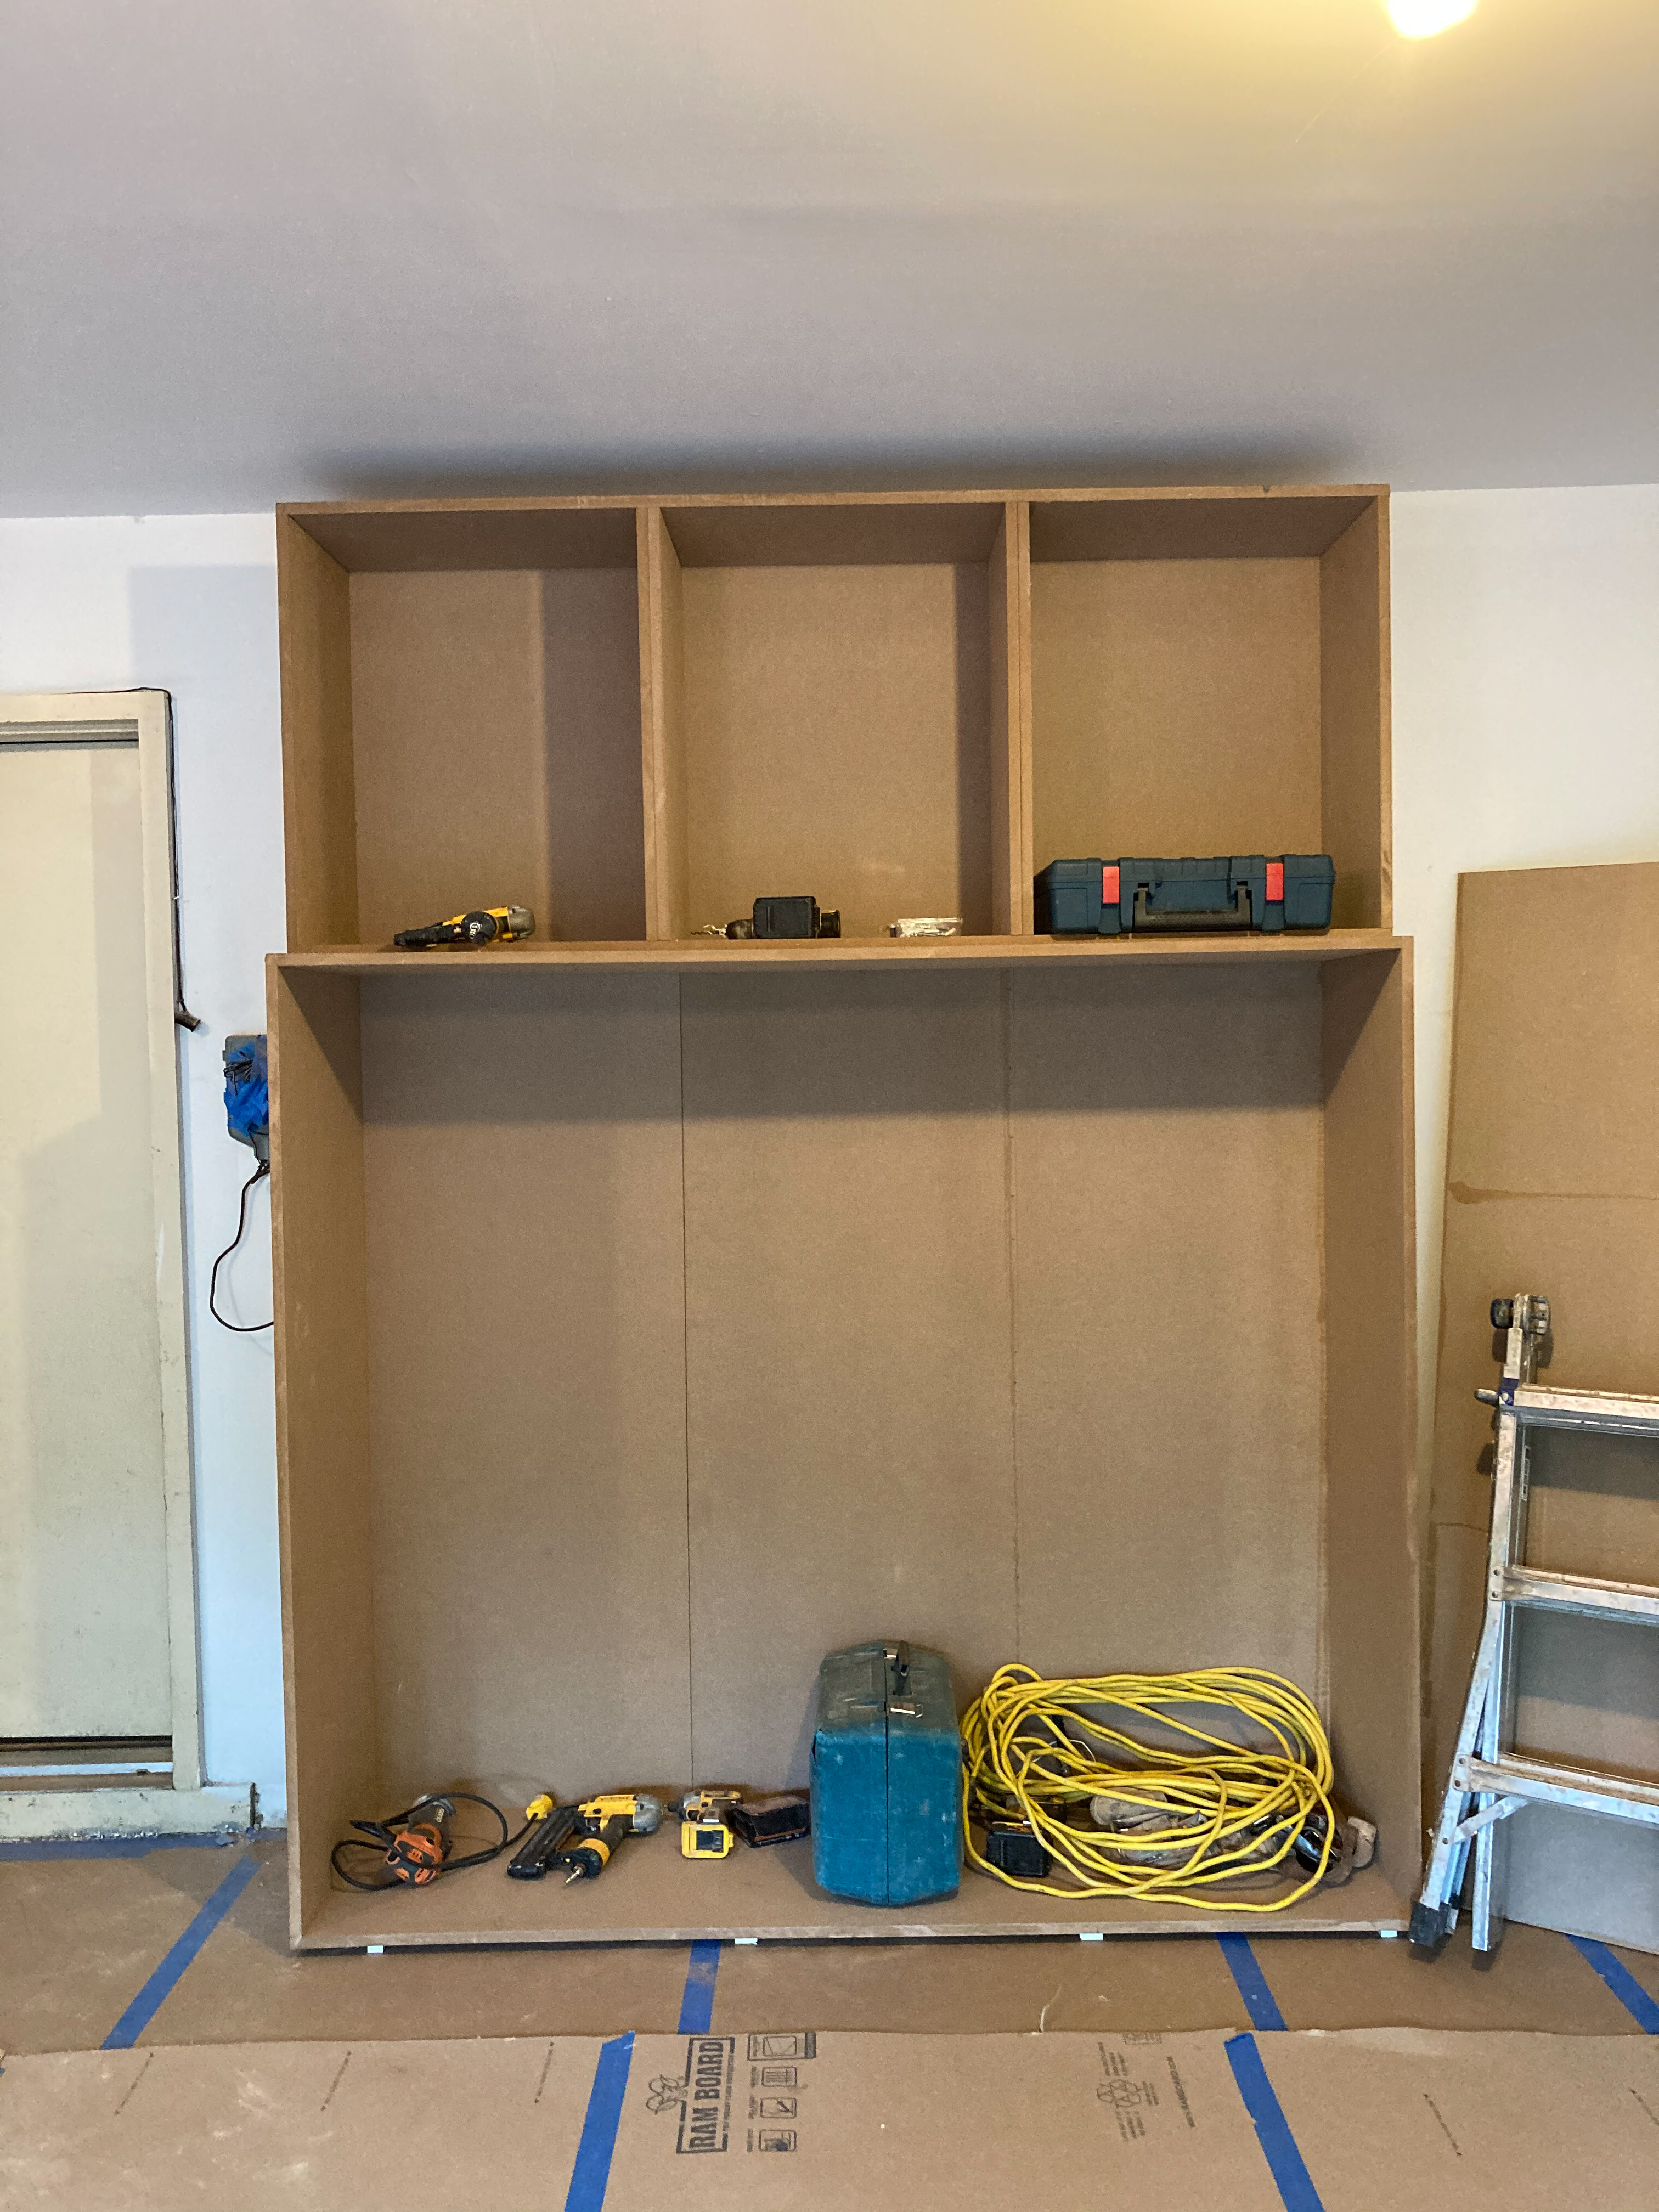
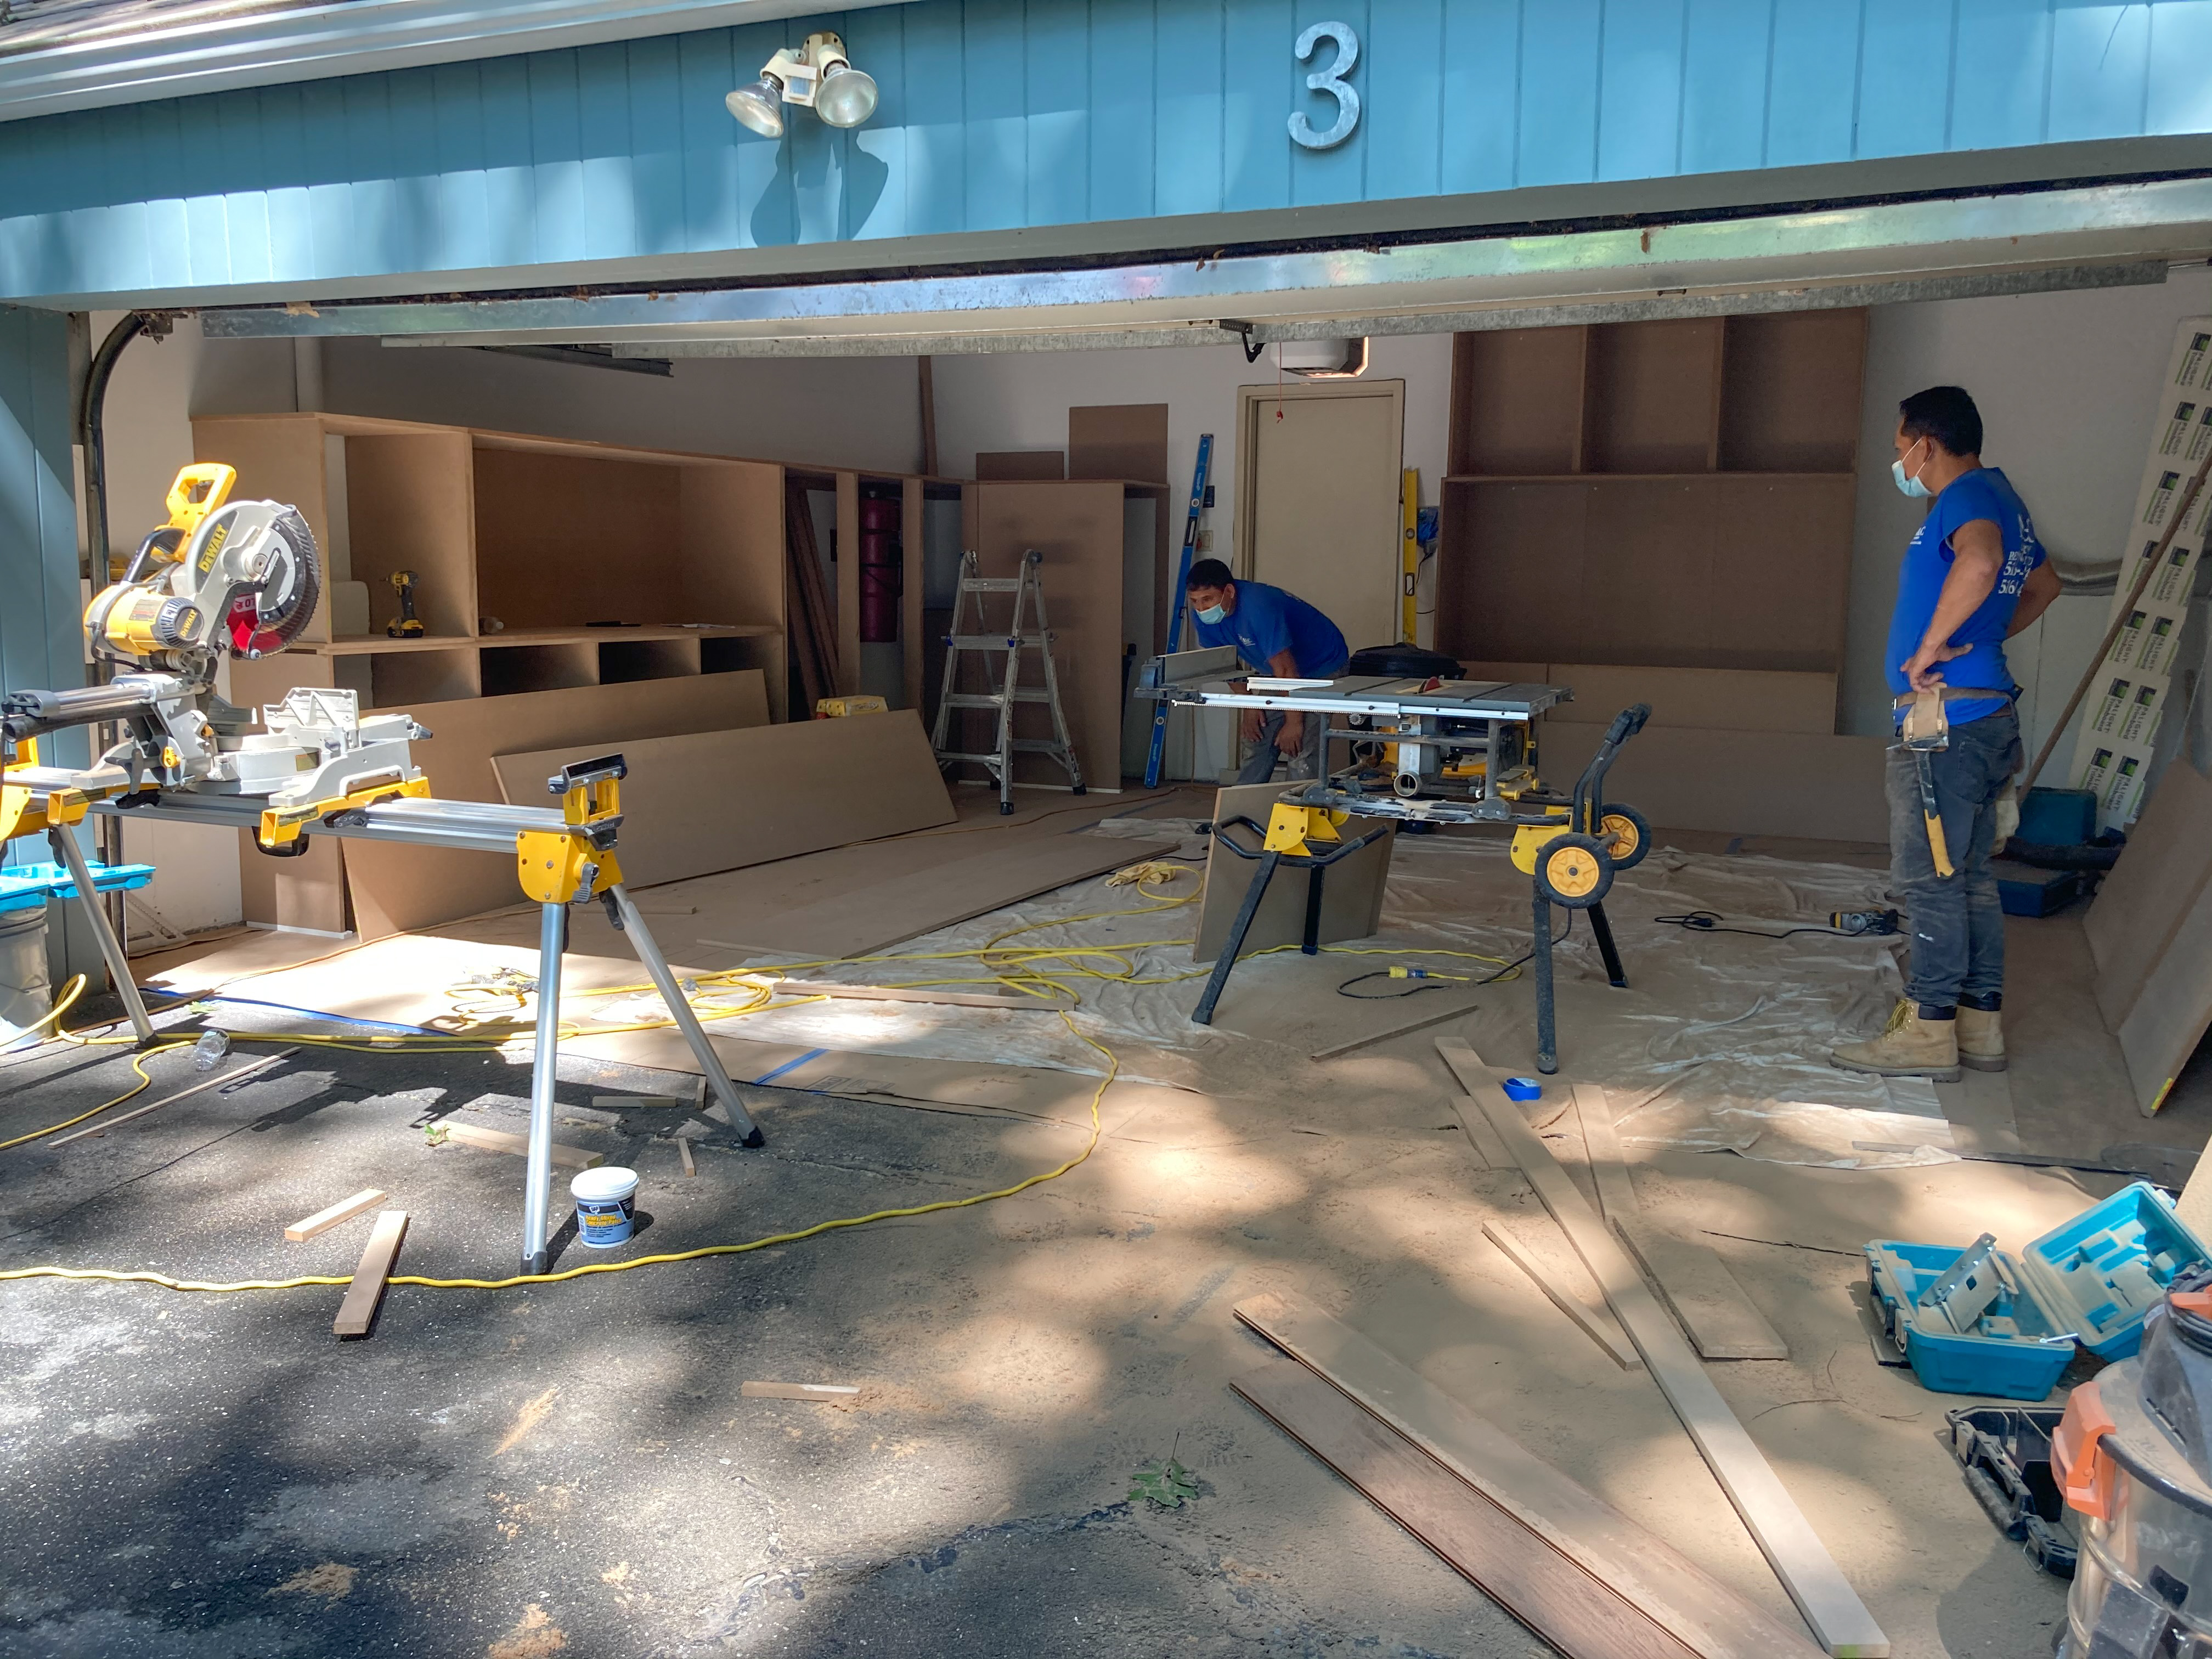
All debris is removed at the end of the day, every day.


_
Making cabinet doors
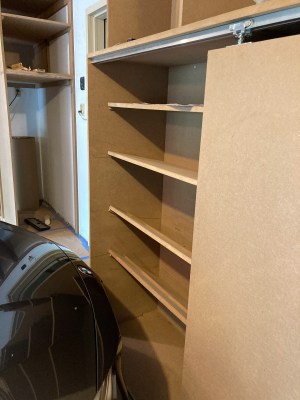
Now that all cabinet frames are set in place, work on cabinet doors can begin. The first doors made were the sliding doors for the shoe cabinet.

Progressive inclinations are prescribed for shoe shelves, such that it was possible for the beneficiary of this shoe cabinet to inspect all shoes on all shelves while standing up. No crouching is required. The car was parked as close to the cabinet a possible as a test. In real use the gap between a parked car and the cabinet is about 2 feet wide.


_
Priming cabinet frames and doors
It is time to prime both frames and doors. This phase of the cabinetry work starts with the removal of all doors from cabinet frames. All hinges are stripped as well. Each door is carefully labeled in a recess hole left by the removed hinge, with its origin.


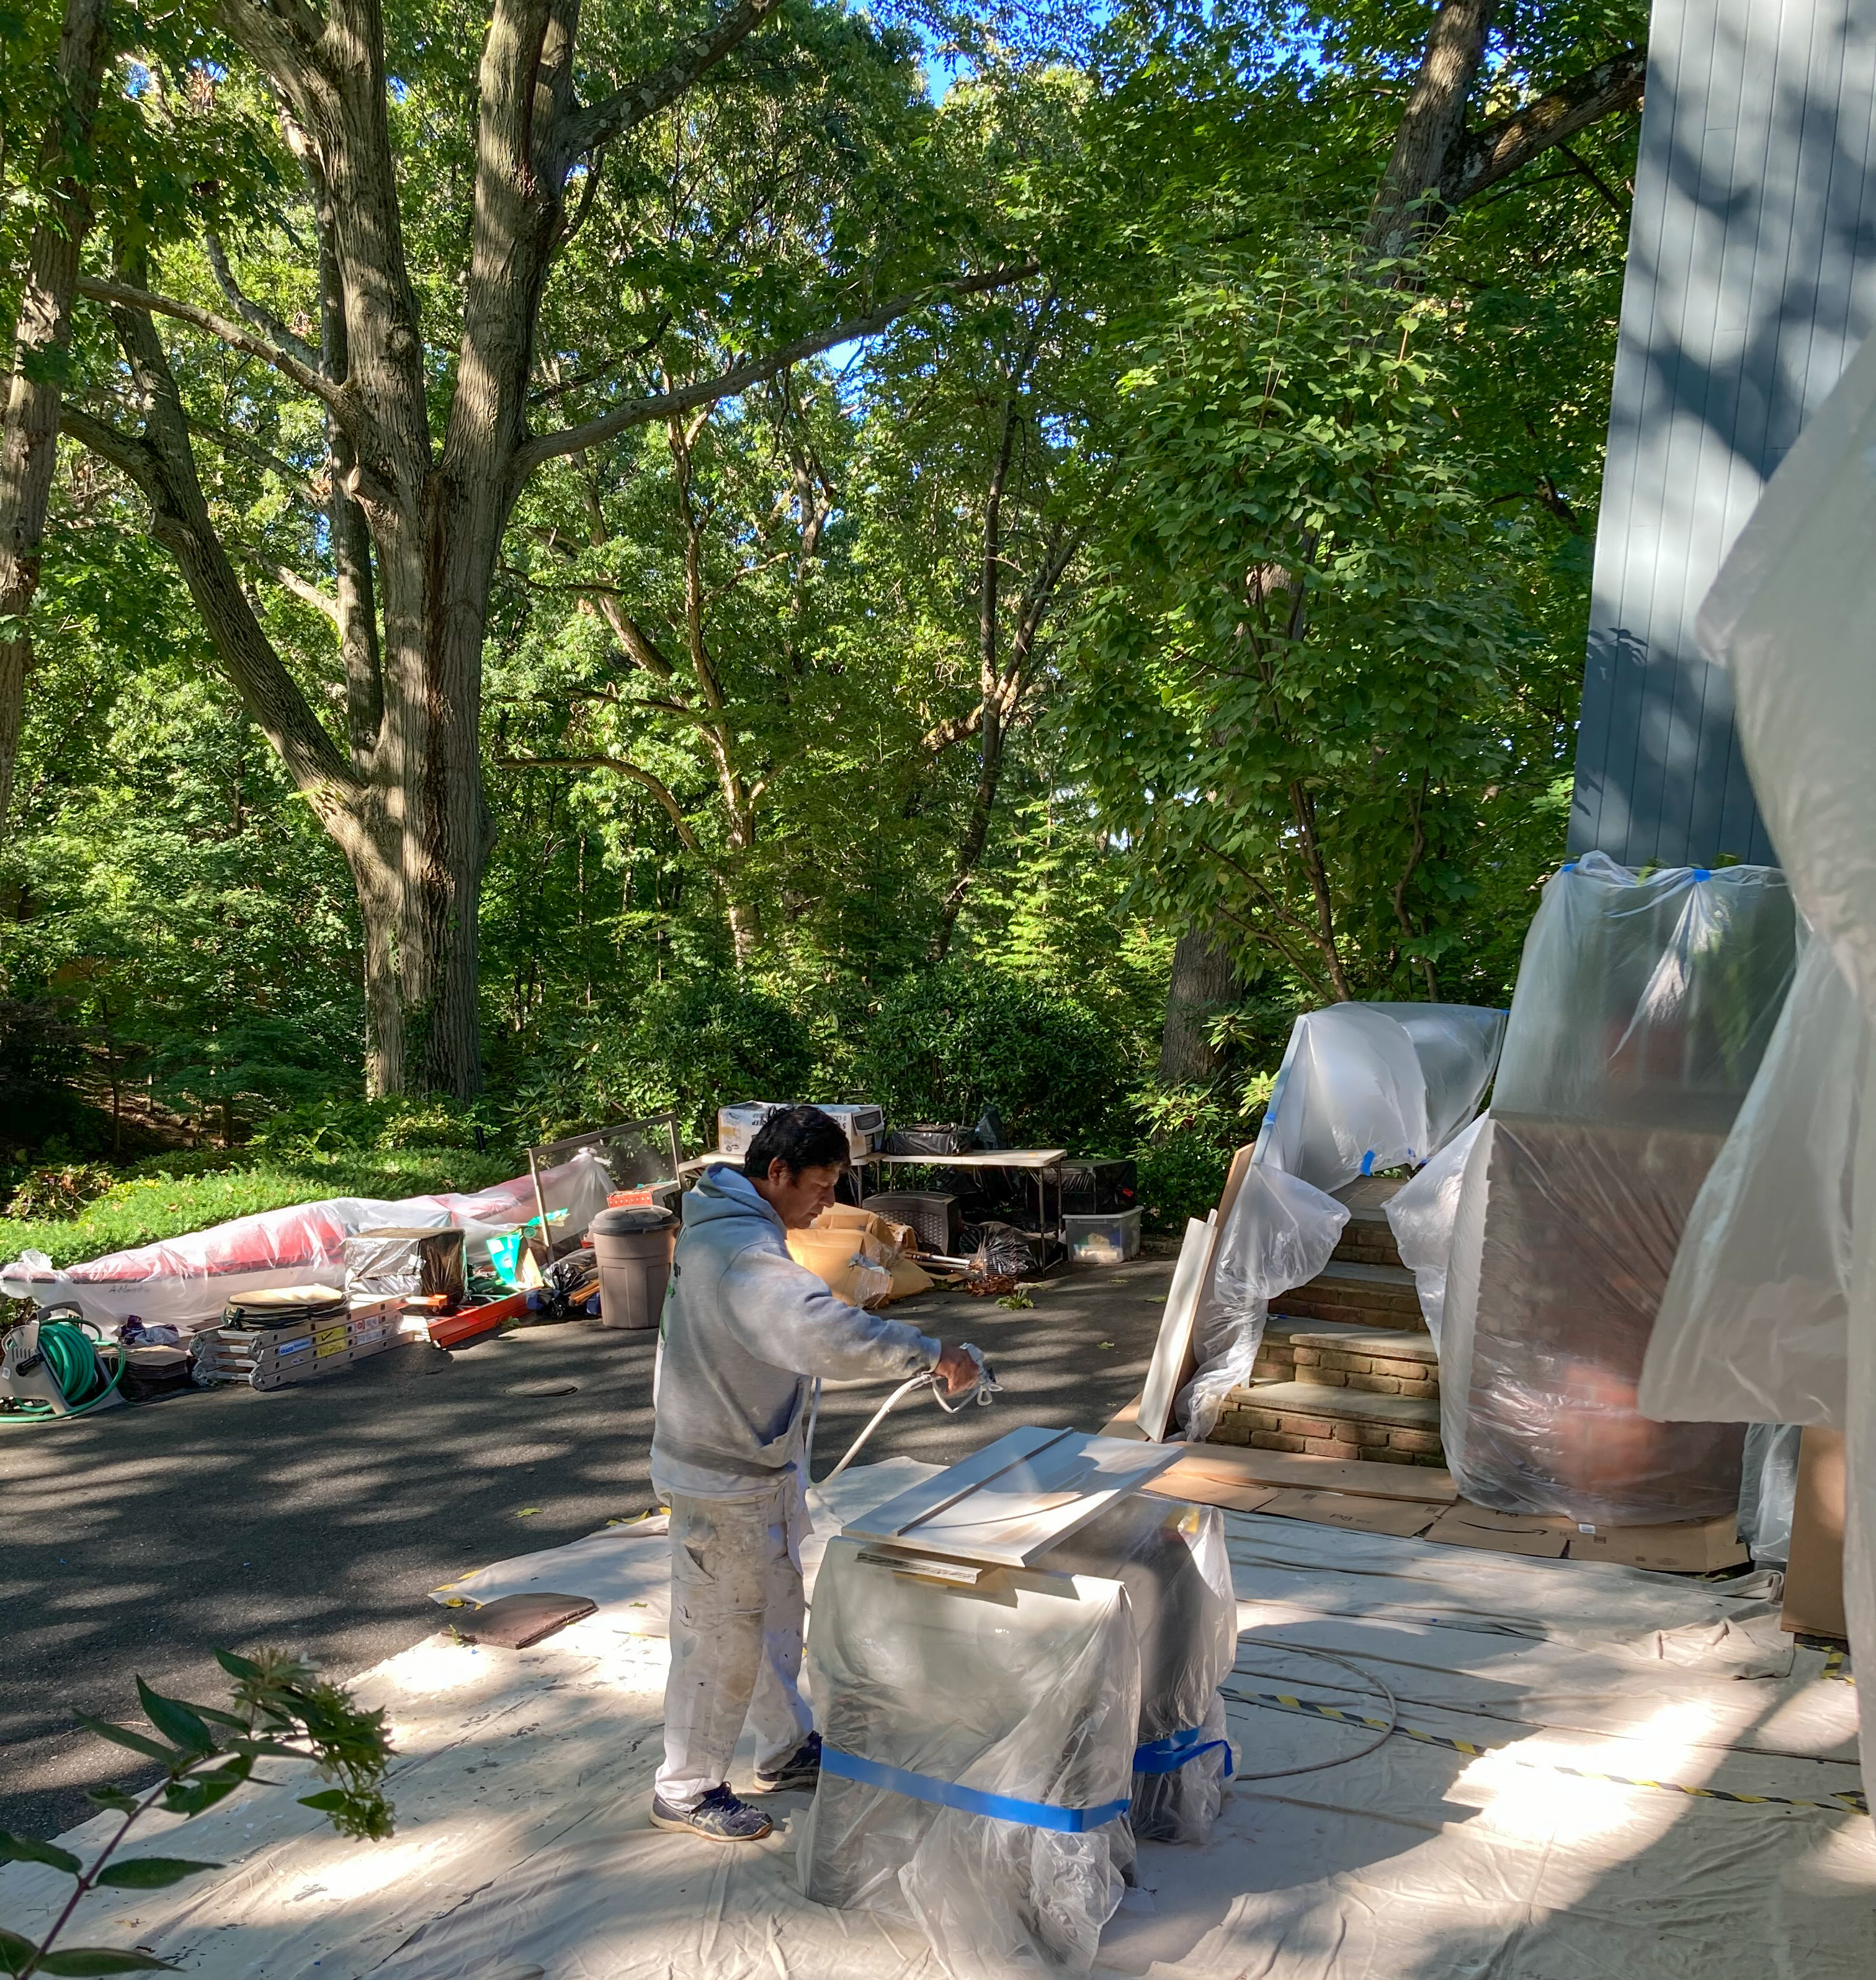
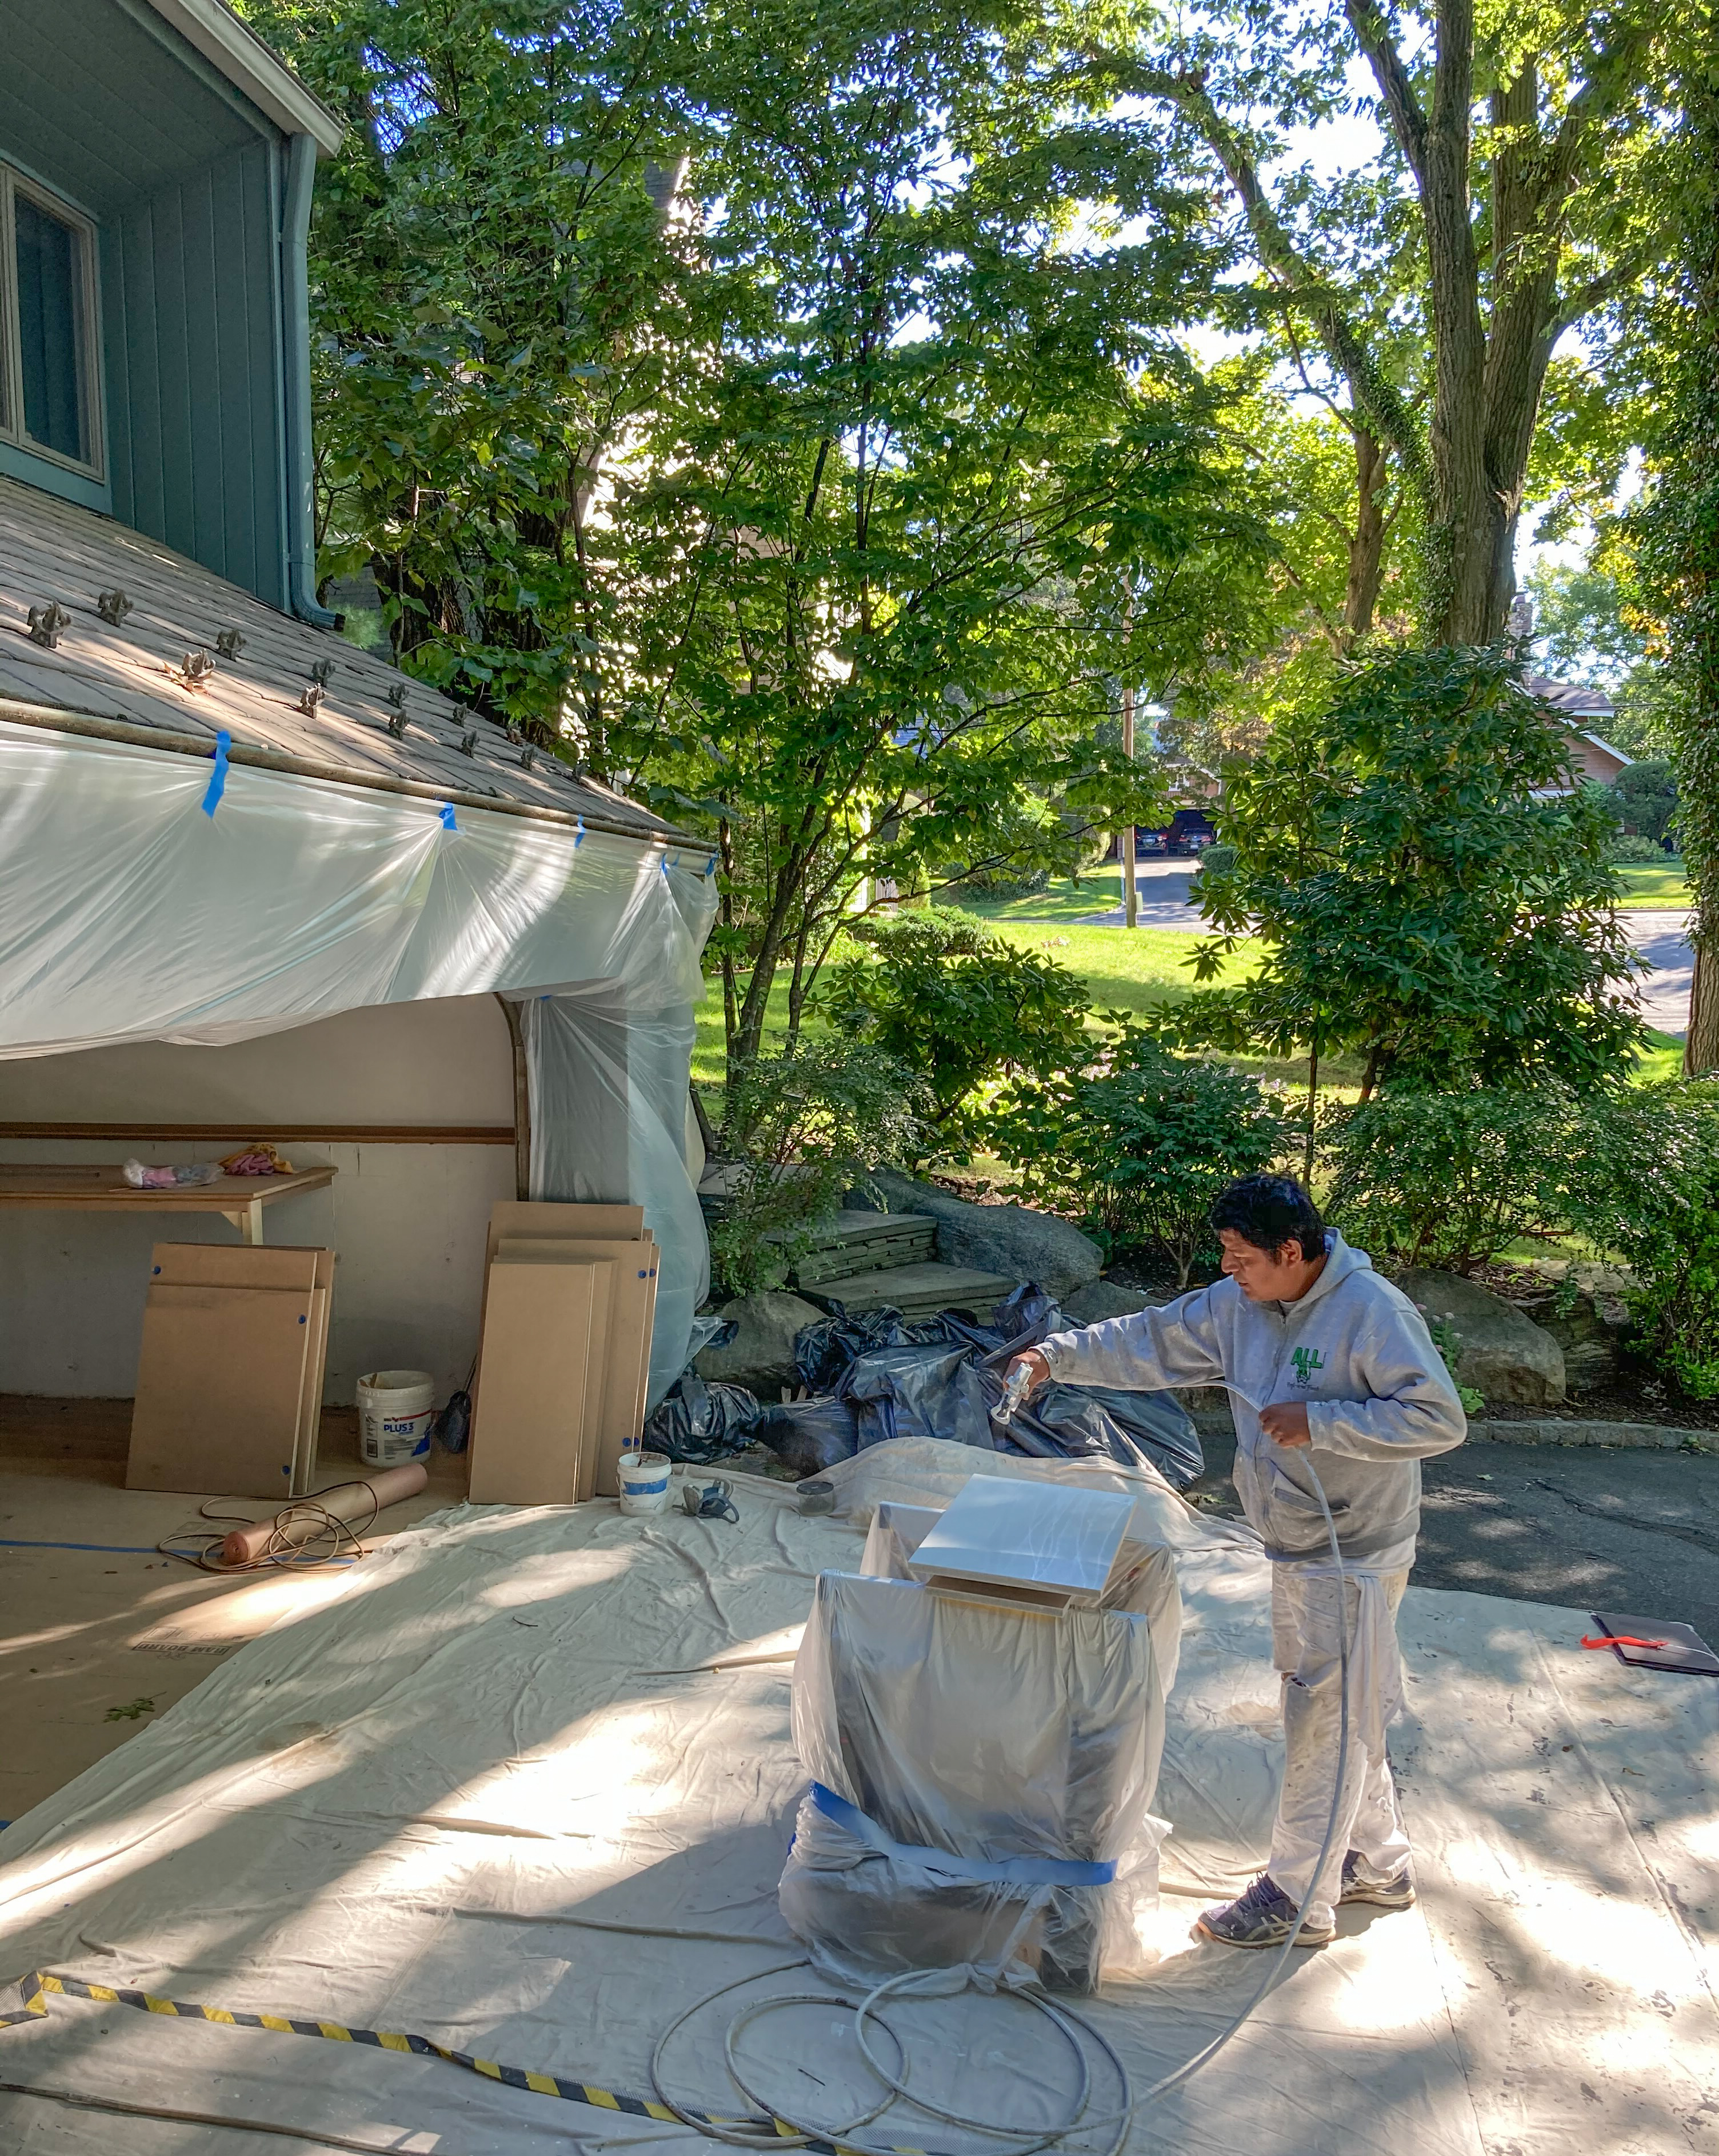
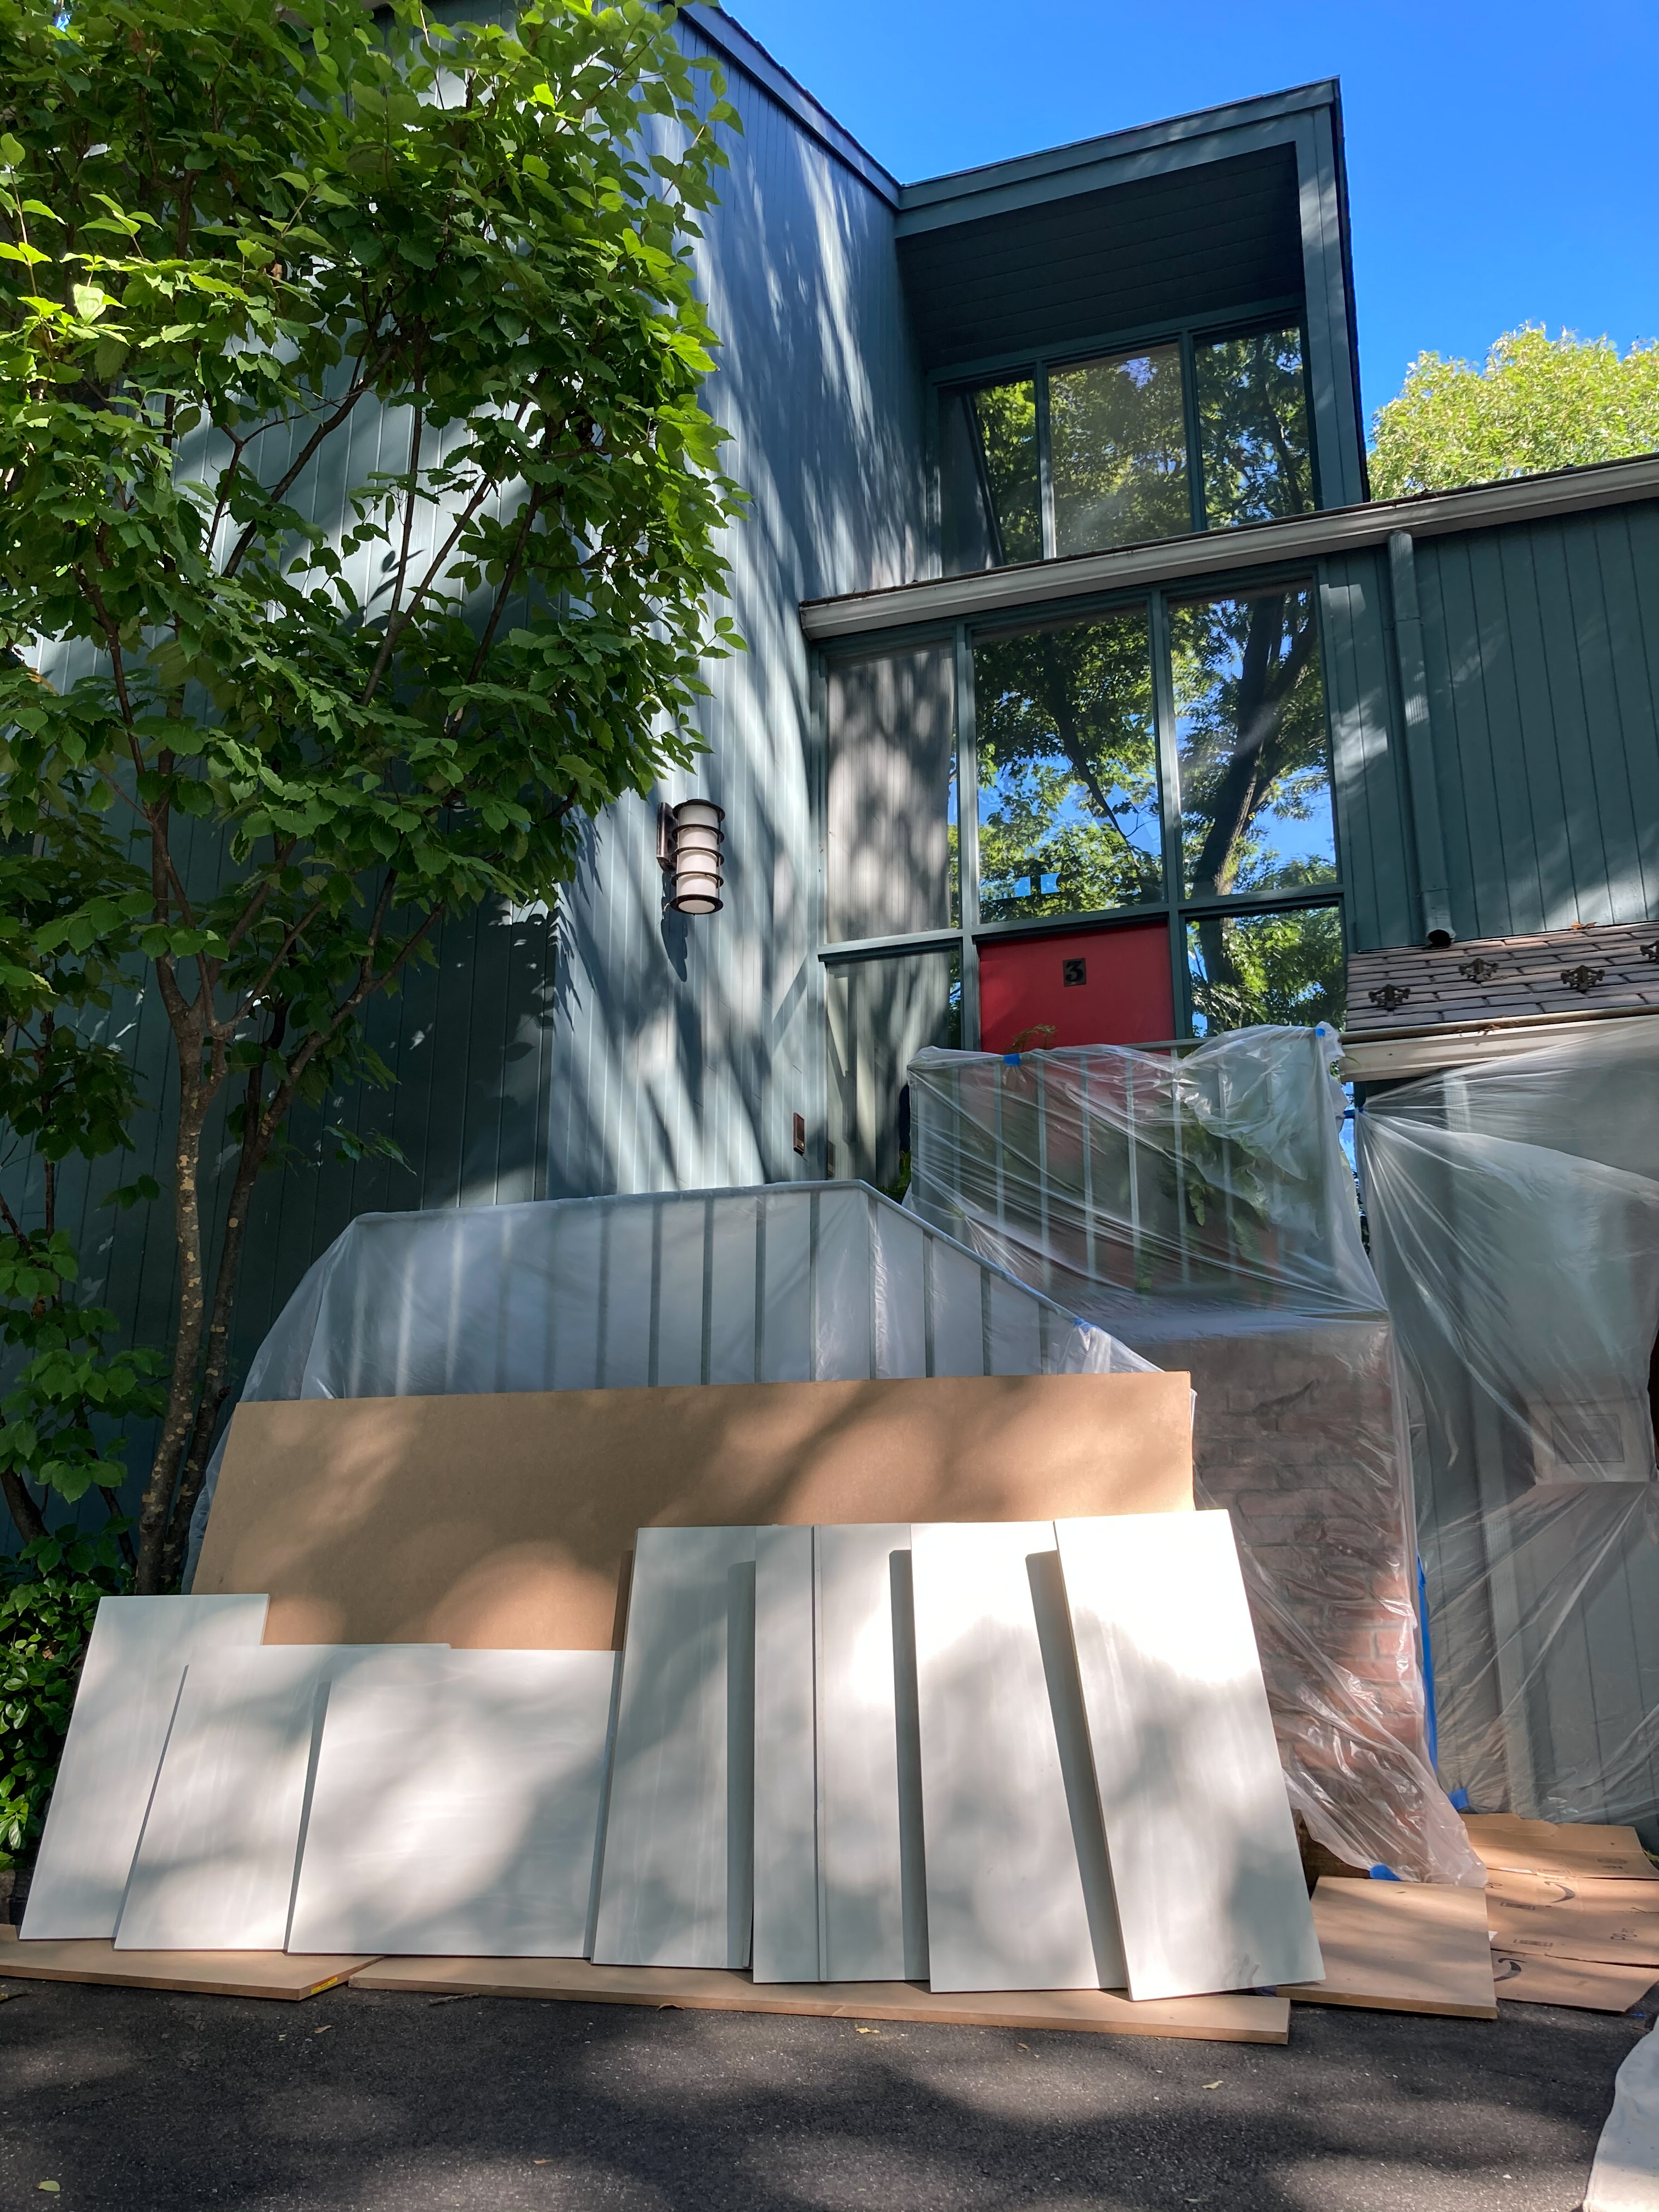
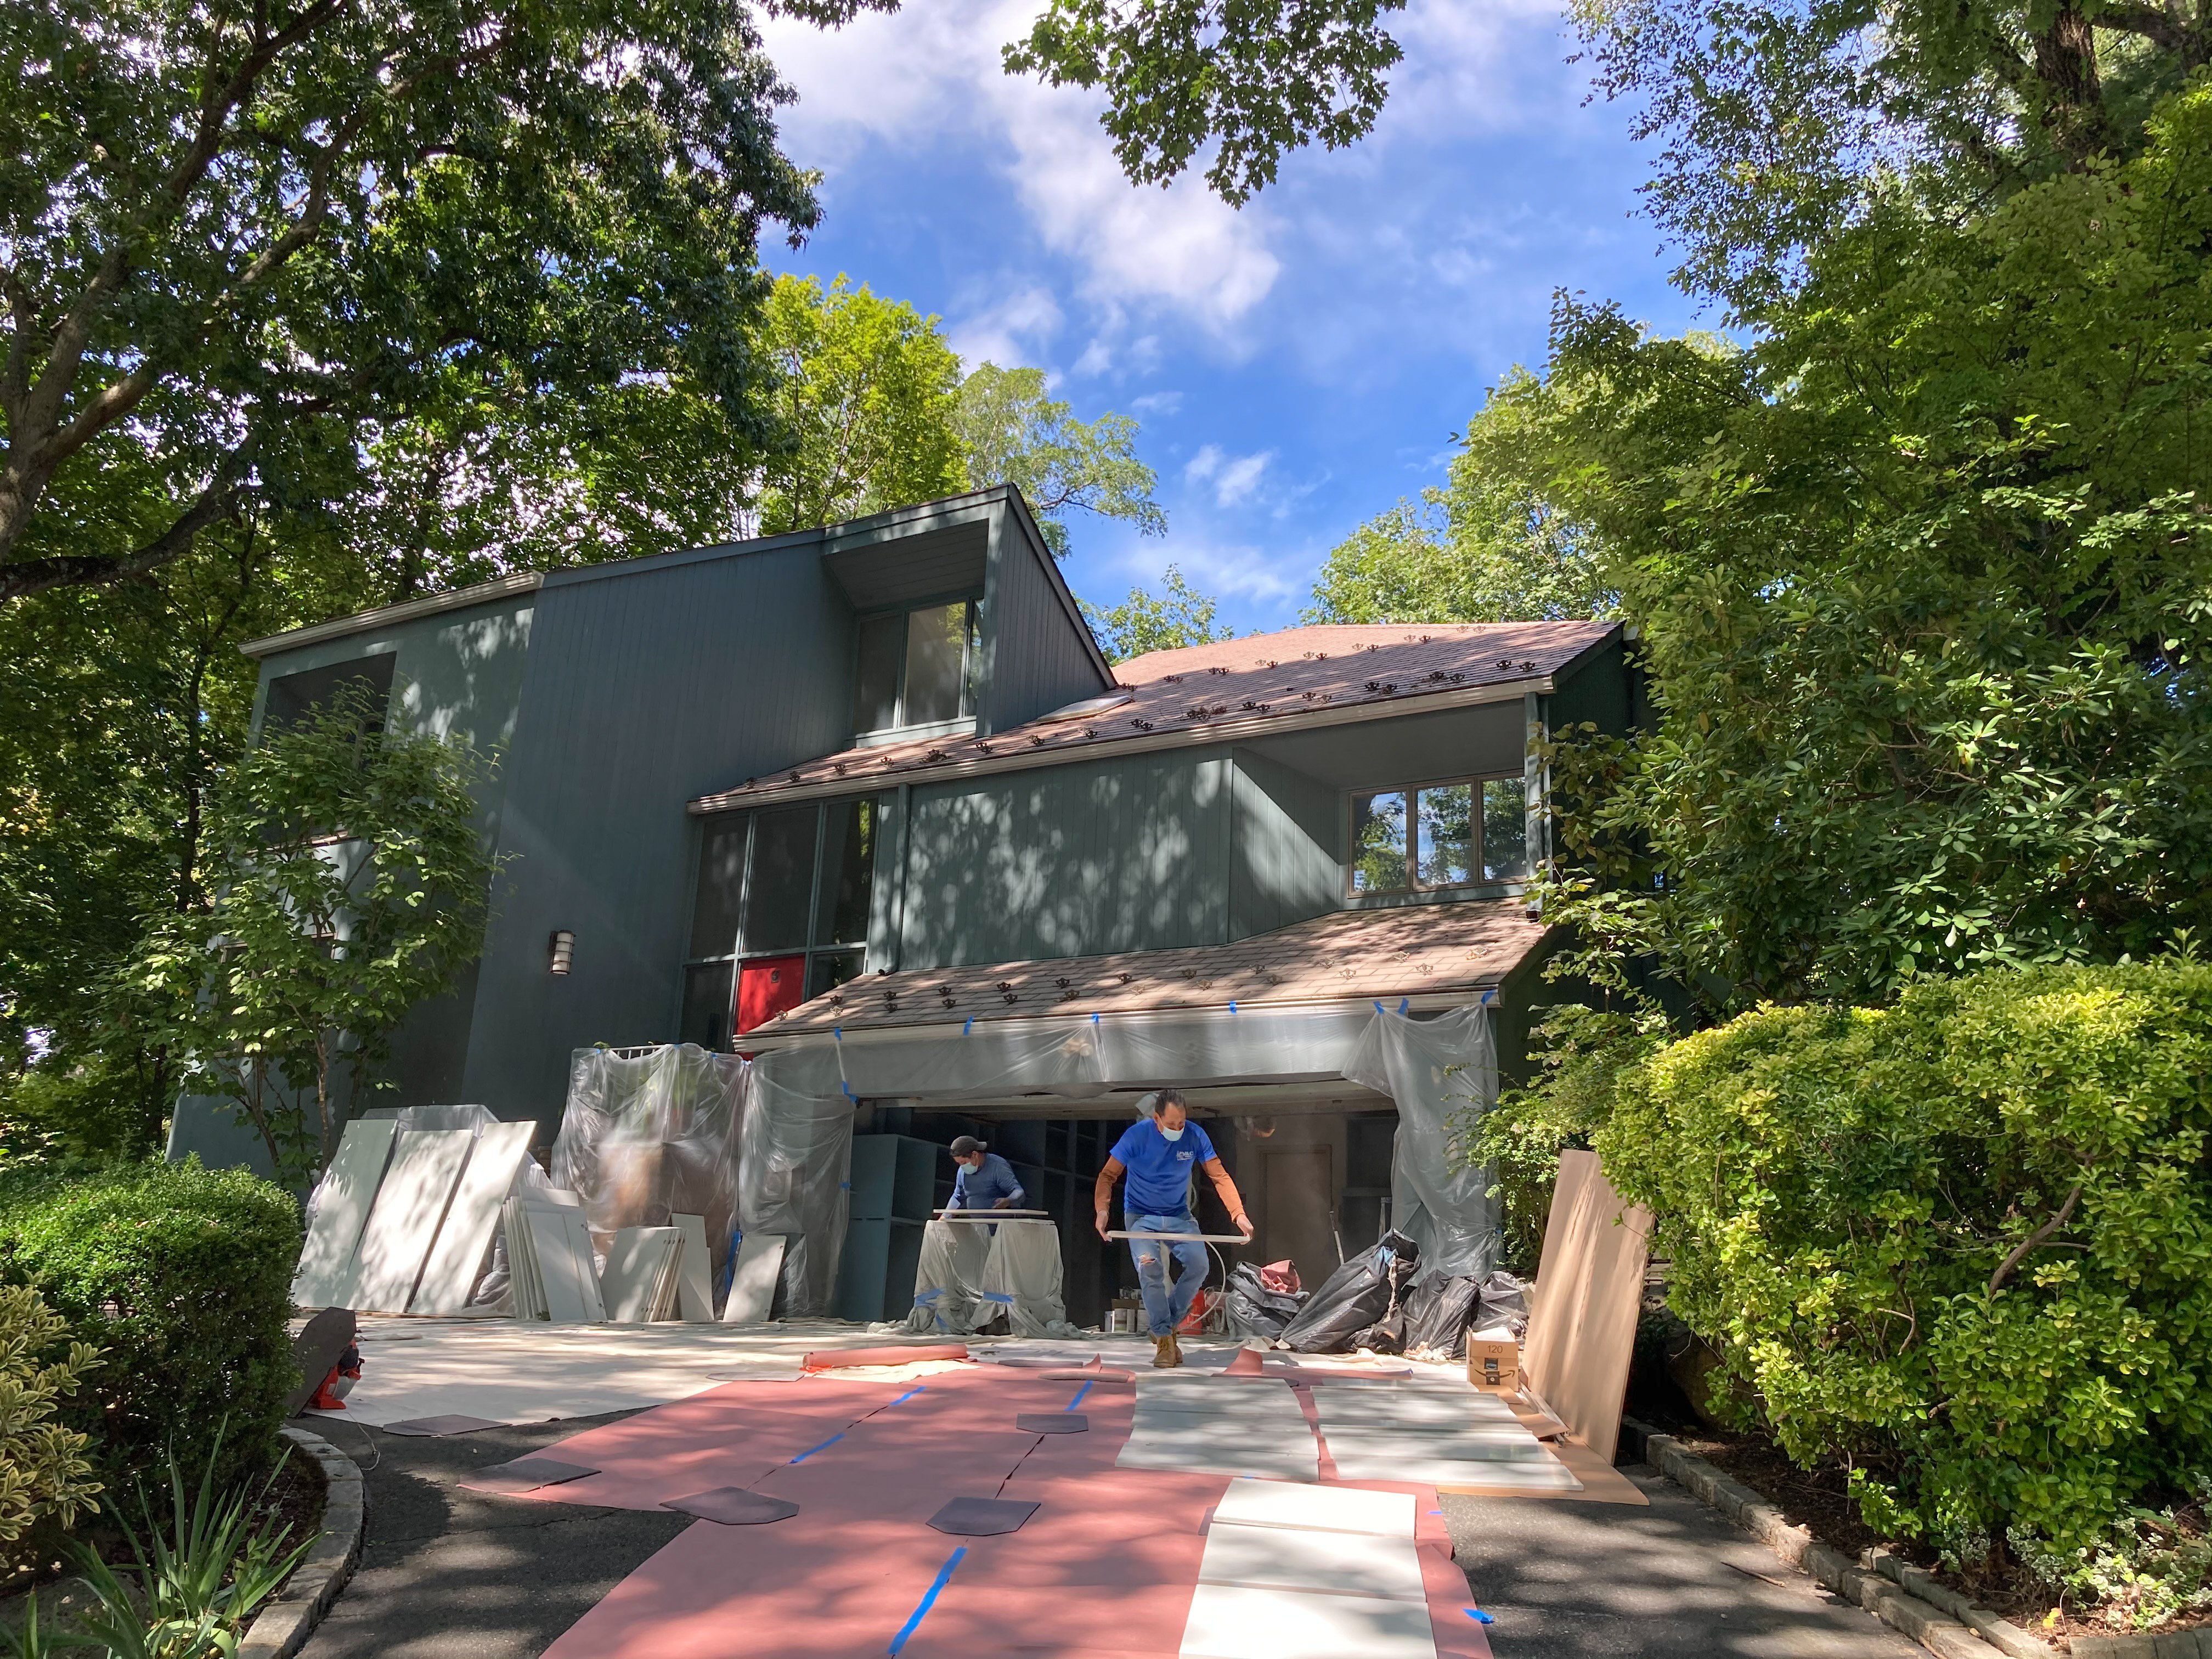
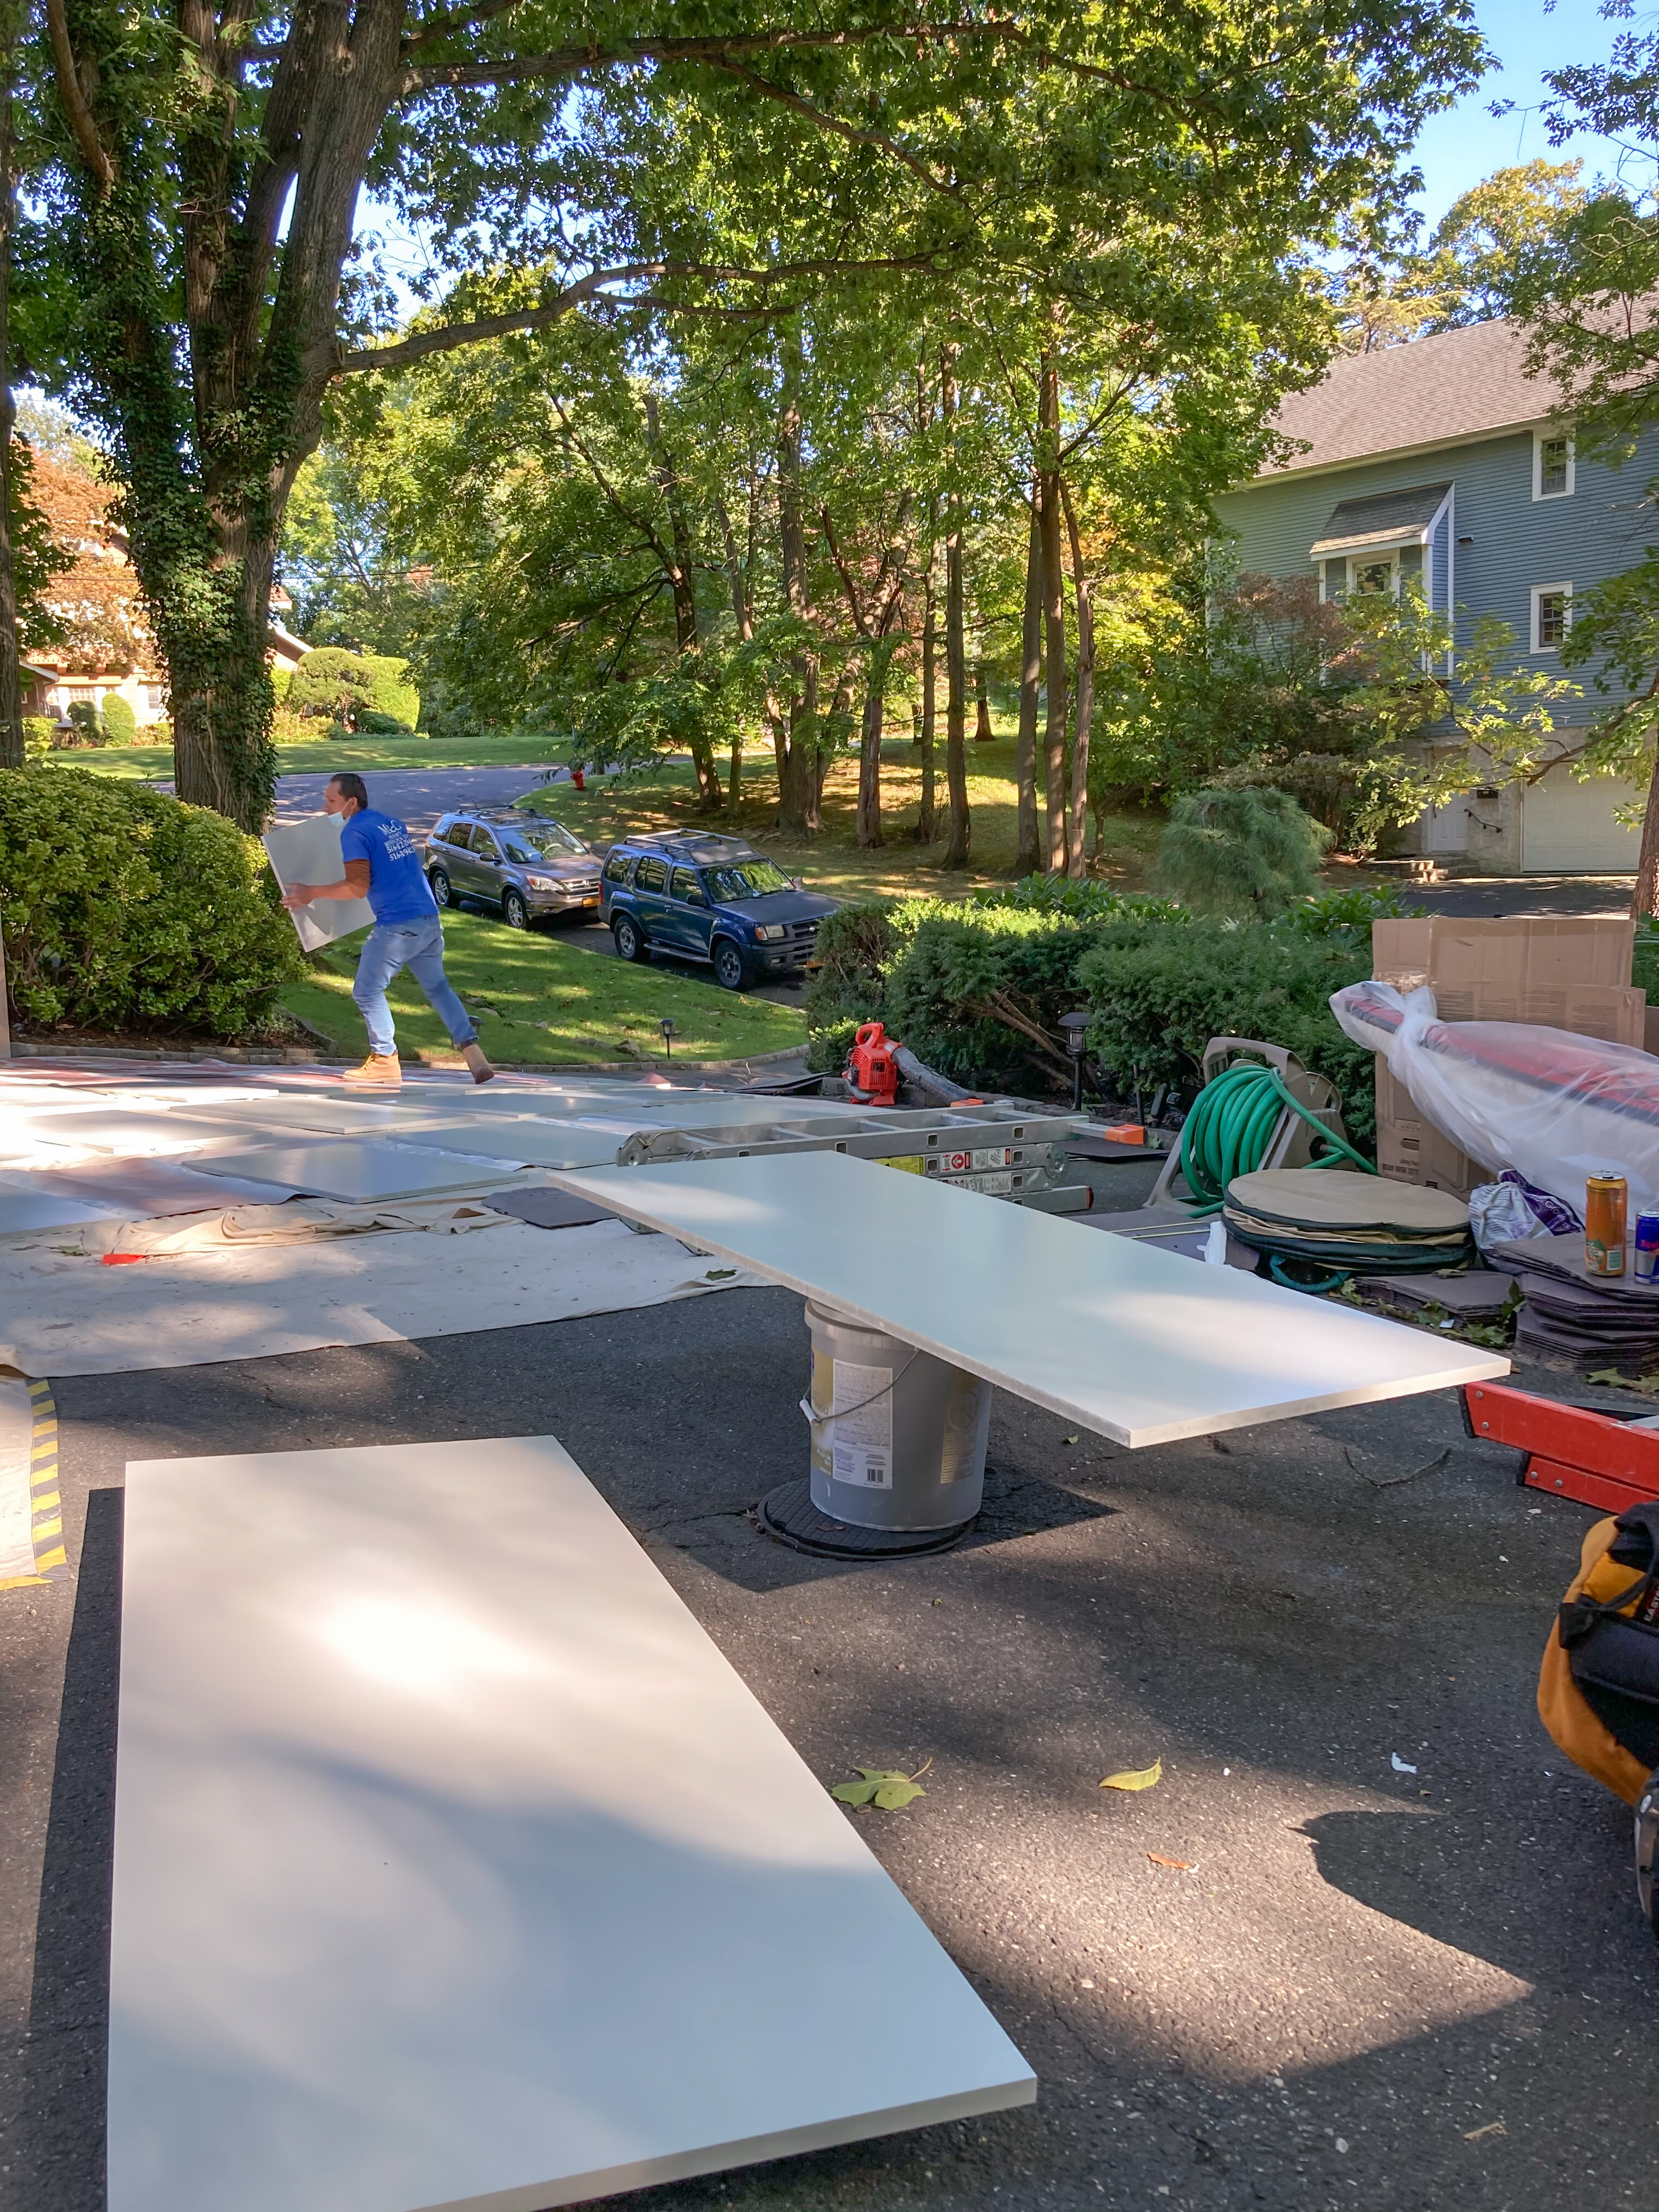
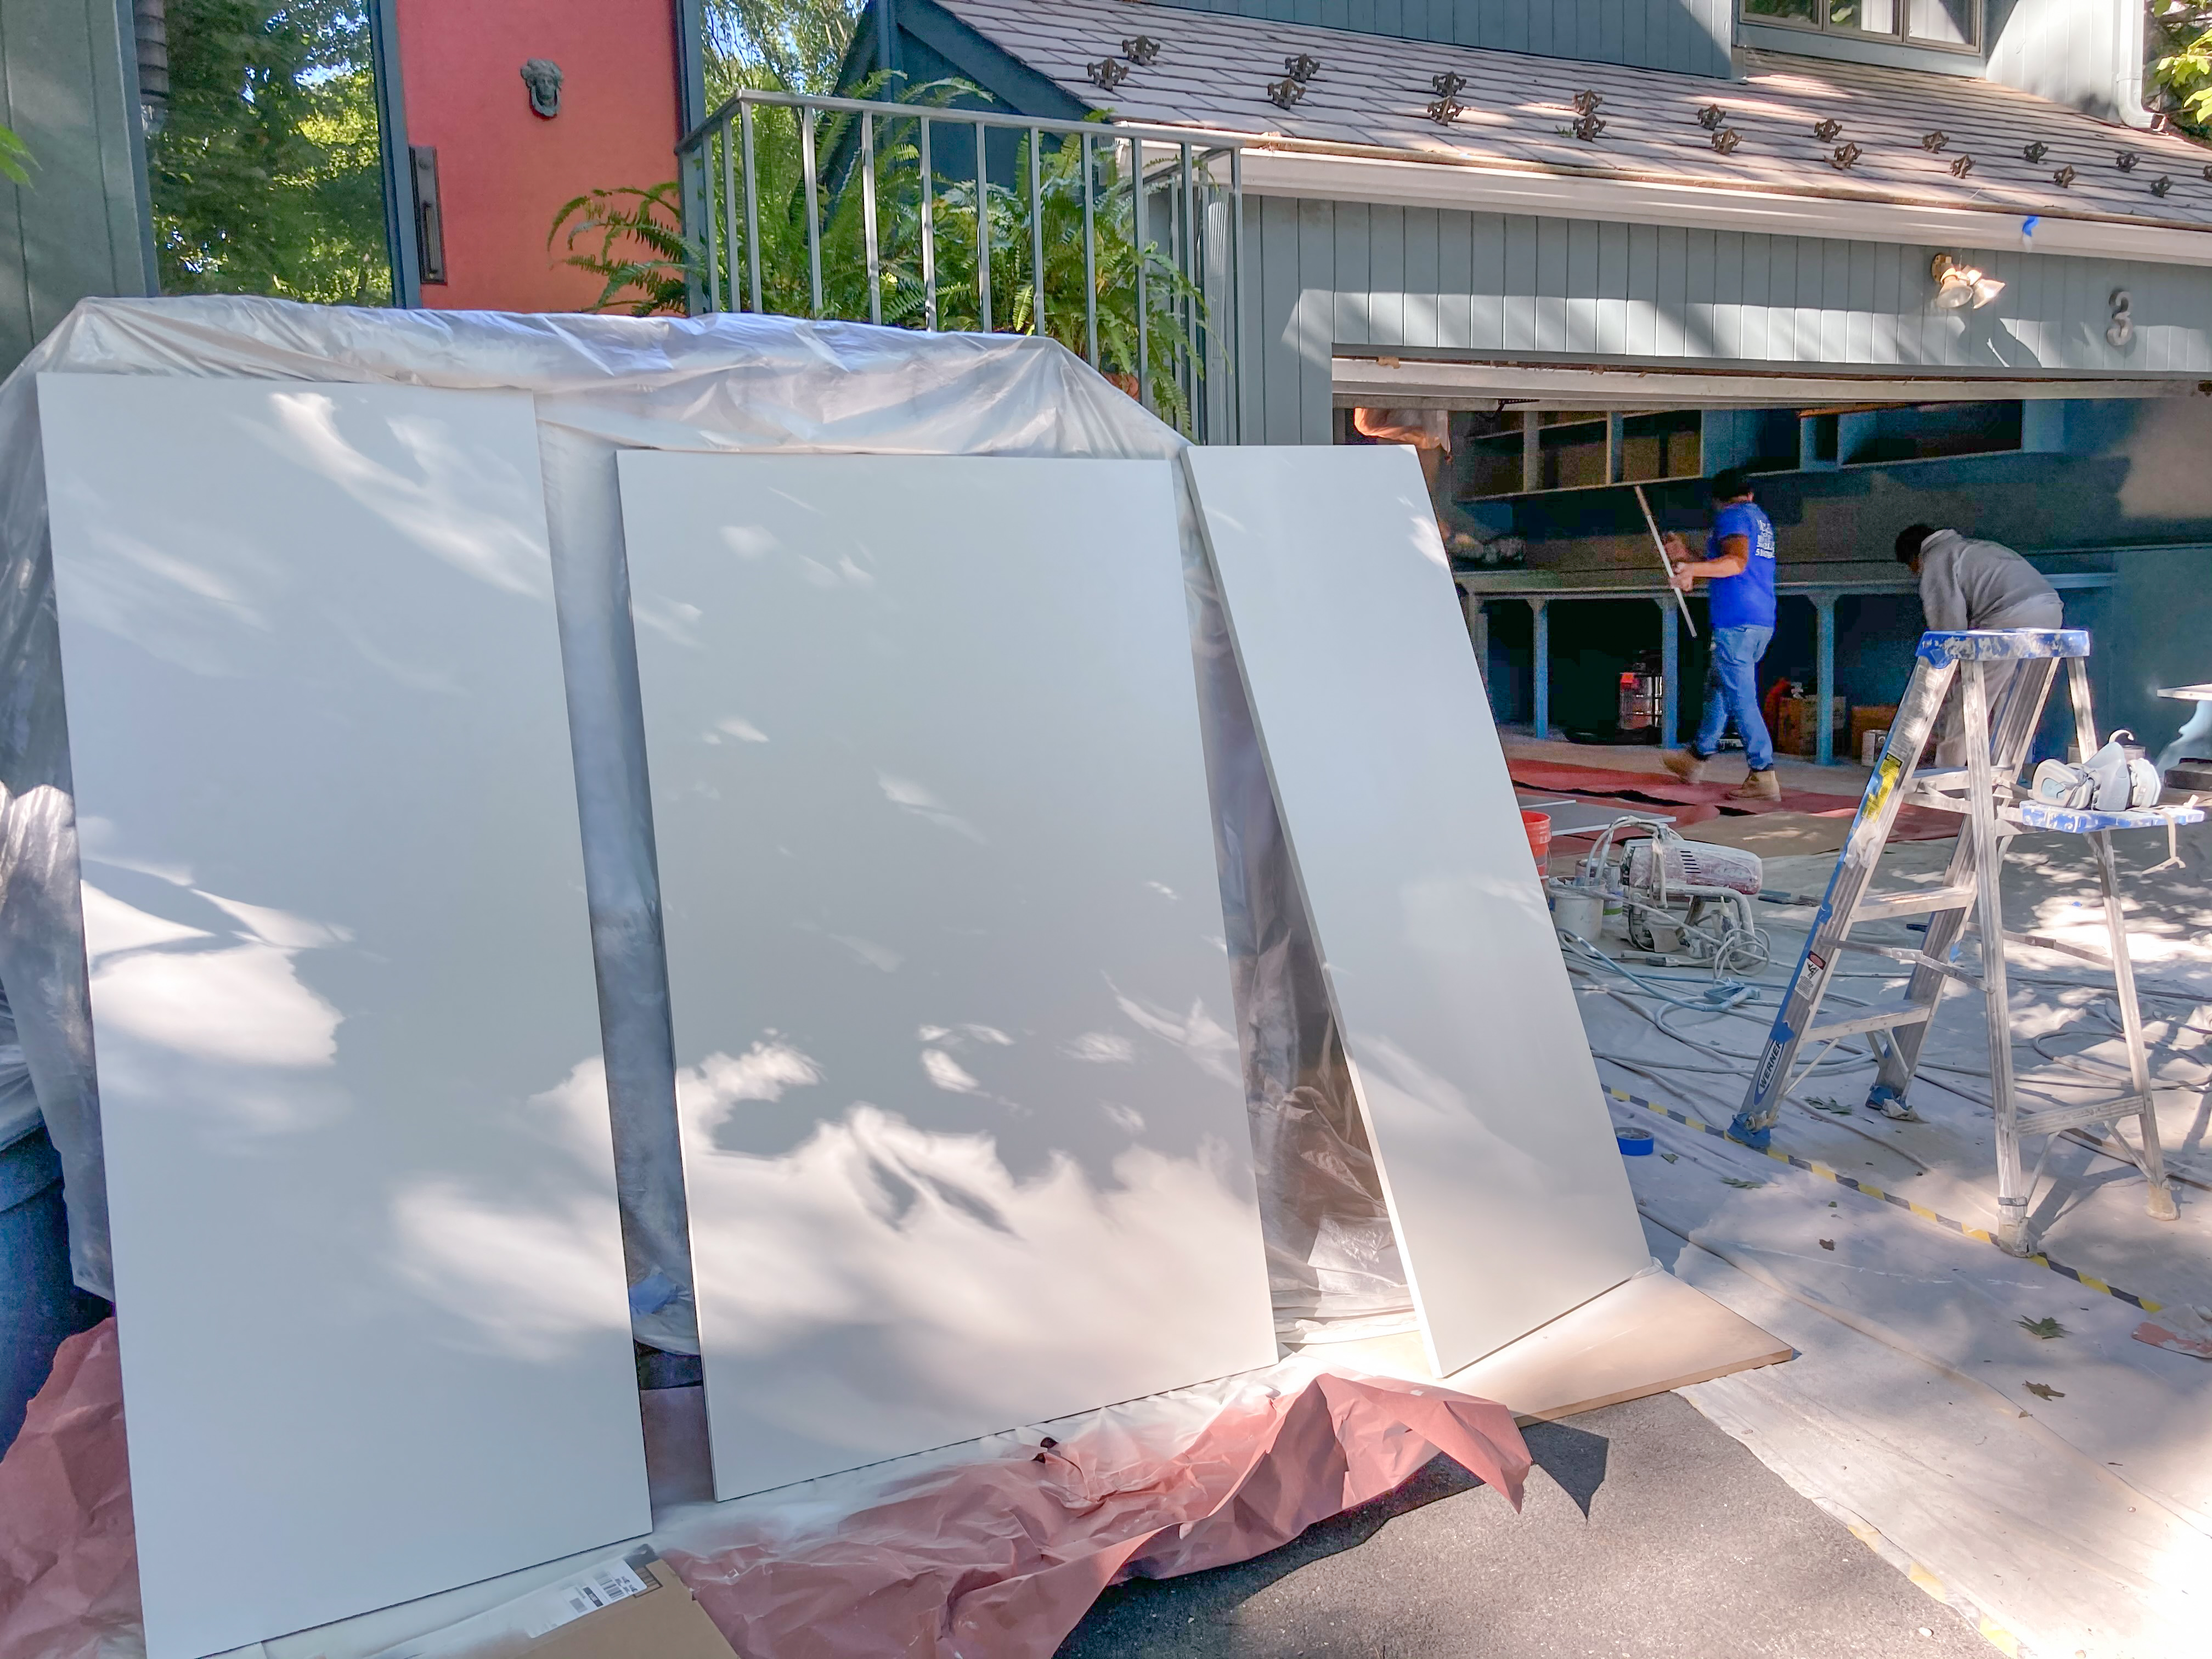
Most parts will be spray-painted. A spray-painting station is set up outside the garage. Walls near the station are covered up to avoid being stained by stray paint.
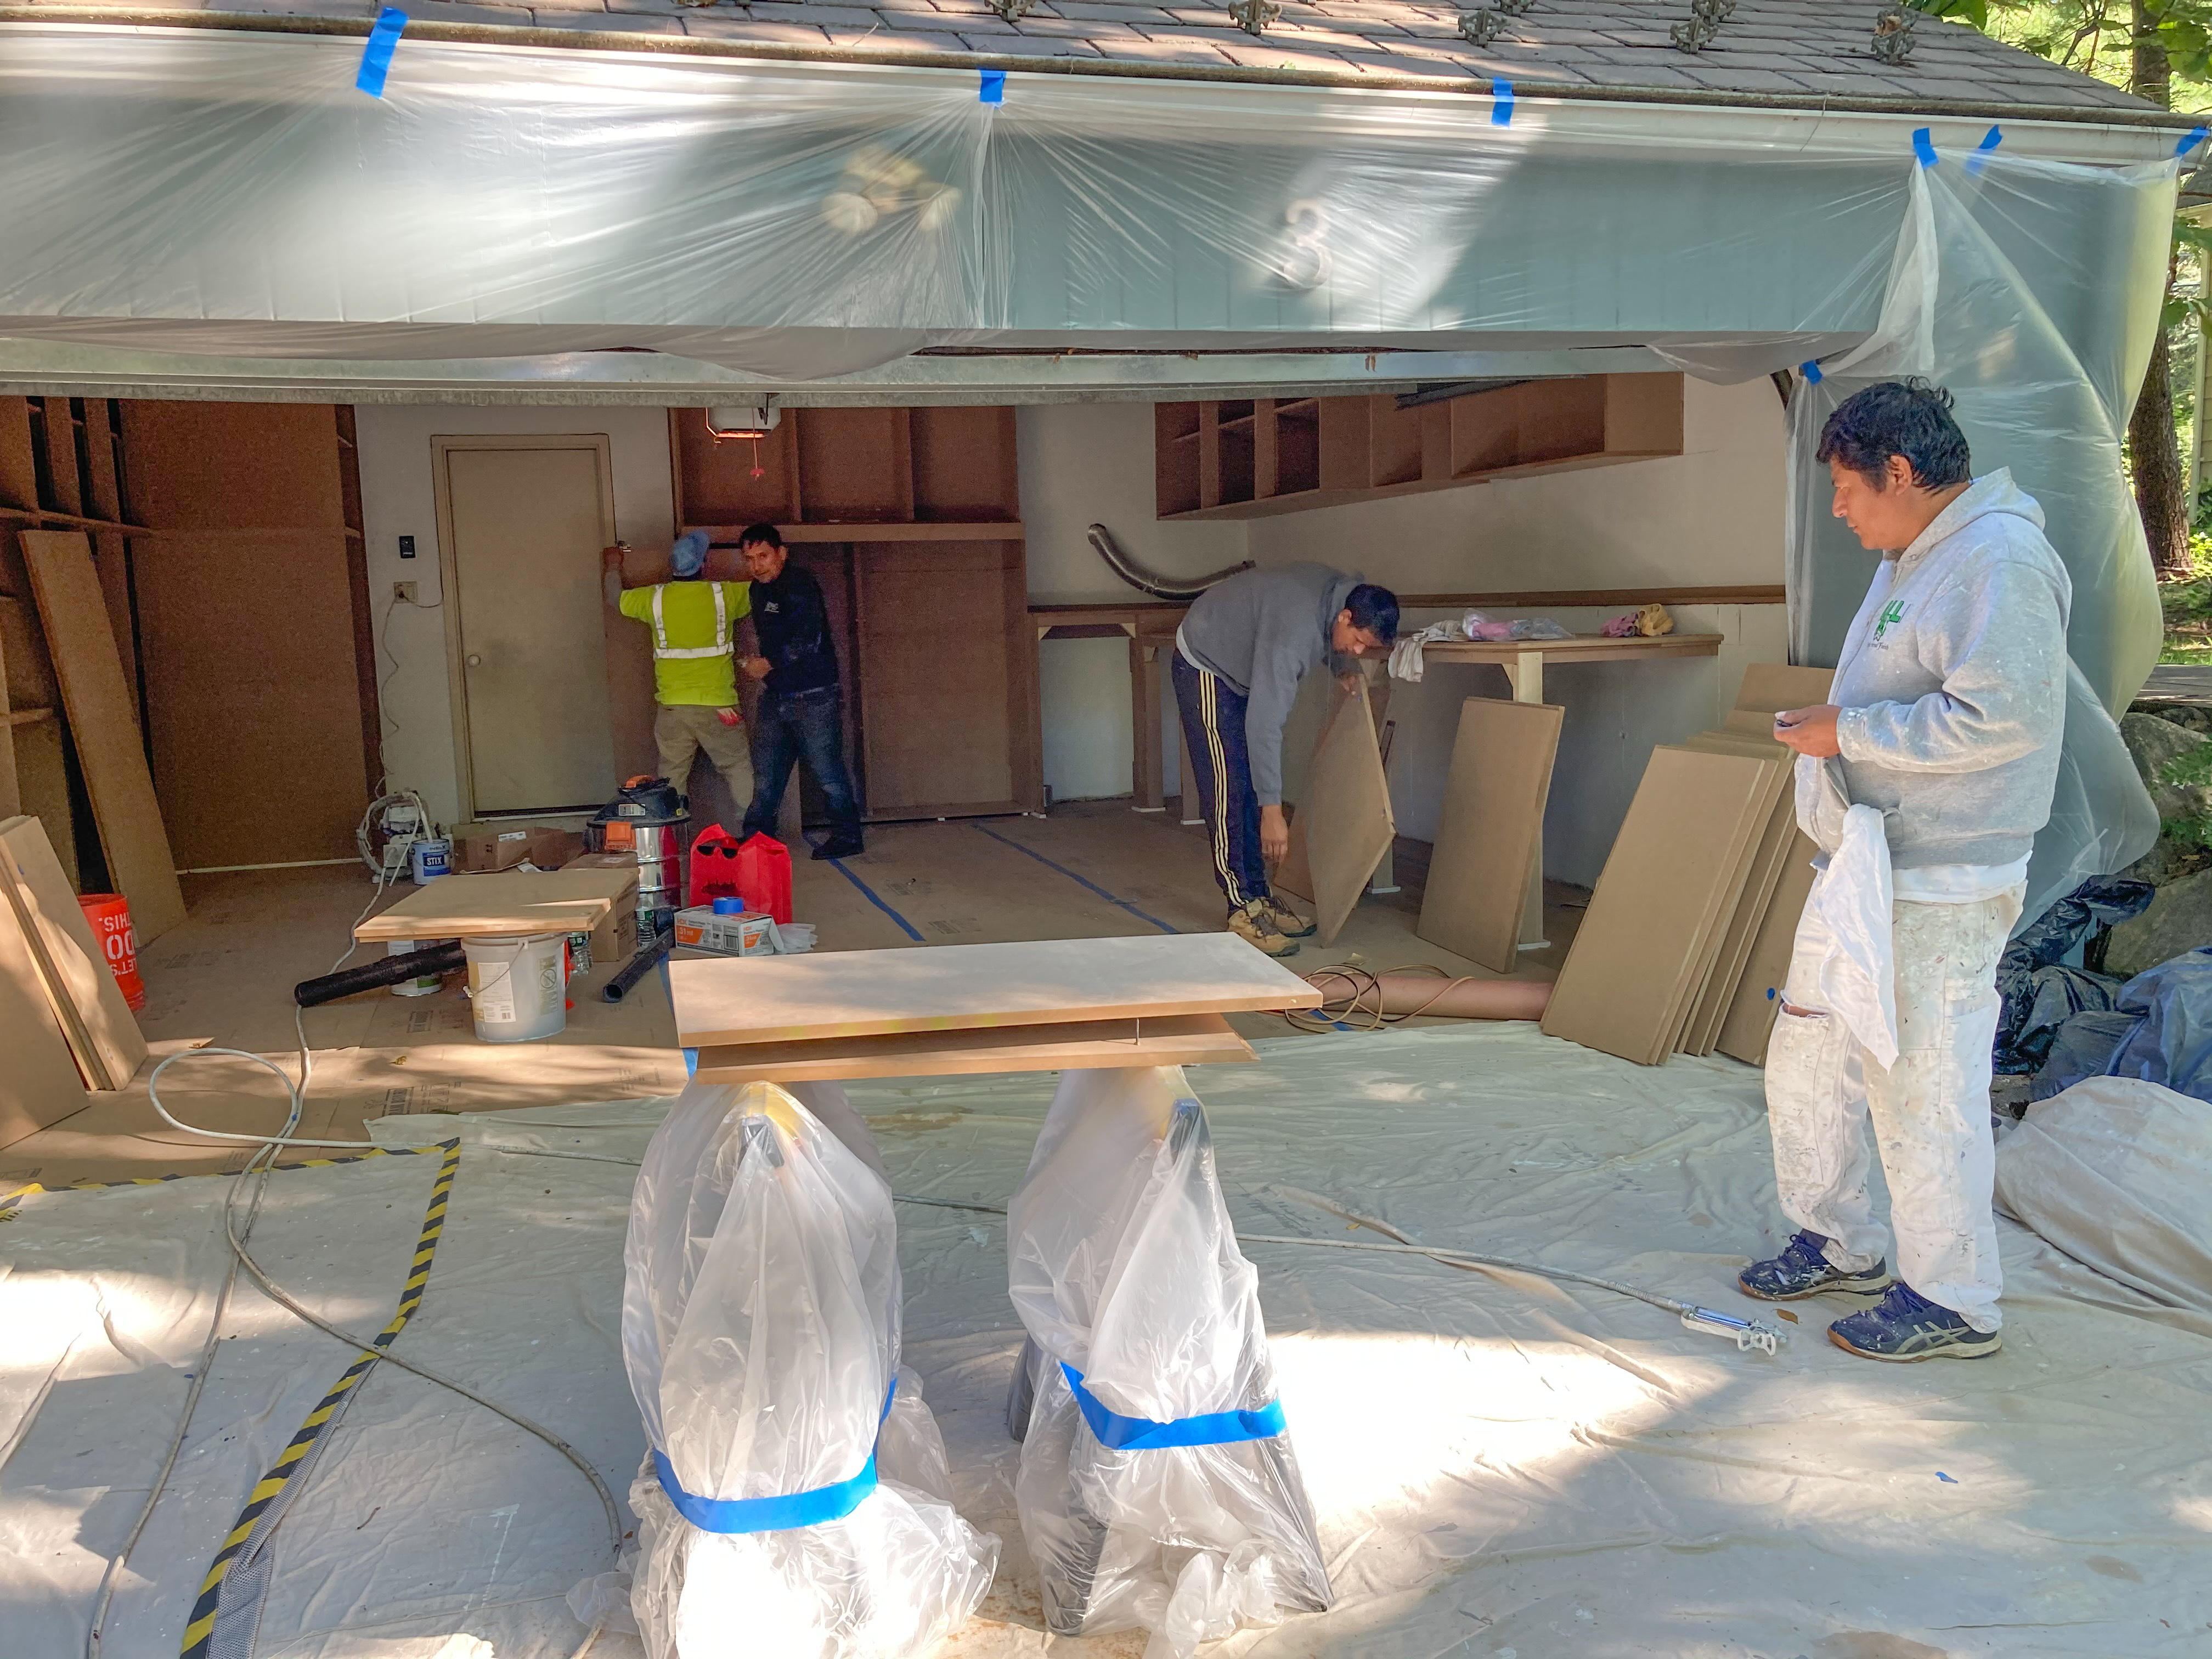
Spray-painting starts. A shelf from the shoe cabinet is being primed.


_
Painting cabinet frames and doors
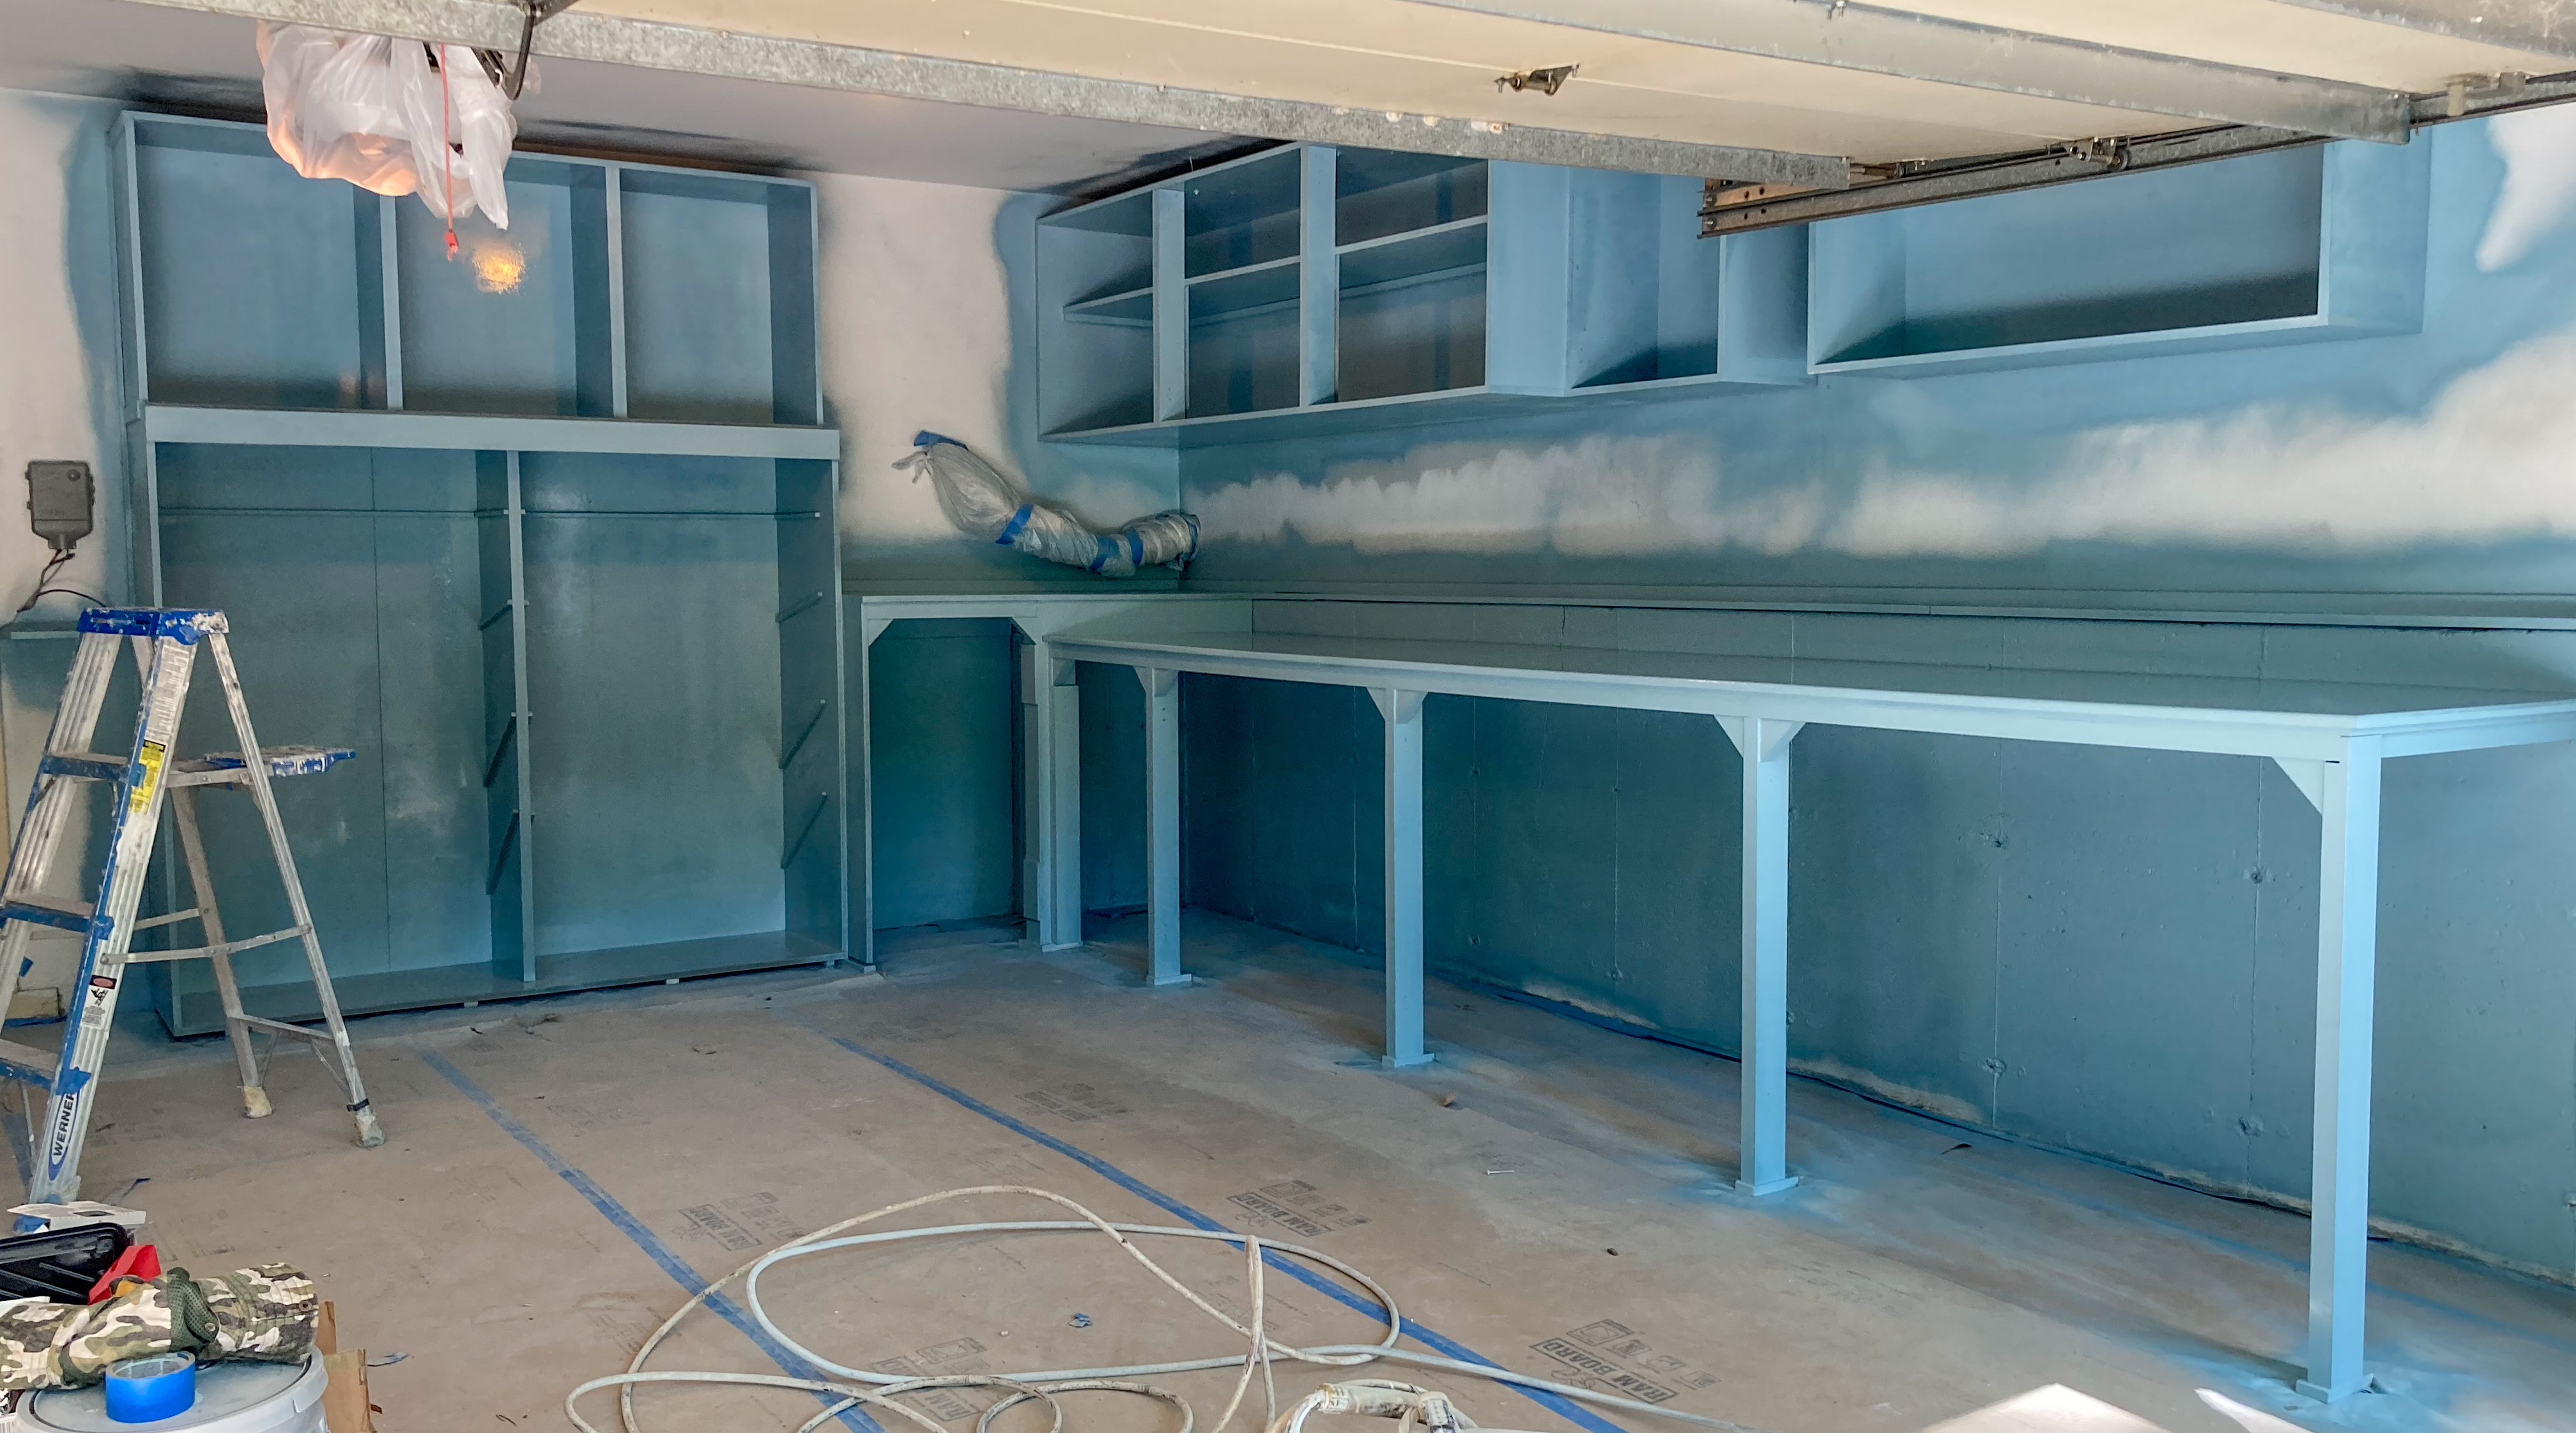
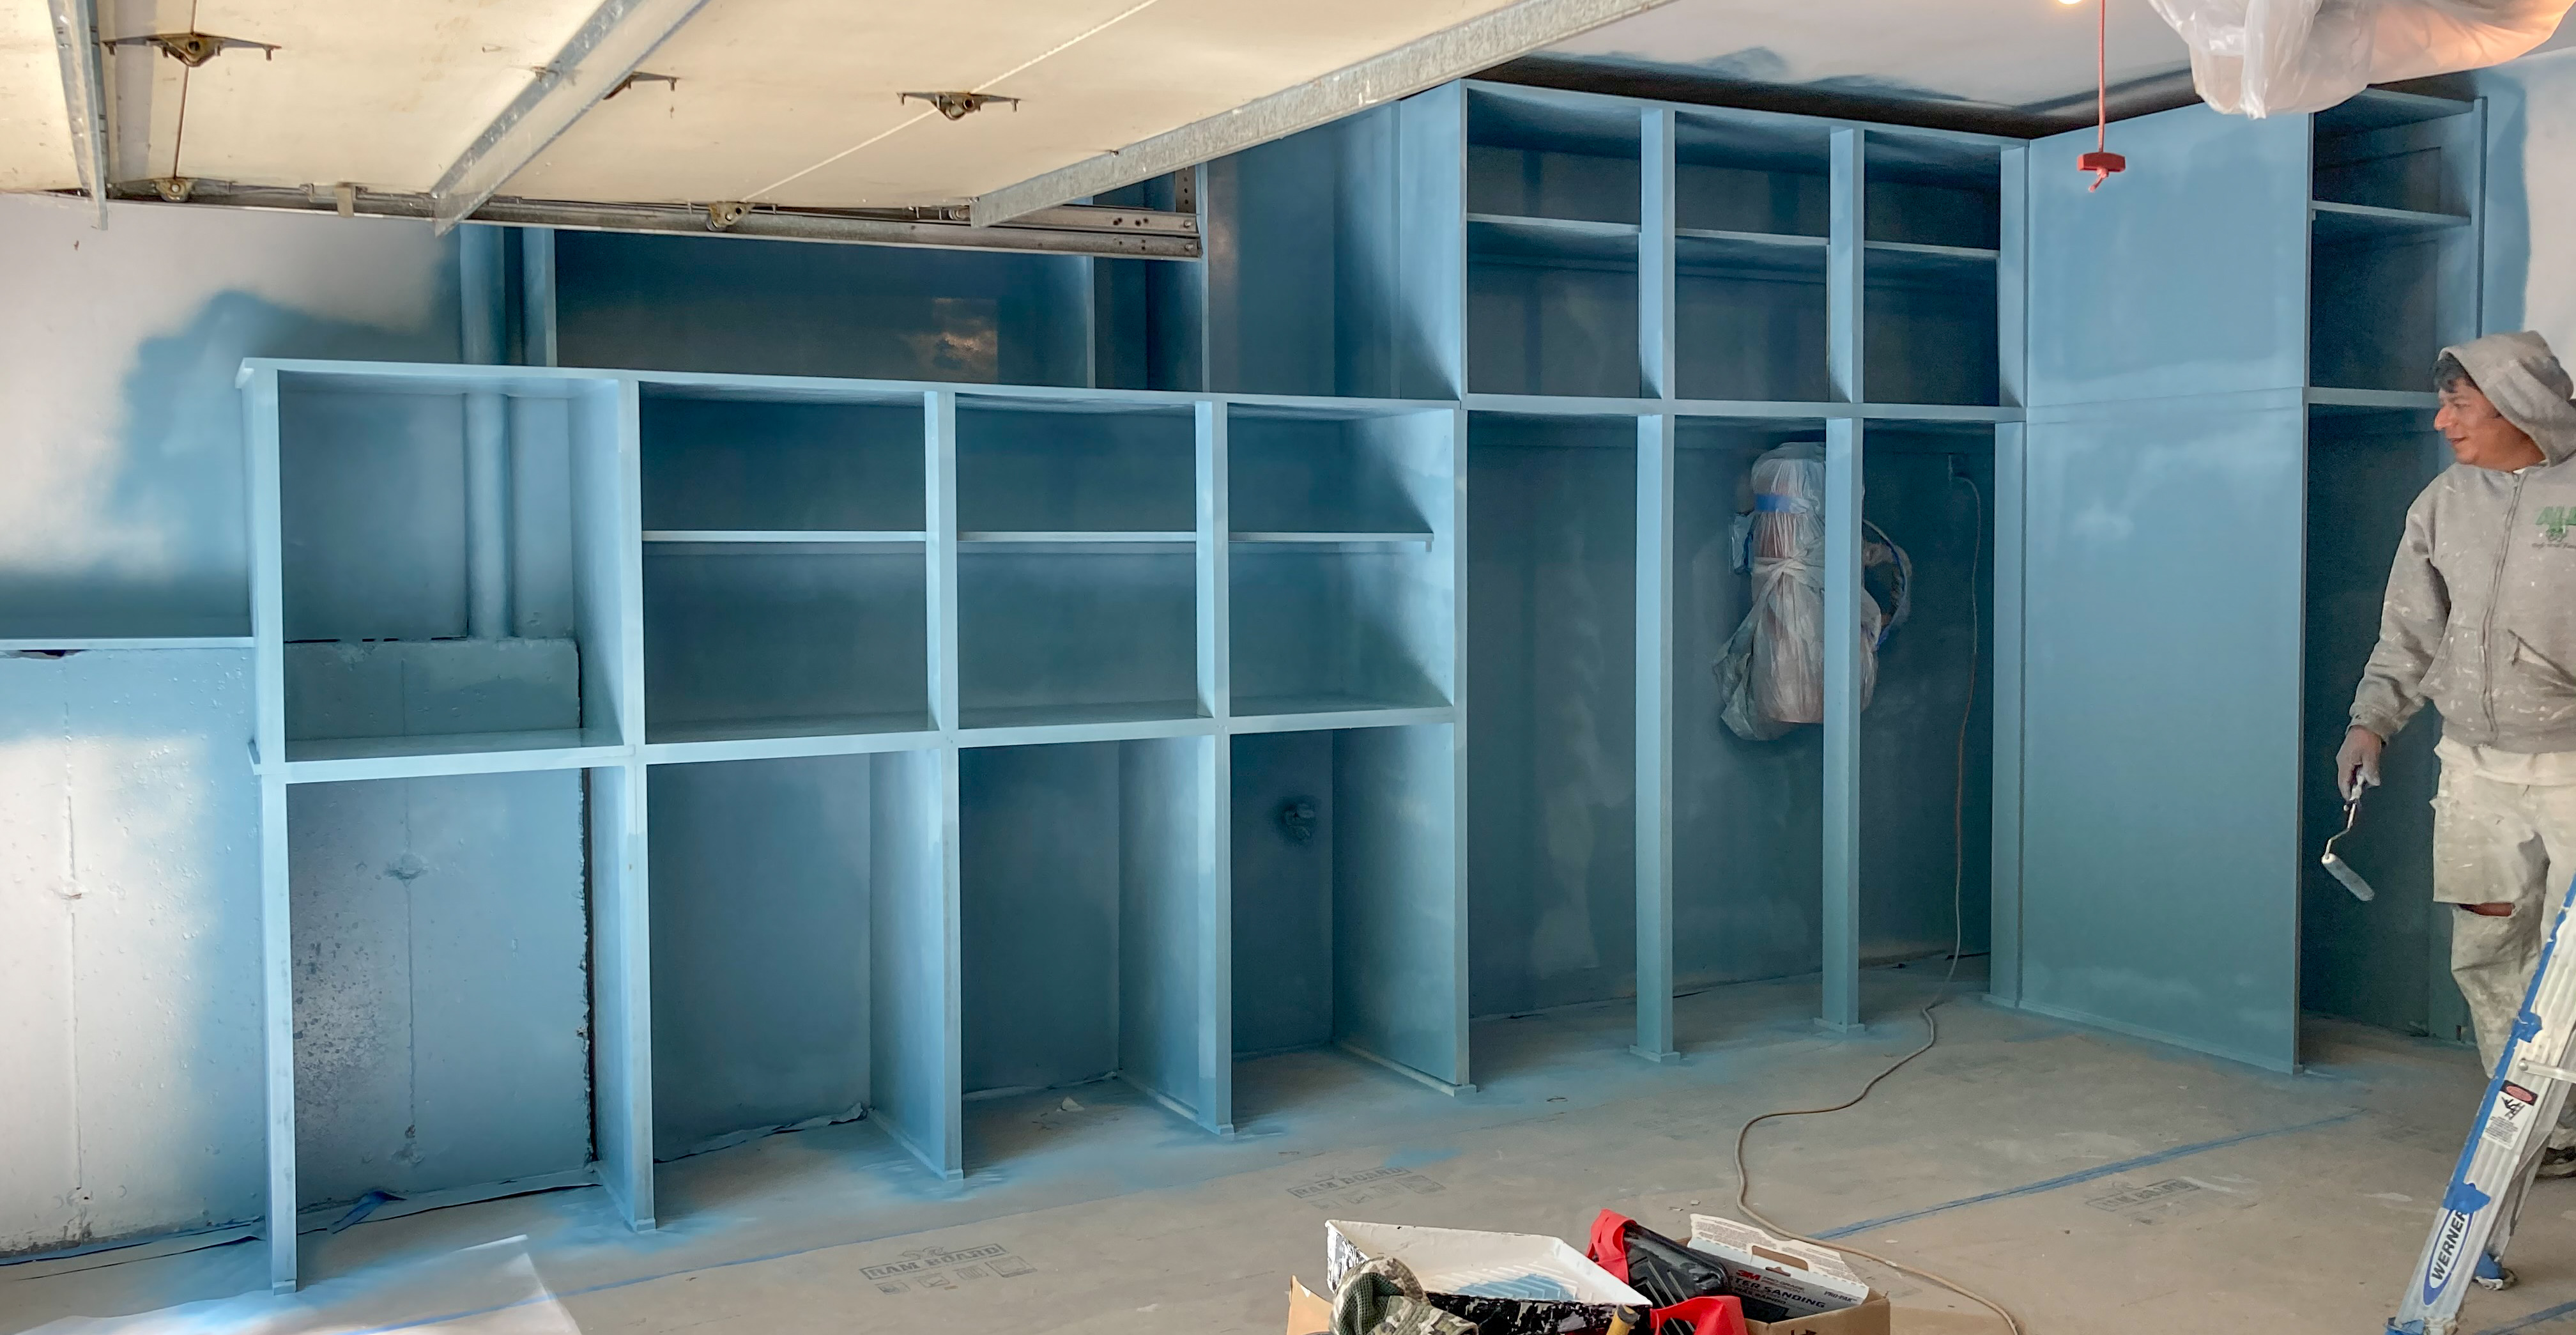
Cabinet frames and doors are spray-painted with the first coat of Waterborne Alkyd. We chose to have cabinet frames painted with a blue tint slightly more saturated than the exterior of the house.

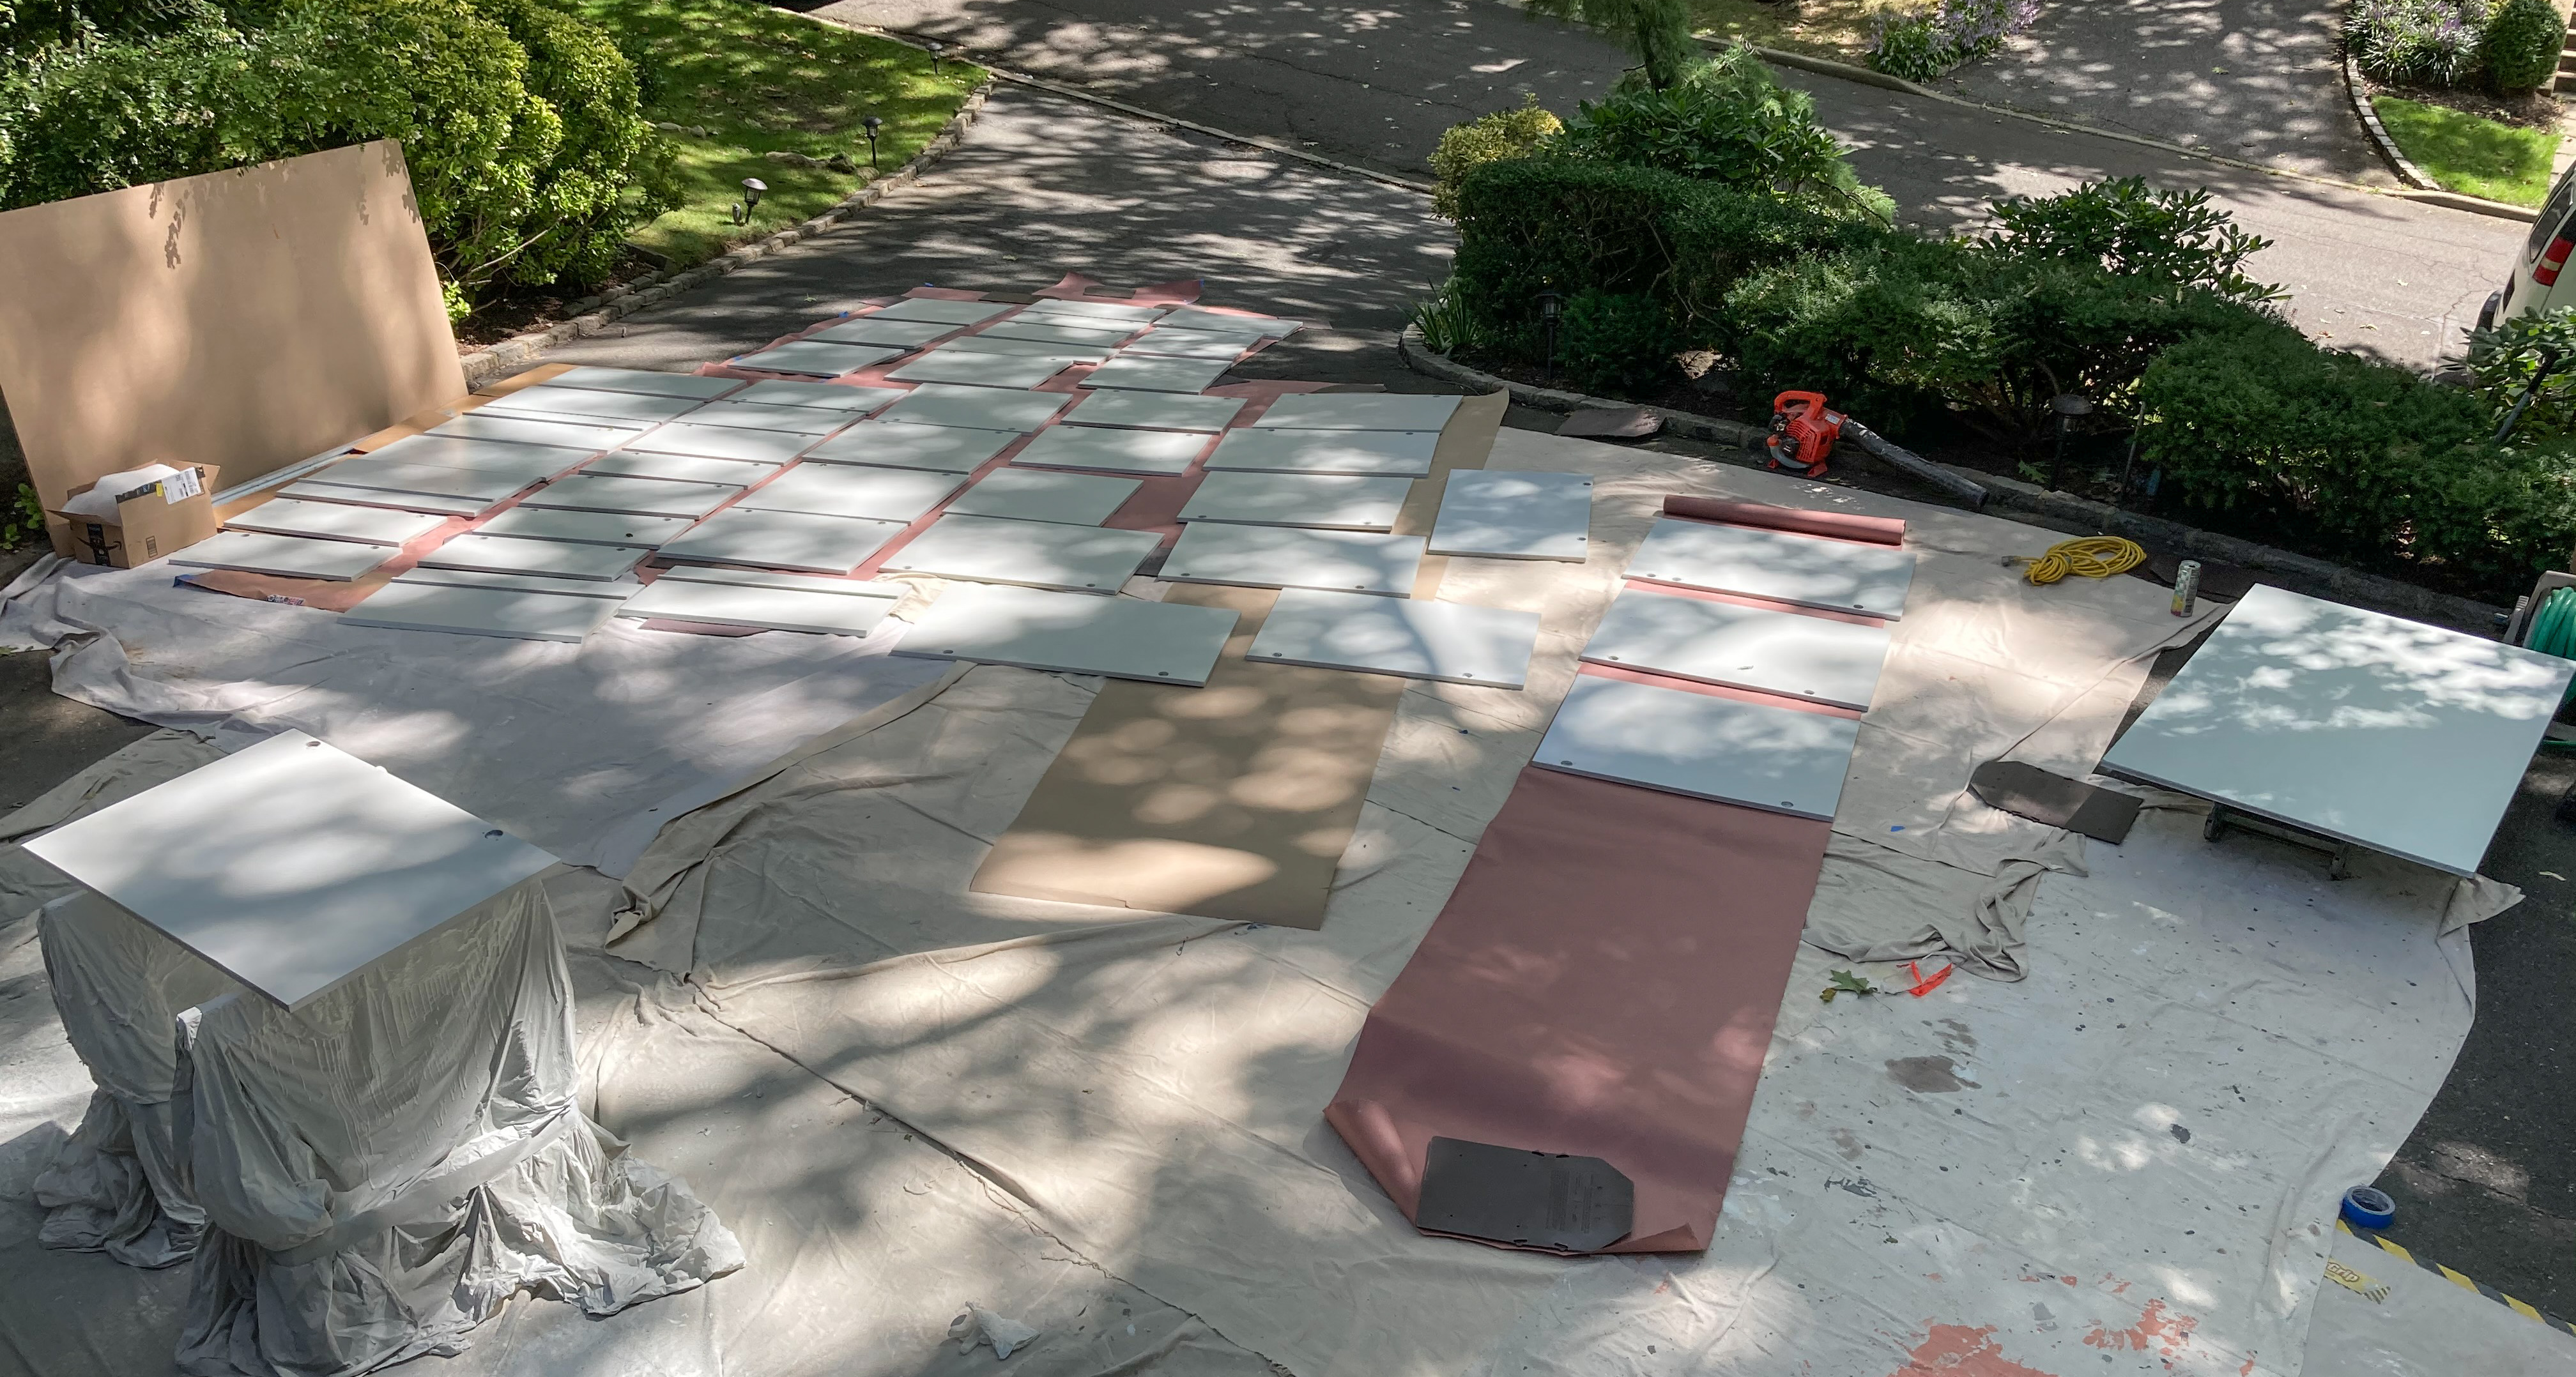
Now the cabinet doors are spray-painted with Waterborne Alkyd in light grey, starting with the back side (below).

Cabinet frames got a second coat of paint. Now they look finished.


Front side of cabinet doors are painted. Finished doors are brought into the garage to dry.


_
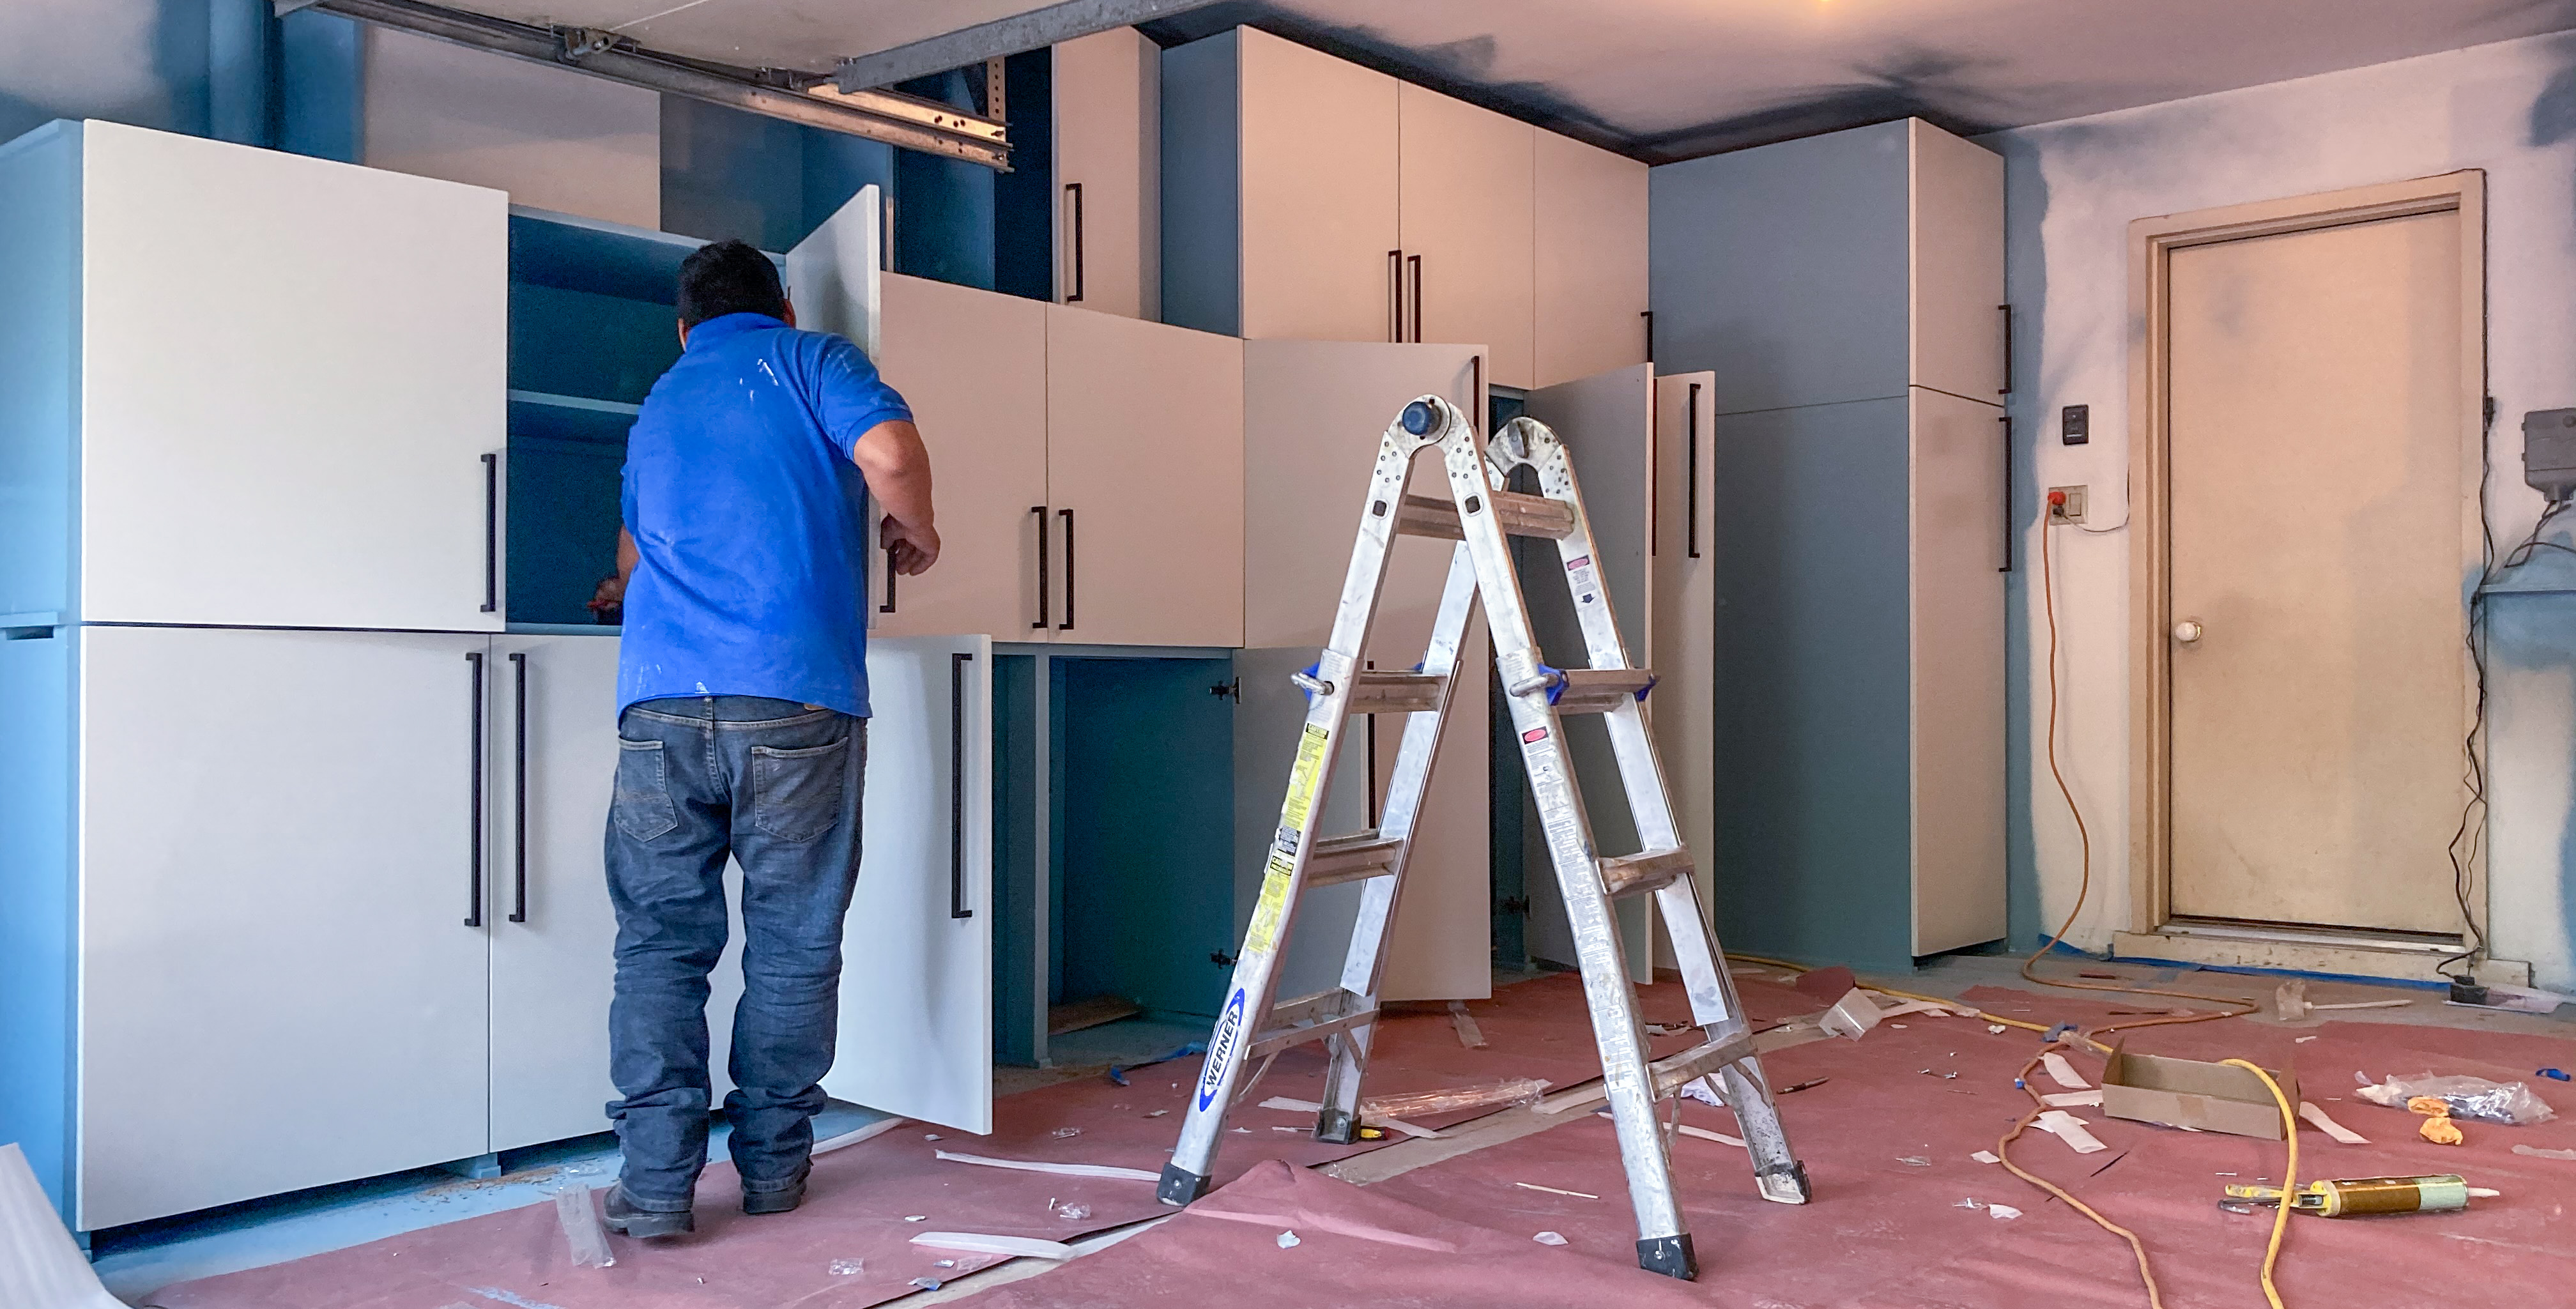
Final assembly
At last, the painted doors can be assembled back onto cabinet frames. They are attached back to the right cabinet frame, based on labels written on them earlier in the process.

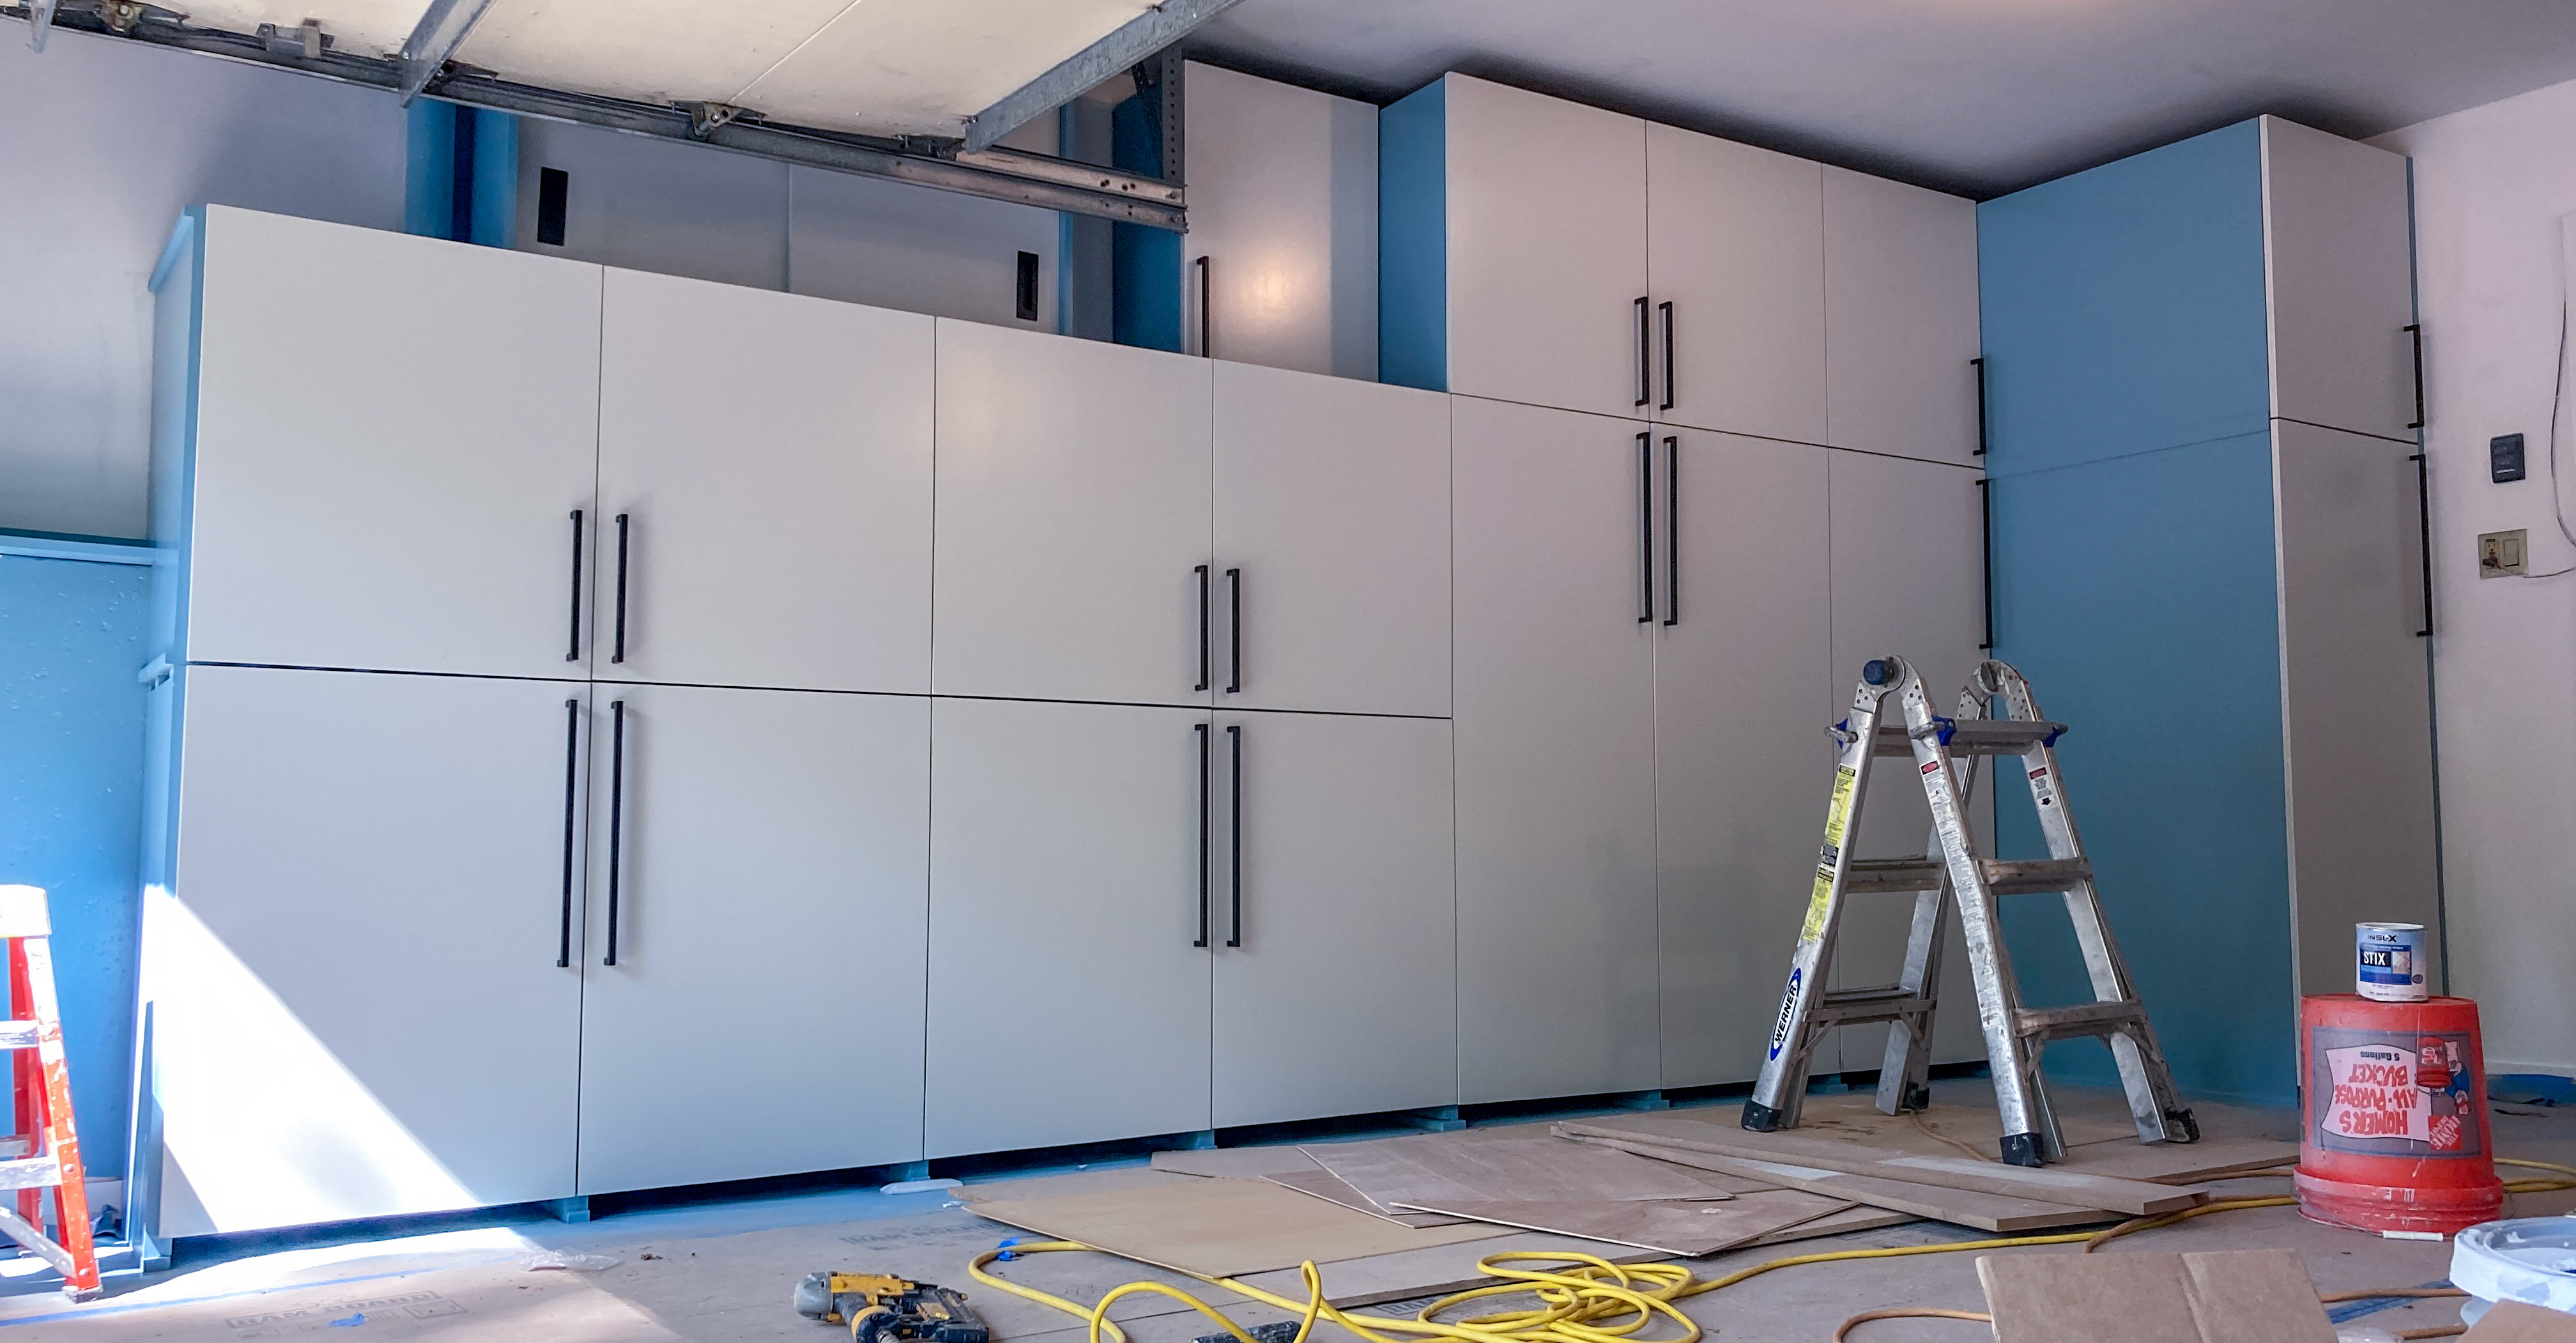
Handles can now be installed on cabinet doors.

Recessed handles on sliding doors were more troublesome to install. This was because I ordered them too late, after doors were already painted. A recessed slot needs to be drilled or chipped out carefully on a painted door, for the recessed handle to fit.

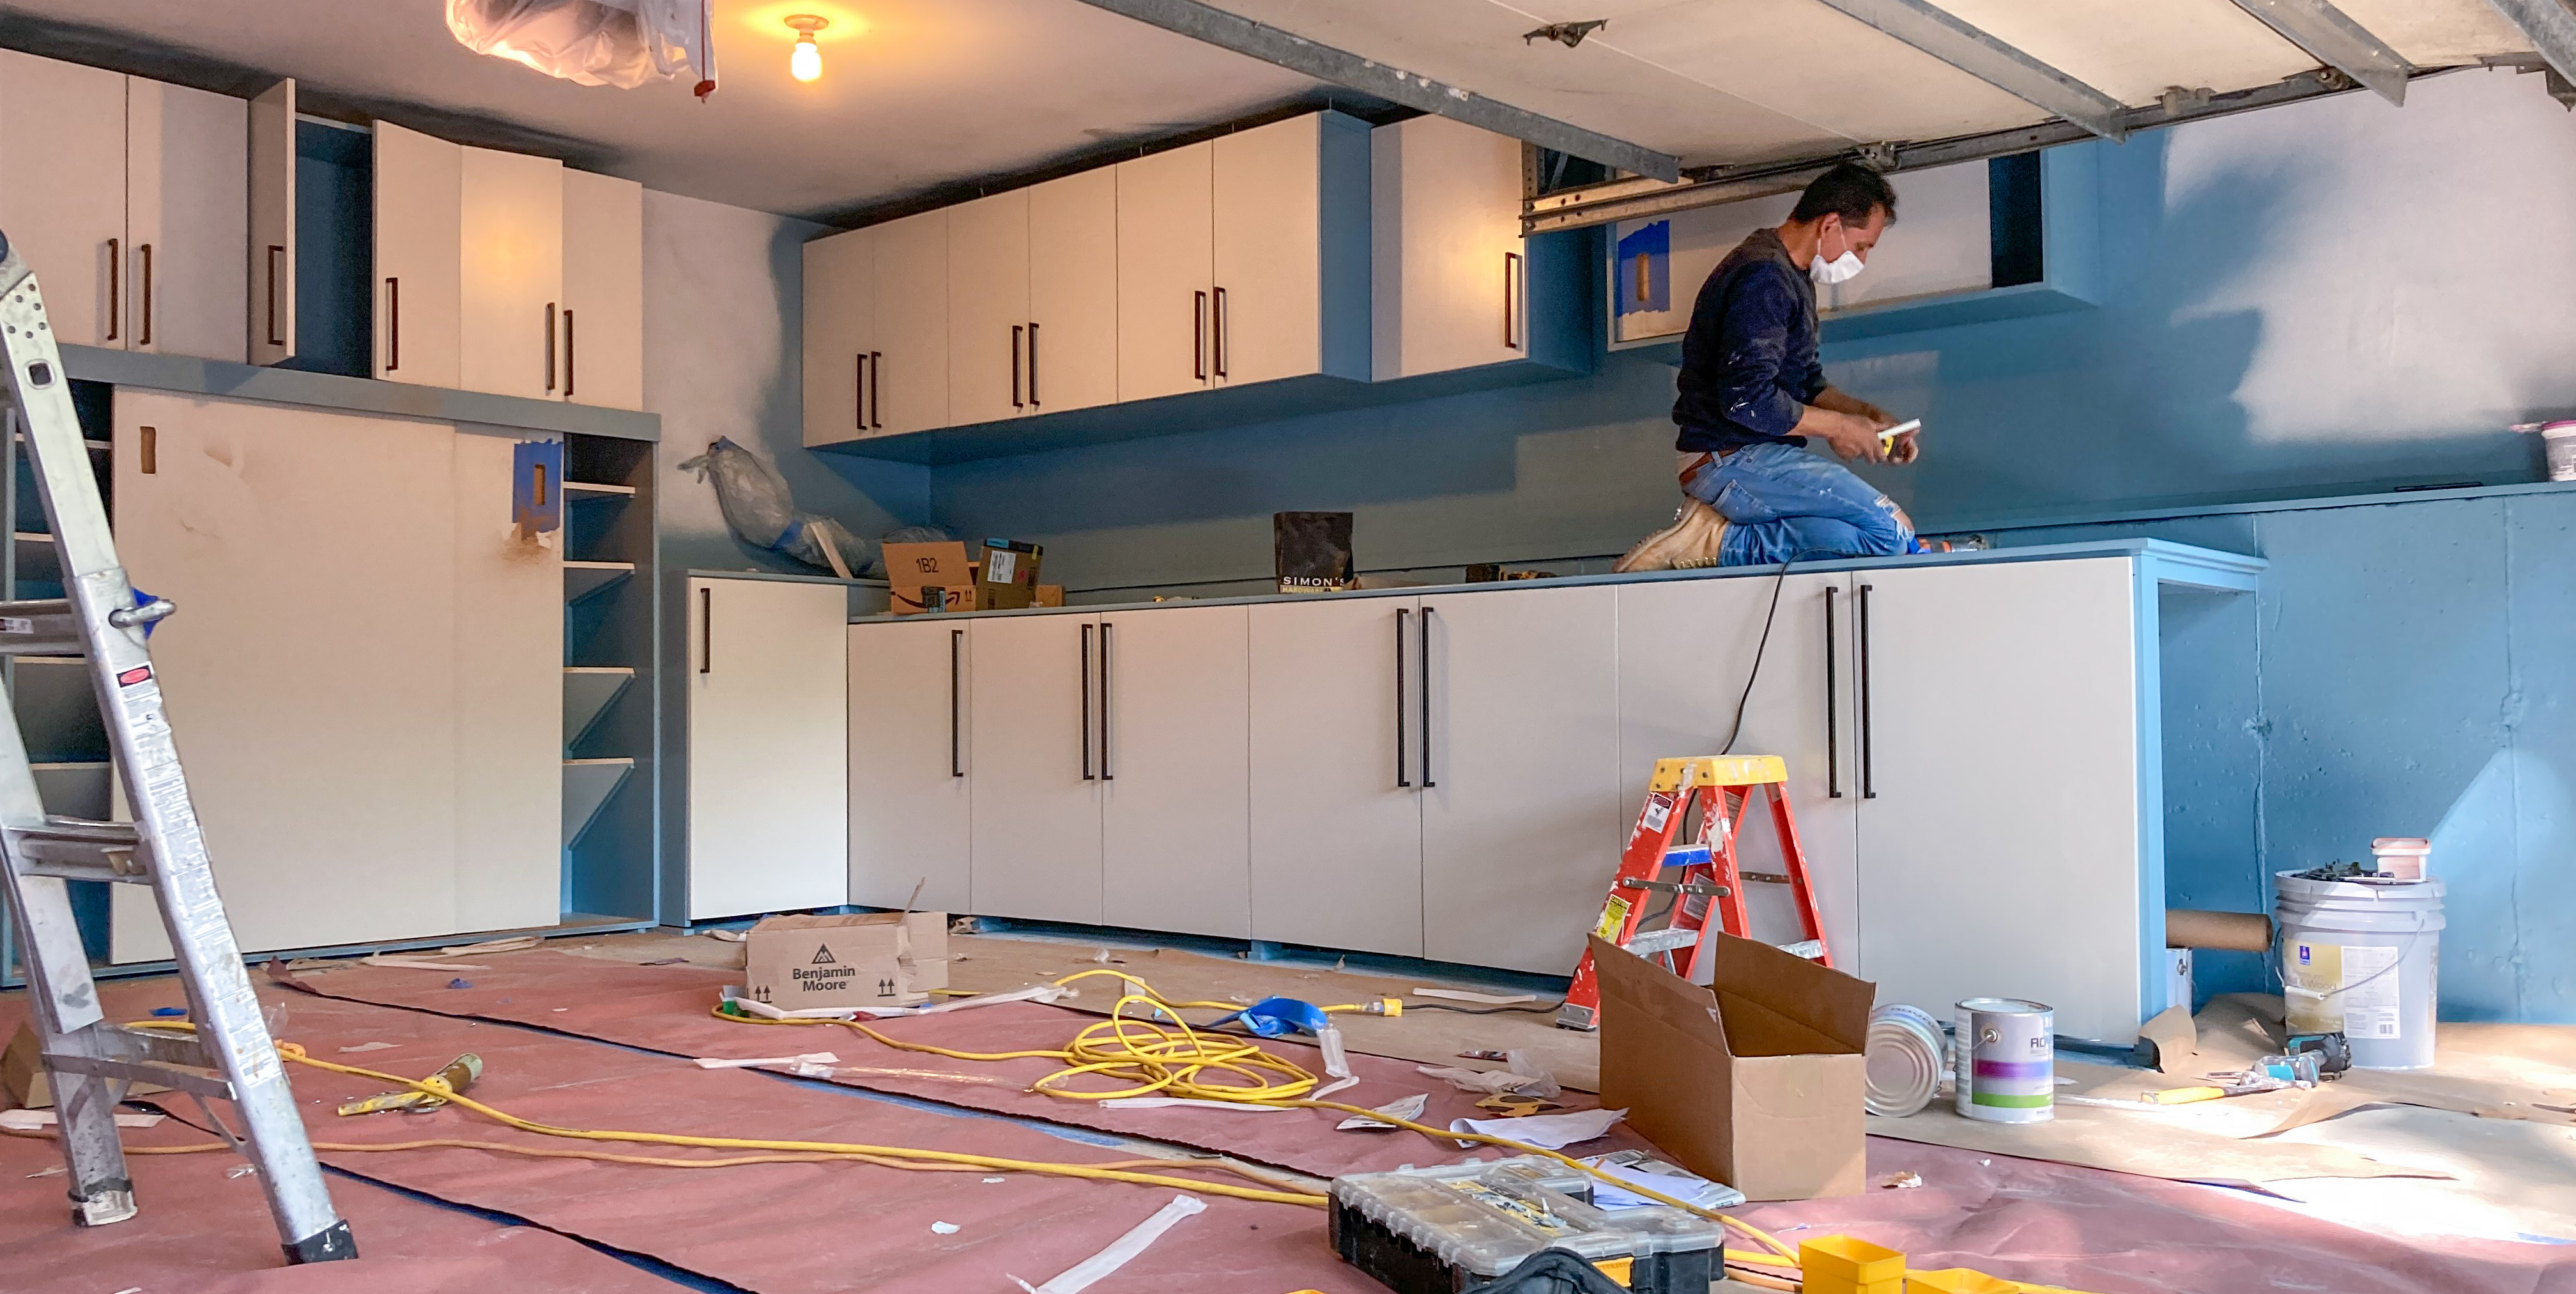
While I wasn’t looking, they finished painting visible walls in white in no time at all. Now all constructions are done.

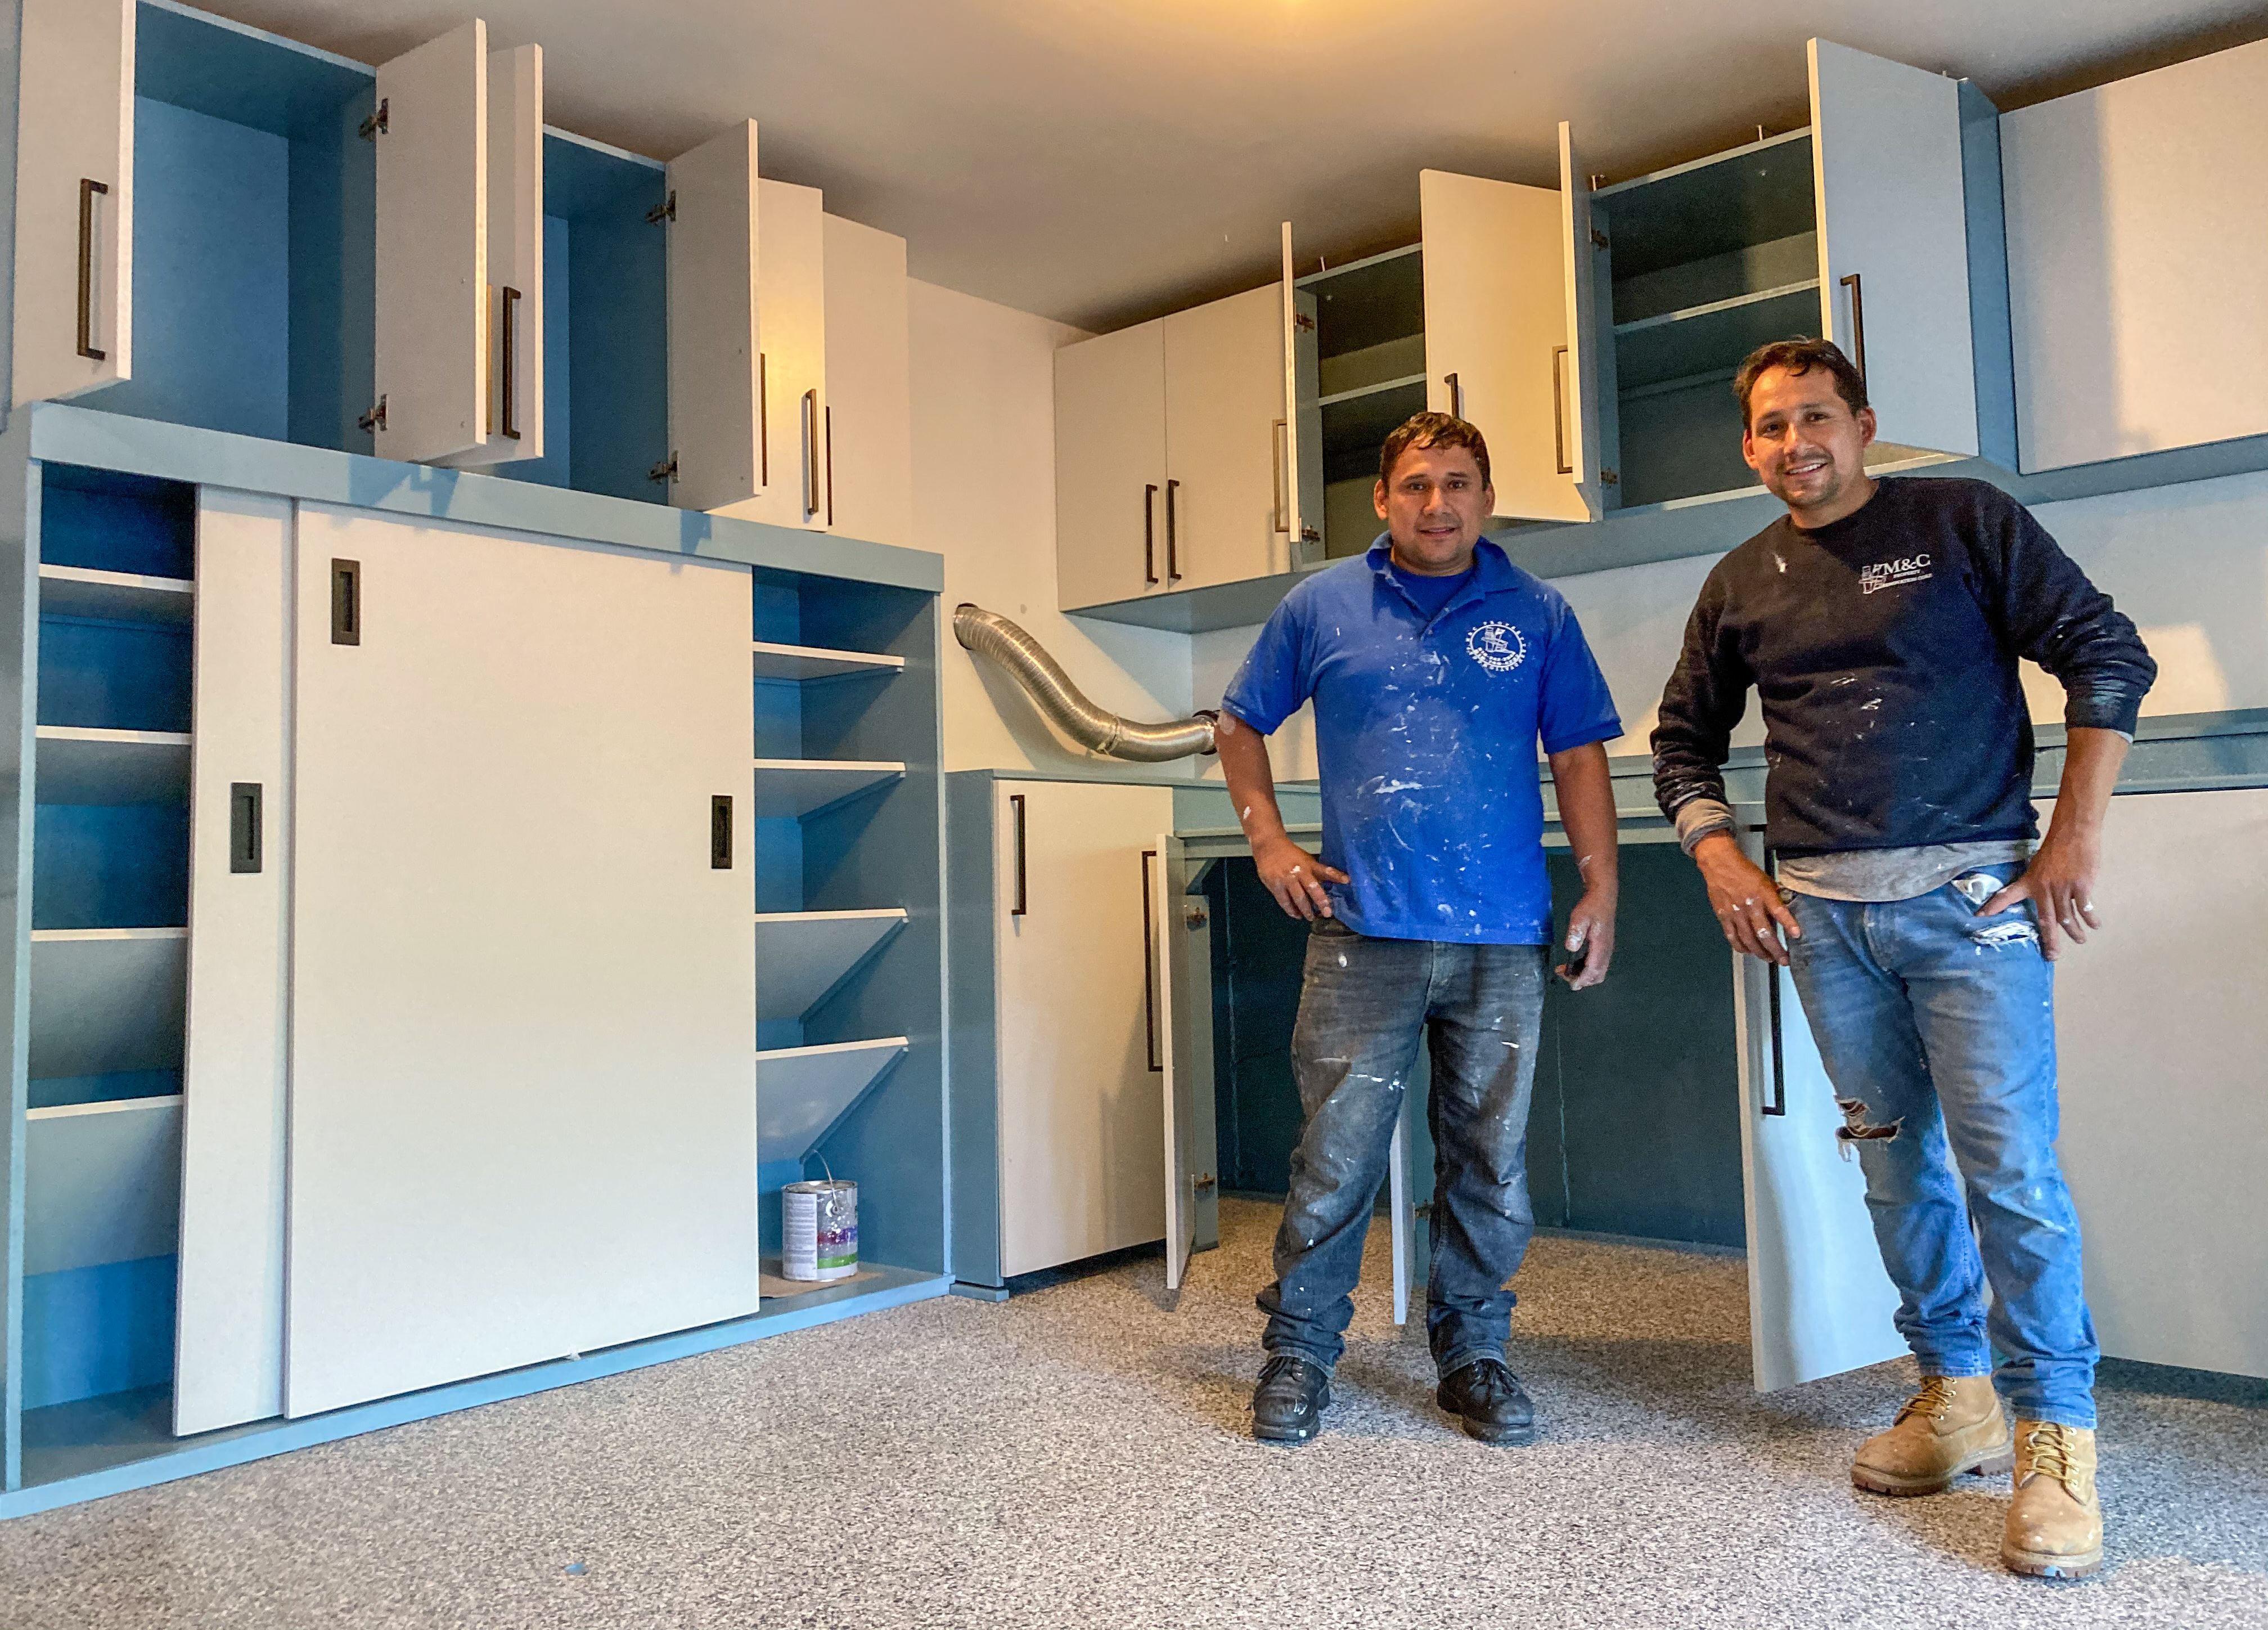
Our carpenters posing in front of the the finished products.

_
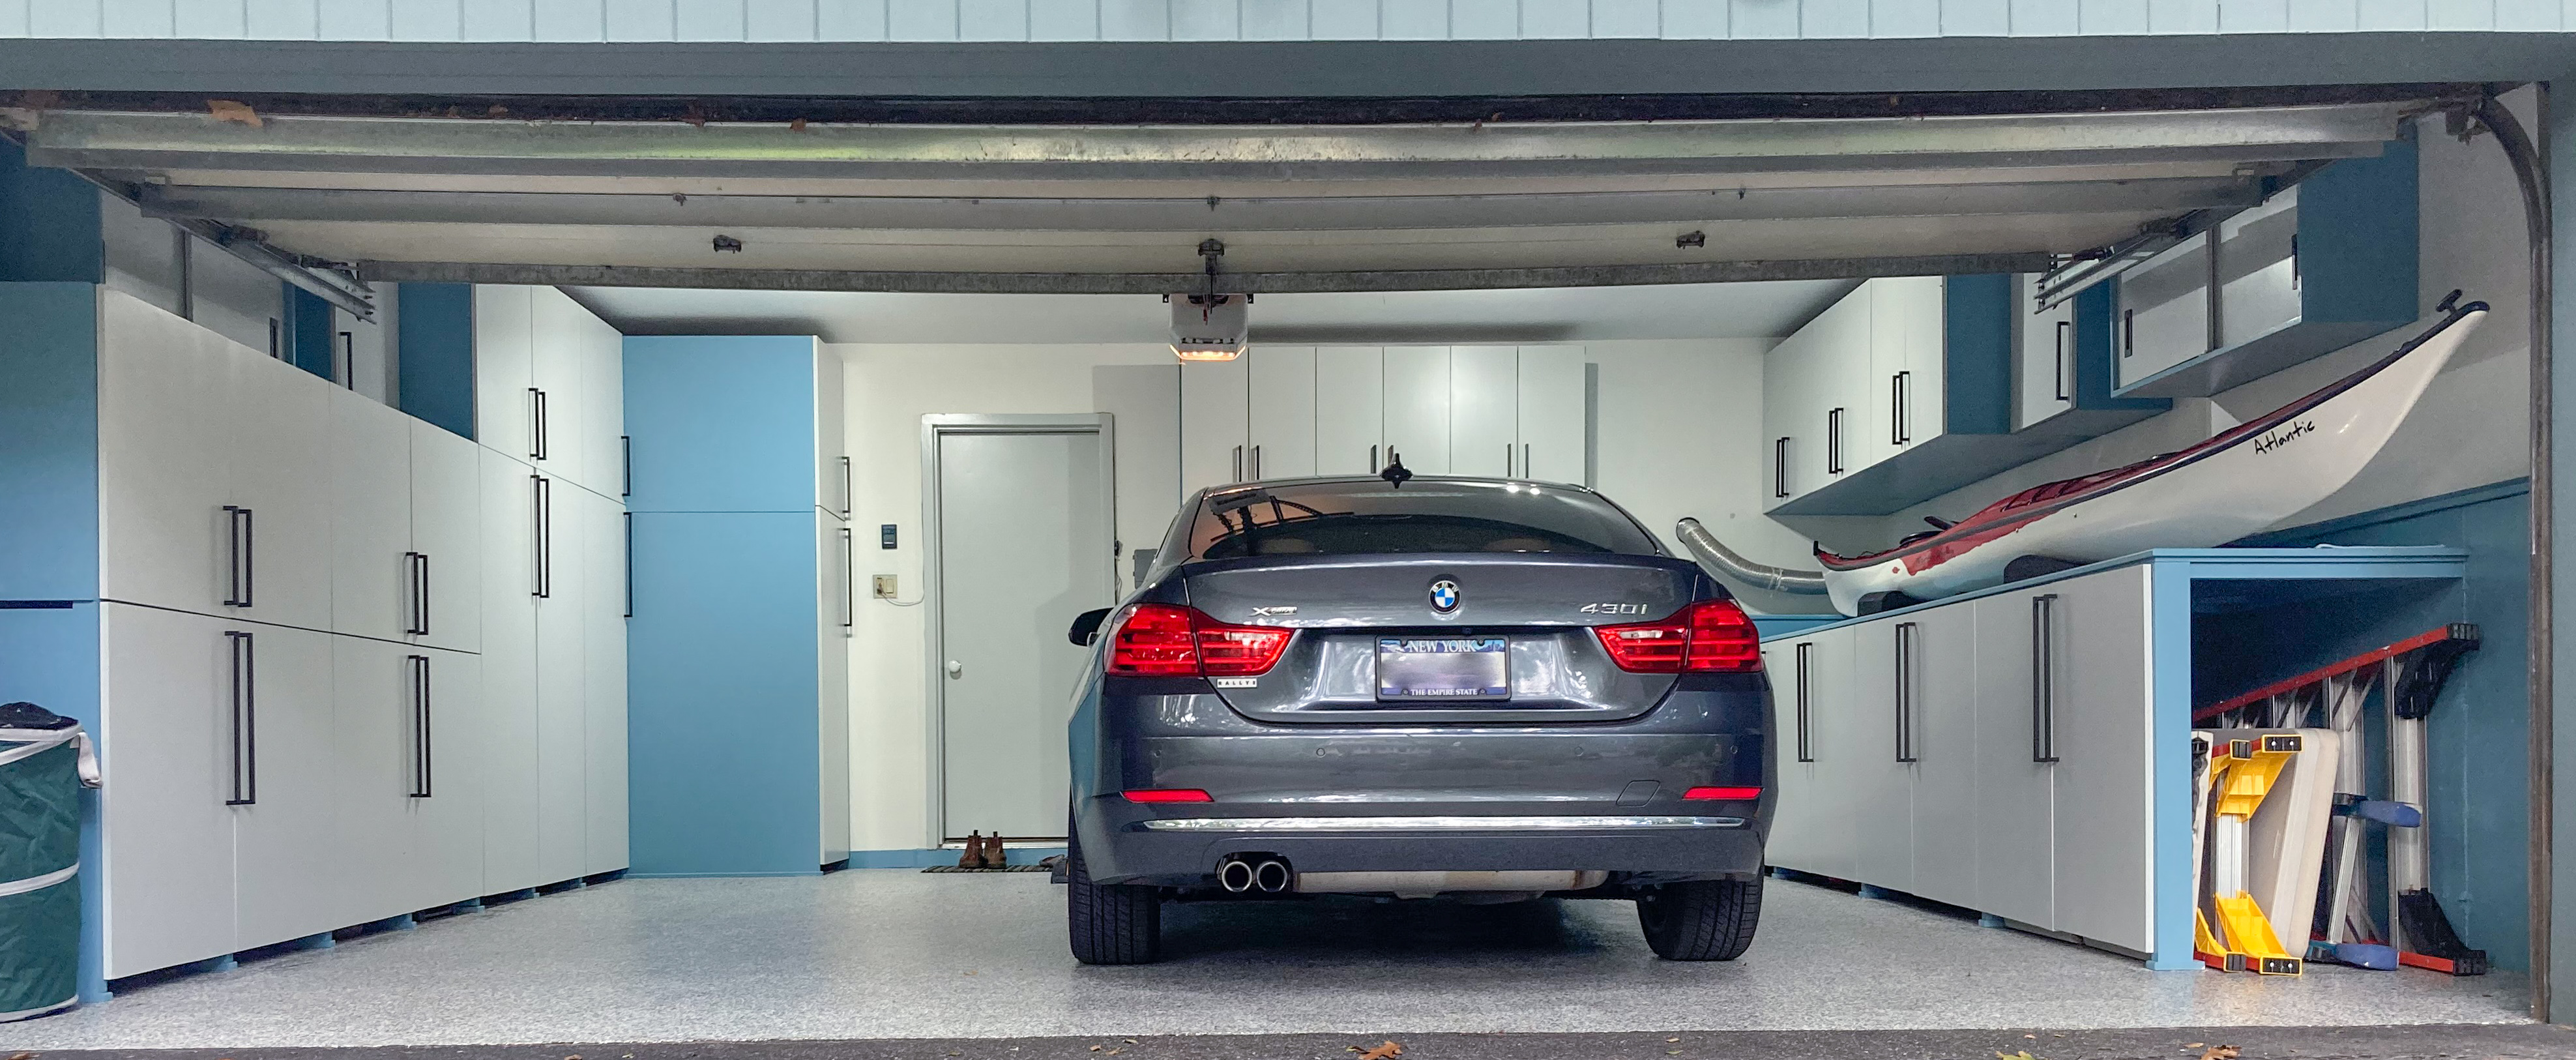
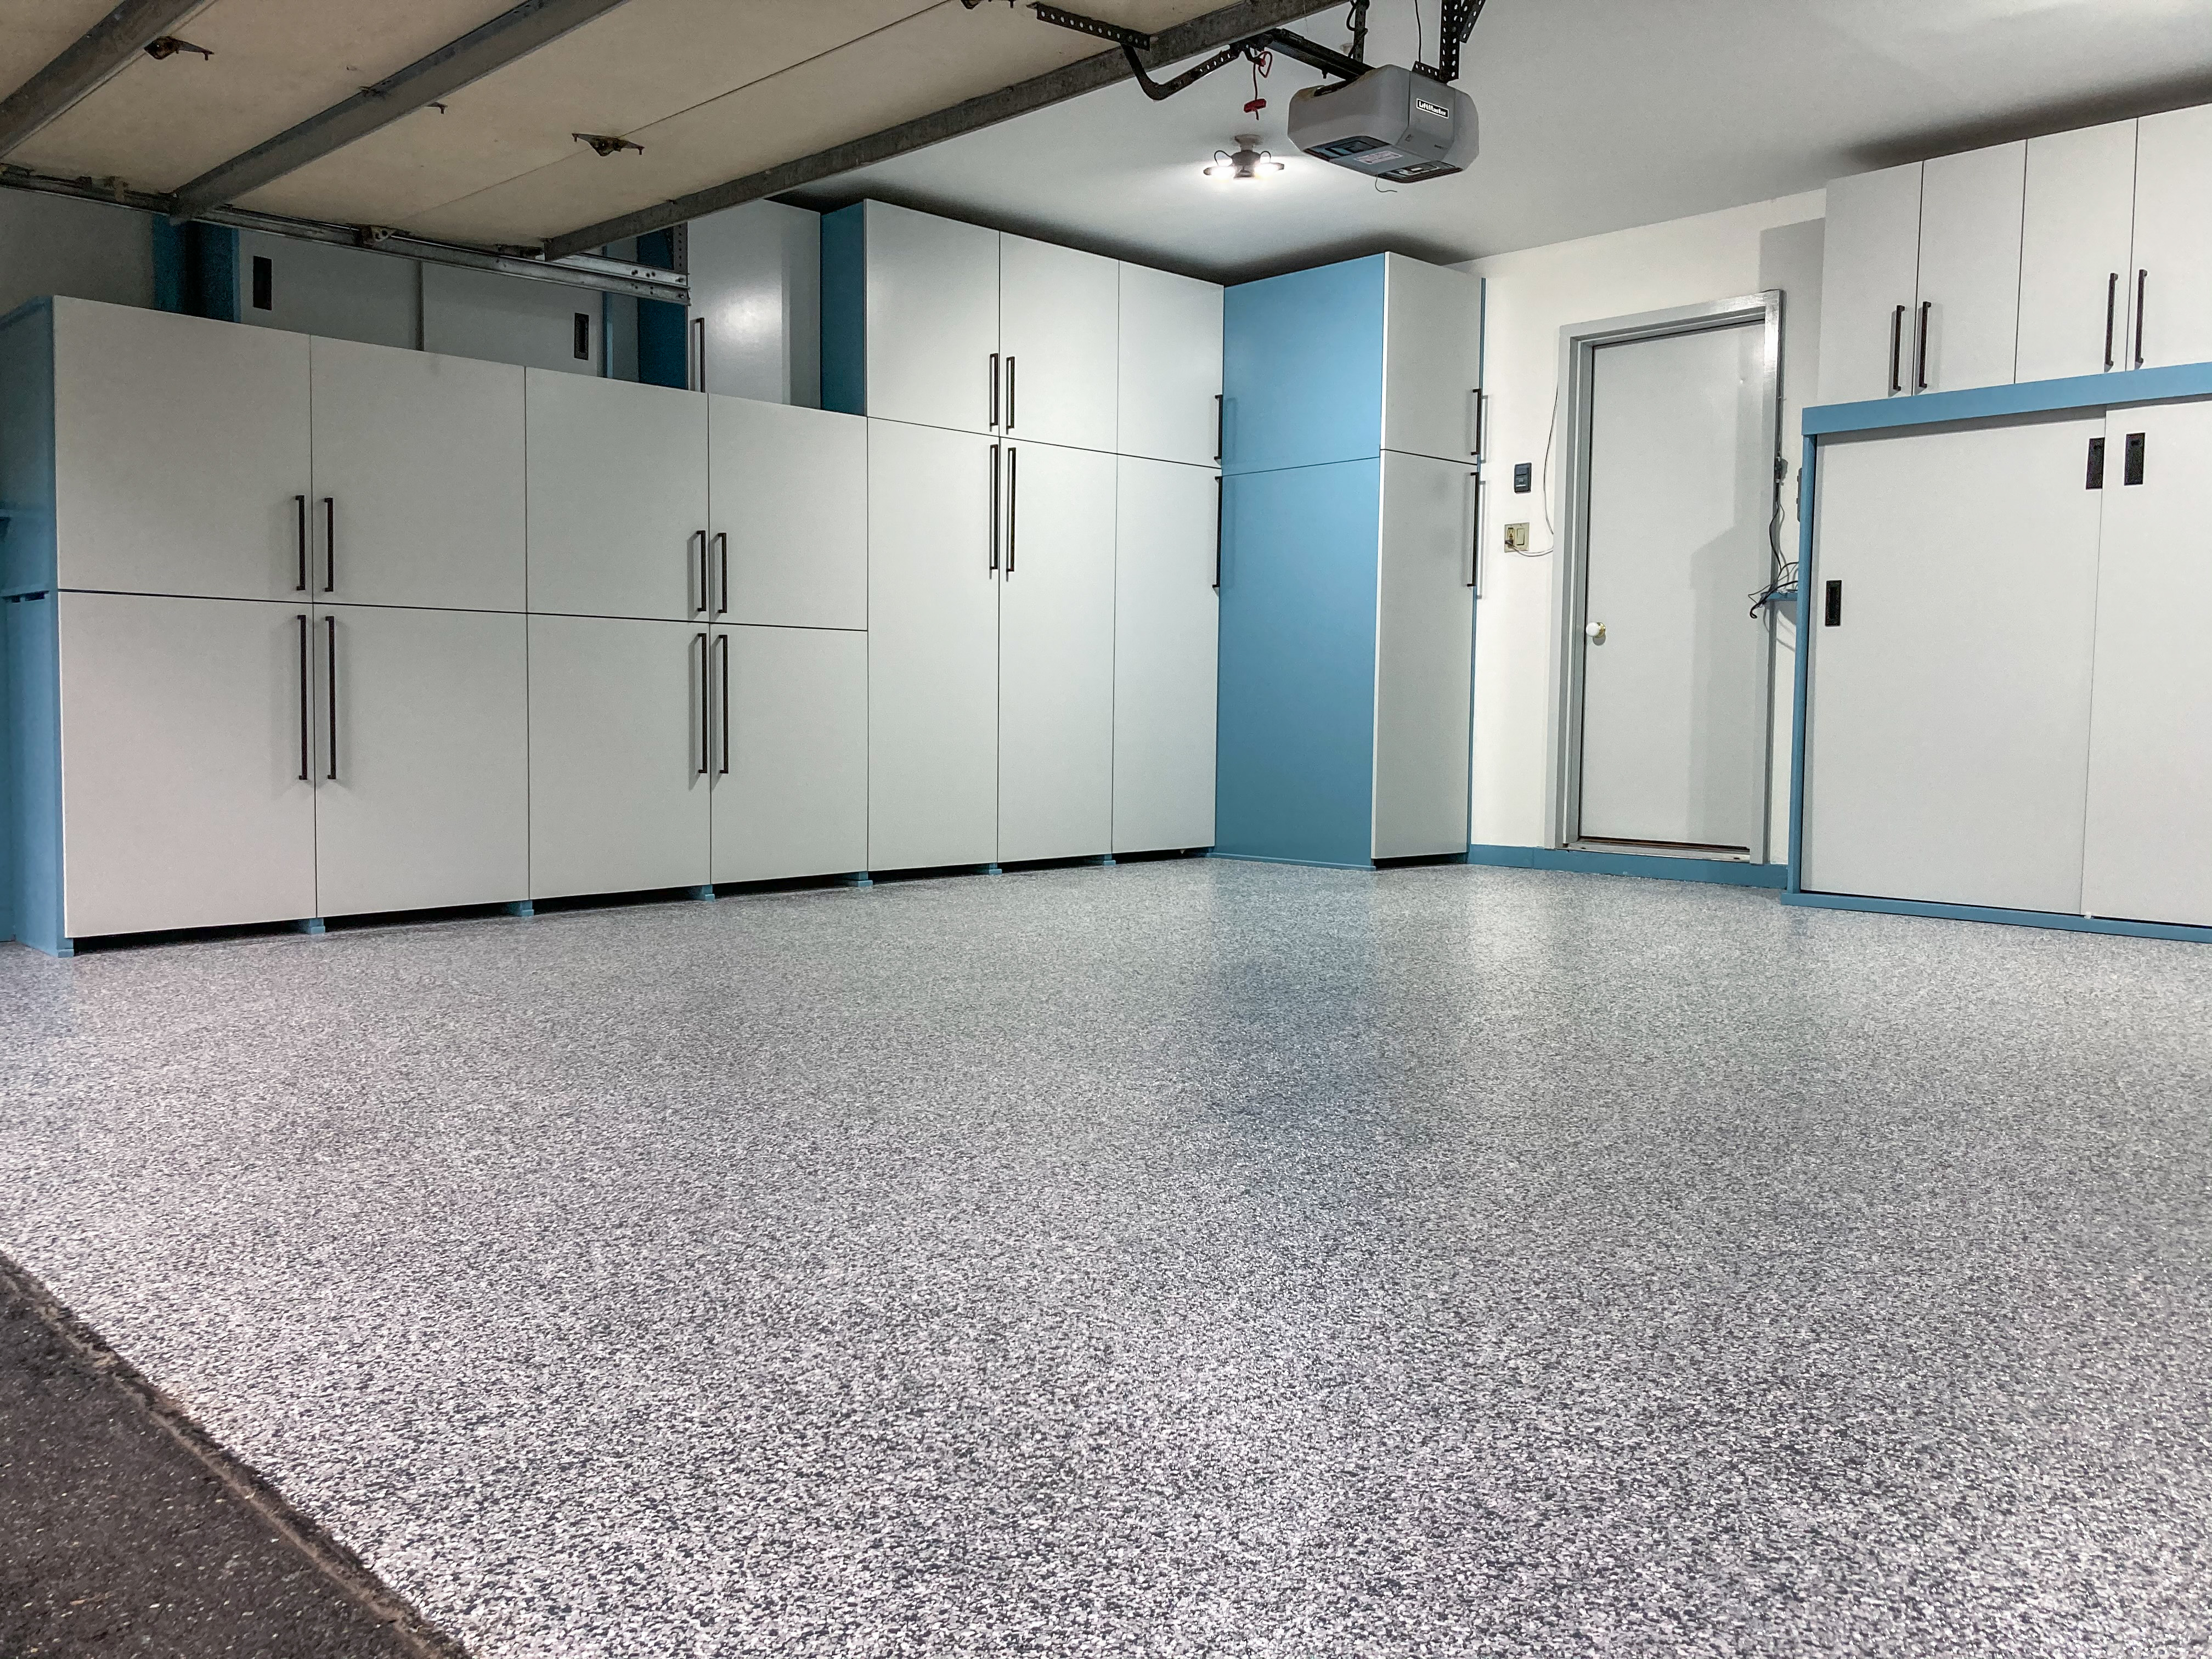
Finished Look
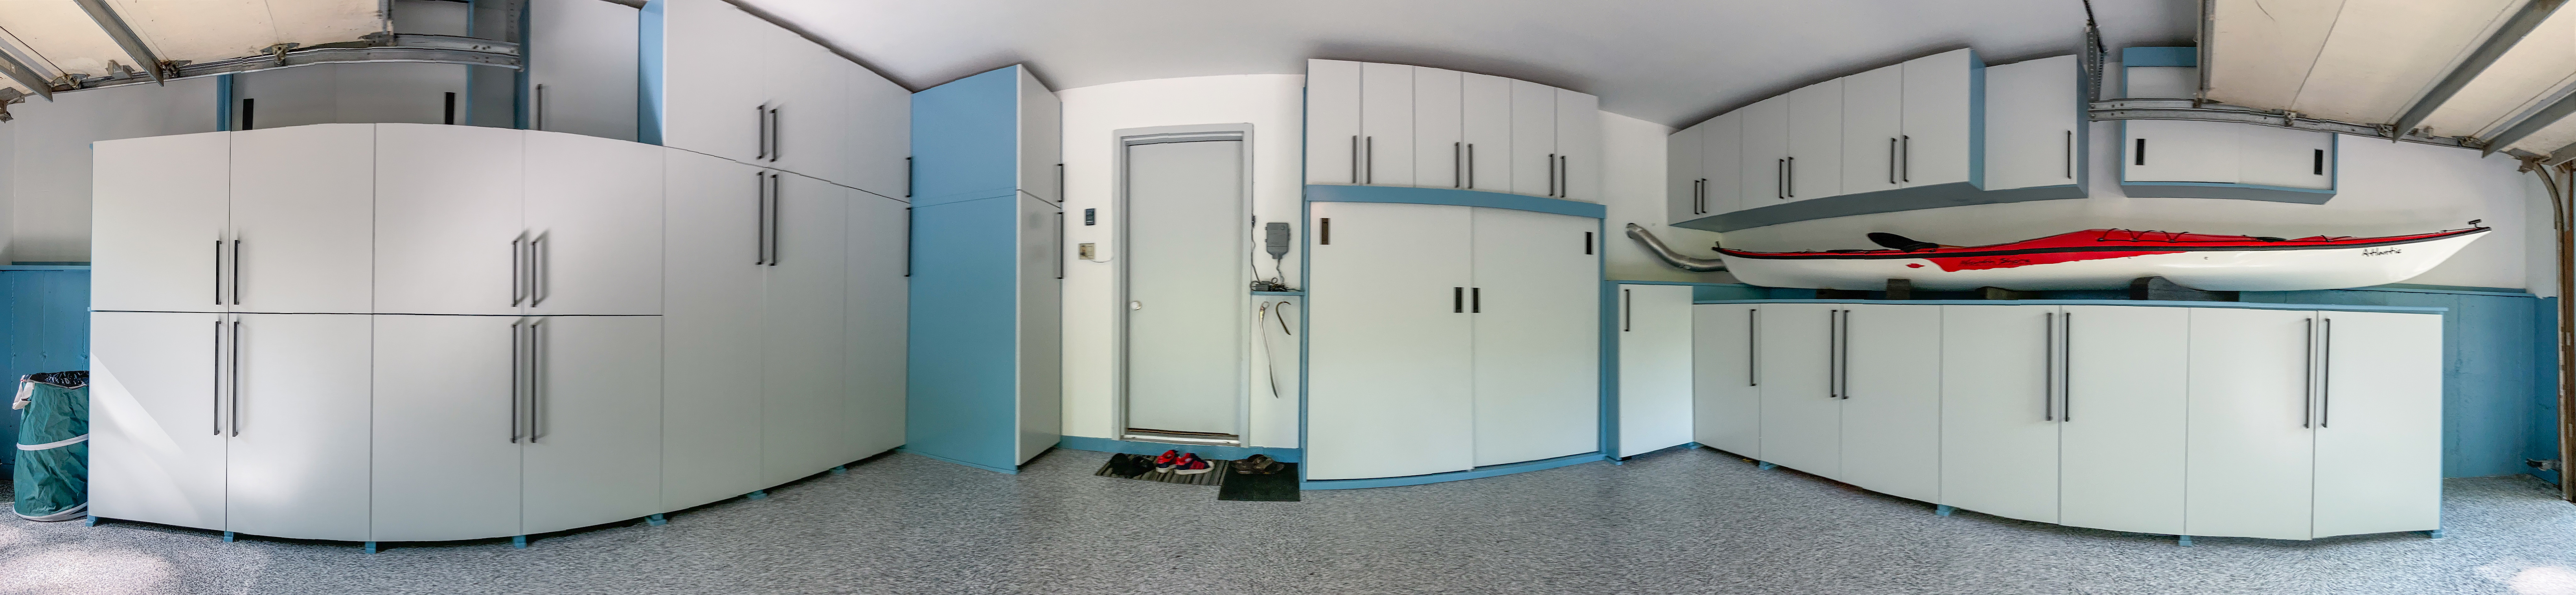
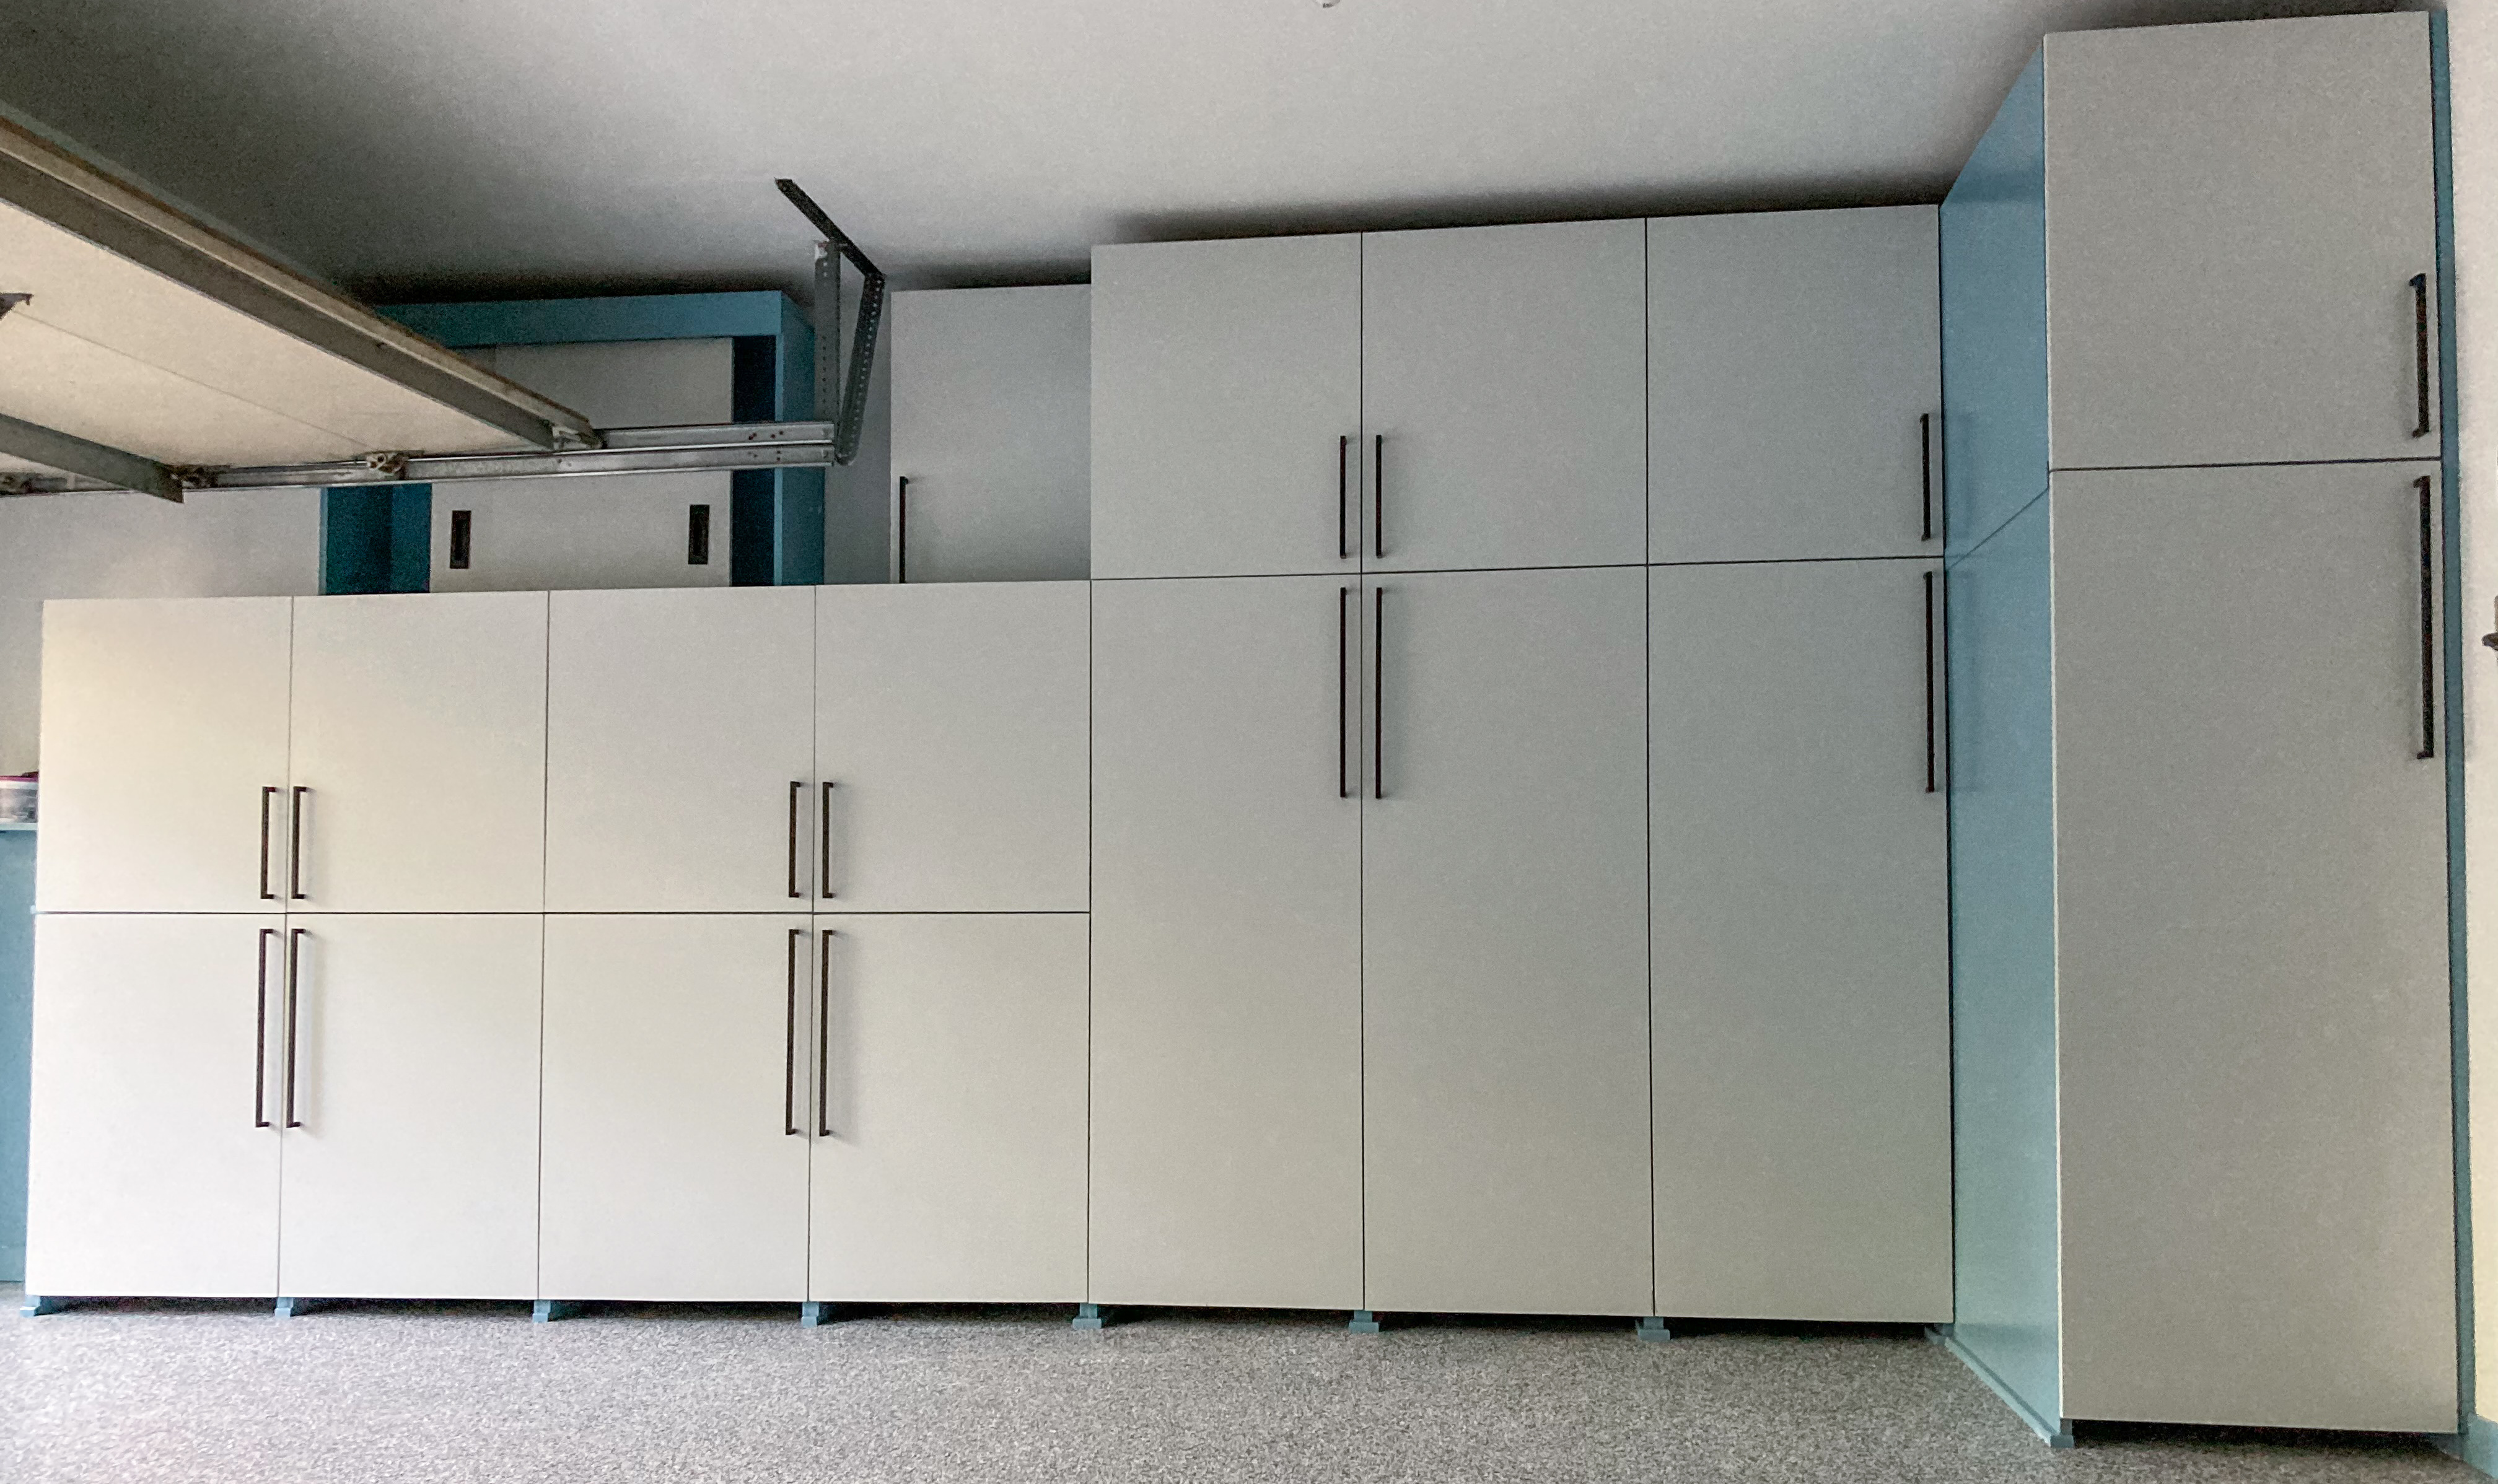
Here are some pictures taken of the newly-remodeled garage, before anything was moved back.


_
Using the garage
It is time to move all stuff back into the garage, and see if they fit.


_
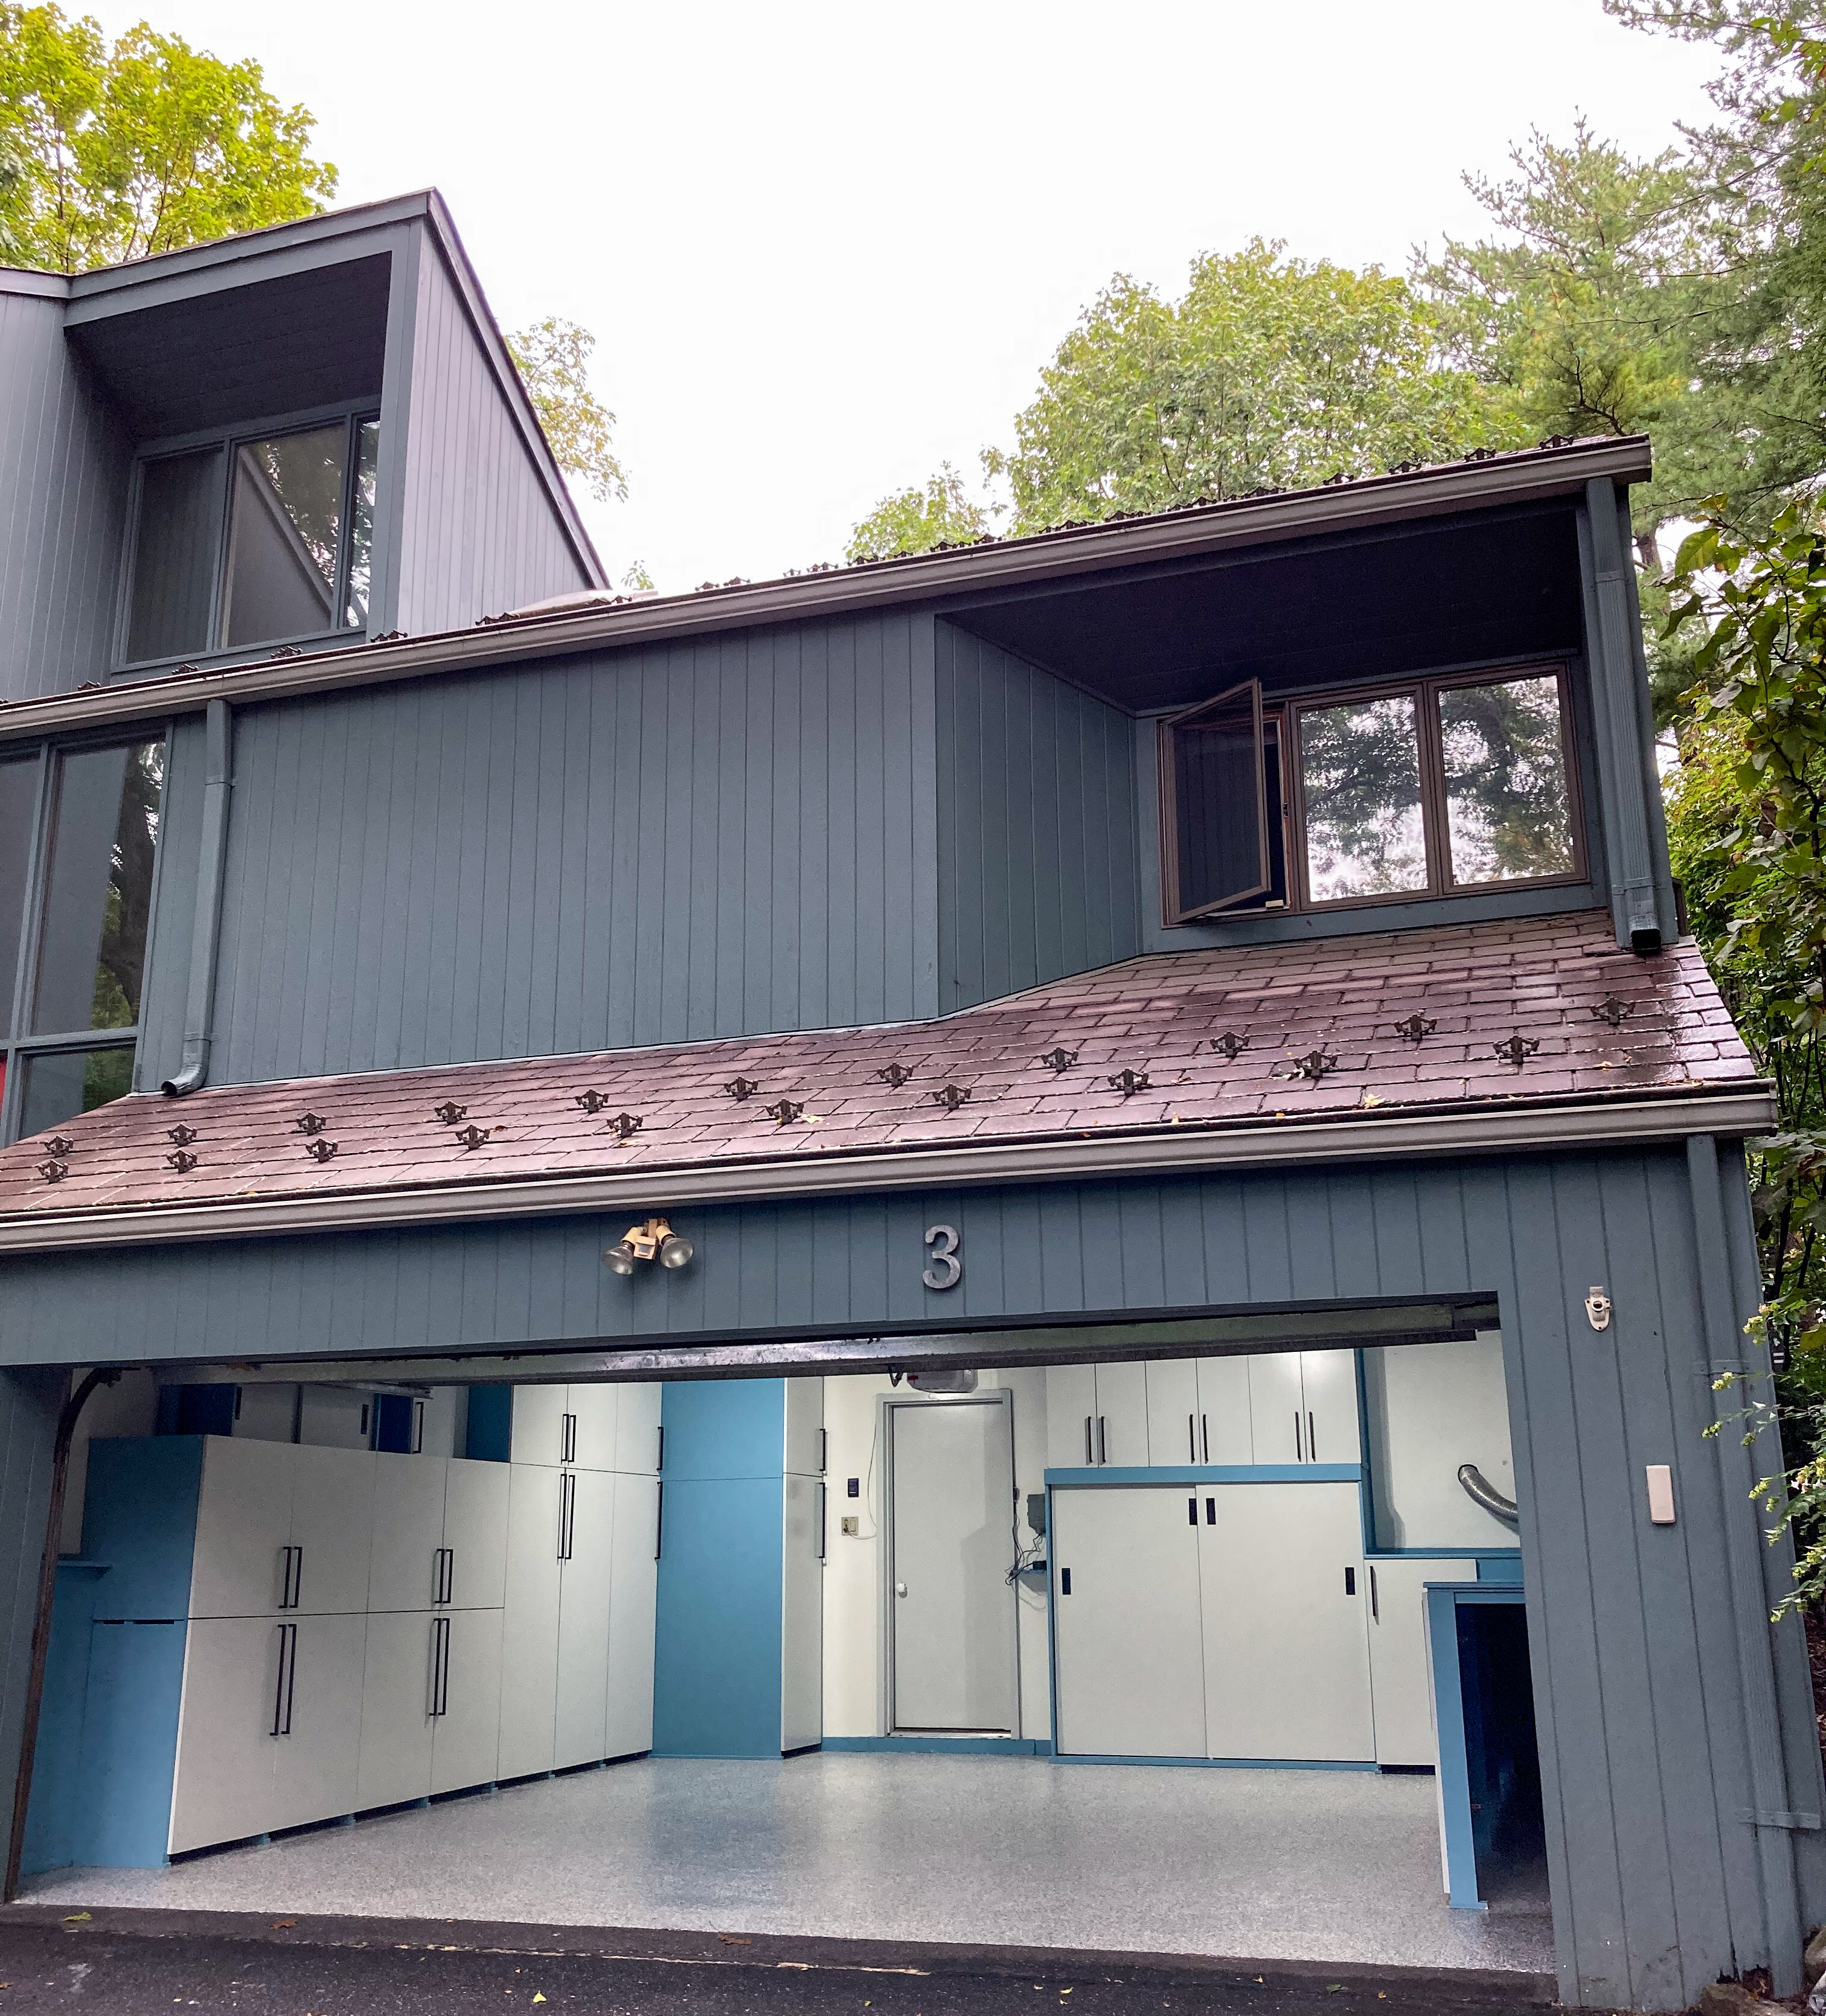
Before and after
Here are some before and after images of the garage.
That’s it for now. Happy remodeling.

