

Miniature Corsair made with the 3Doodler Pen In Palm
So I picked up a 3Doodler Pen to make a birthday present for my wife. Given my recent interest in flying RC model airplanes, the first idea that crossed my mind was the ultra micro Horizon Hobby Corsair I had been flying of late. So I 3D-doodled one with a wingspan measuring all of three inches long, modeled on a plan I found of the Vought F4U Corsair.
Boy, was the pen hard to use. It was near impossible to doddle straight lines and perfect curves, what with the inconsistent rate at which melted plastic ooze out of the nozzle. The fact that I could hardly see the miniature plane I was doodling in the air didn’t help either – I blame the aging process and its effects on my eyesight. To make matters worse, the pen and my hand blocked off ceiling light, and often obscured where I wanted to move to, even as liquid plastic inched out of the pen inexorably and hardened in seconds.
But it was extremely fun. And afterwards I bought myself a portable LED table lamp and a large soldering “helping hands” with a magnifier, to make doodling the next sculpture easier. Pictures that follow illustrate the end product.
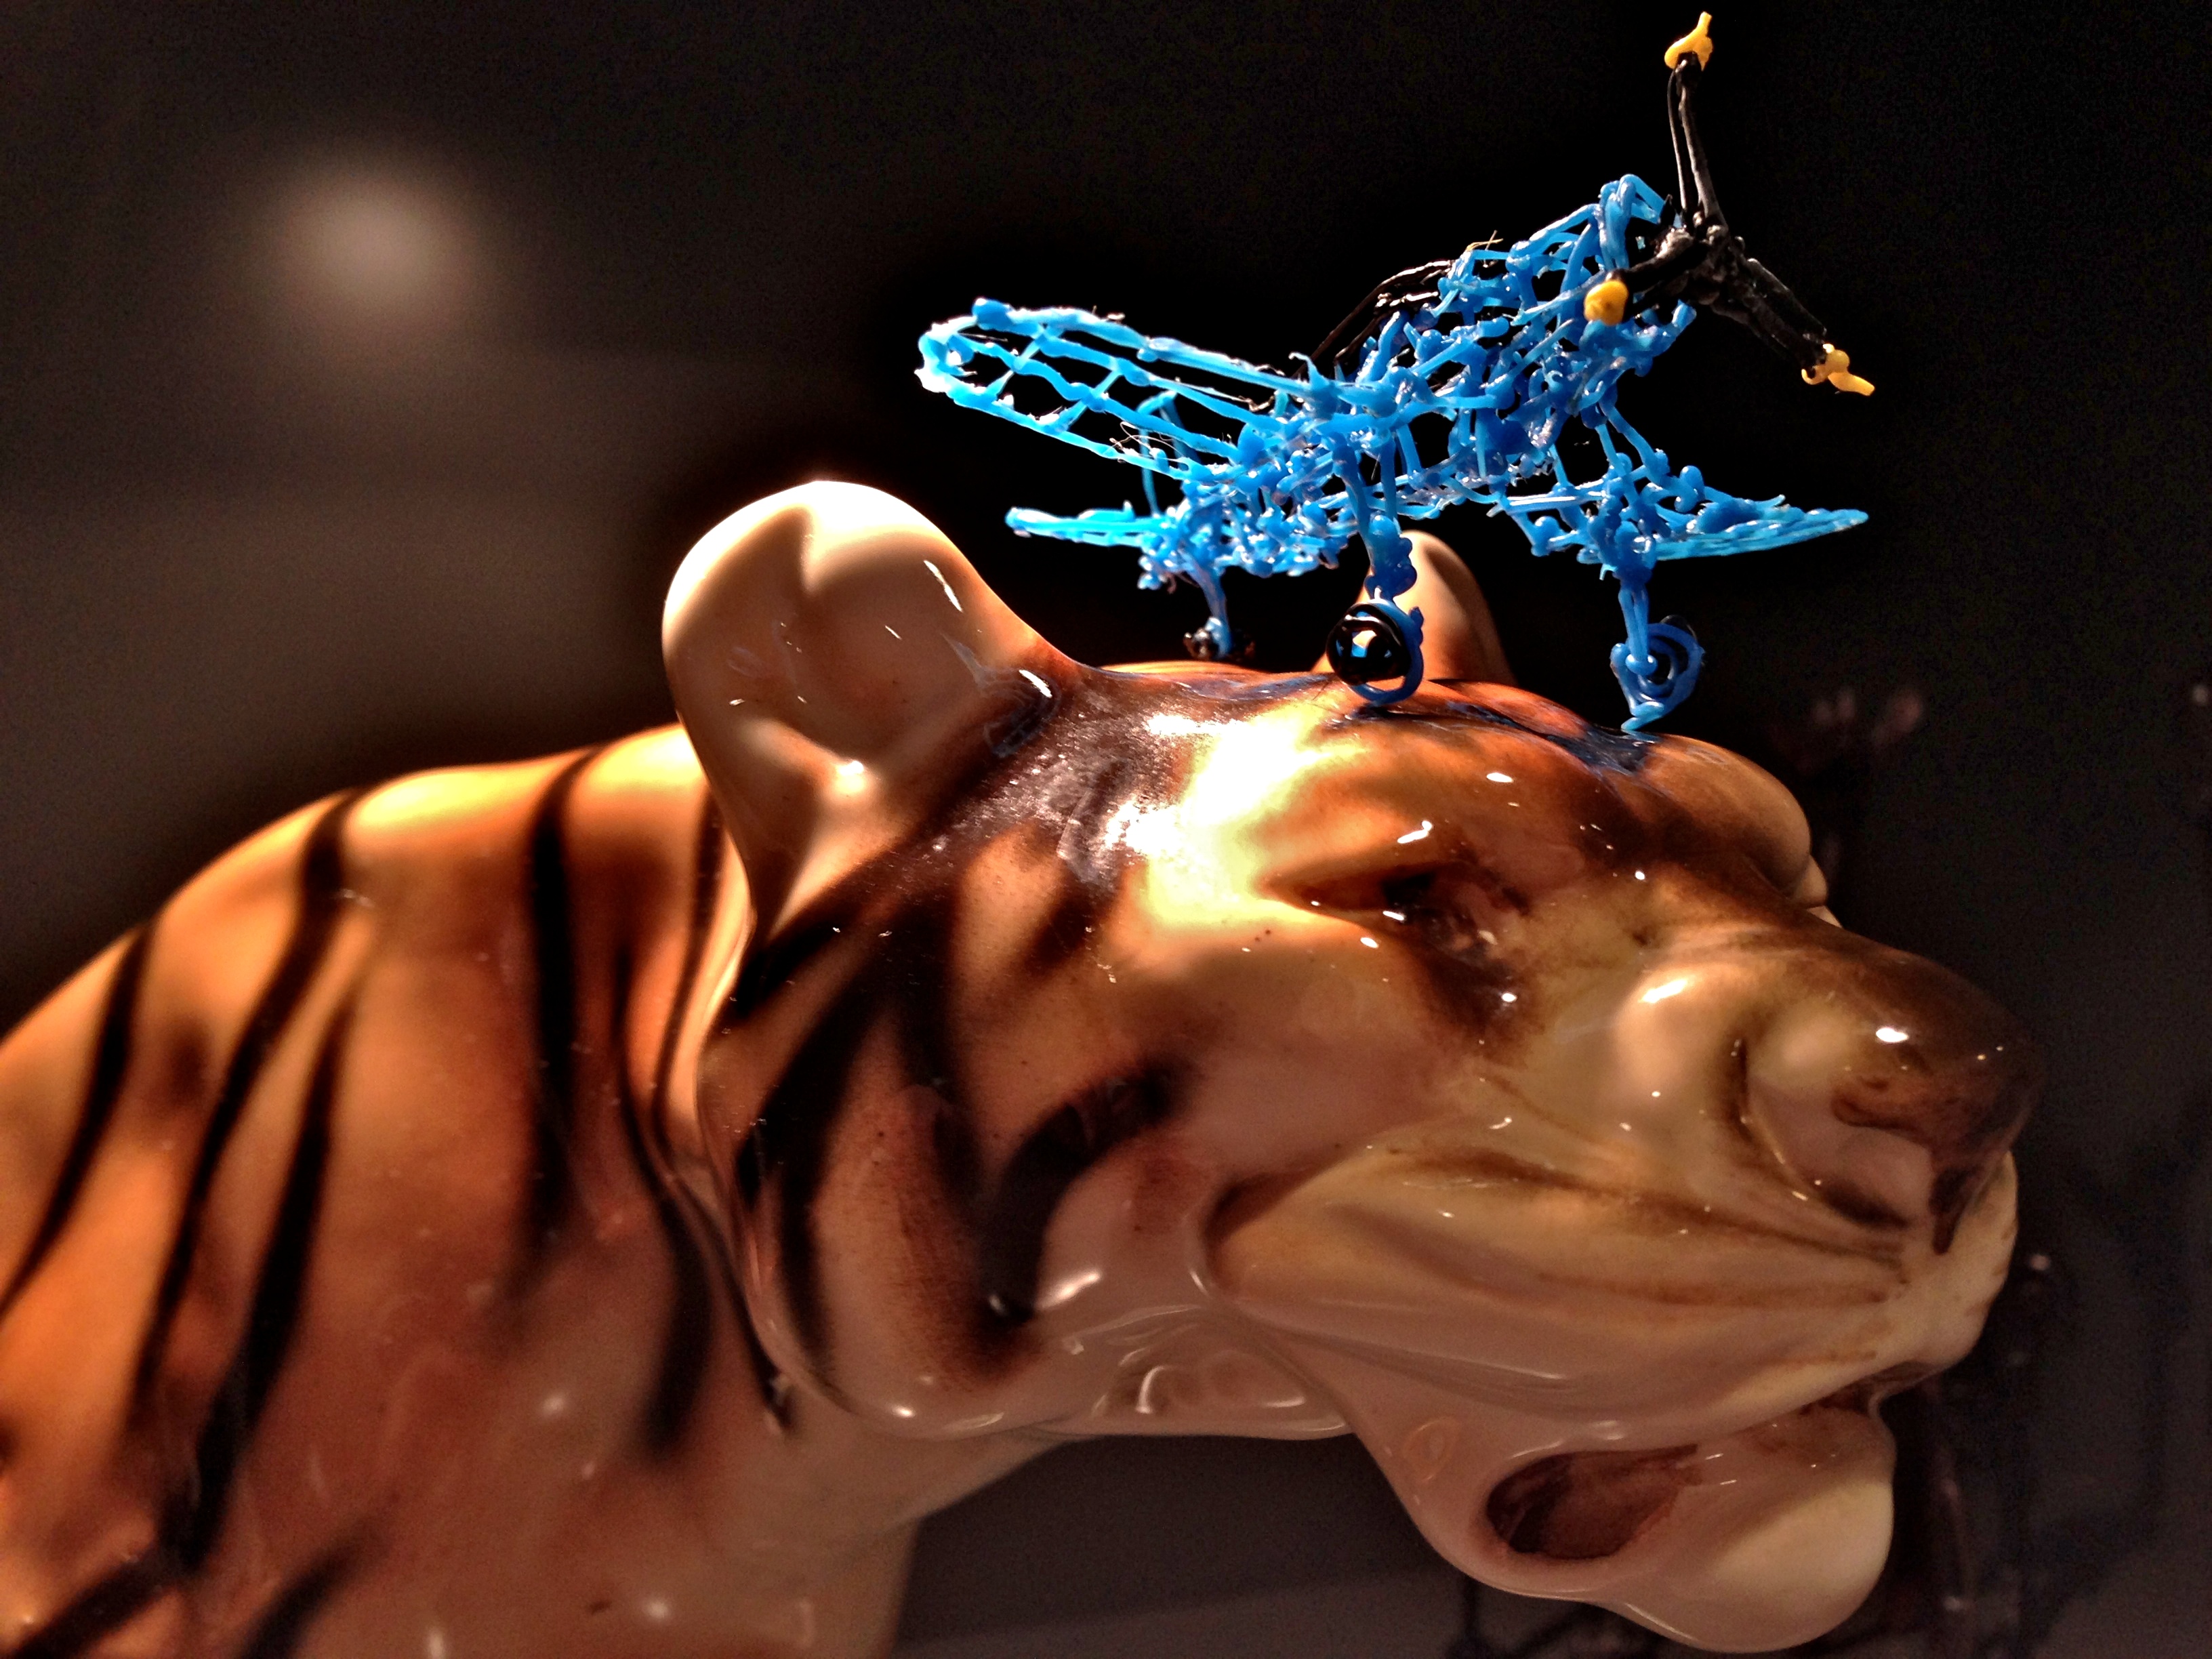
Miniature Corsair atop Tiger’s Head. Note that after most pictures were taken, I added the yellow prop tips, and replaced the canopy with black plastic. This is one of the few images showing the final details.
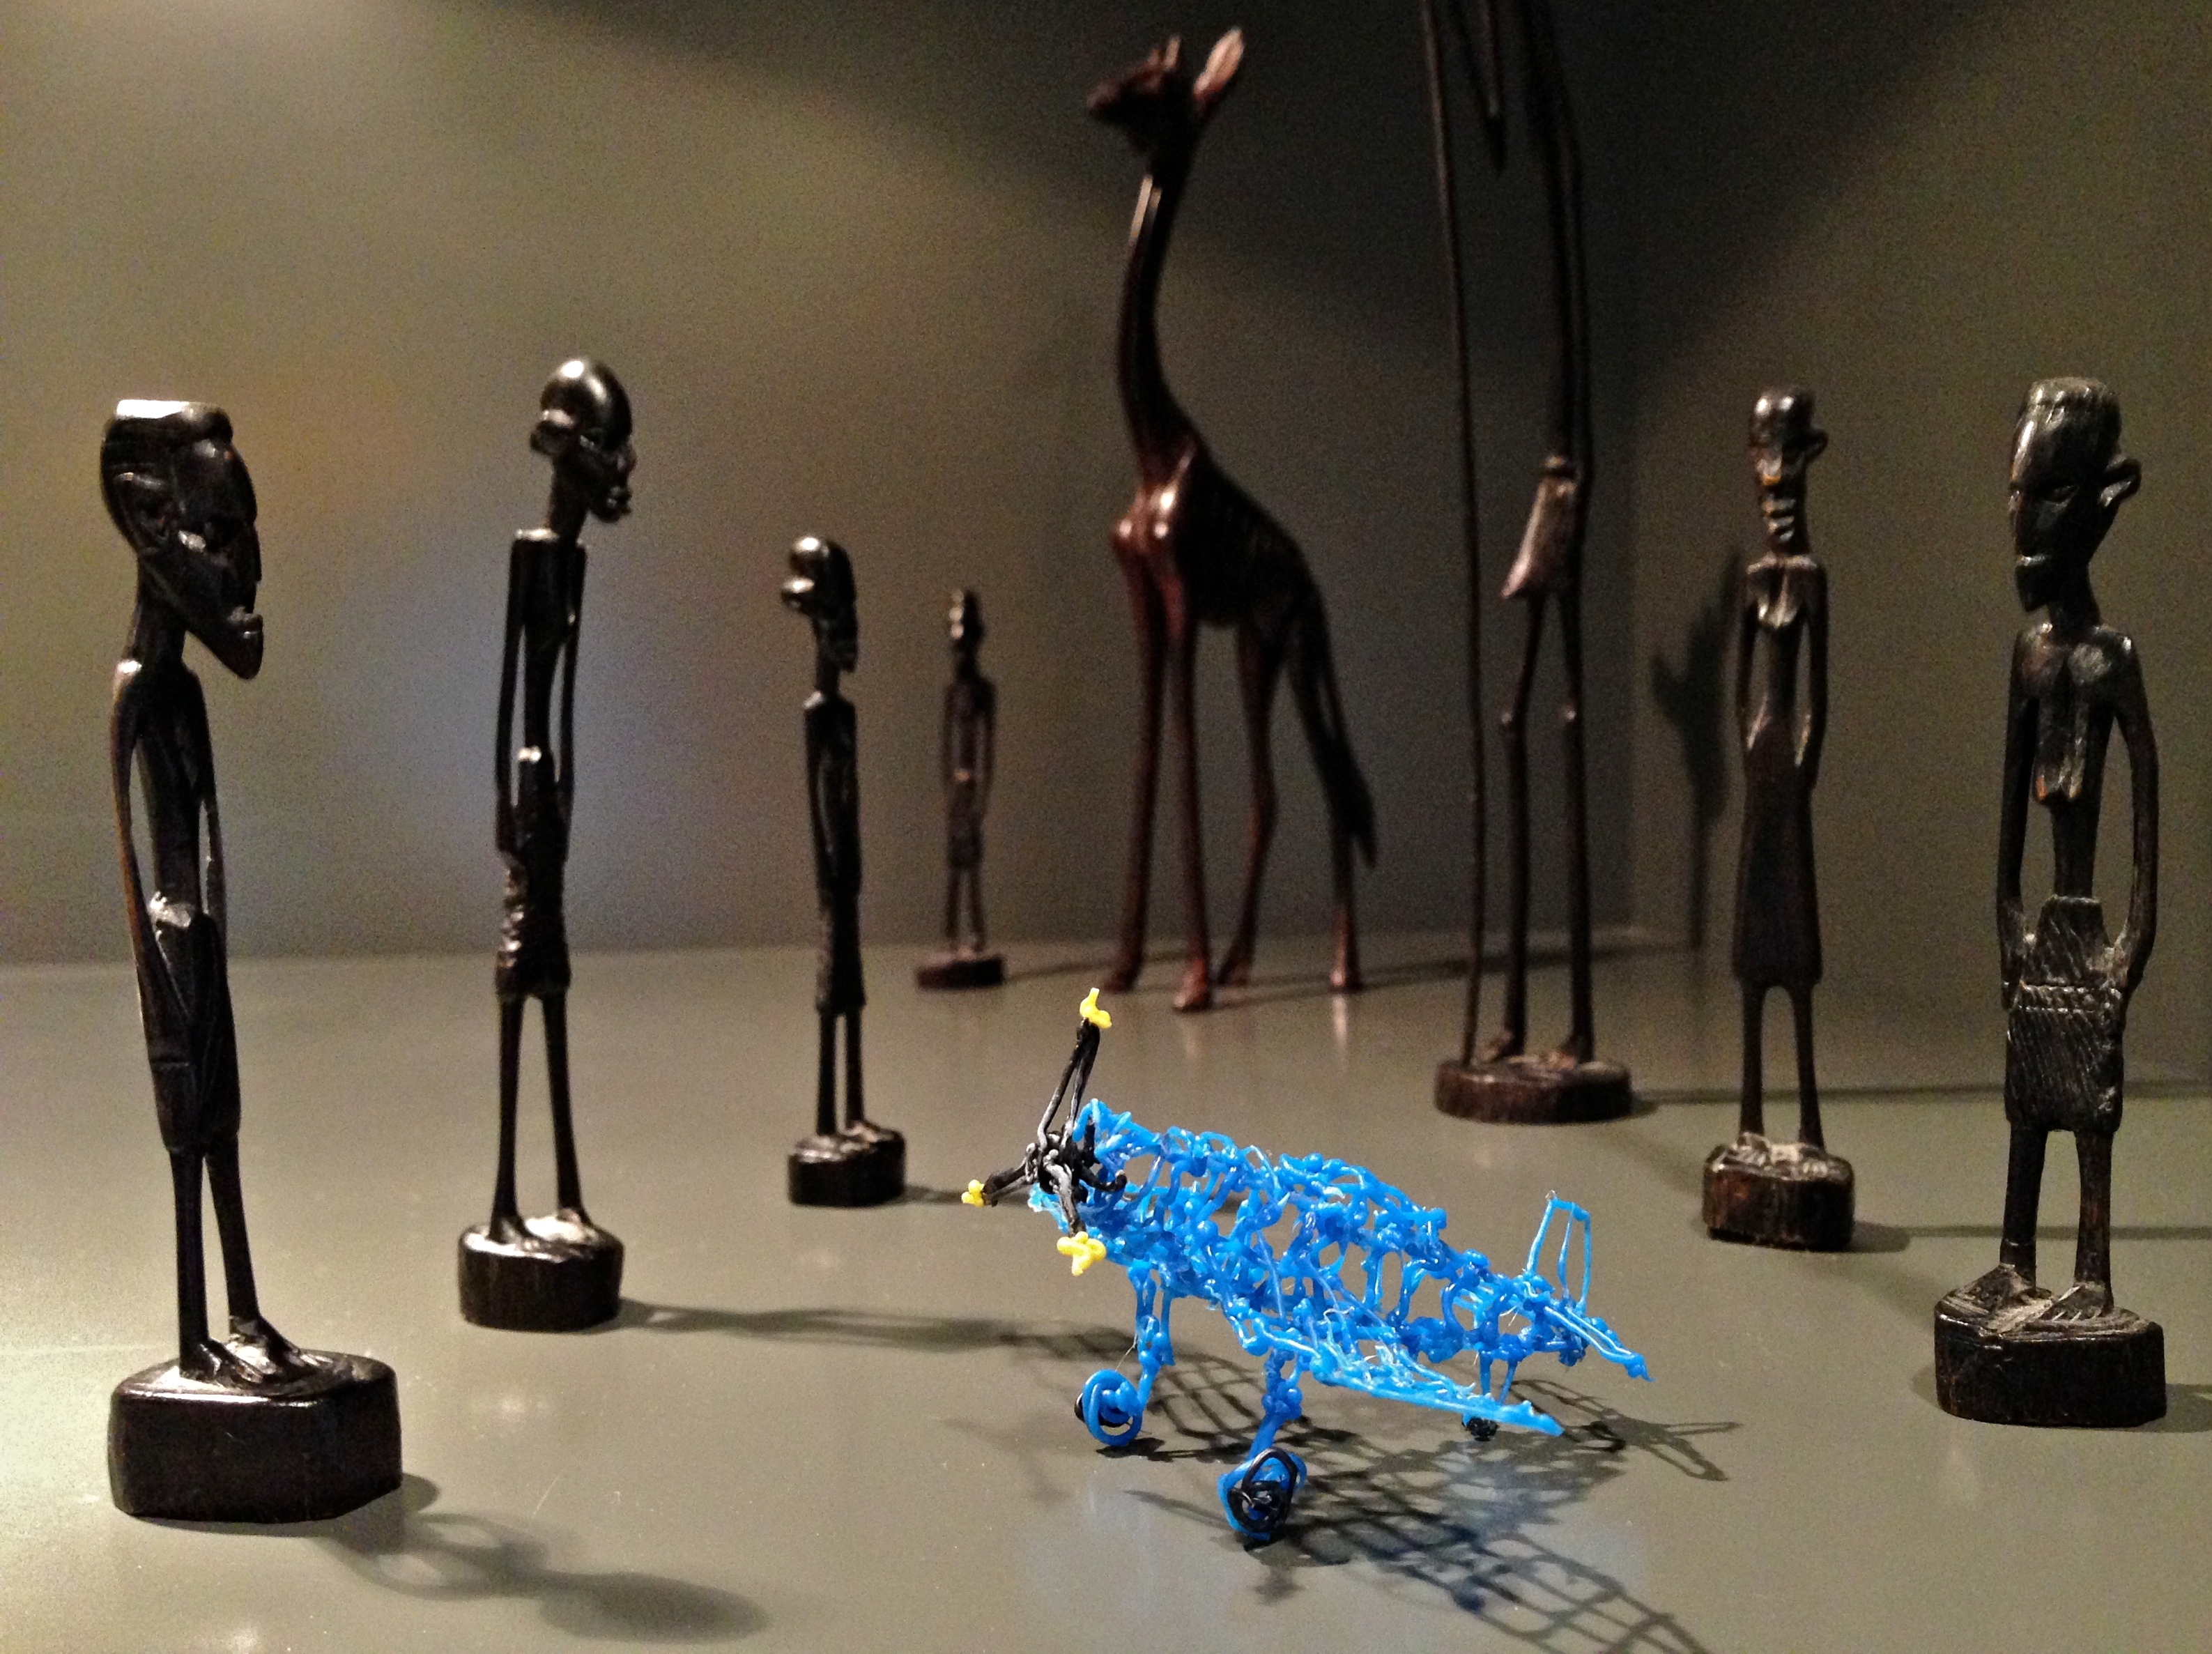
Corsair surrounded by tribespeople. Note that the black canopy hadn’t been added yet at that point. Now I regret the black canopy. The blue one looks just fine, if not better, in retrospect.
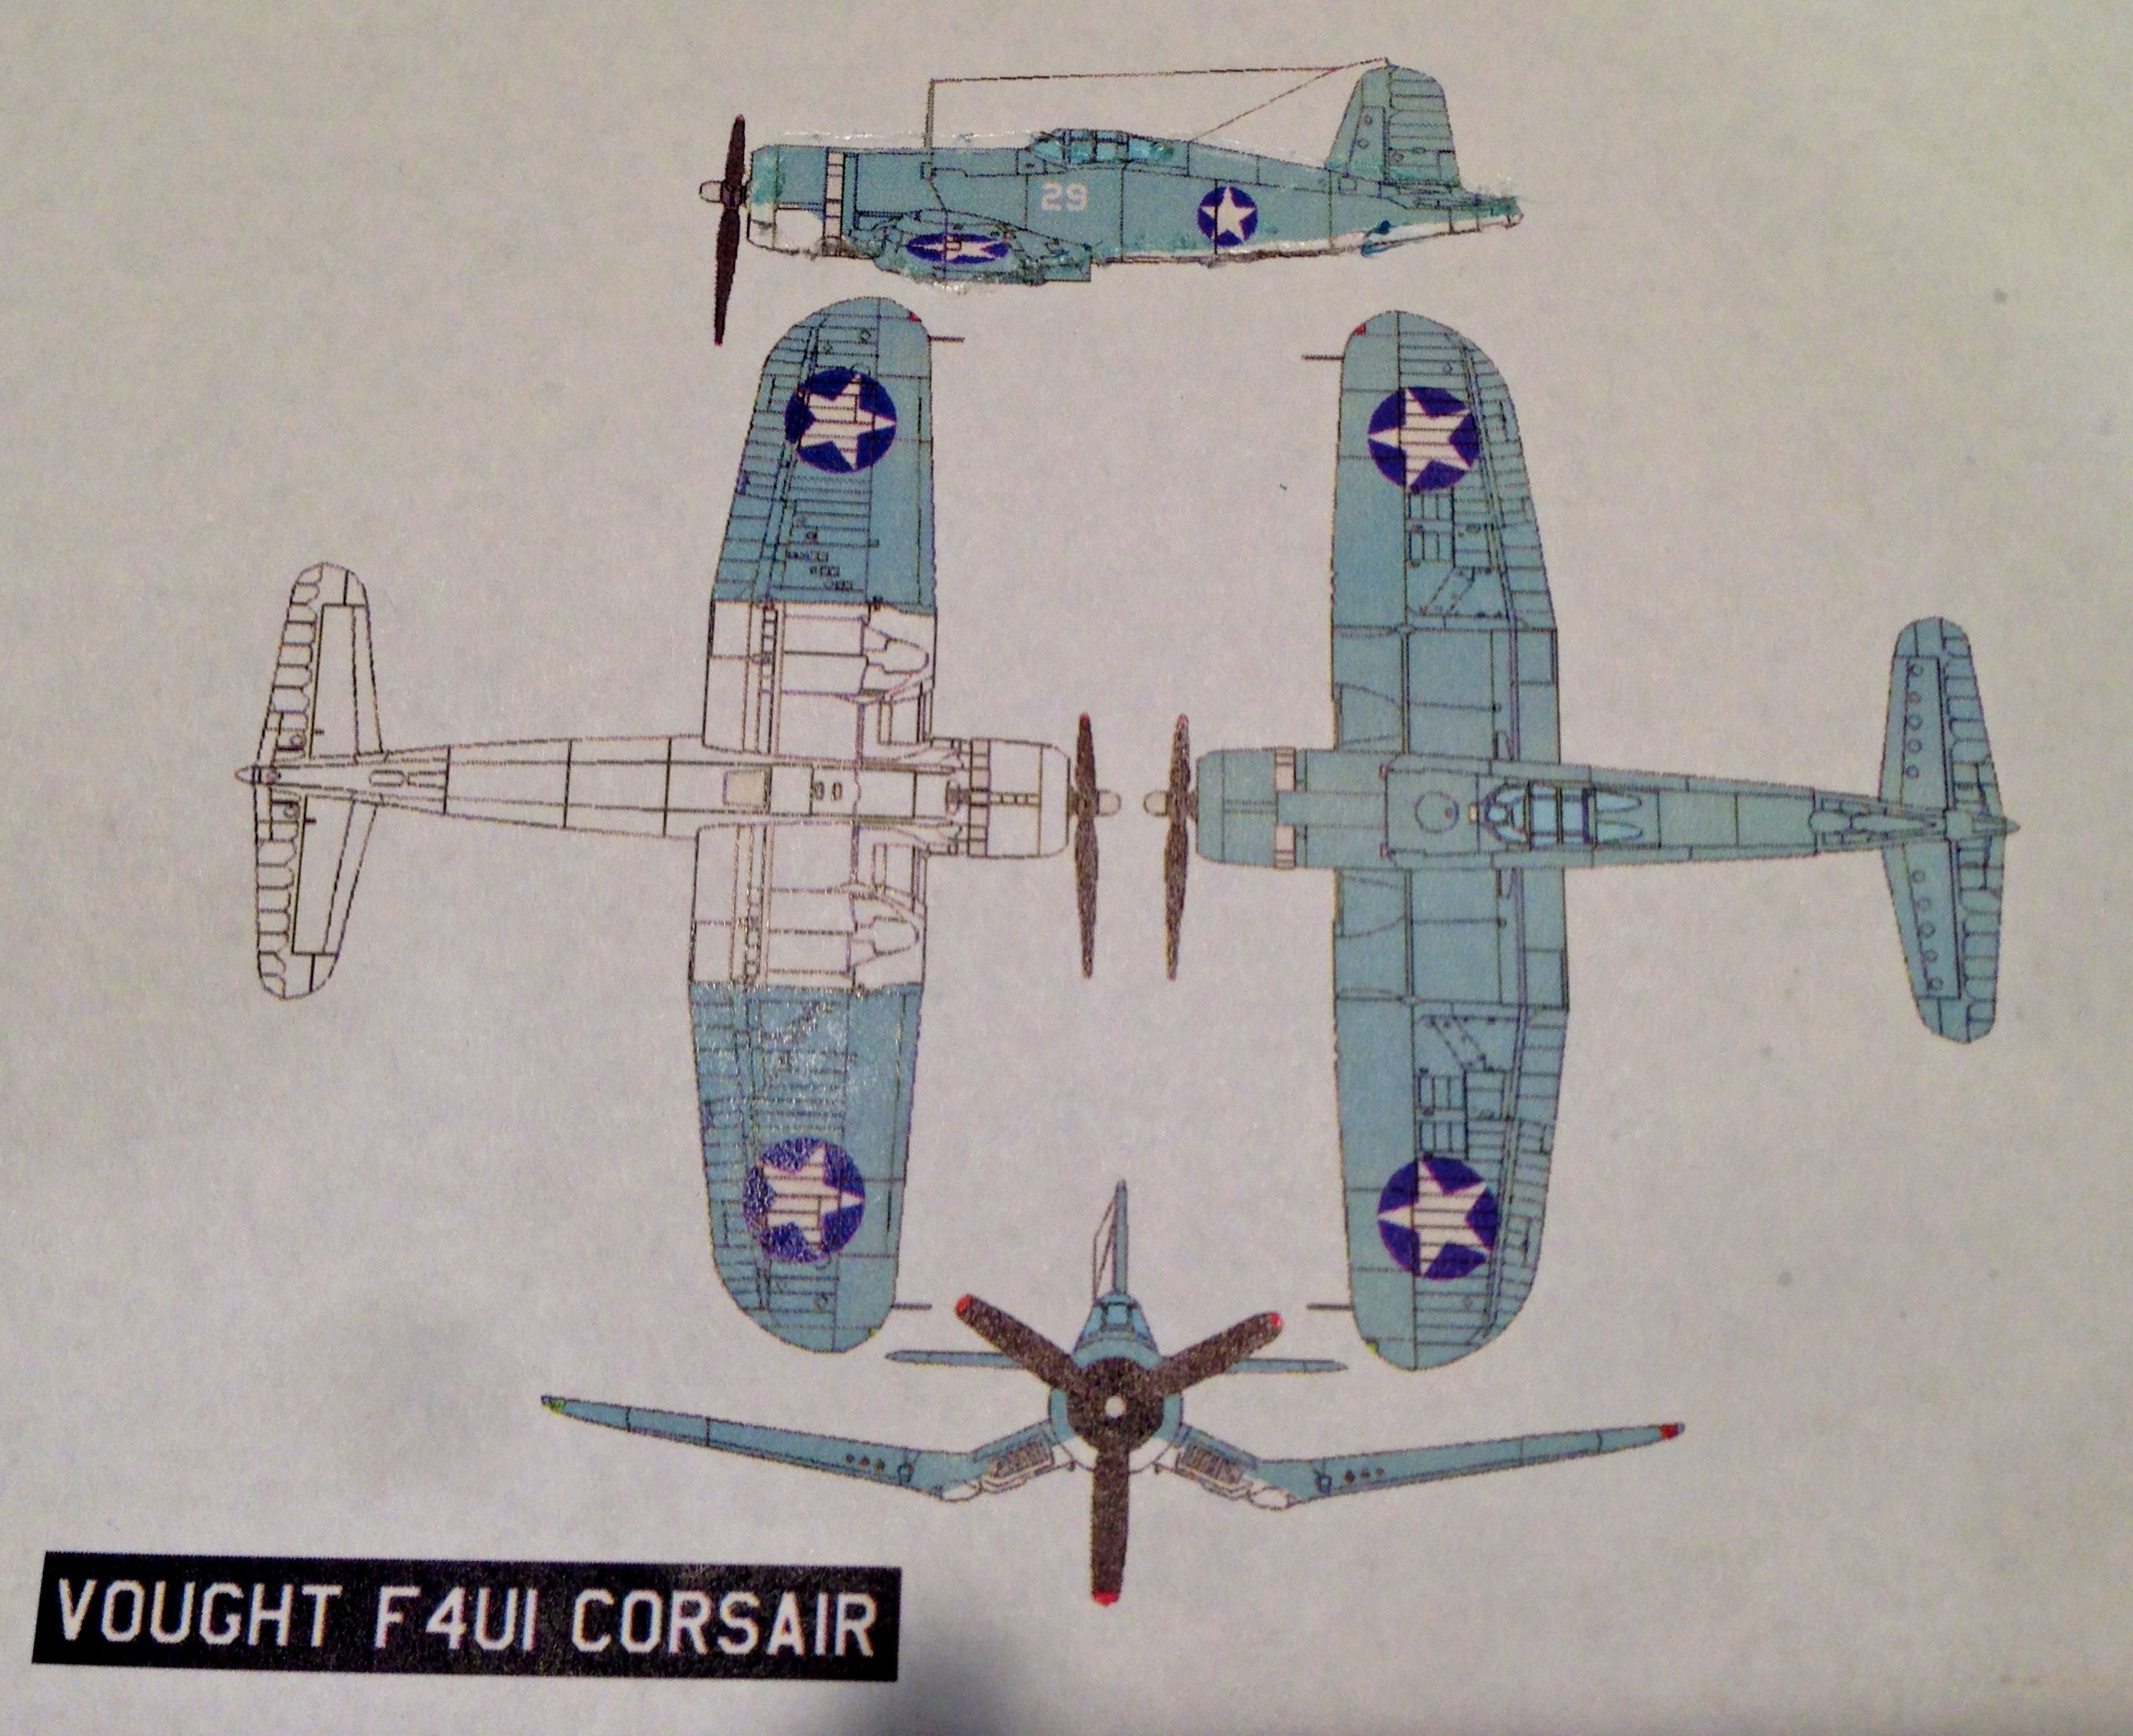
Corsair Plan
The project started with a plan of the famous F4U Corsair I printed out. I scaled the picture so that the wingspan measured roughly 3 inches. The extruded plastic presumably stuck to paper, but in practice it was not easy to make the first piece of plastic stick. I found over time that one needs to make an initial blob stick by push lightly downward as the first chunk of plastic comes out of the nozzle. After that, subsequent connected lines won’t bend upward at the end, and will sit on the paper and stick to it.
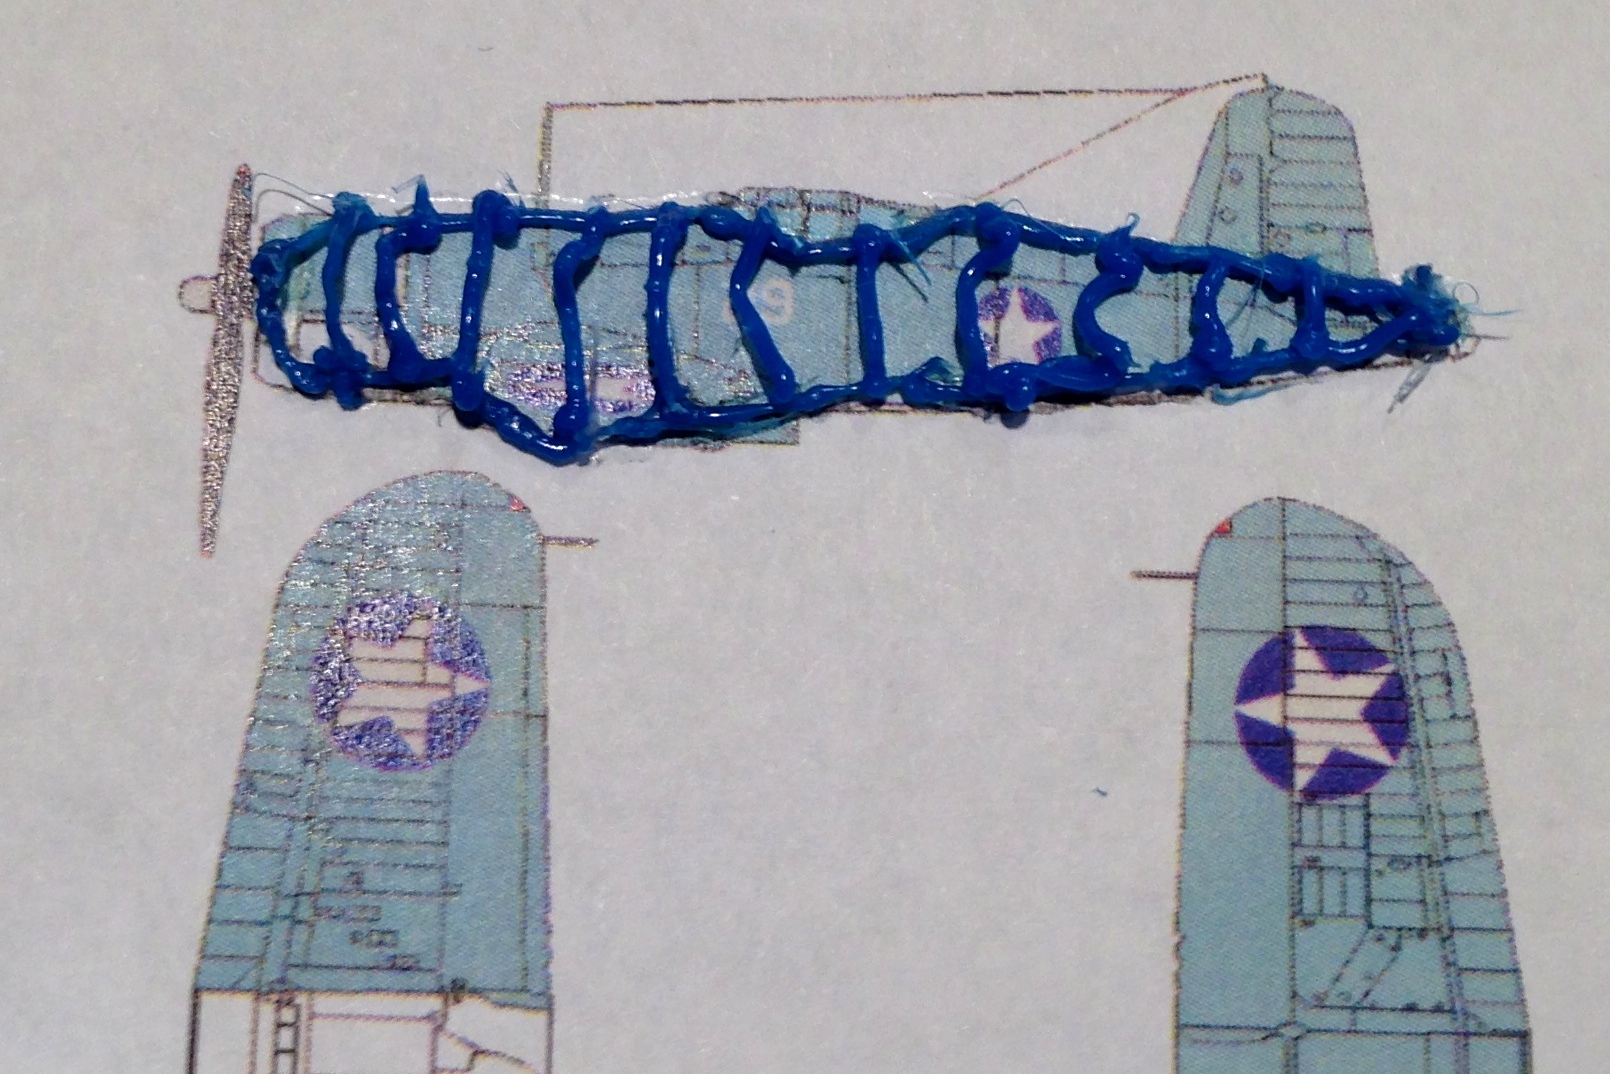
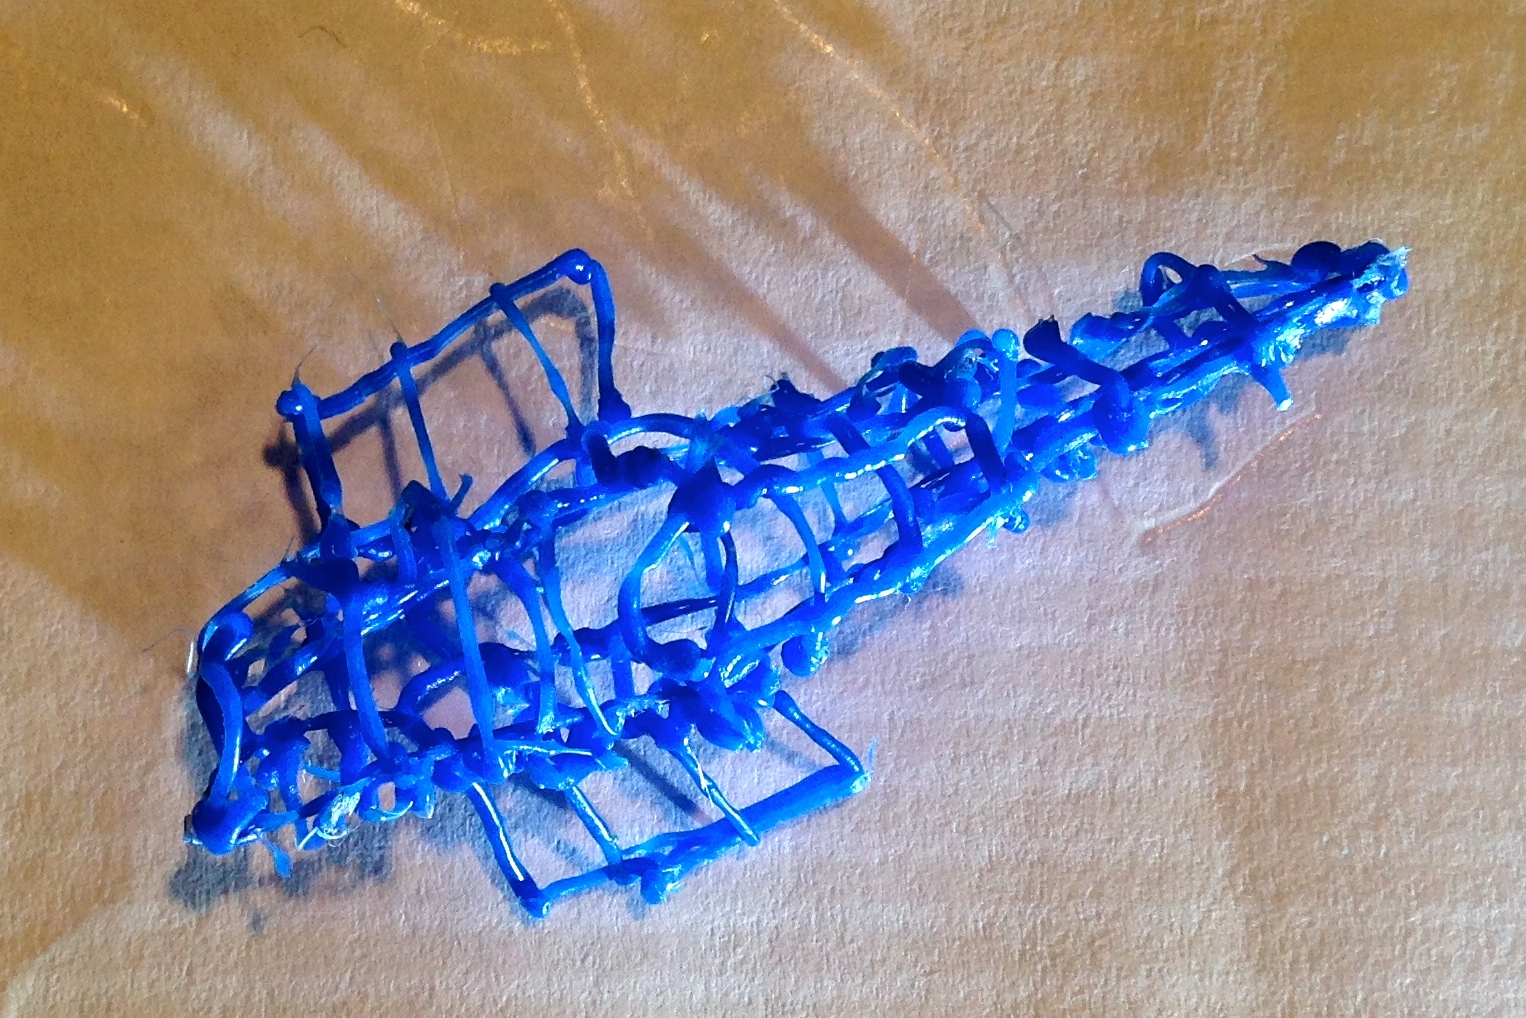
The first piece that will eventually become the Fuselage. It looked like most people online doodled their sculpture as flat pieces initially, then glue them together. I made the mistake of learning from that, thus this piece I would use as the left side of the fuselage (Next time I am switching to air doodling). By this time I realized that doodling was hard, and that this project wasn’t going to take just 30 minutes as I told myself at first.

Here we have two sides of the fuselage glued at the tail. At this stage the abomination of connected plastic blobs looked really sorry. I almost gave up.
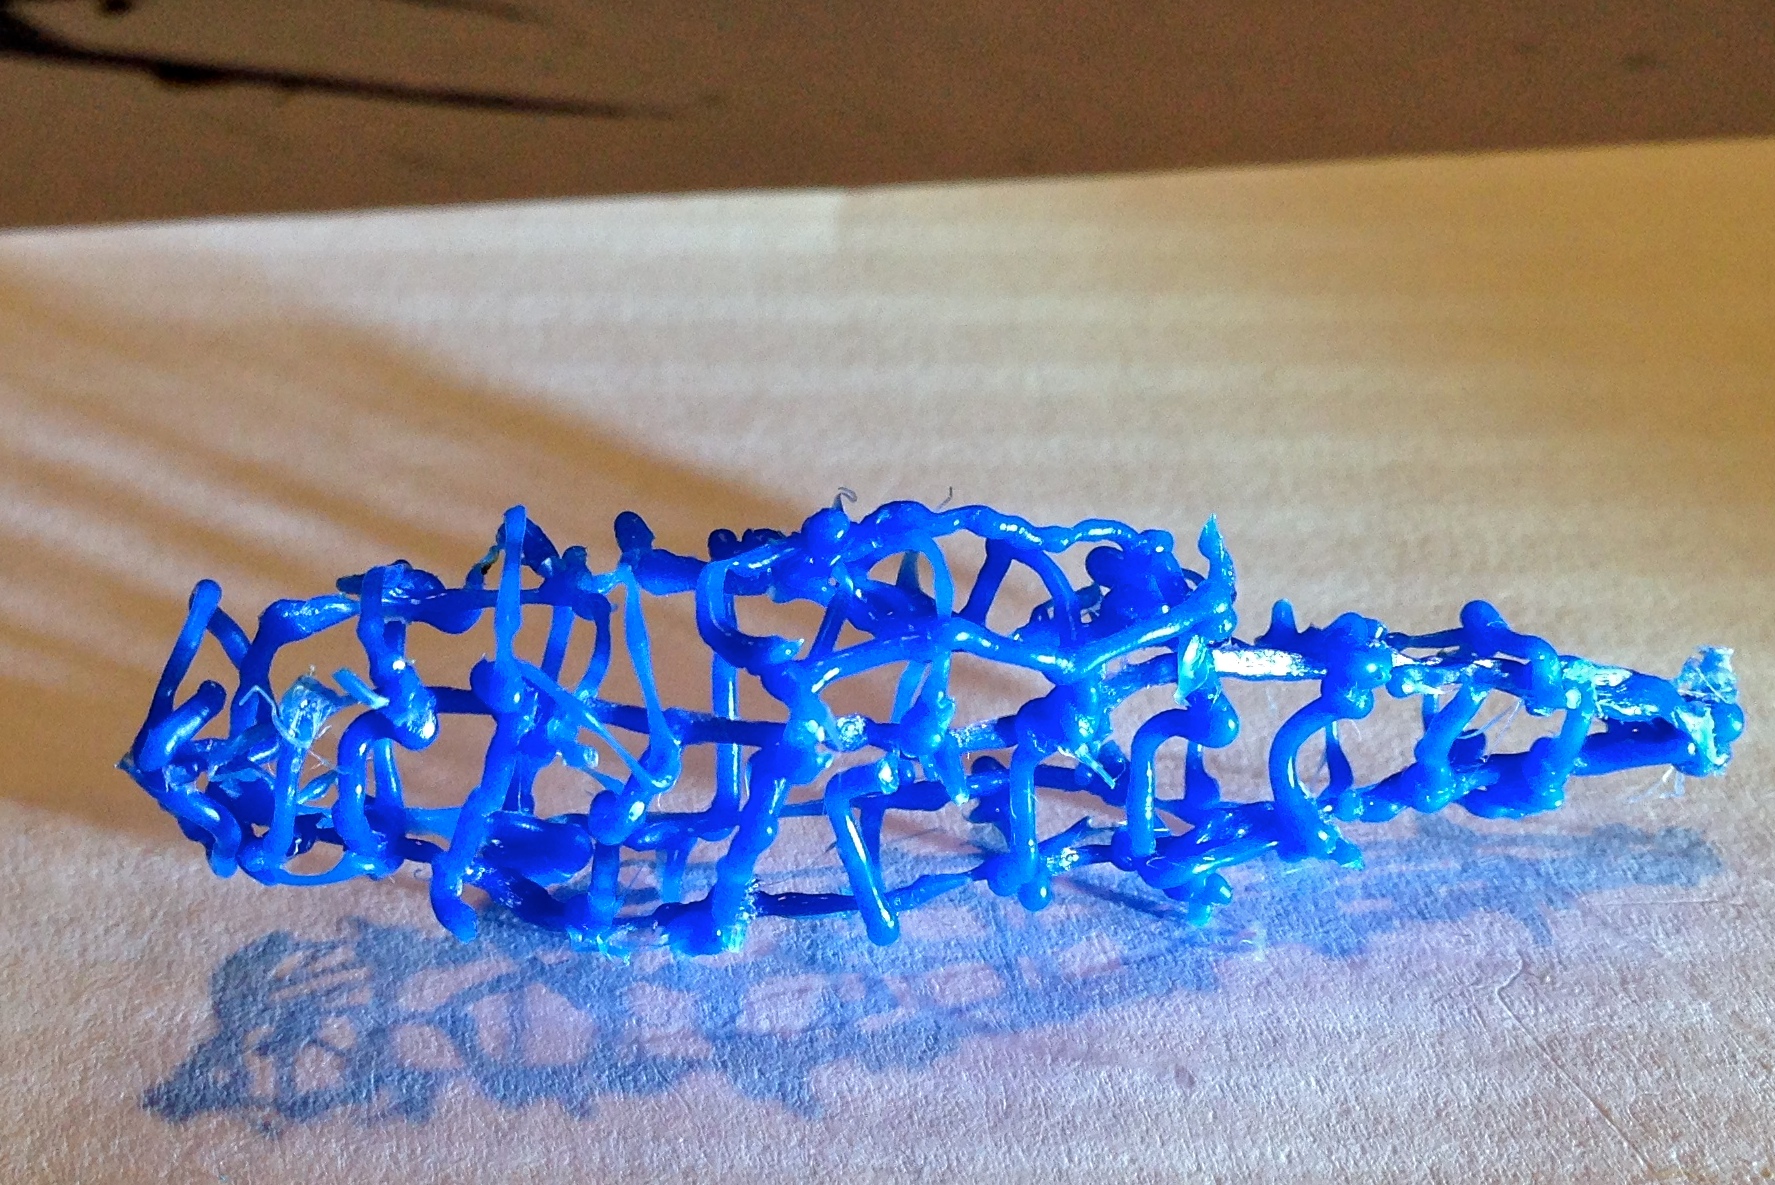
I connected the fuselage sides in haste, and added a canopy. At this point I hadn’t mastered the art of doodling in air. Online videos made it look as if you could just draw in the air. In practice it takes a few seconds for the plastic to harden and hold their shape, but the pen kept extruding stuff. One must hit and hold the button for precise amount of time to get the right length to come out, hold it until it is about to harden, then bend the stretch of plastic and hold. At the same time one must hit the button again, so that fresh, hot plastic comes out before the previous stretch sets, so the tip of the pen doesn’t break off from the hardened plastic.

The fuselage Grows a Wing Stub
Now It Grows a Second One
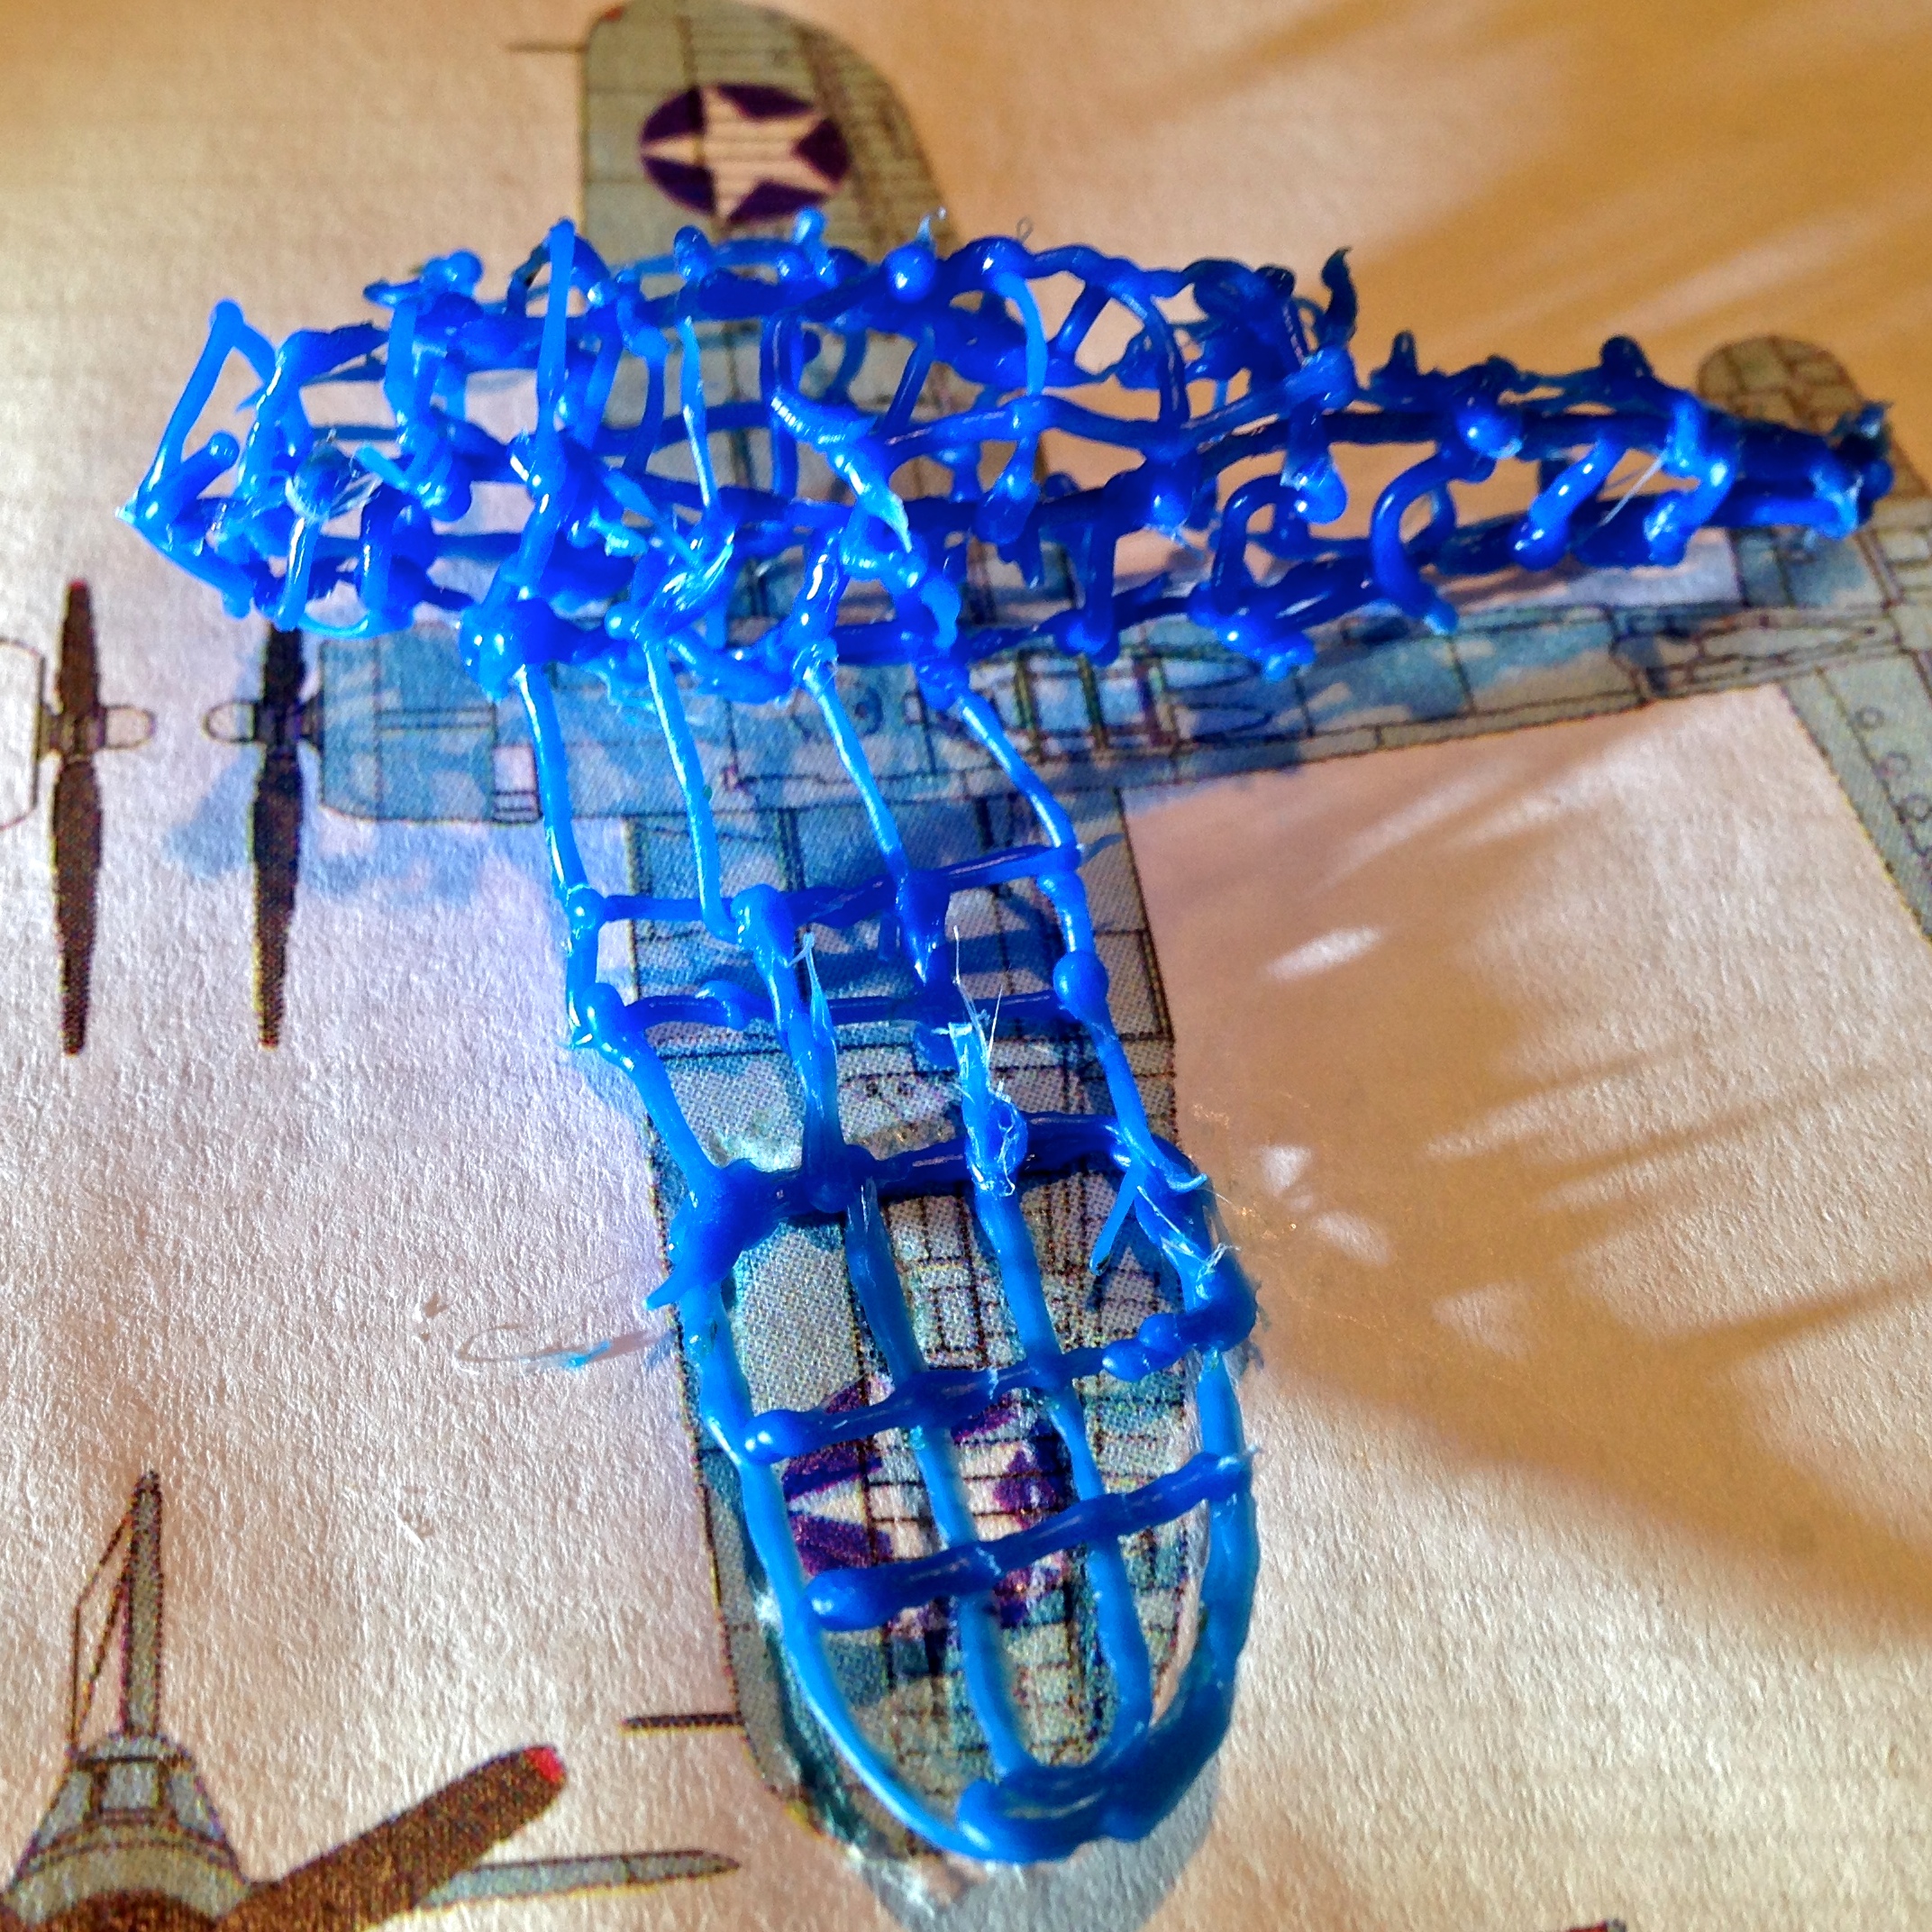
Left wing completed. From this angle it is hard to see the signature “inverted gull wing”. I drew the main body of the wing on paper, then connected it at an angle to the wing stub, forming the famous Corsair wing.

Here we have the entirety of the Corsair body shaped. The right wing was attached. The rudder and elevator were added. The unusually long landing gears and wheels gave it the finishing touch. By now this actually started to look like a plane, from afar. I was now more conversant in air doodling. The rudder, elevator, gears and wheels were all air doodled. I was especially proud of the wheels – I rotated the plane instead of the pen to draw those spirals.

Propeller Blades drawn on paper. I’ve switched to the black stick now. And I made the mistake of drawing the blades on paper. I only realized my mistake later when trying to hot glue the propeller to the cowling – the pen and the tip were too bulky to achieve that. I ended up gluing the prop to the fuselage with CA glue. sigh. Note the black wheels as well.
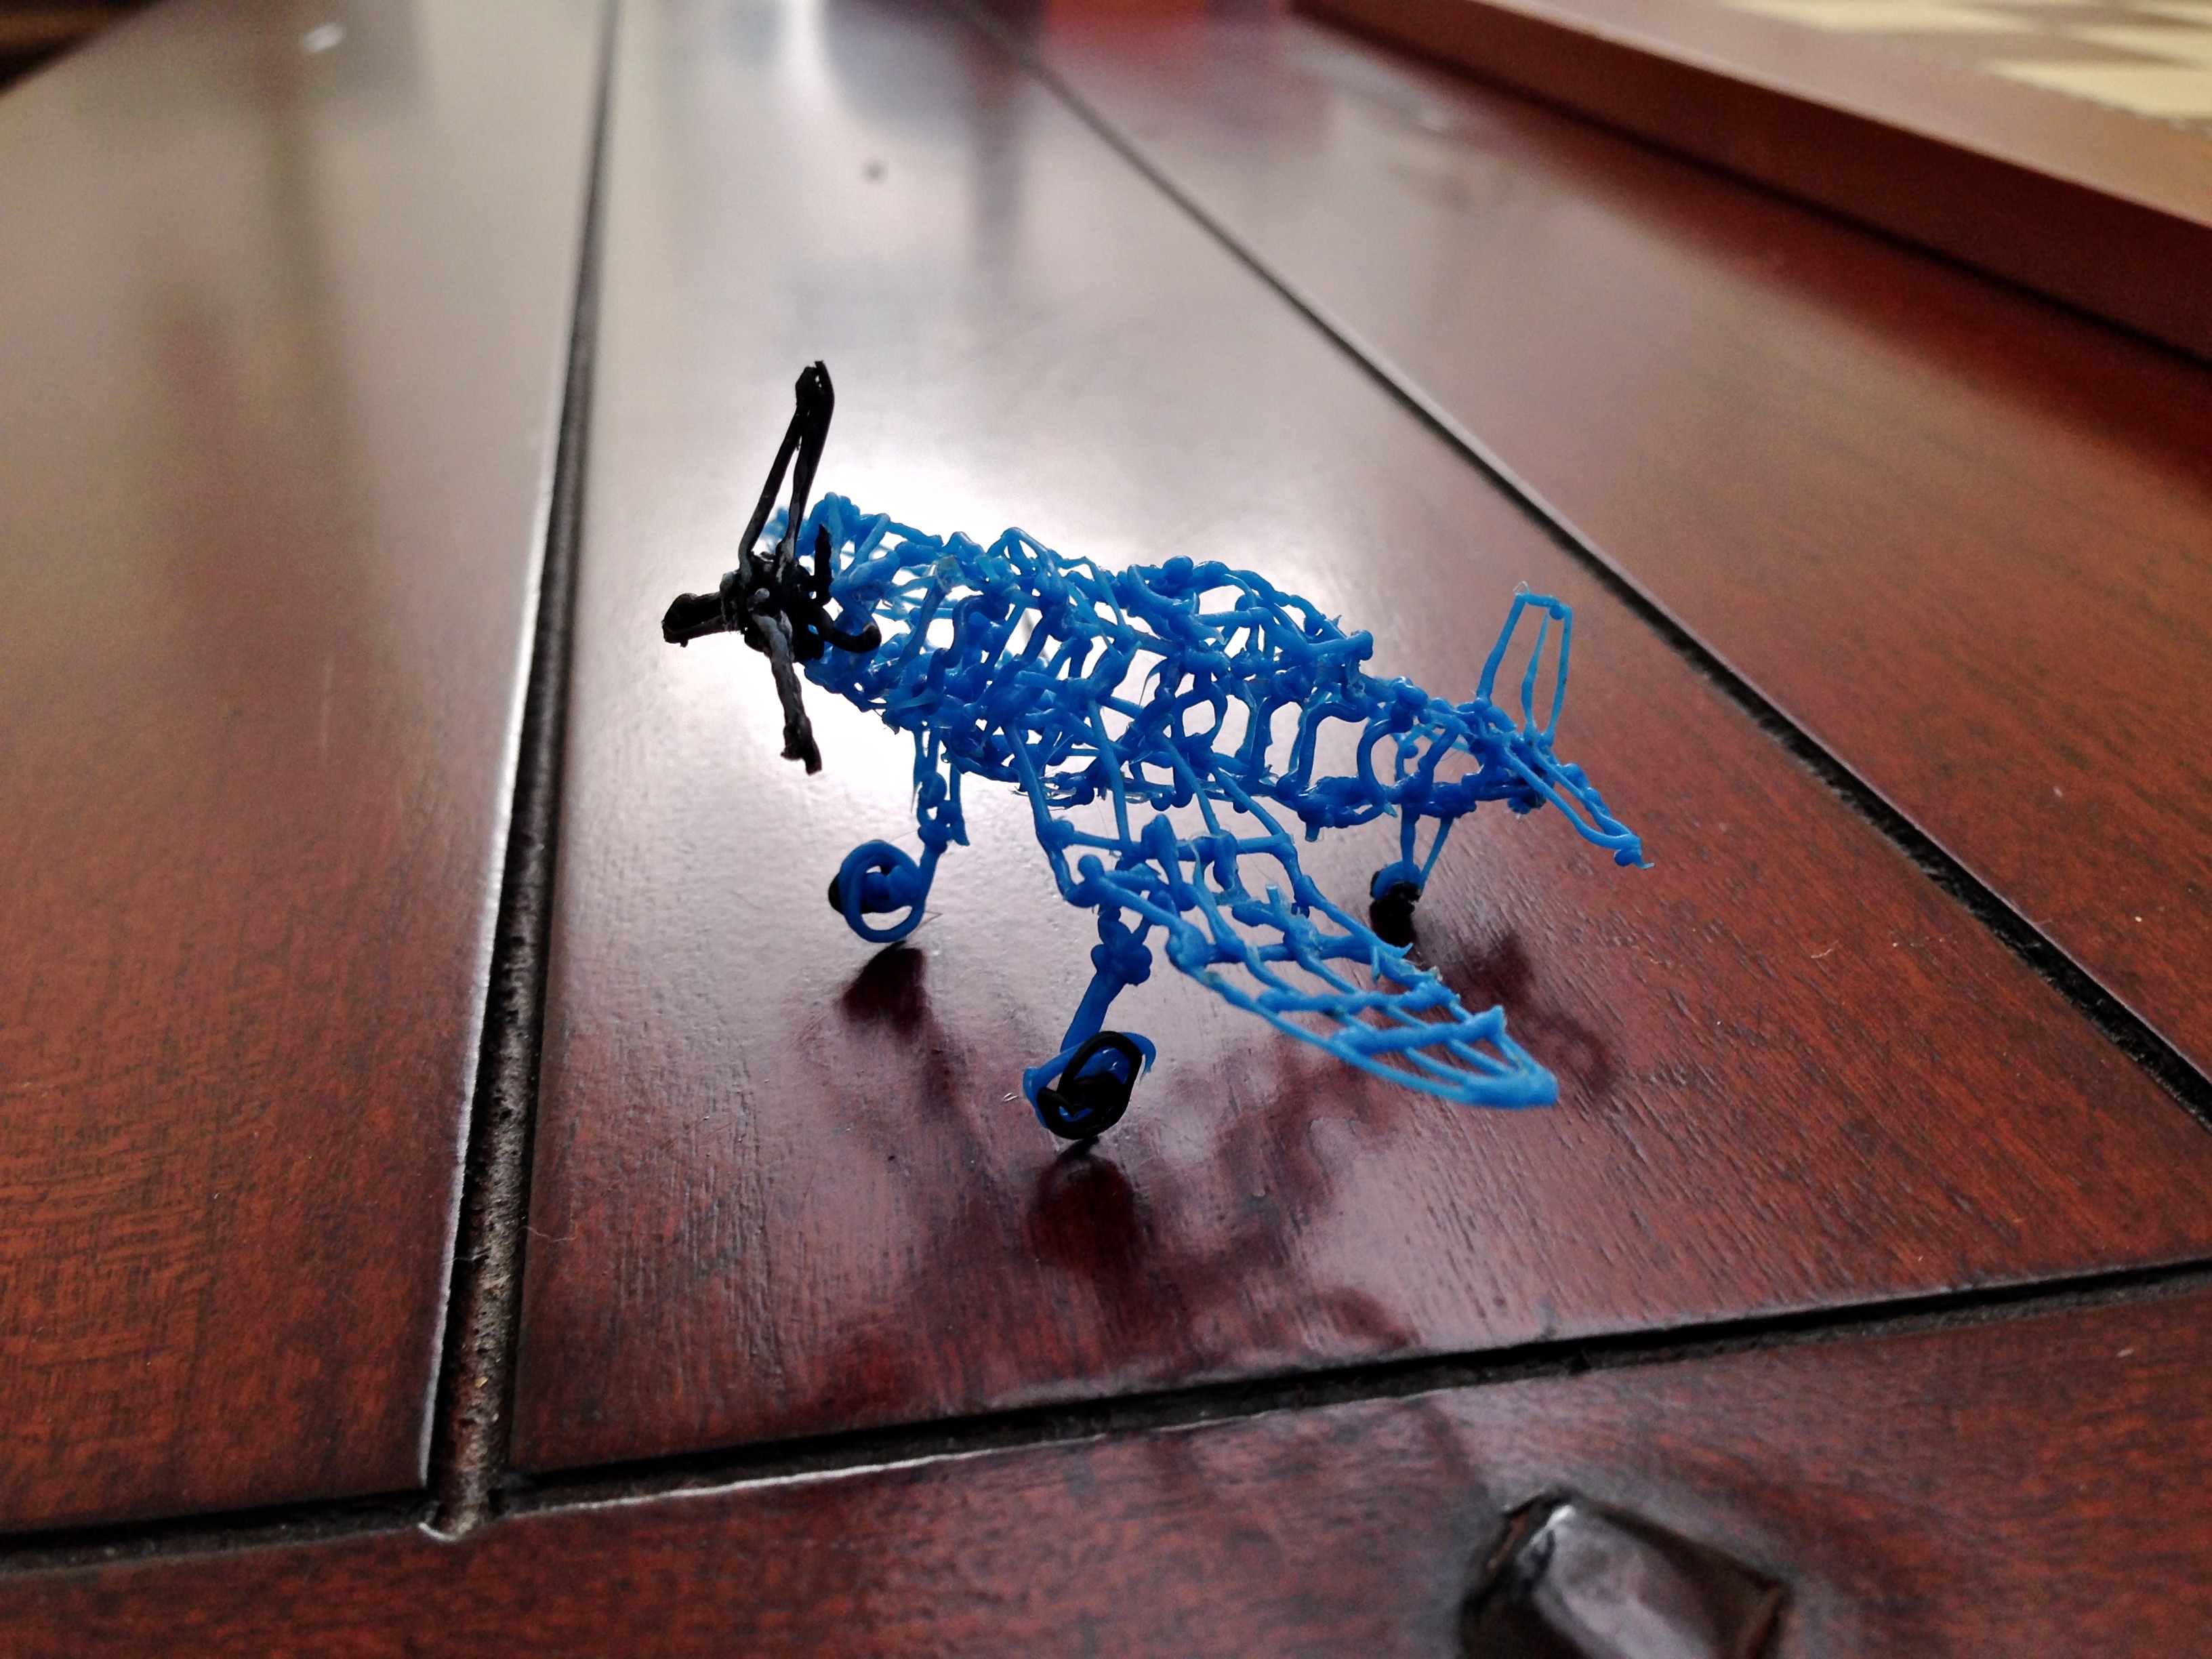
Miniature Corsair on Coffee Table. I thought I was done by now – I was very tired after this long grueling air doodling session. This picture was taken the morning after. It turned out OK. The plane is easily recognized by aficionados at this point.
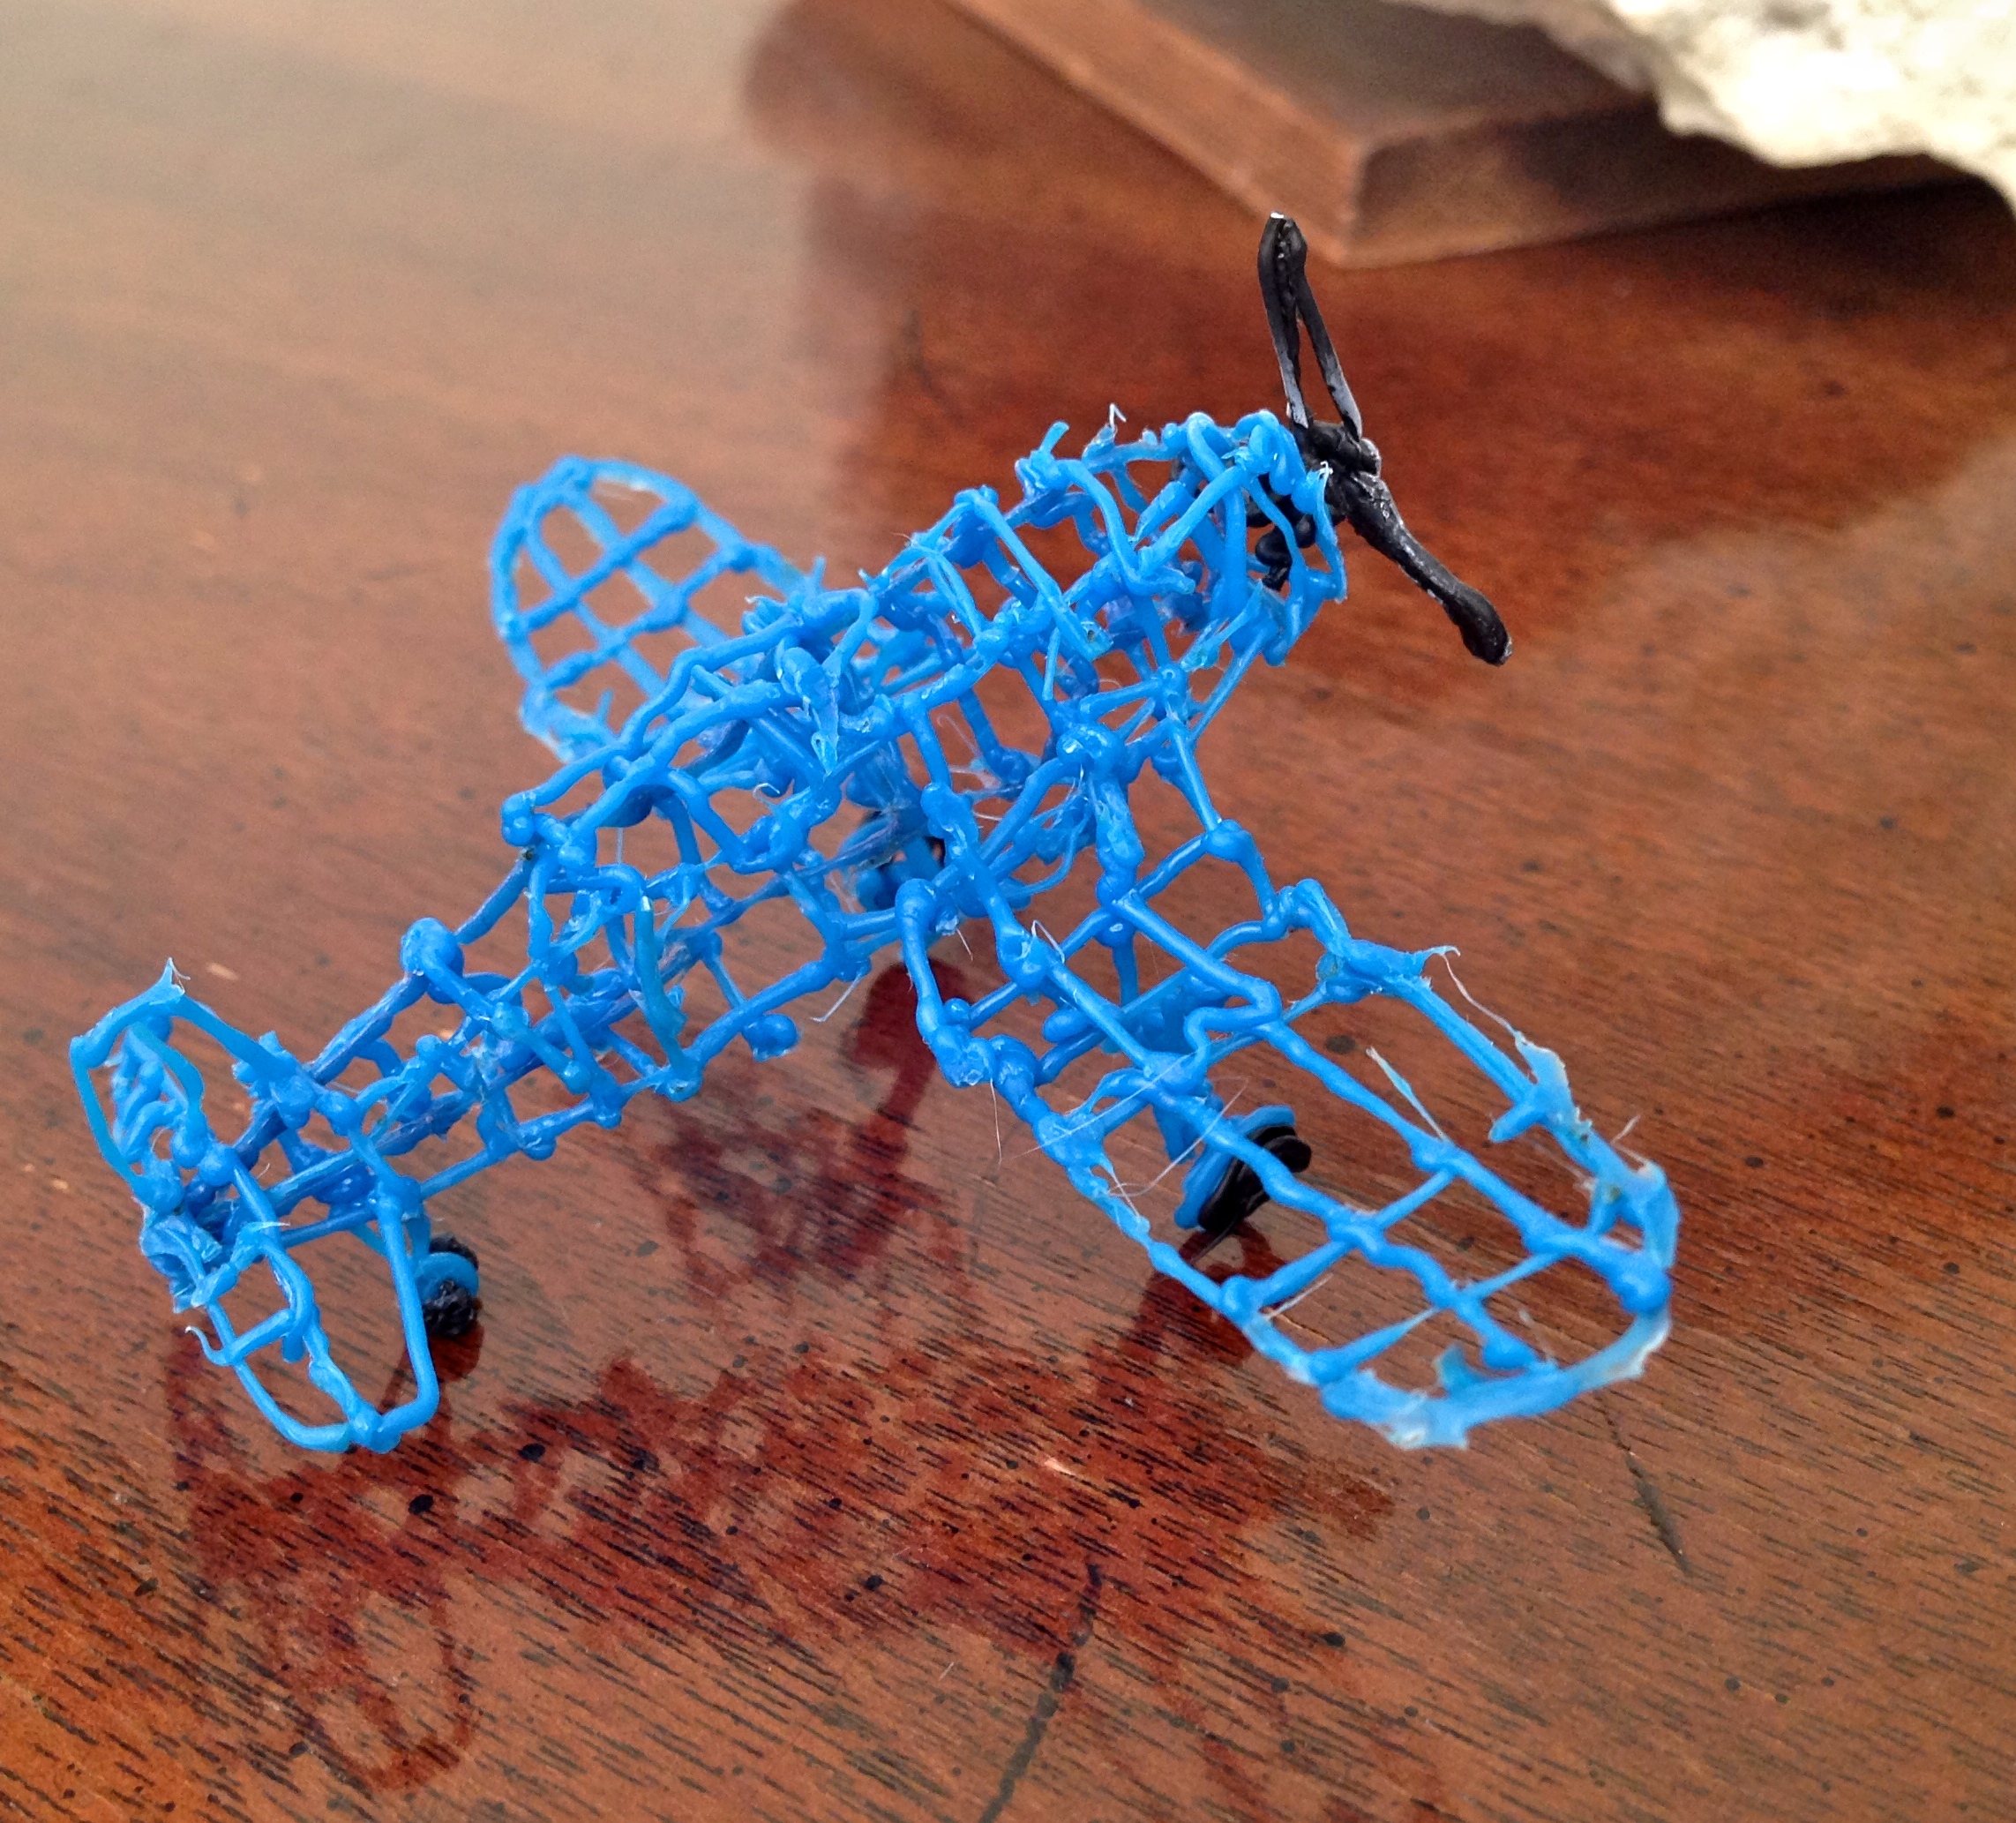
Corsair from Behind
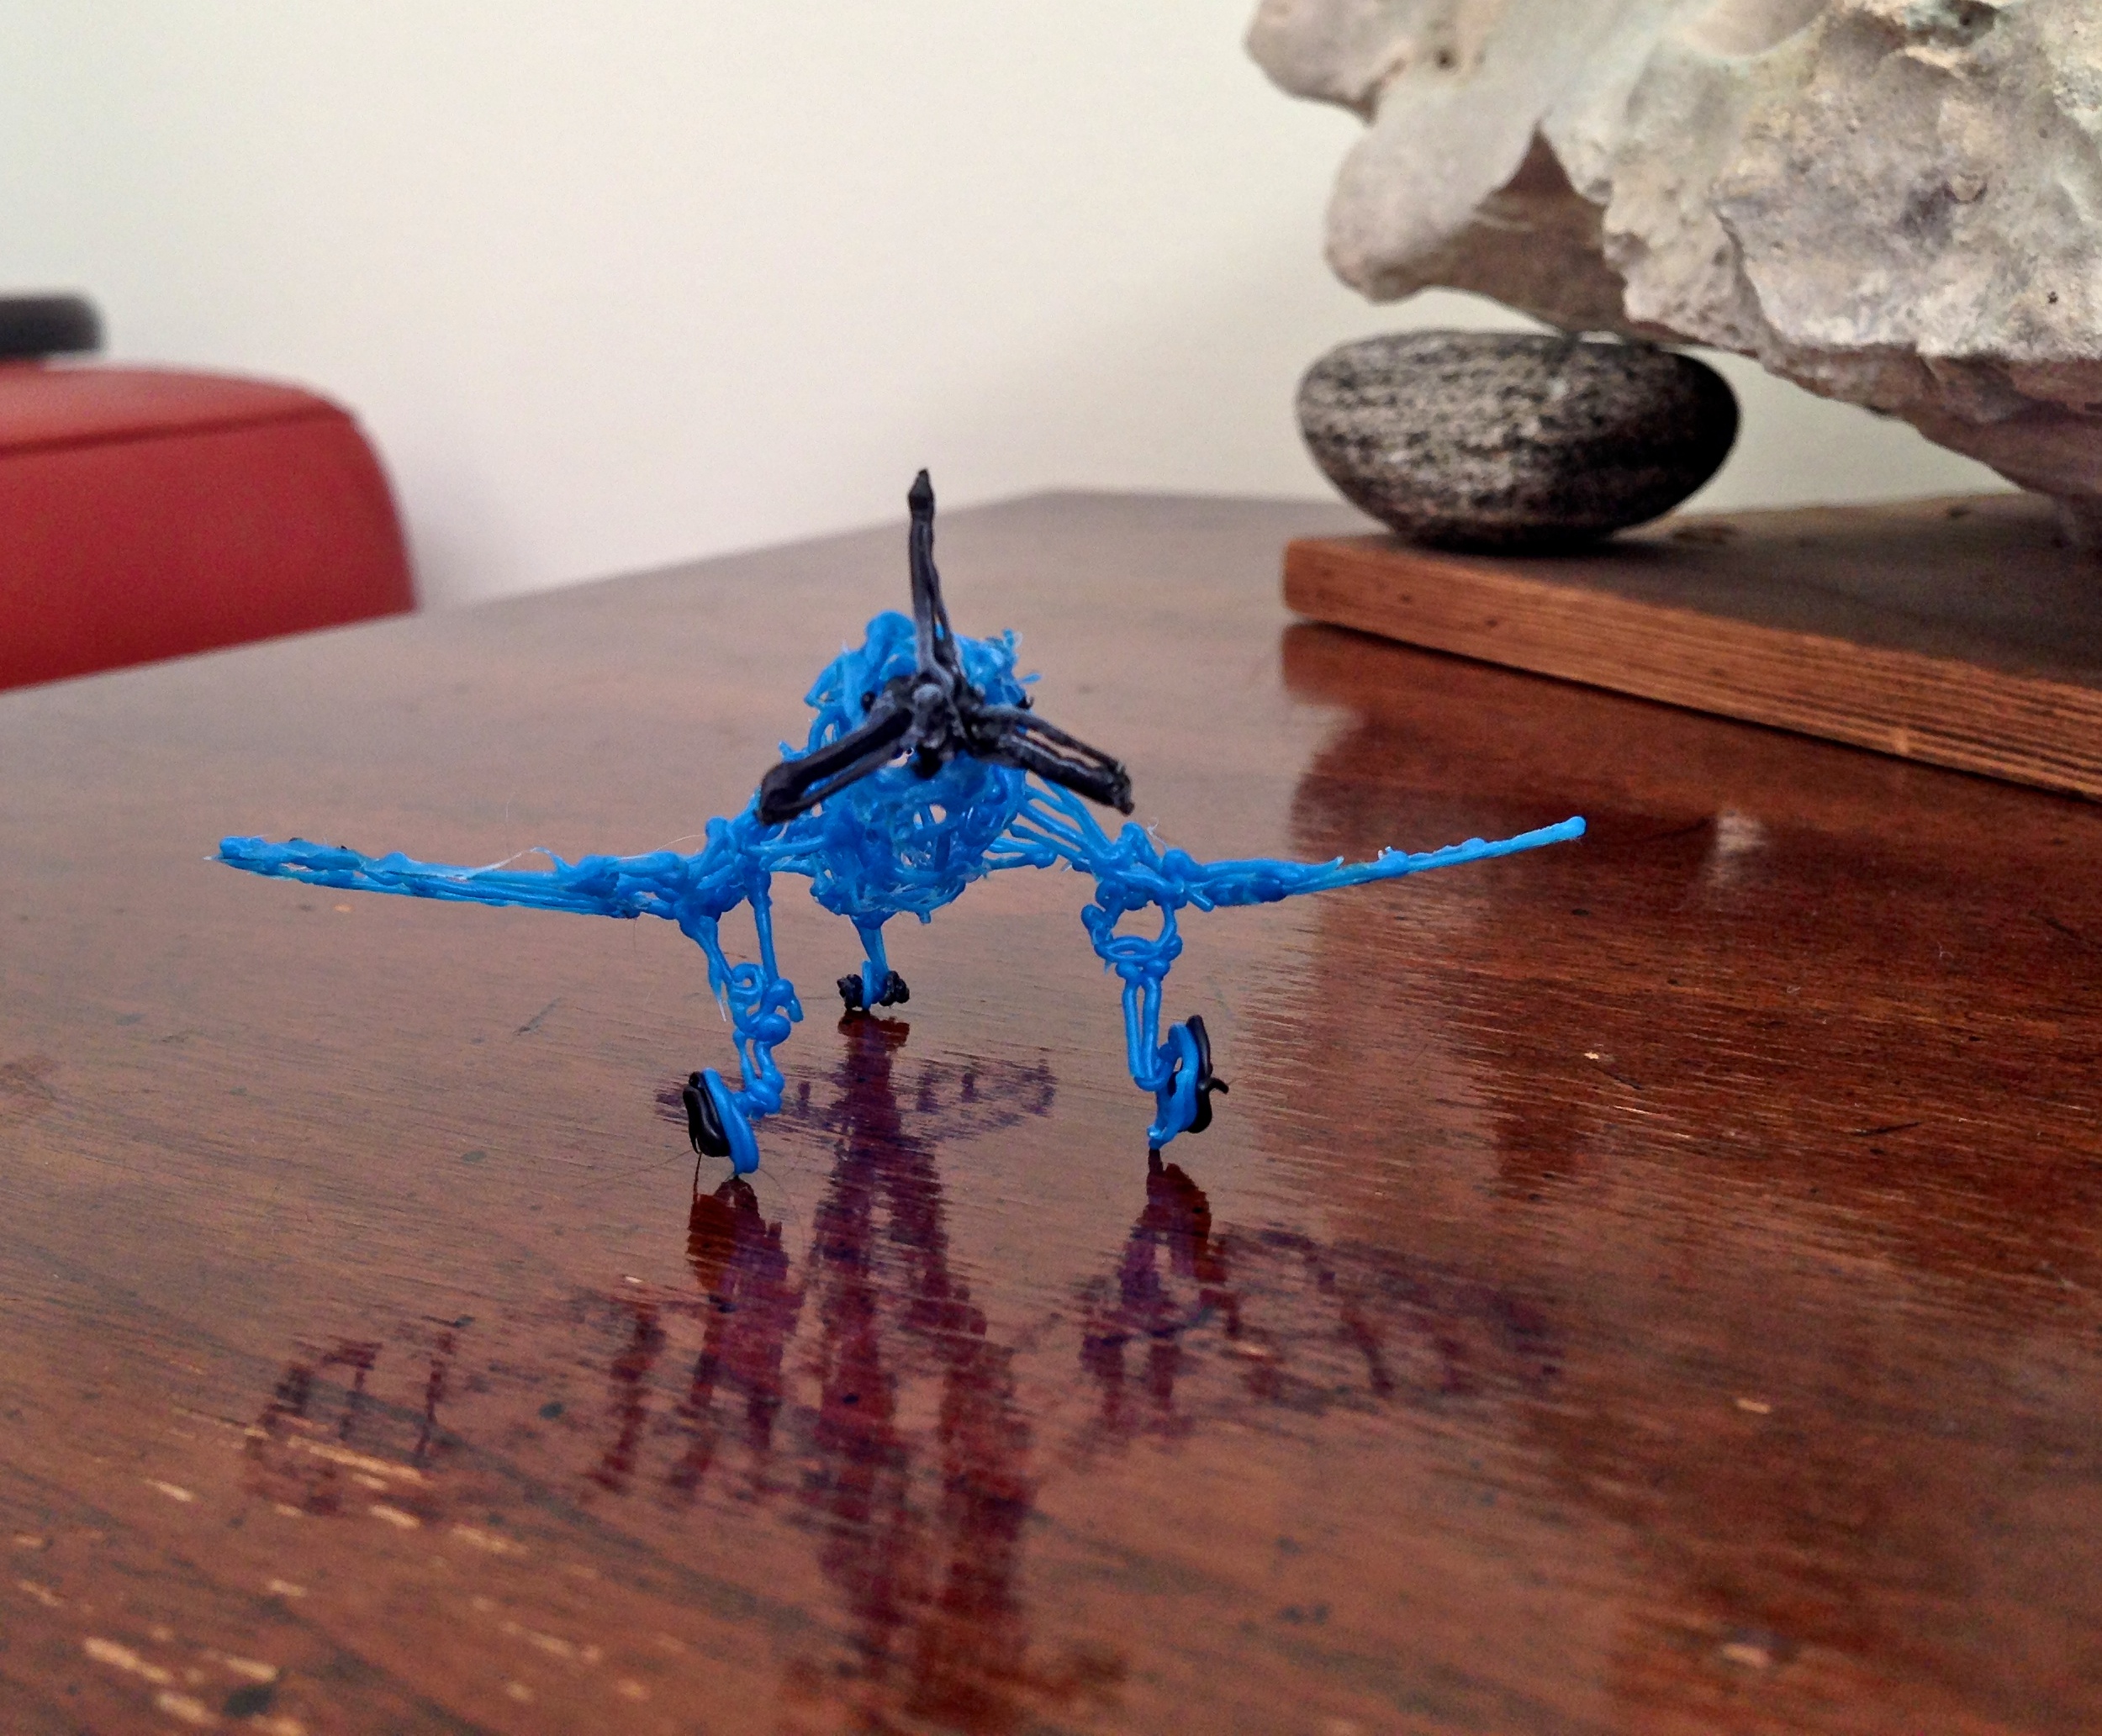
Front Profile of the plane showing the signature ground clearance for the large propeller. At this point I realized that the prop blades were too short. Ah.
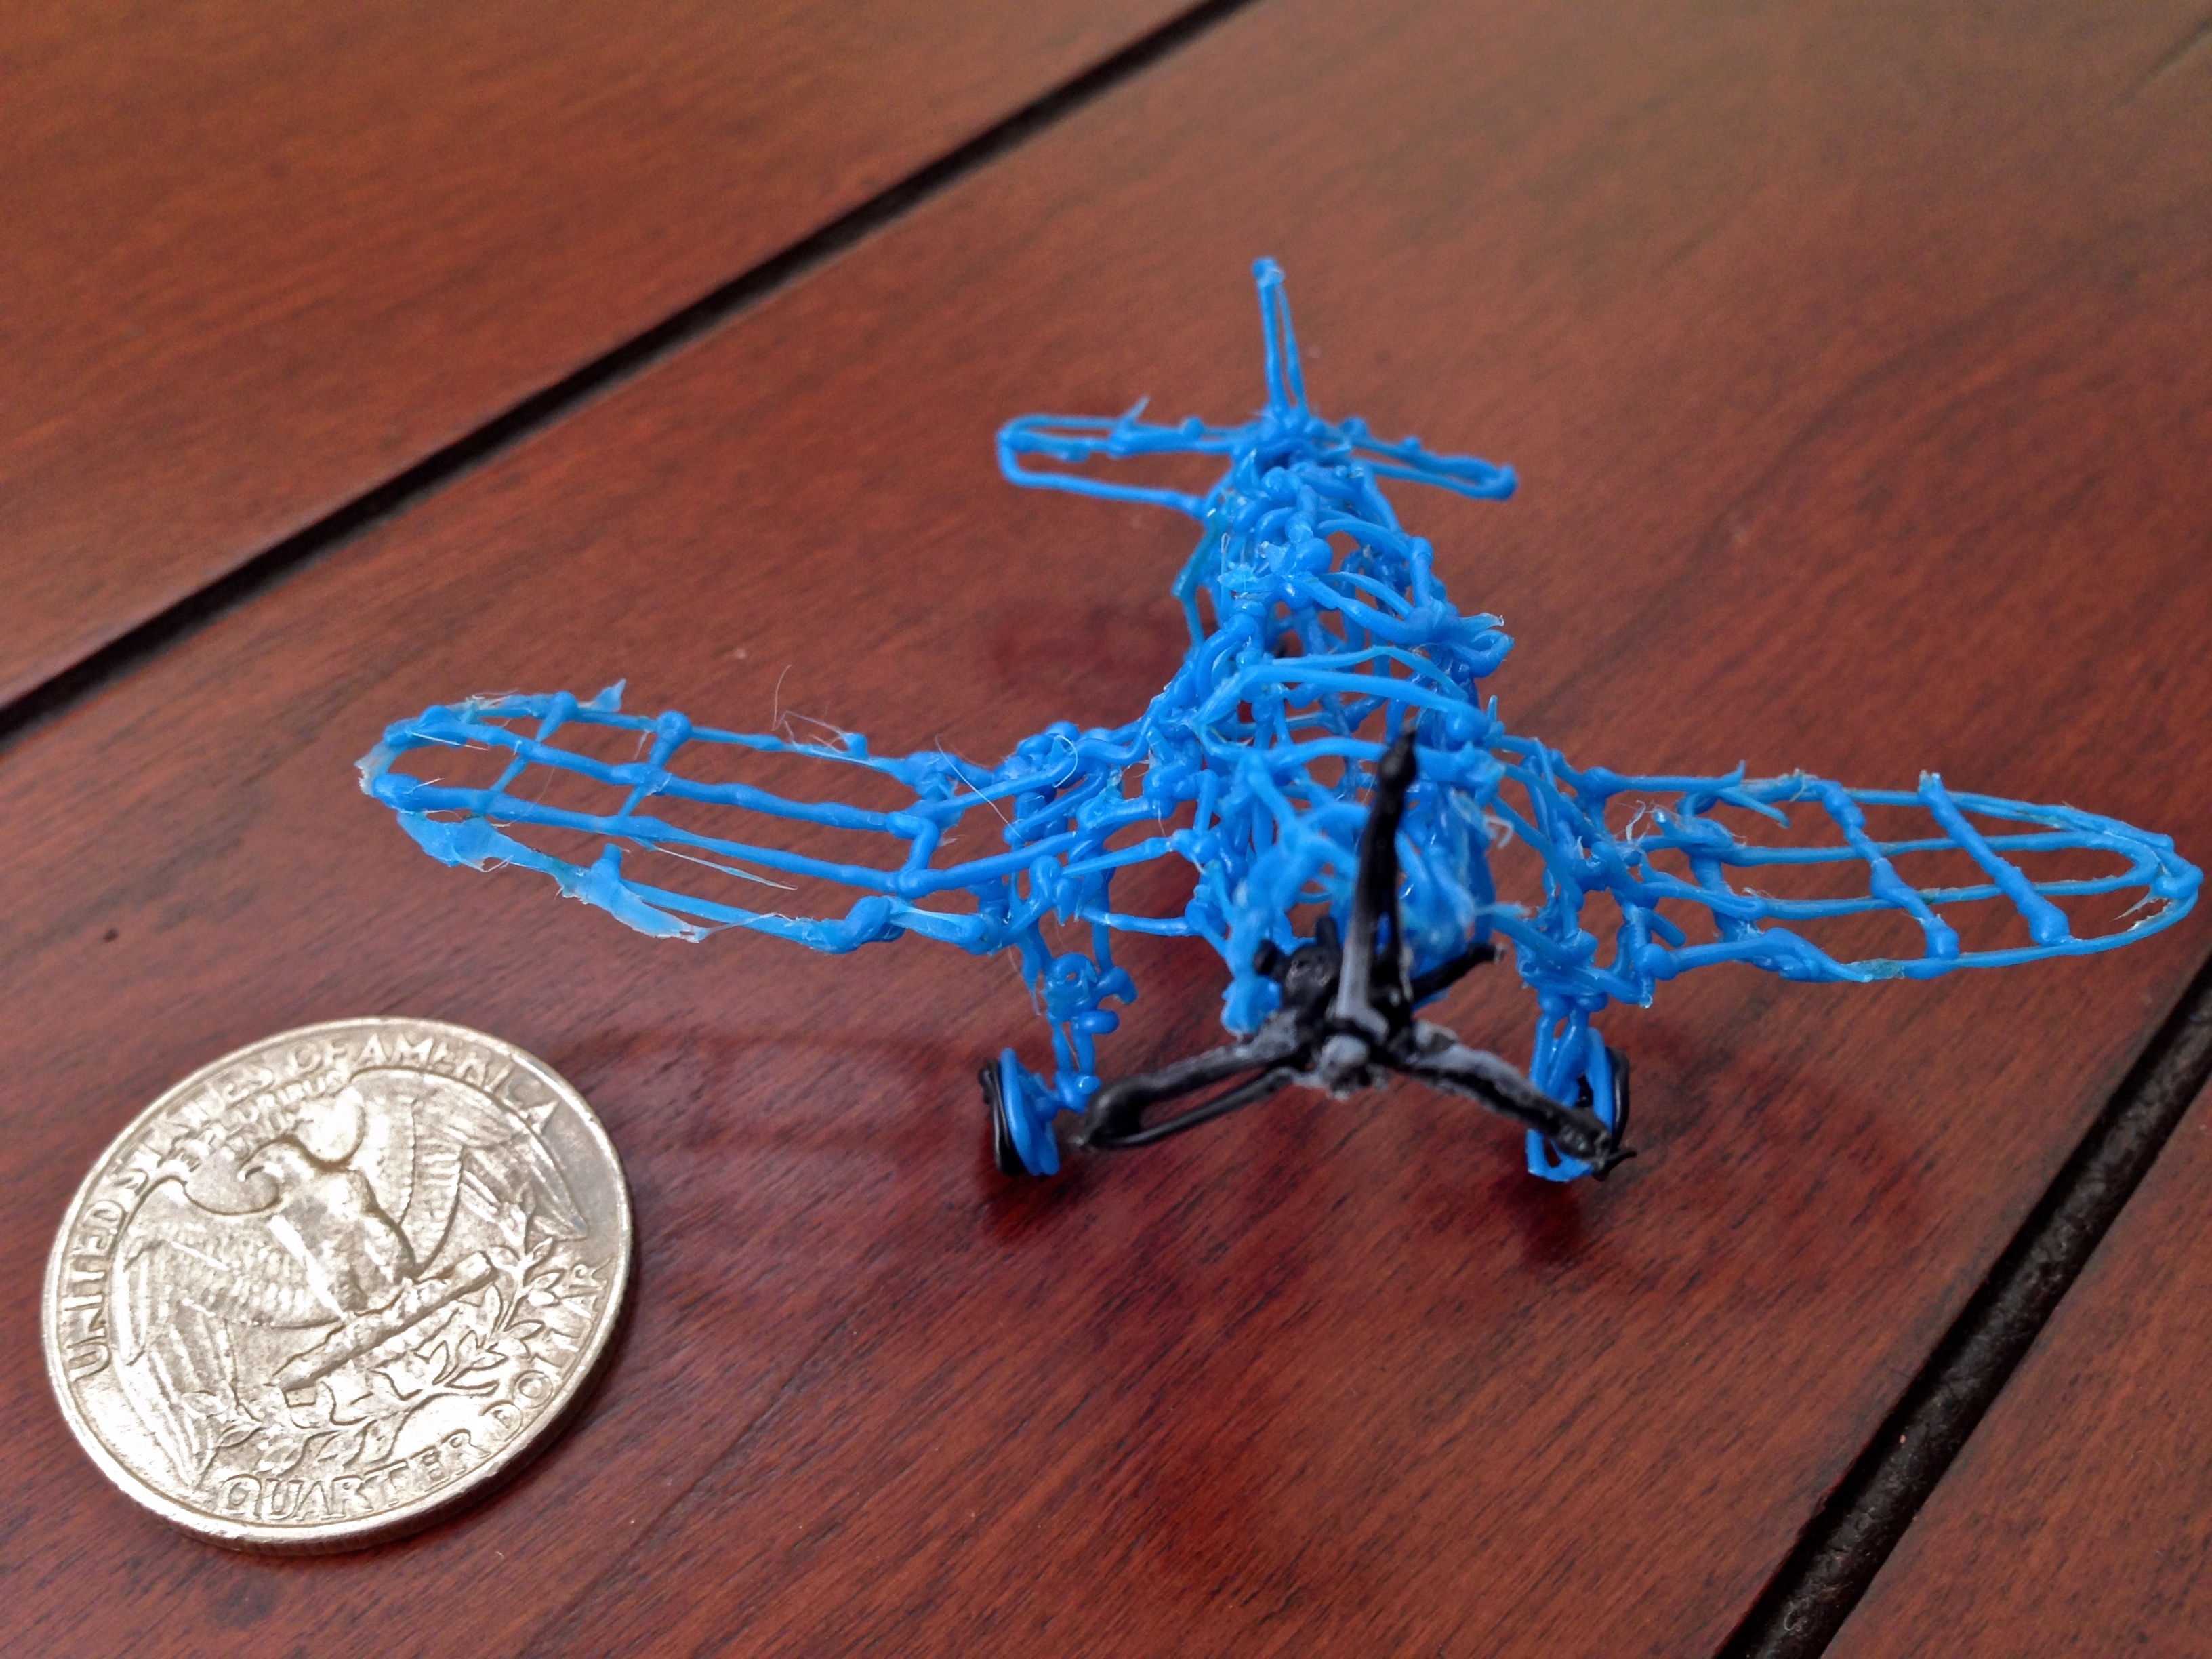
Here we have the obligatory size comparison of the Corsair against a Quarter.

And finally, we have the Corsair and the Birthday Girl.
Fred Hsu. 2014-12-08.

