
Writing a computer program to map 2-dimensional drawings to 3-dimensional models had once been my obsession. This stemmed from the endless hours I spent drawing, by hand, orthographic projections of 3D models, and vice versa. While this was condemned as a chore universally by my classmates at Escuela Técnica No. 28 in Buenos Aires, I quite enjoyed it. After my family moved to New York, I no longer had to make these homework drawings. Instead I wrote a C program to generate 3D polyhedrons from 2D polygonal views. The long paper I wrote alongside this program won the gold medal at the New York Math Fair.

A 3D Selfie in 1:20 scale designed at Madurodam and printed by Shapeways
That seemed like a lifetime ago. In between then and now, algorithms had been invented to generate 3D models of people in color and with great details, all from simple 2D photos. But it is only in recent years that such technologies started to become commoditized. Just a month ago, Elisha and I stepped into, for a few seconds, a photo booth the size of a restroom, at the miniature park Madurodam. Three weeks later we received an exquisite 3D selfie printed by Shapeways.

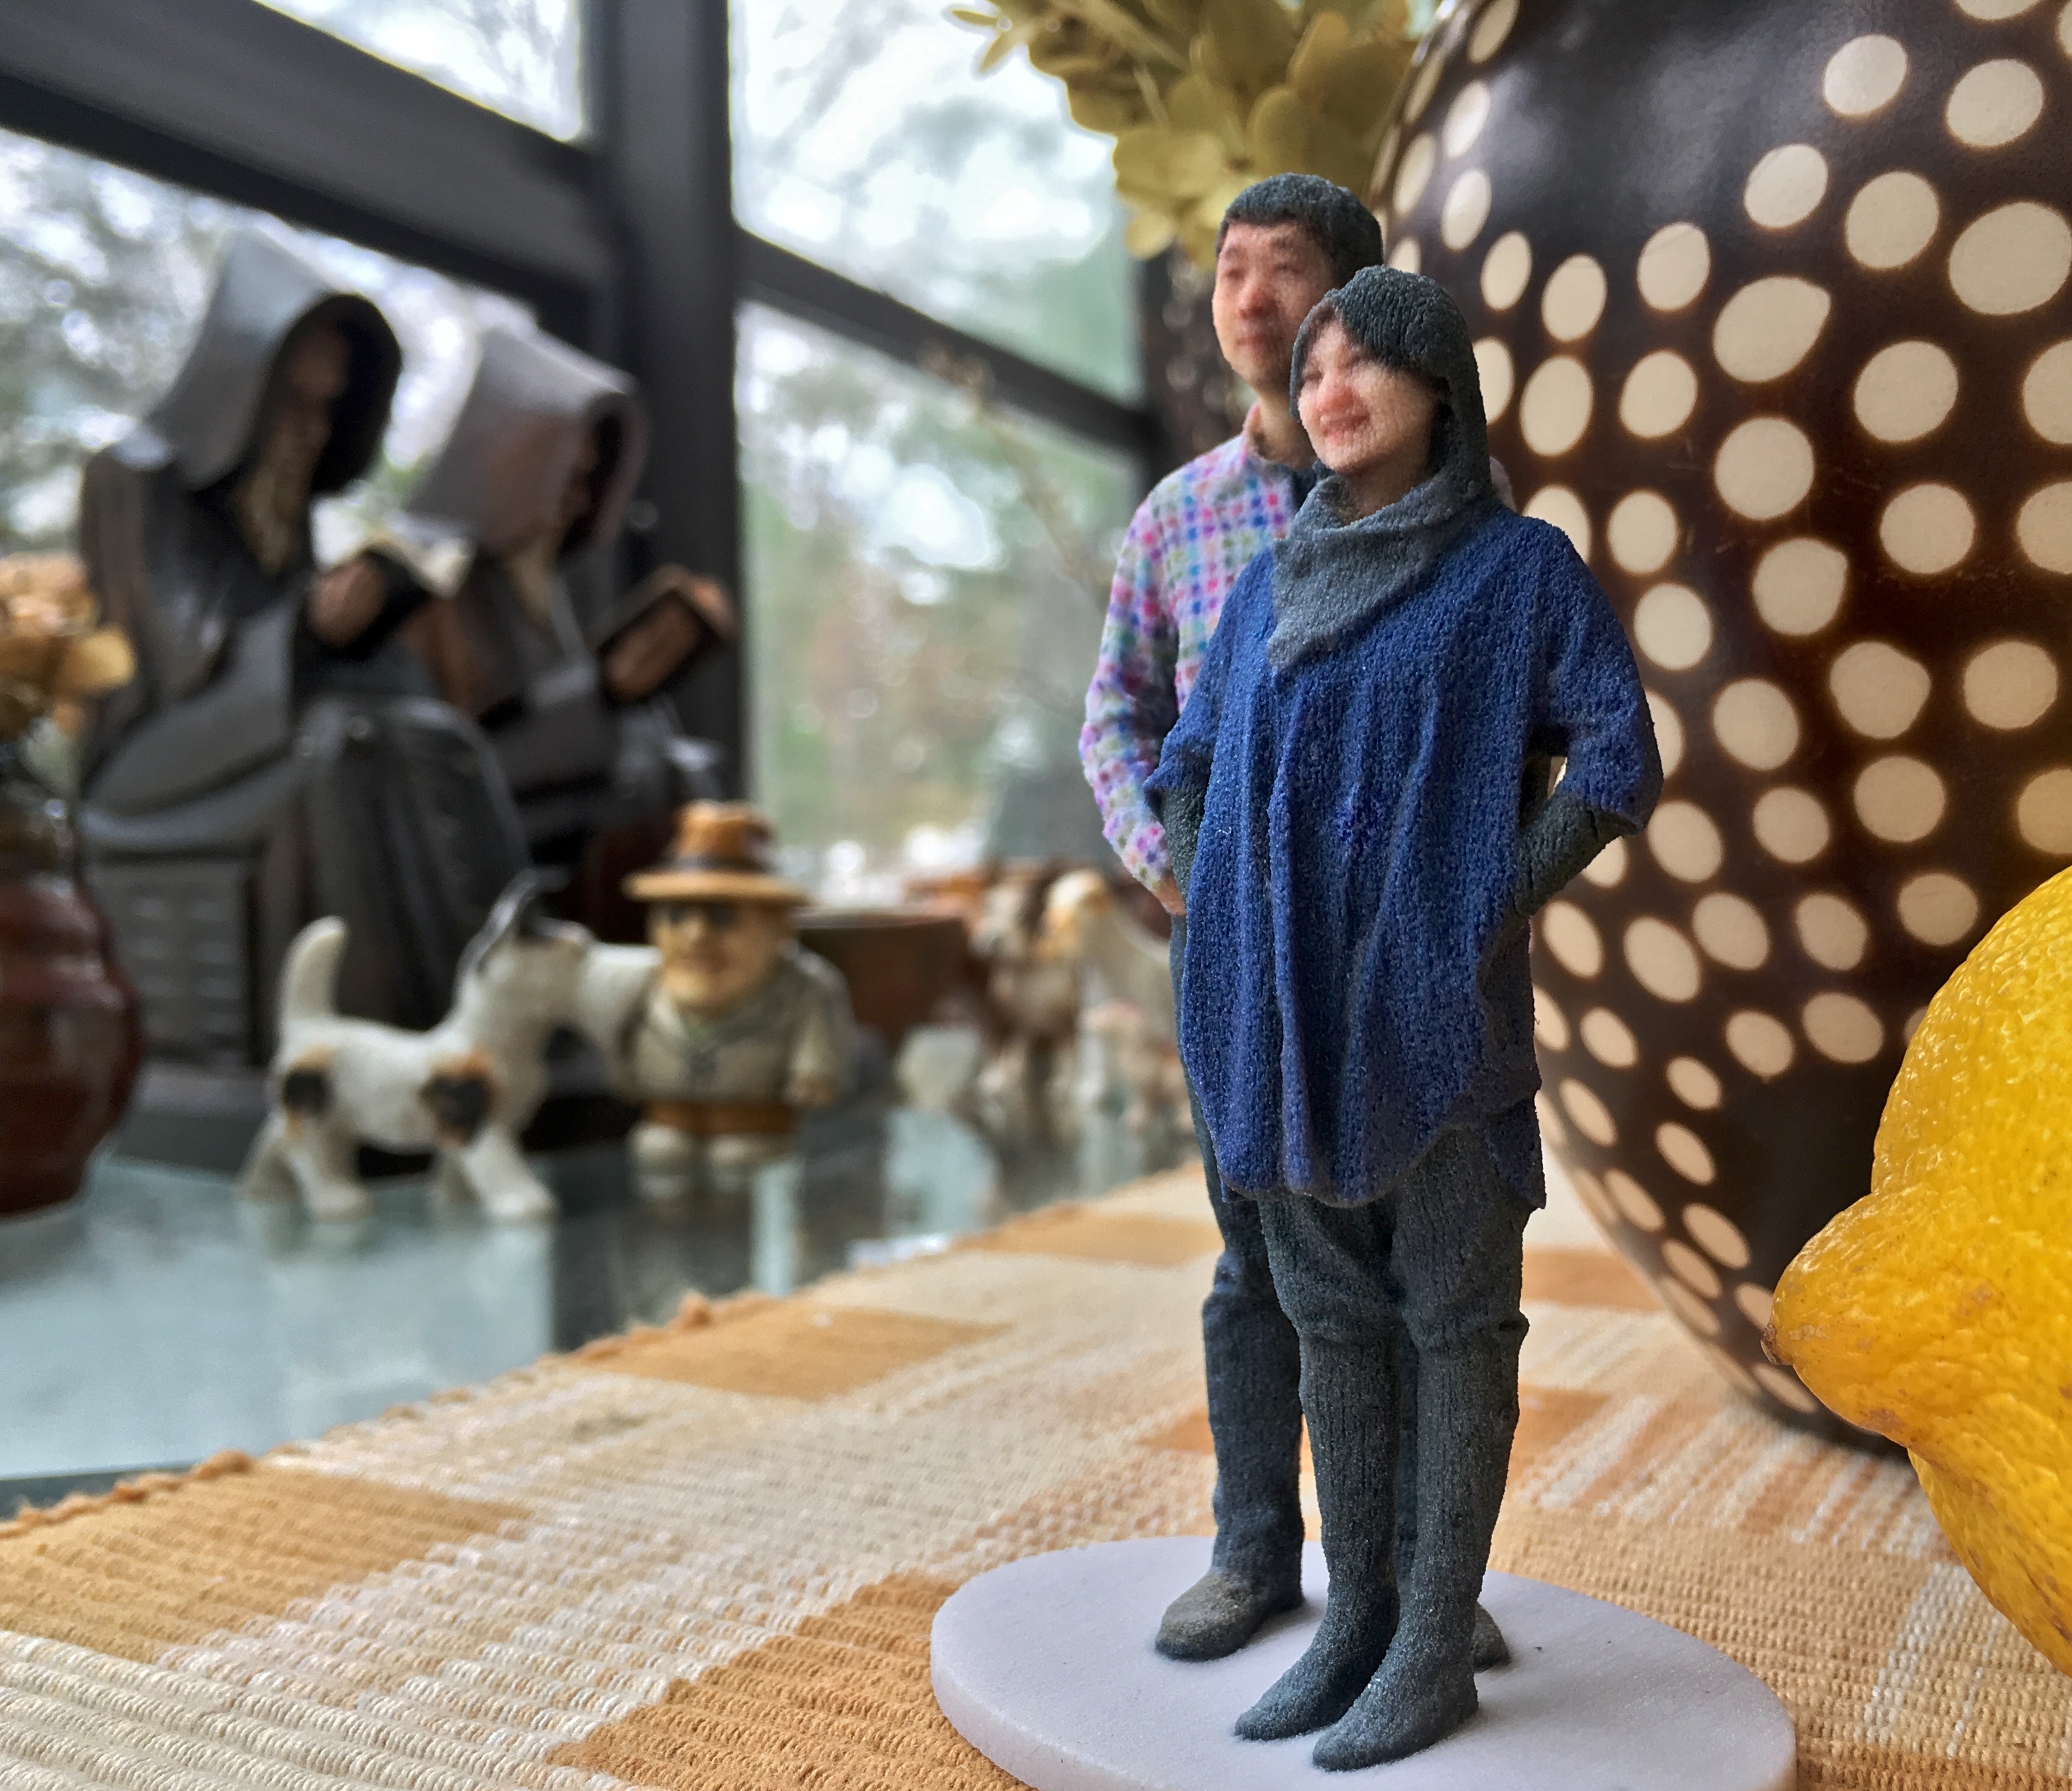
Where is Waldo? Find the 3D figurines on the coffee table next to the cello
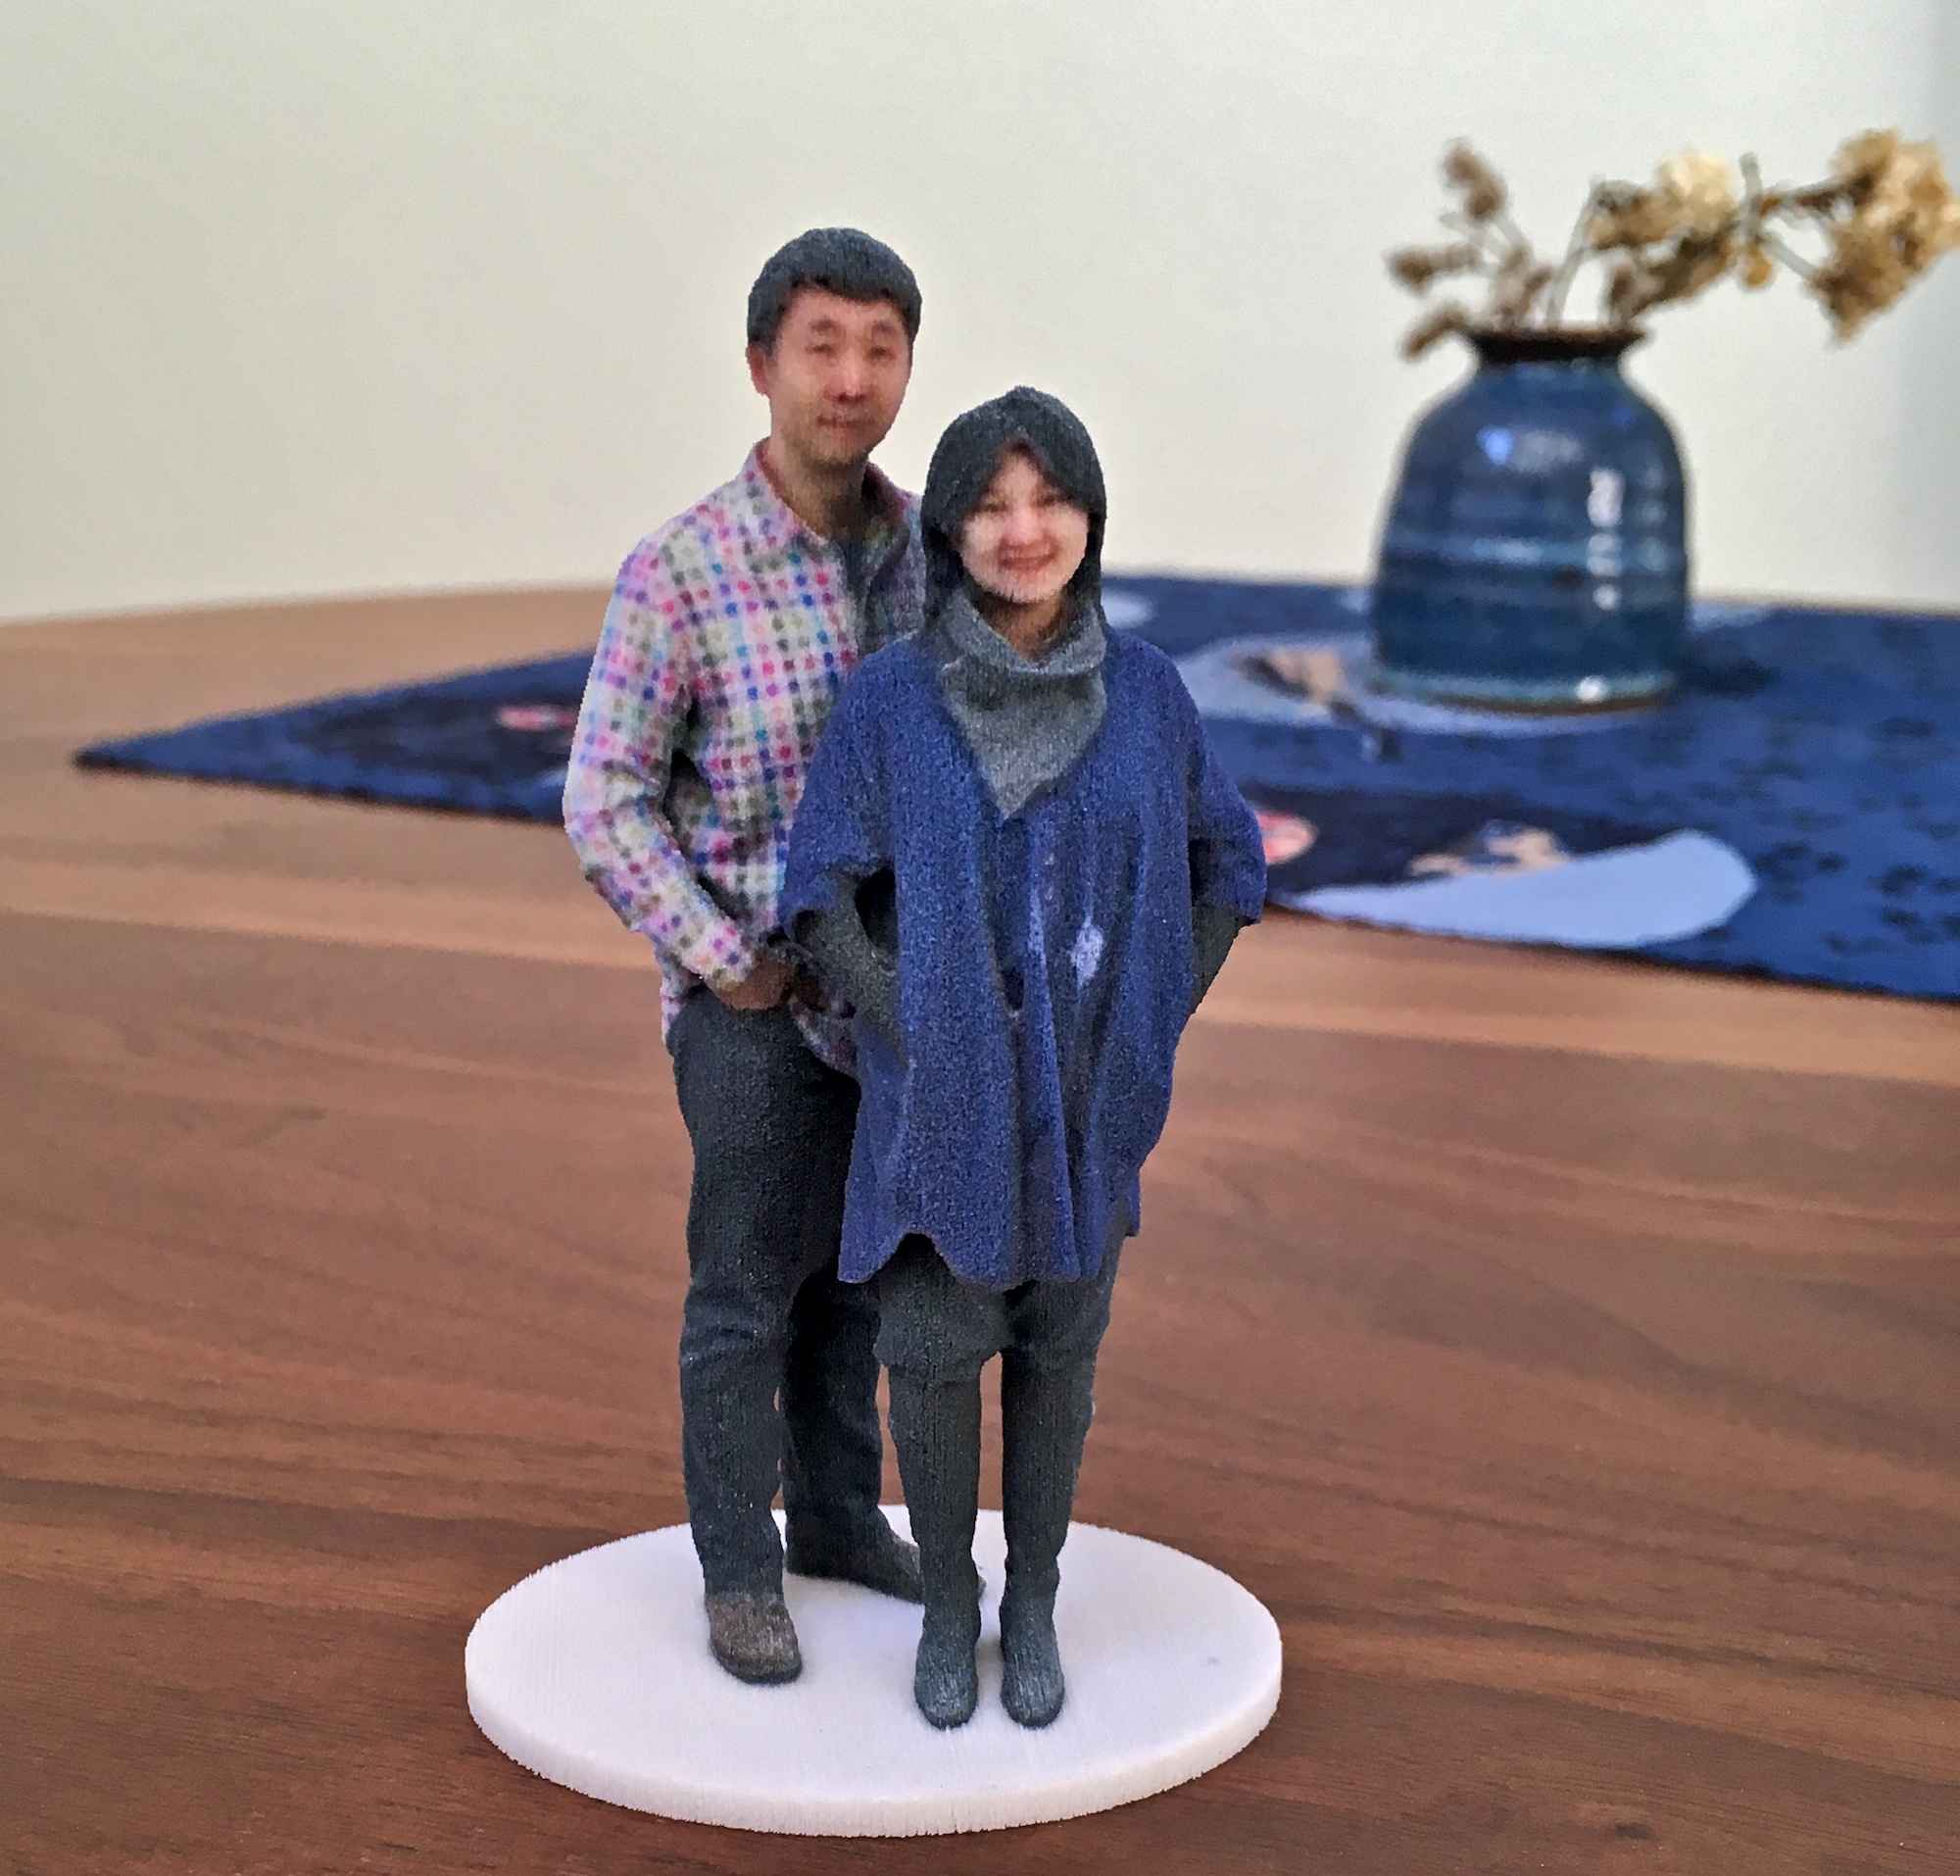
One can be forgiven for thinking that the two 3D figurines in the close-up appear to have been given blurry faces. Look at this picture of the living room, and think again. Those figurines stand only 3.6 inches tall. They are on the coffee table next to the cello, and are guarded by the mouse in a funny hat holding a candy cane. They are tiny, and the resolution of facial lines is stretching the limits of gypsum-based 3D color printing.
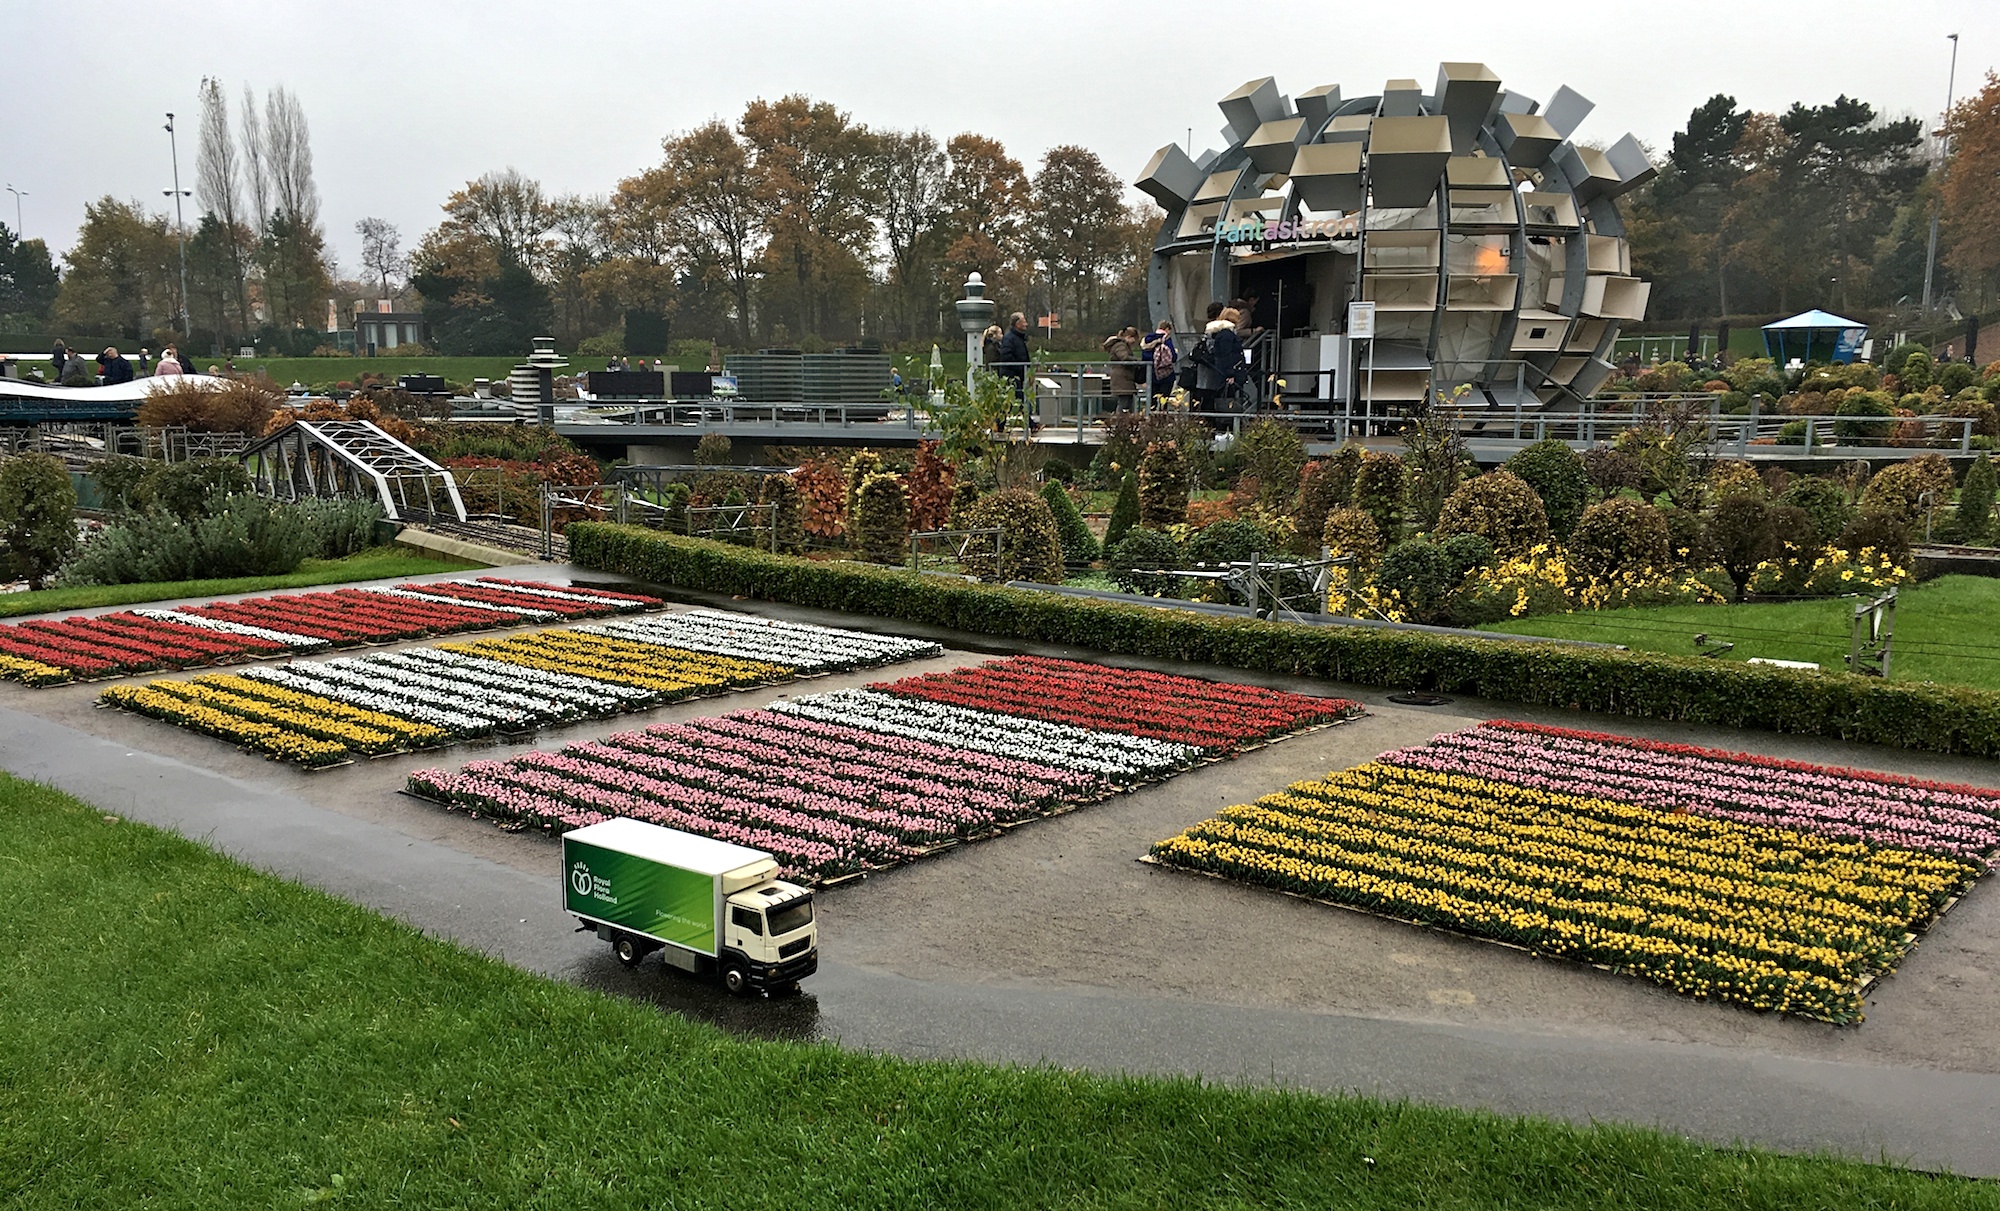
Fantasitron at Madurodam
We stumbled upon this 3D selfie printing opportunity during our trip to Amsterdam.
After visiting the Rijksmuseum, the Van Gogh Museum and the National Maritime Museum, we decided to take our tour beyond the reach of main canals. I remarked to Elisha that I saw a road sign advertising a so-called Miniworld near Rotterdam, during our train ride to Amsterdam. I did not know how I remembered. But I did remember that there was a world-famous miniature park in the Netherlands, from online discussions with fellow Wikipedians a decade ago, when I contributed pictures to and edited the Tobu World Square article. So we put two and two together at breakfast, and asked the concierge to book us a train ride and tickets to the Miniworld.
The concierge politely declined our request, “Sir, you have perhaps misspoken. Surely you meant to book tickets to Madurodam?” So we went to The Hague and took a tram to the Madurodam miniature park where we discovered the Fantasitron.
Fantasitron is found far in the background on the right
While in the last three years, more and more 3D selfie photo booths have popped up around the world, I’d never seen one in person nor heard any friend talk about it. A story or two would show up on Slashdot or Reddit, sometimes naming these models 3D figurines or mini-me figurines. But more often than not, such models are known as 3D portraits. My quick research into this topic after the Madurodam trip, however, points to “3D selfie” as the trending name for these. Thus the title of present article.
In fact, after writing this article, I spent another half a day doing even more research. It seemed that all leading manufacturers of 3D photo booths and 3D printing shops have already coalesced around the term 3D selfie. So I went ahead and created a new Wikipedia article on 3D selfie where one did not exist. It is not often that one gets to create a new Wikipedia article of long-term significance, before someone else did.
Patrons line up at the Fantasitron 3D selfie photo booth
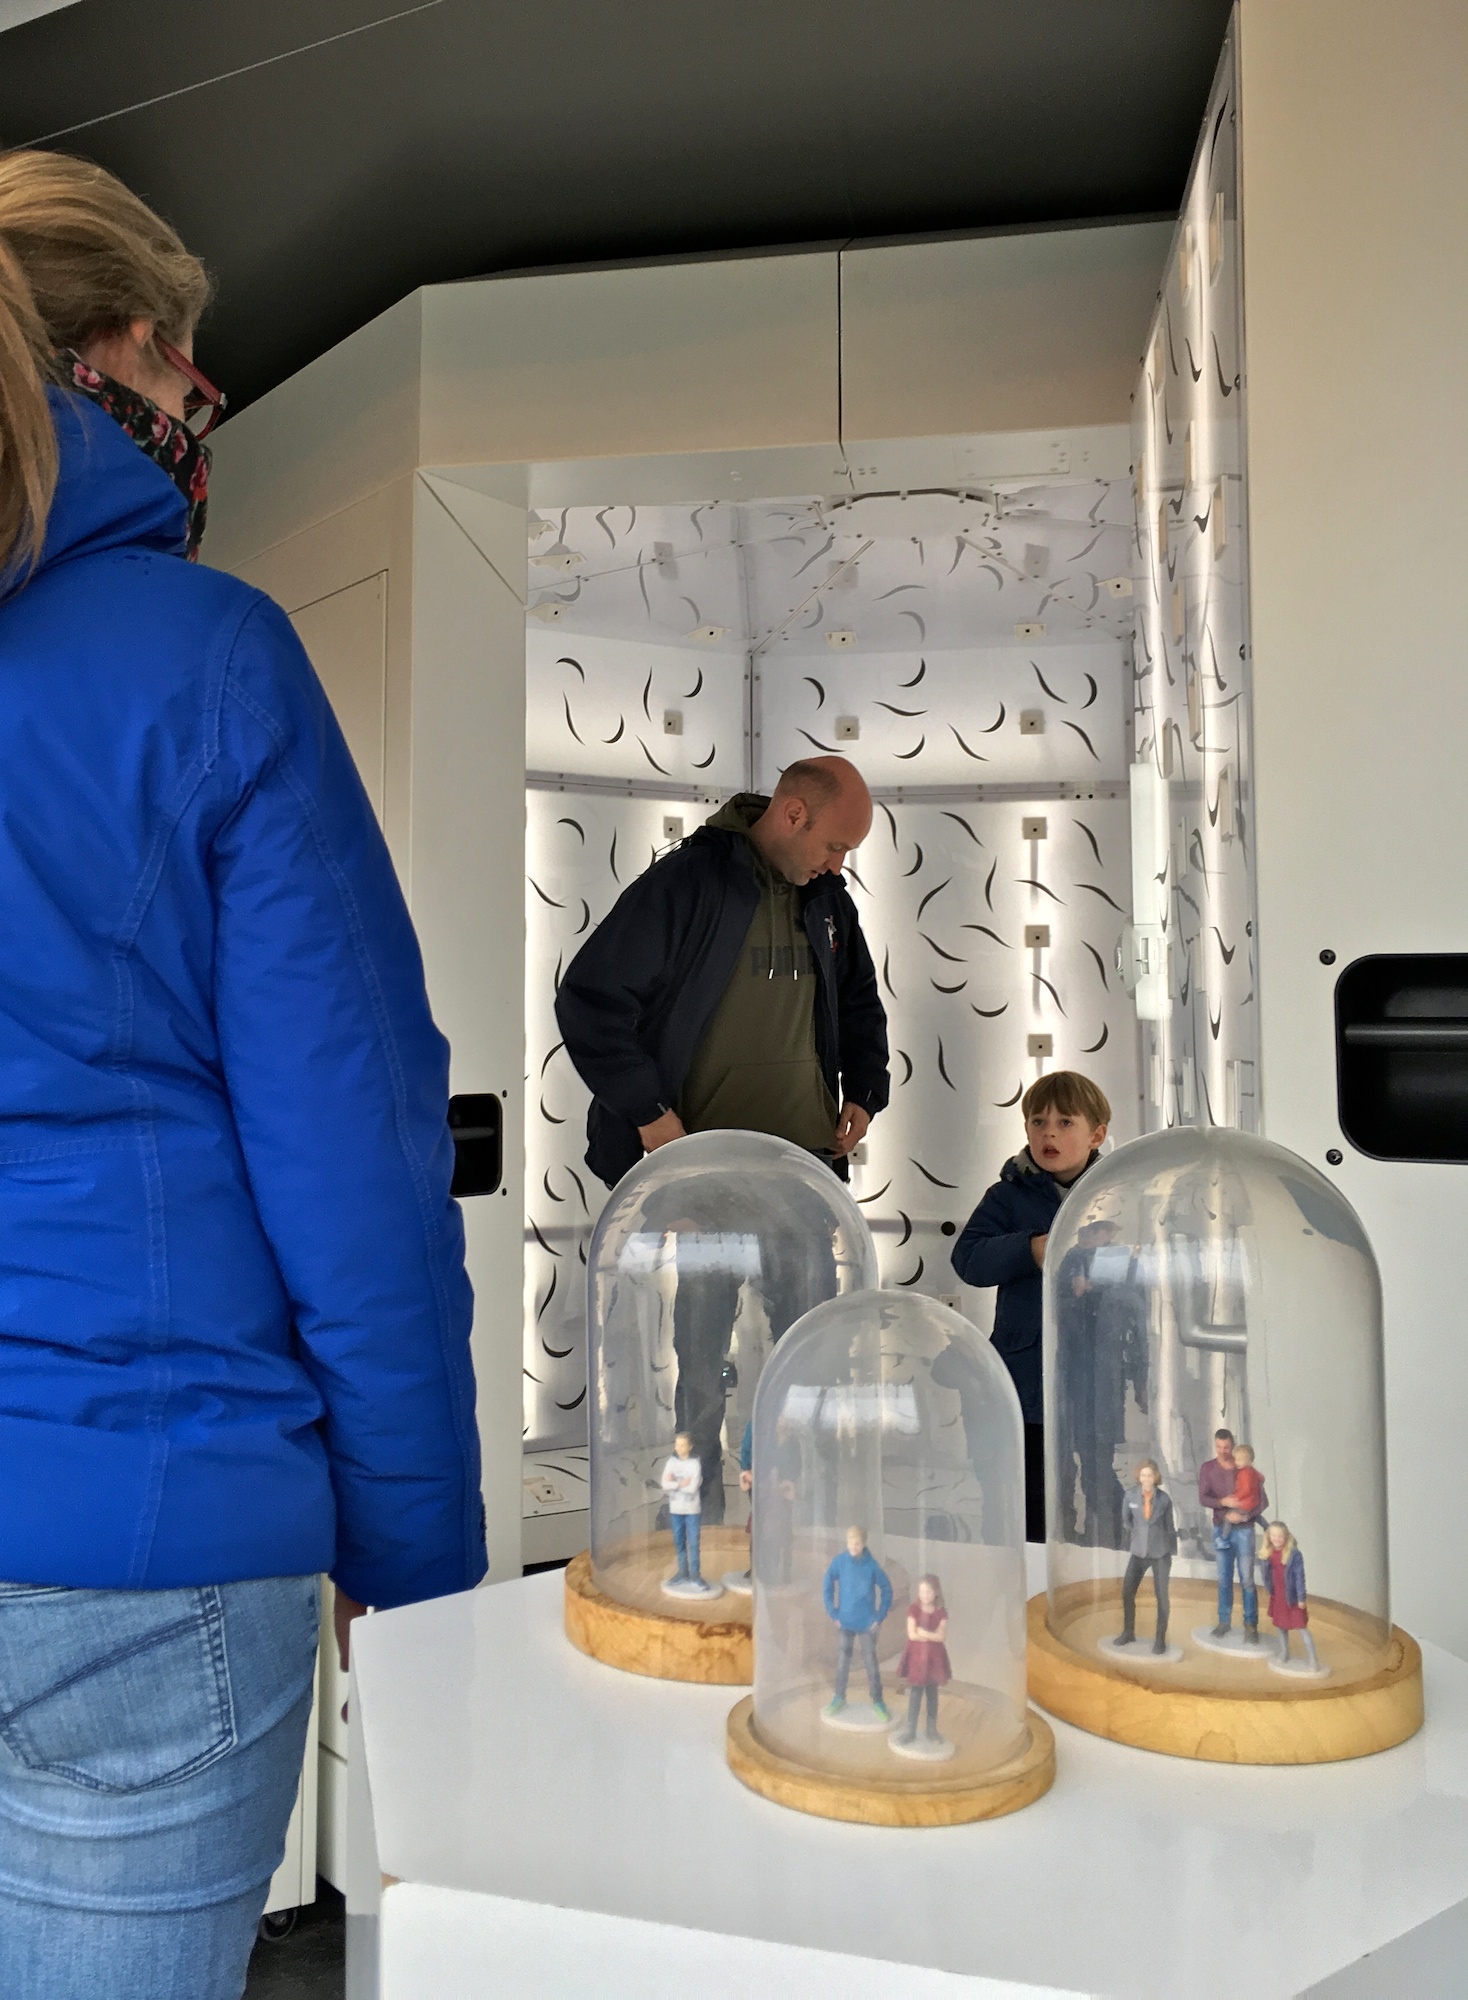
Everything in this park was a 1:25 scale model of a famous building in the Netherlands. So we approached the Fantasitron thinking that it was a 1:25 replica of some weird-looking building. What we found was a photo booth, and a customer demanding reassurance that the outcome of something would be just like some other somethings encased in glass domes, before he would step into a small, futuristic torture chamber.

A custom requires reassurance about something in those glass domes
The moment I saw the figurines in those glass domes, I knew exactly what the torture chamber was.
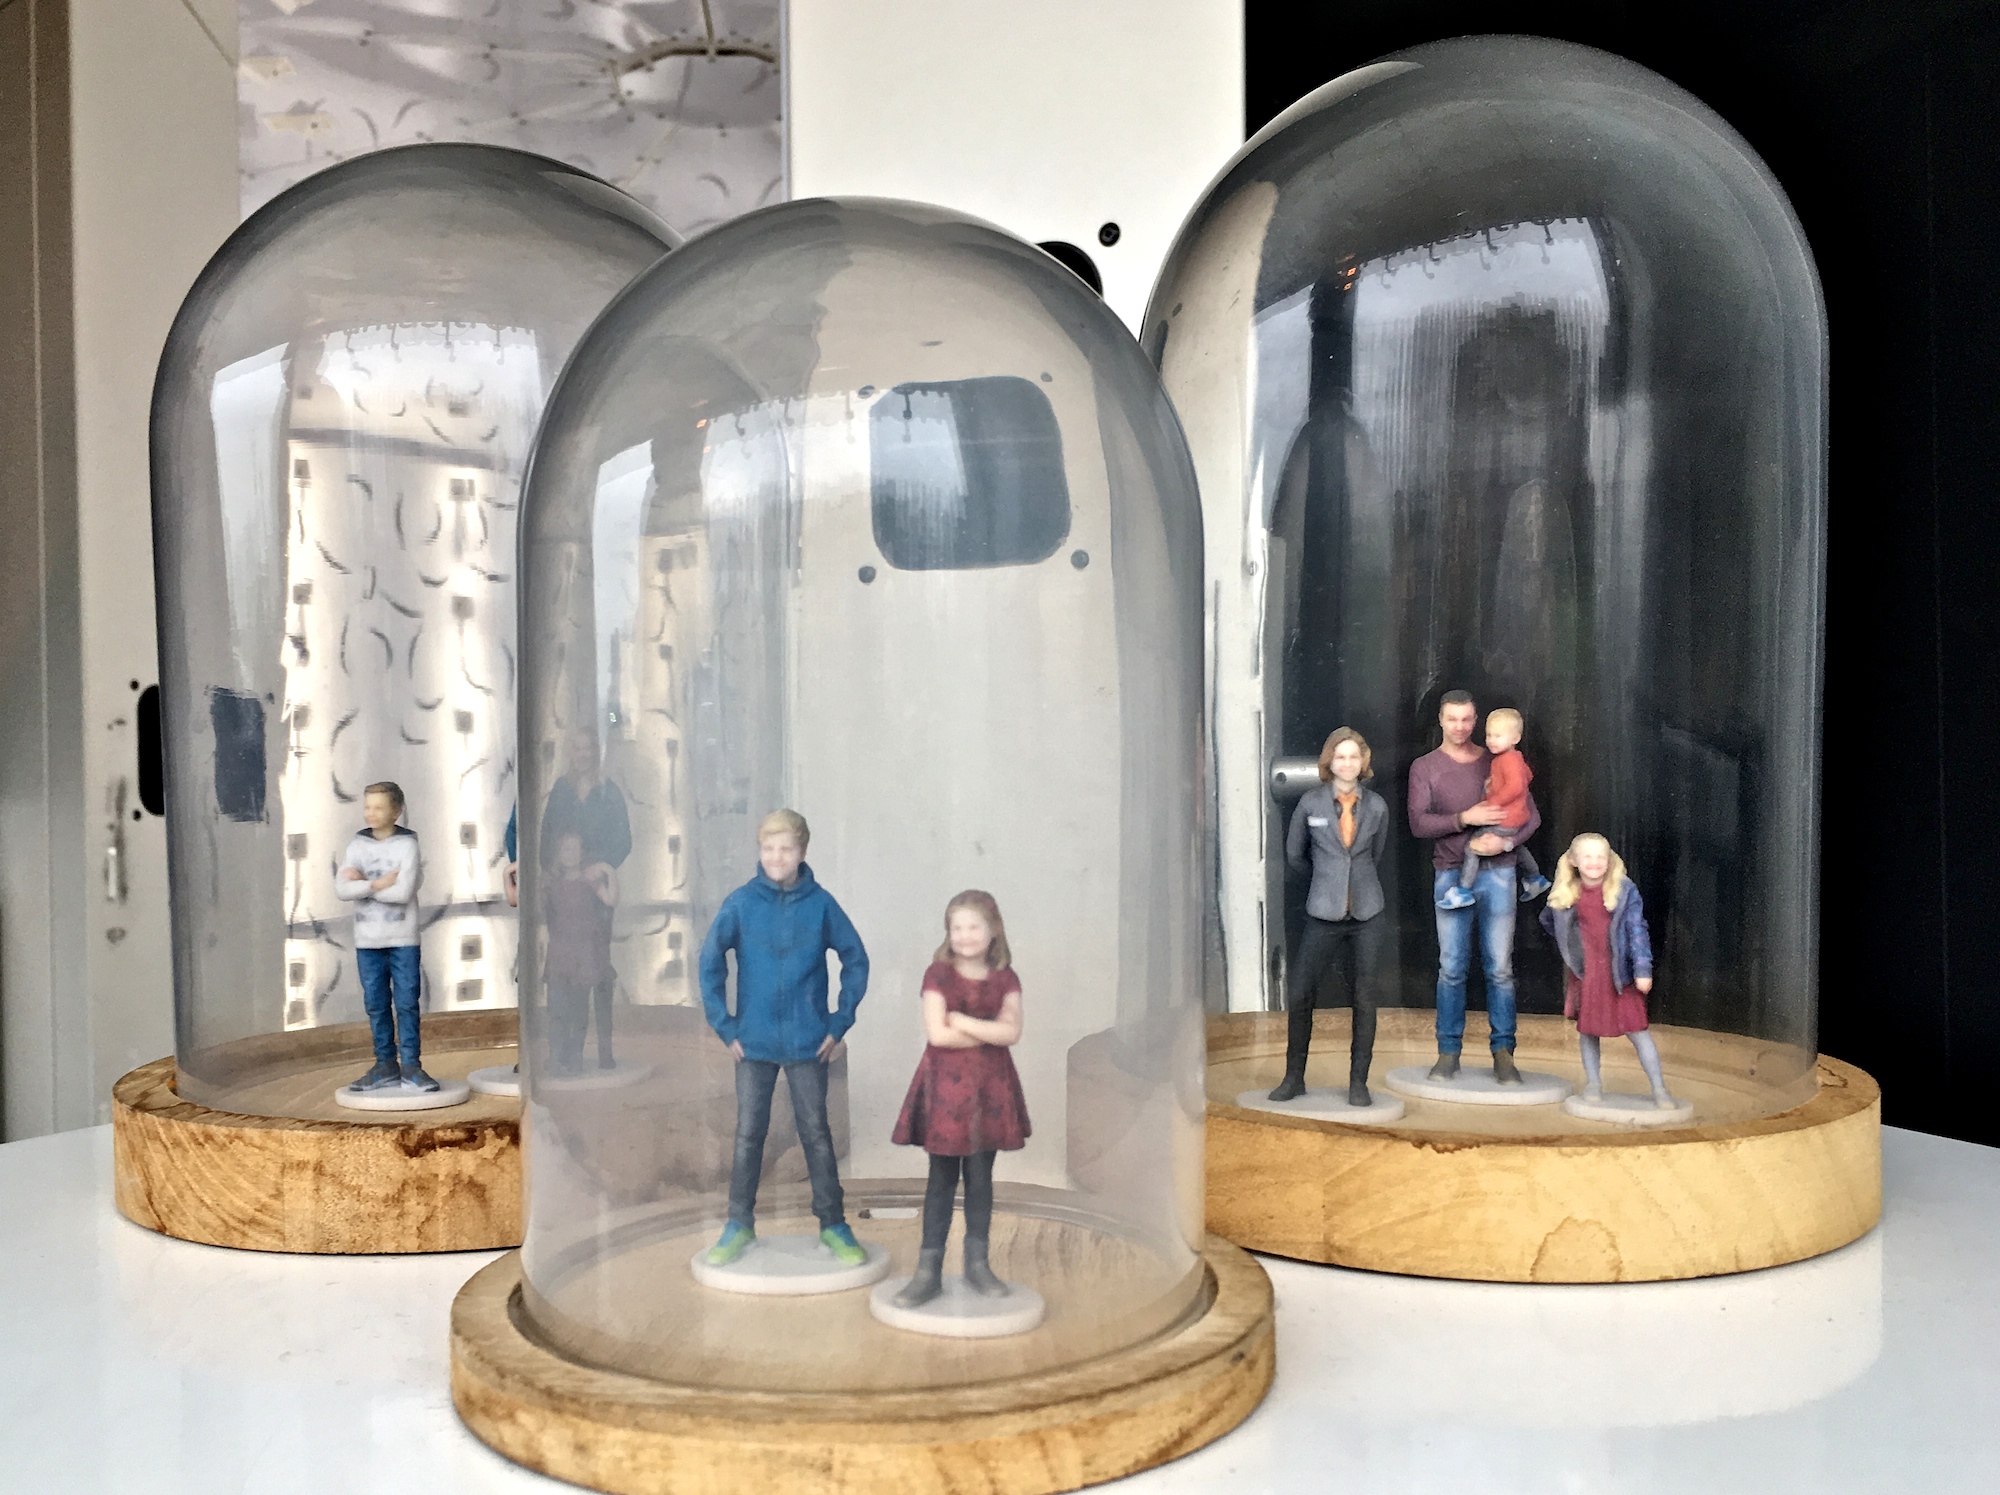
Sample 3D figurines in 1:20 scale on display
I’d read about various types of 3D photo booths before. Some required that you stay absolutely immobile for minutes as the machine mechanically scanned you. With this booth at the Fantasitron, the door closed and then opened in seconds. I figured that there were about 200 cameras that went off all around you at the same time, probably at a normal 1/60 shutter speed. Most customers spent all their time debating who got in together – the machine couldn’t handle more than two people. Once inside the booth, before they even realized, the scan was already done.
Fantasitron photo booth can scan only up to two people at a time
Here is a closer look at the booth. There were cameras all around the customer, even on the ceiling. The customer was being told that she had to stand in the middle of the square and put her hands in her pocket, or else find a way to attach her hands to her body. This is 3D printing after all. The standard limitations on 3d models for the purpose of 3D printing apply. In addition, glasses must be removed as the software would apparently be confused by glasses.
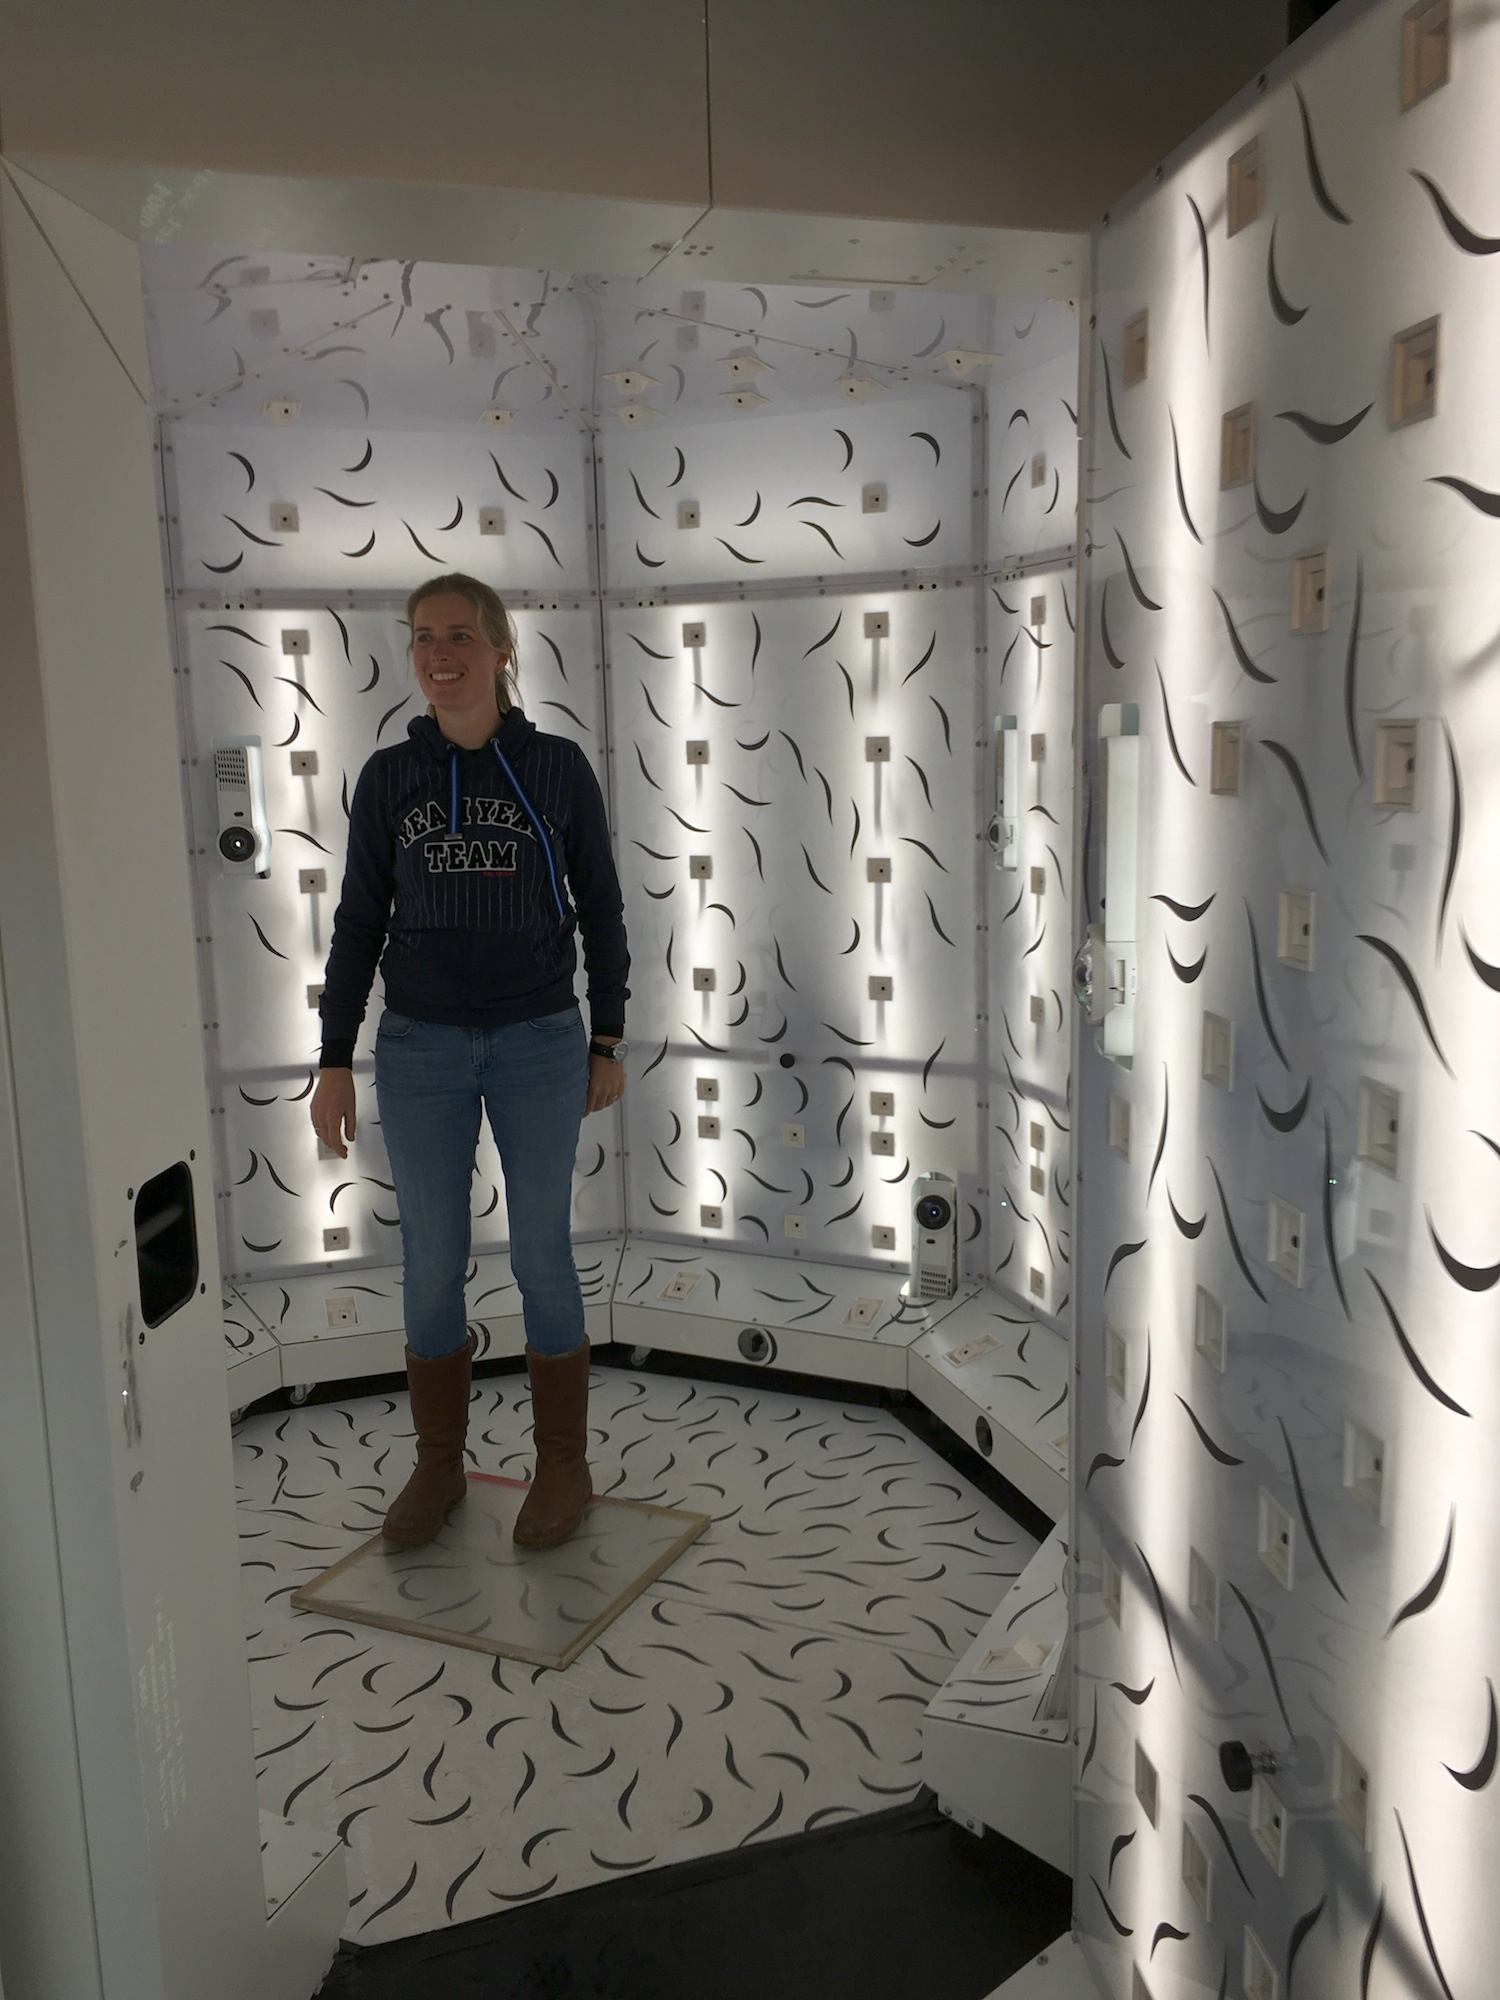
Close-up of the 3D photo booth
Ordering the 3D Selfie
I registered my email address on a computer before we left the park. A few days later I received an email from Madurodam showing an interactive model on a website hosted by Shapeways. The model could be rotated with the mouse. It looked crude, and both our heads were messed up wherever hair was found. I was not surprised at that. This was clearly the result of a completely automated process. I was quite impressed by the quality of this initial model generated by the software they used. I imagined that there would be a human involved, before actual printing, to lend the final touch. I was sure someone would fix the hair – it had to be a common occurrence.

Crude interactive model online
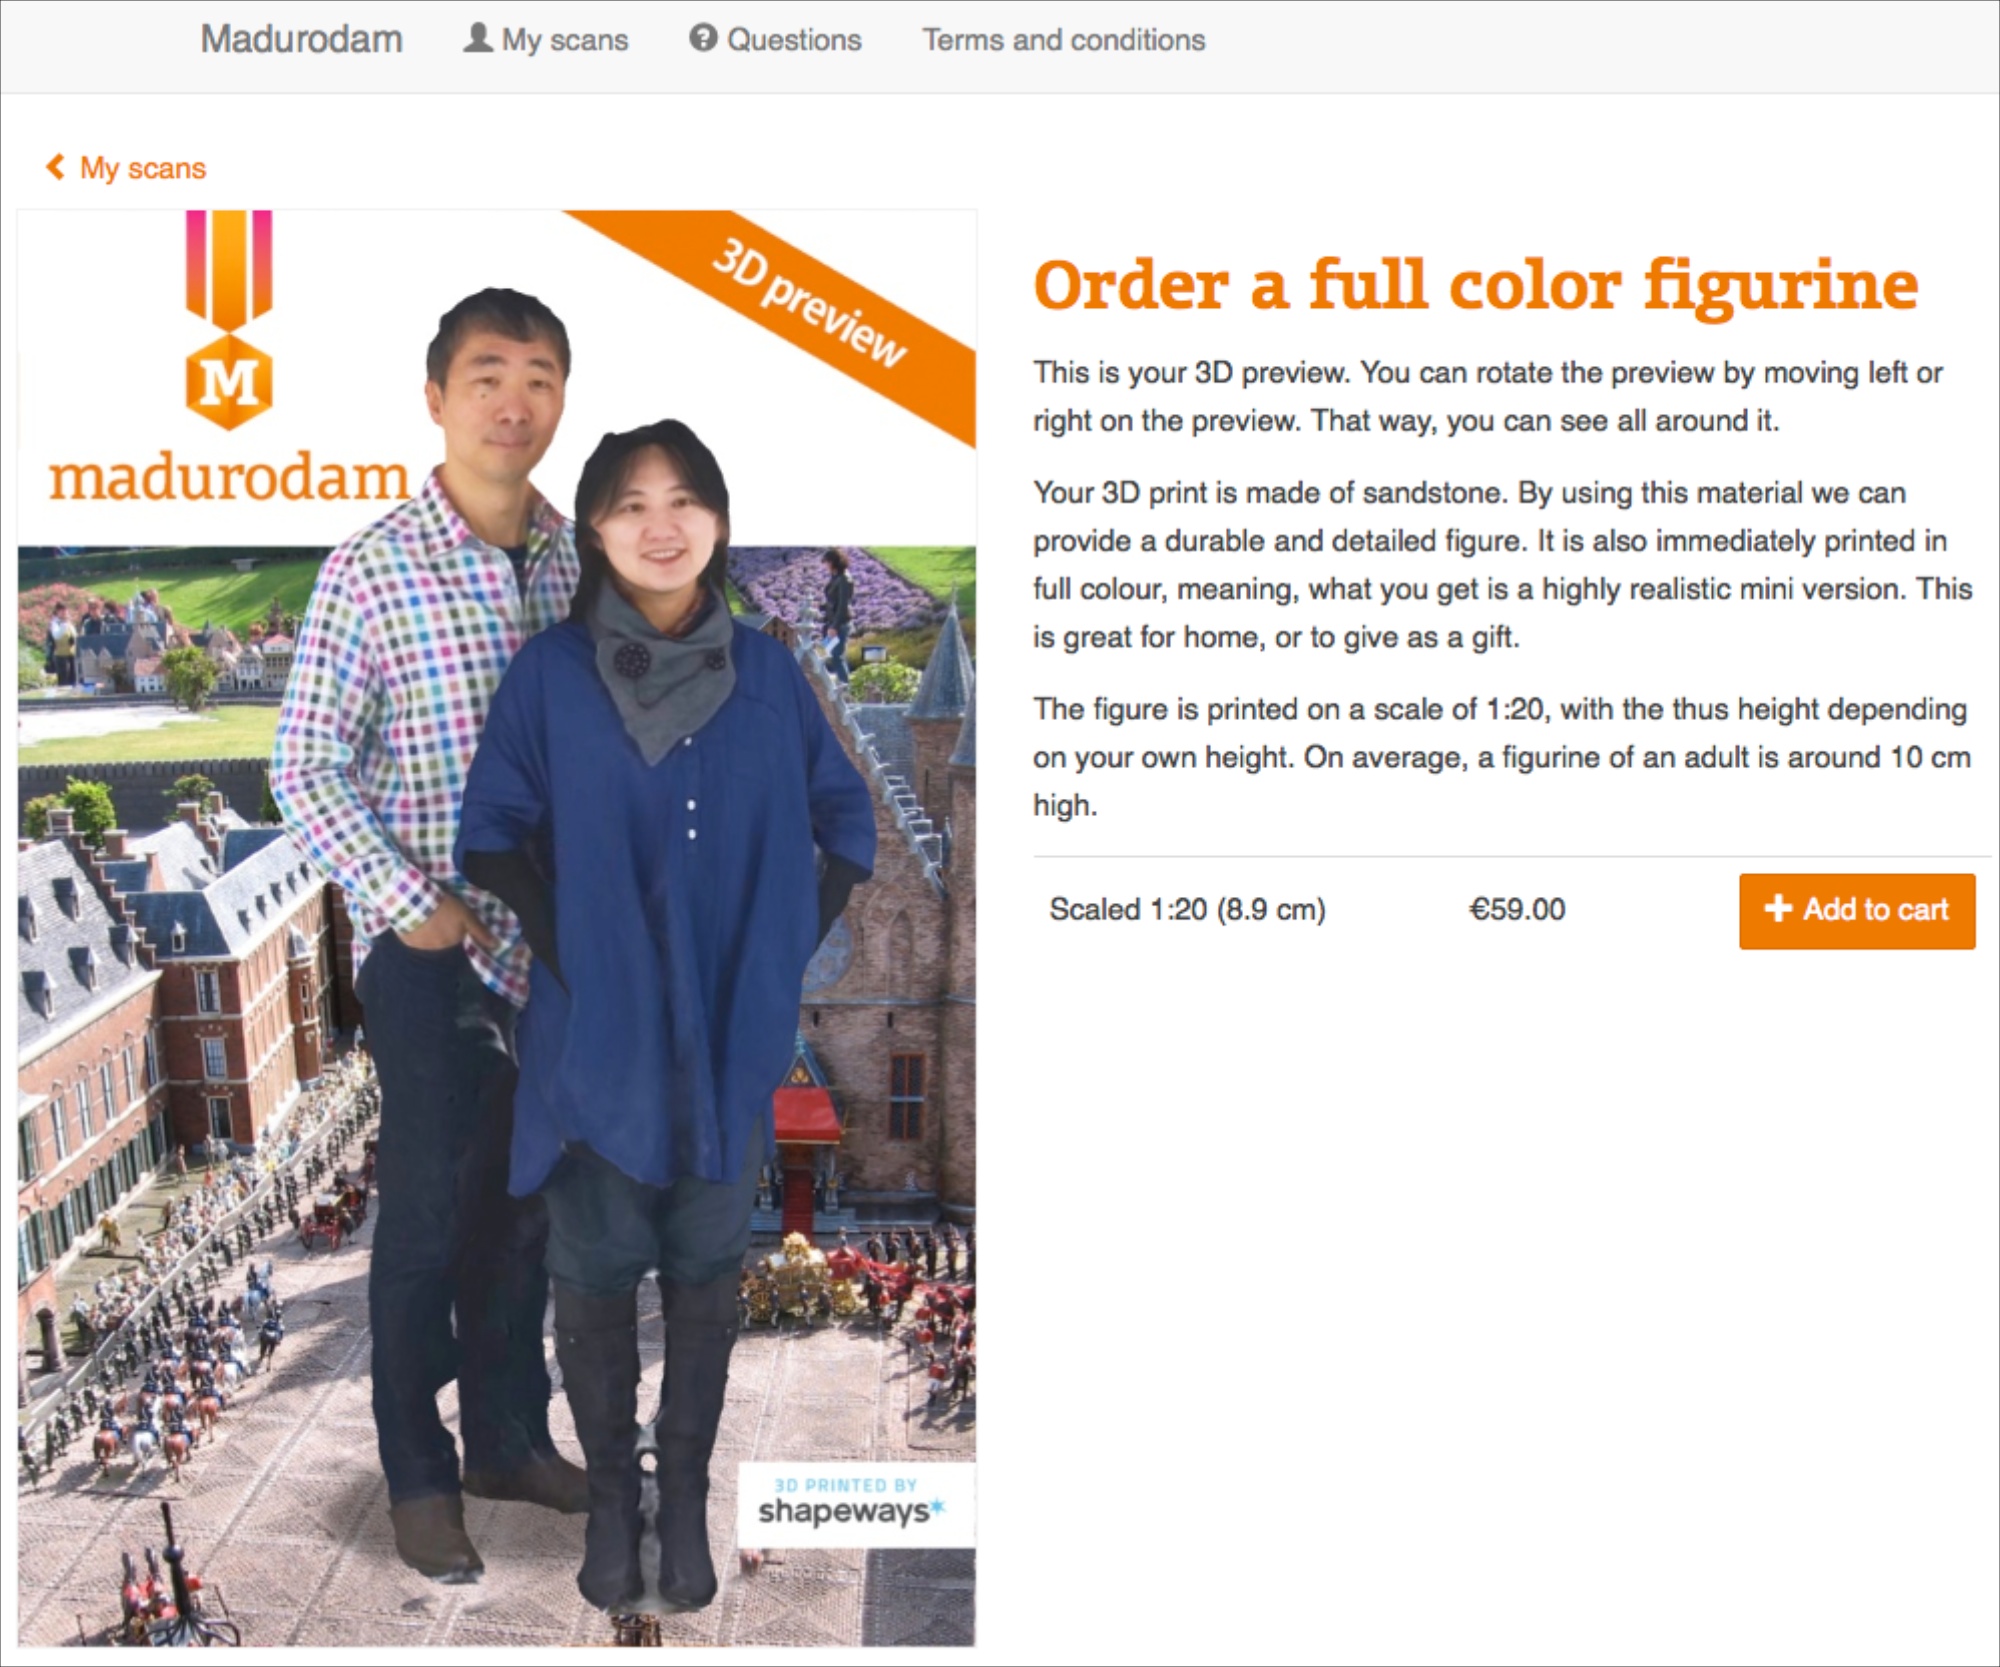
The selfie wasn’t cheap – €59.00 for each 3D print. I was busy at work after the vacation, so I put this affair off for a week. By the time I came around to it, the interactive model had been enhanced. Lighting looked right now, and the hair problems were almost all gone. I don’t know if a human edited the model.
Shapeways 3D selfie order page
A few hair issues, however, remained. For instance, they took a chunk of Elisha’s head off this time. The software also made her face wider than reality. That remained uncorrected by human unfortunately.
By the time of this writing, Madurodam has changed the way the order process works. I ordered my selfie from Shapeways. But now it seems like you will order directly from Madurodam’s own website. In any case, the interactive model is still rendered by Shapeways. And it still looked wrong.
3D model for the hair looks wrong in the preview, but printed out just fine
Full Color Sandstone 3D Printing
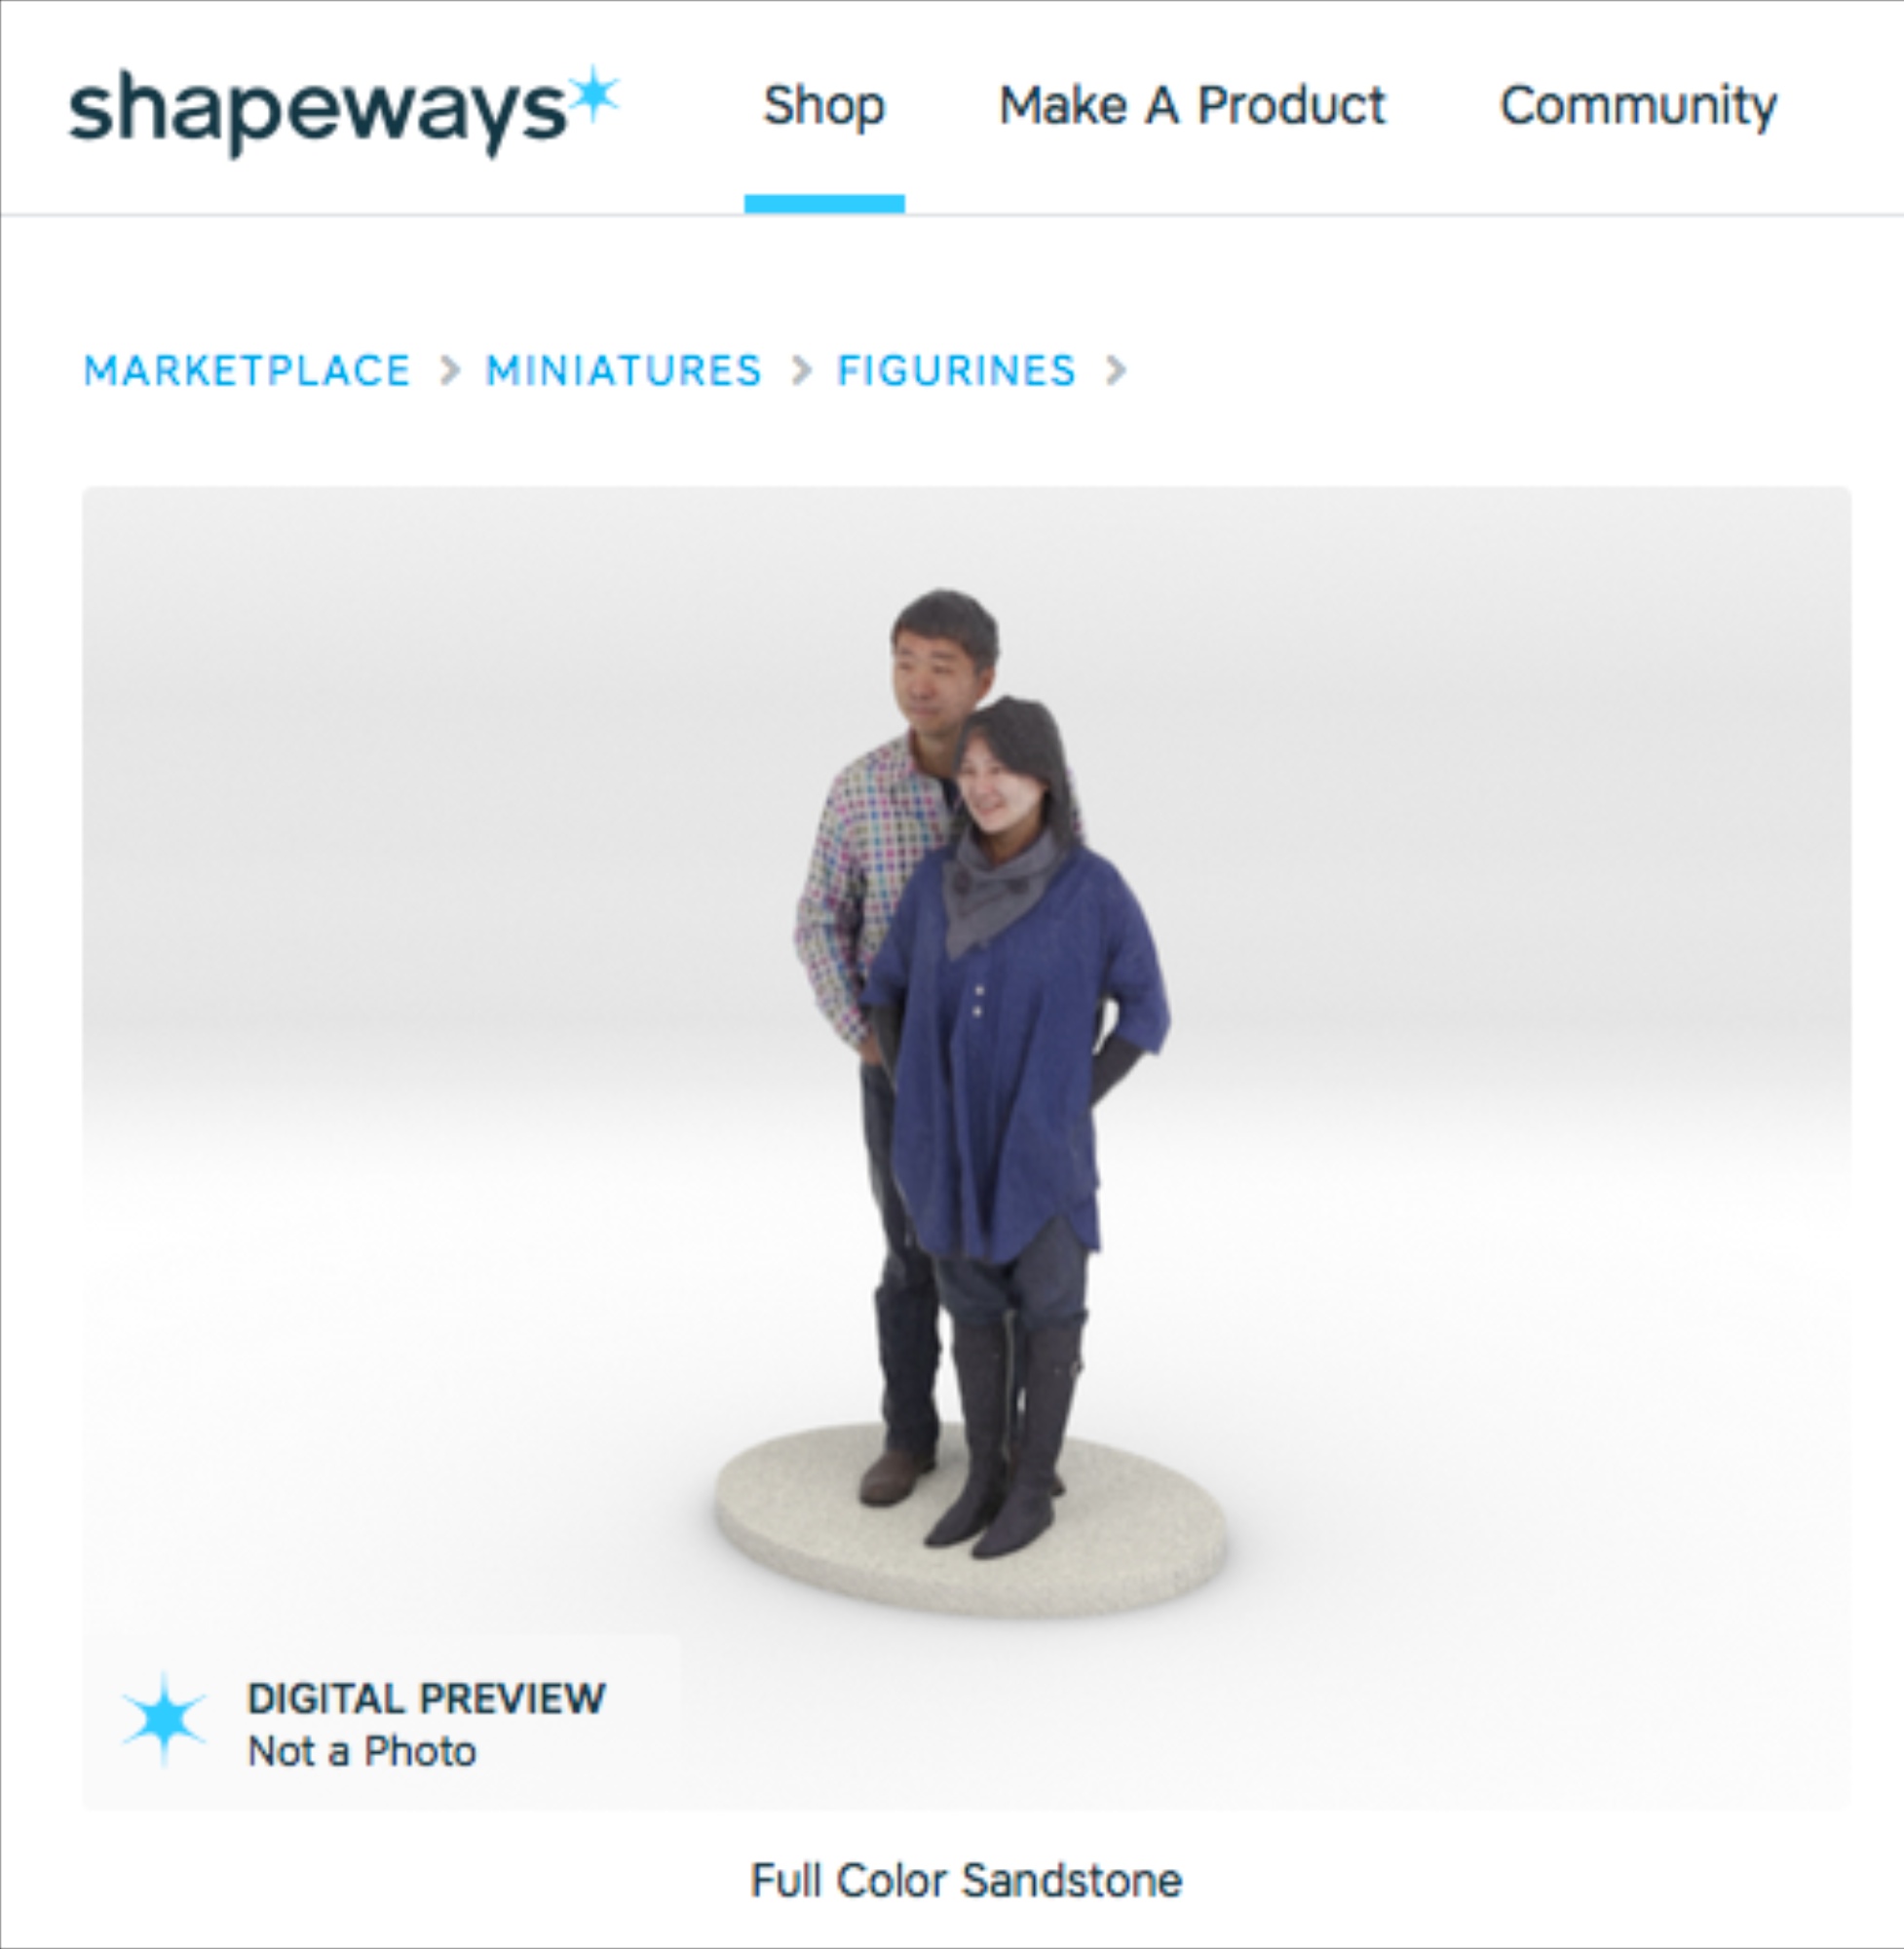
We took a leap of faith, and ordered the 3D selfie despite obvious issues seen in the online, interactive model. Two weeks later we received a package from Shapeways.

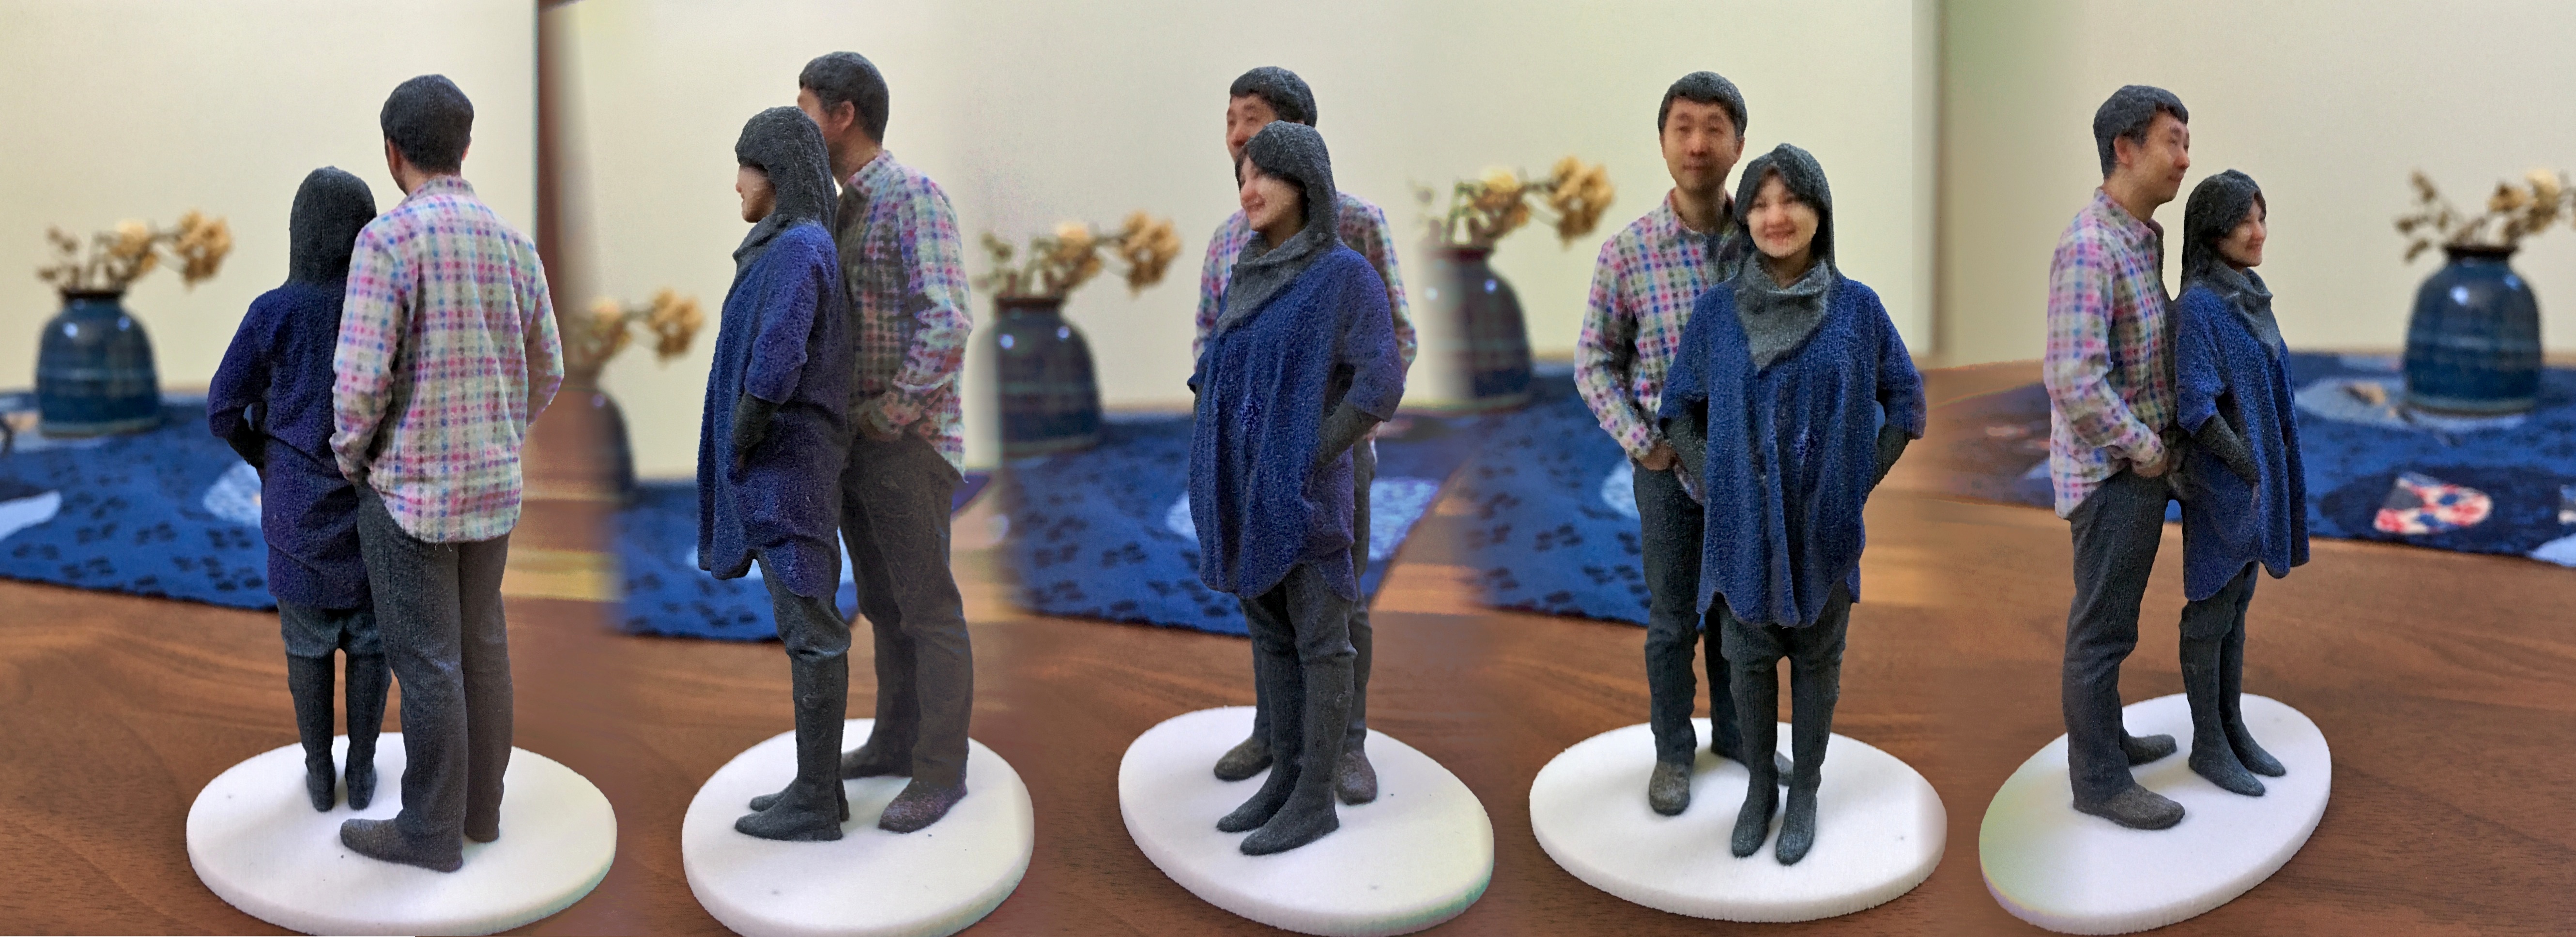
3D selfie in 1:20 scale as received from Shapeways
Saying that we were both amazed opening that package, is a complete understatement. The modeling was exquisite, and details were amazing, given the miniscule size of this thing. And yes, they must have manually fixed all hair issues.
The surface of the figurines felt like sandpaper. Colors do not appear saturated, because there were white grains that I initially thought were translucent crystals on the surface. Apparently this printing style is called Full Color Sandstone. In layman terms, the printer sprays tiny colored glue droplets onto a bed of gypsum, layer by layer, until the entire model is printed. This is apparently the only way to print in full color, given present technologies. No other mechanism can produce figurines in a full spectrum of colors without hand-painting by humans or robots after the 3D printing is done.
We could not be happier fidgeting this toy. We accepted the constraints of current cutting-edge technology.

Model surface feels like sandstone
Repairing Damages
But the figurines were not waterproof. After a few days of toying with this thing, we noticed that there was a white botched spot on the blue dress. I couldn’t for the life of me figure out how it got there. Neither of us recalled wetting the figurine. We certainly never dropped it, even if the spot looked a bit chipped. Nevertheless, the damage has been done.
3D selfie made from gypsum is easily damaged by collision or by water
Apparently Shapeways now offers an extra finishing step, where the entire selfie is coated with epoxy resin to make it basically watertight, so that the model won’t fade when it gets wet. At this time Madurodam doesn’t make this so-called “coated” full color sandstone an option on the order page. I did some research on the Shapeways community forum, and found that I could fix the discolored spot myself, and protect the figurines from further damages with a varnish.

Damage in gypsum-based 3D selfie retouched using water-based coloring pen
I retouched the faded spot with a water-based color pen. I couldn’t find the exact color, and I also did not want to make this retouched spot completely saturated, as it would not match the sandy look of the rest of the model. In retrospect I could have done a bit more.

Madurodam Shapeways 3D selfie in 1:20 scale after retouching
Protecting the 3D selfie with acrylic varnish
Forum members recommended acrylic varnish instead of lacquers. Apparently acrylic is more resistance to yellowing effects. Sprays were recommended and brushing was eschewed. I bought Krylo Colormaster Acrylic spray (Crystal Clear, Satin). I wish I could tell you this was a result of my extensive research. The truth was, this can was the only clear acrylic spray I found at my local paint shop. I did have a choice of glossy, satin and matte. I chose satin.
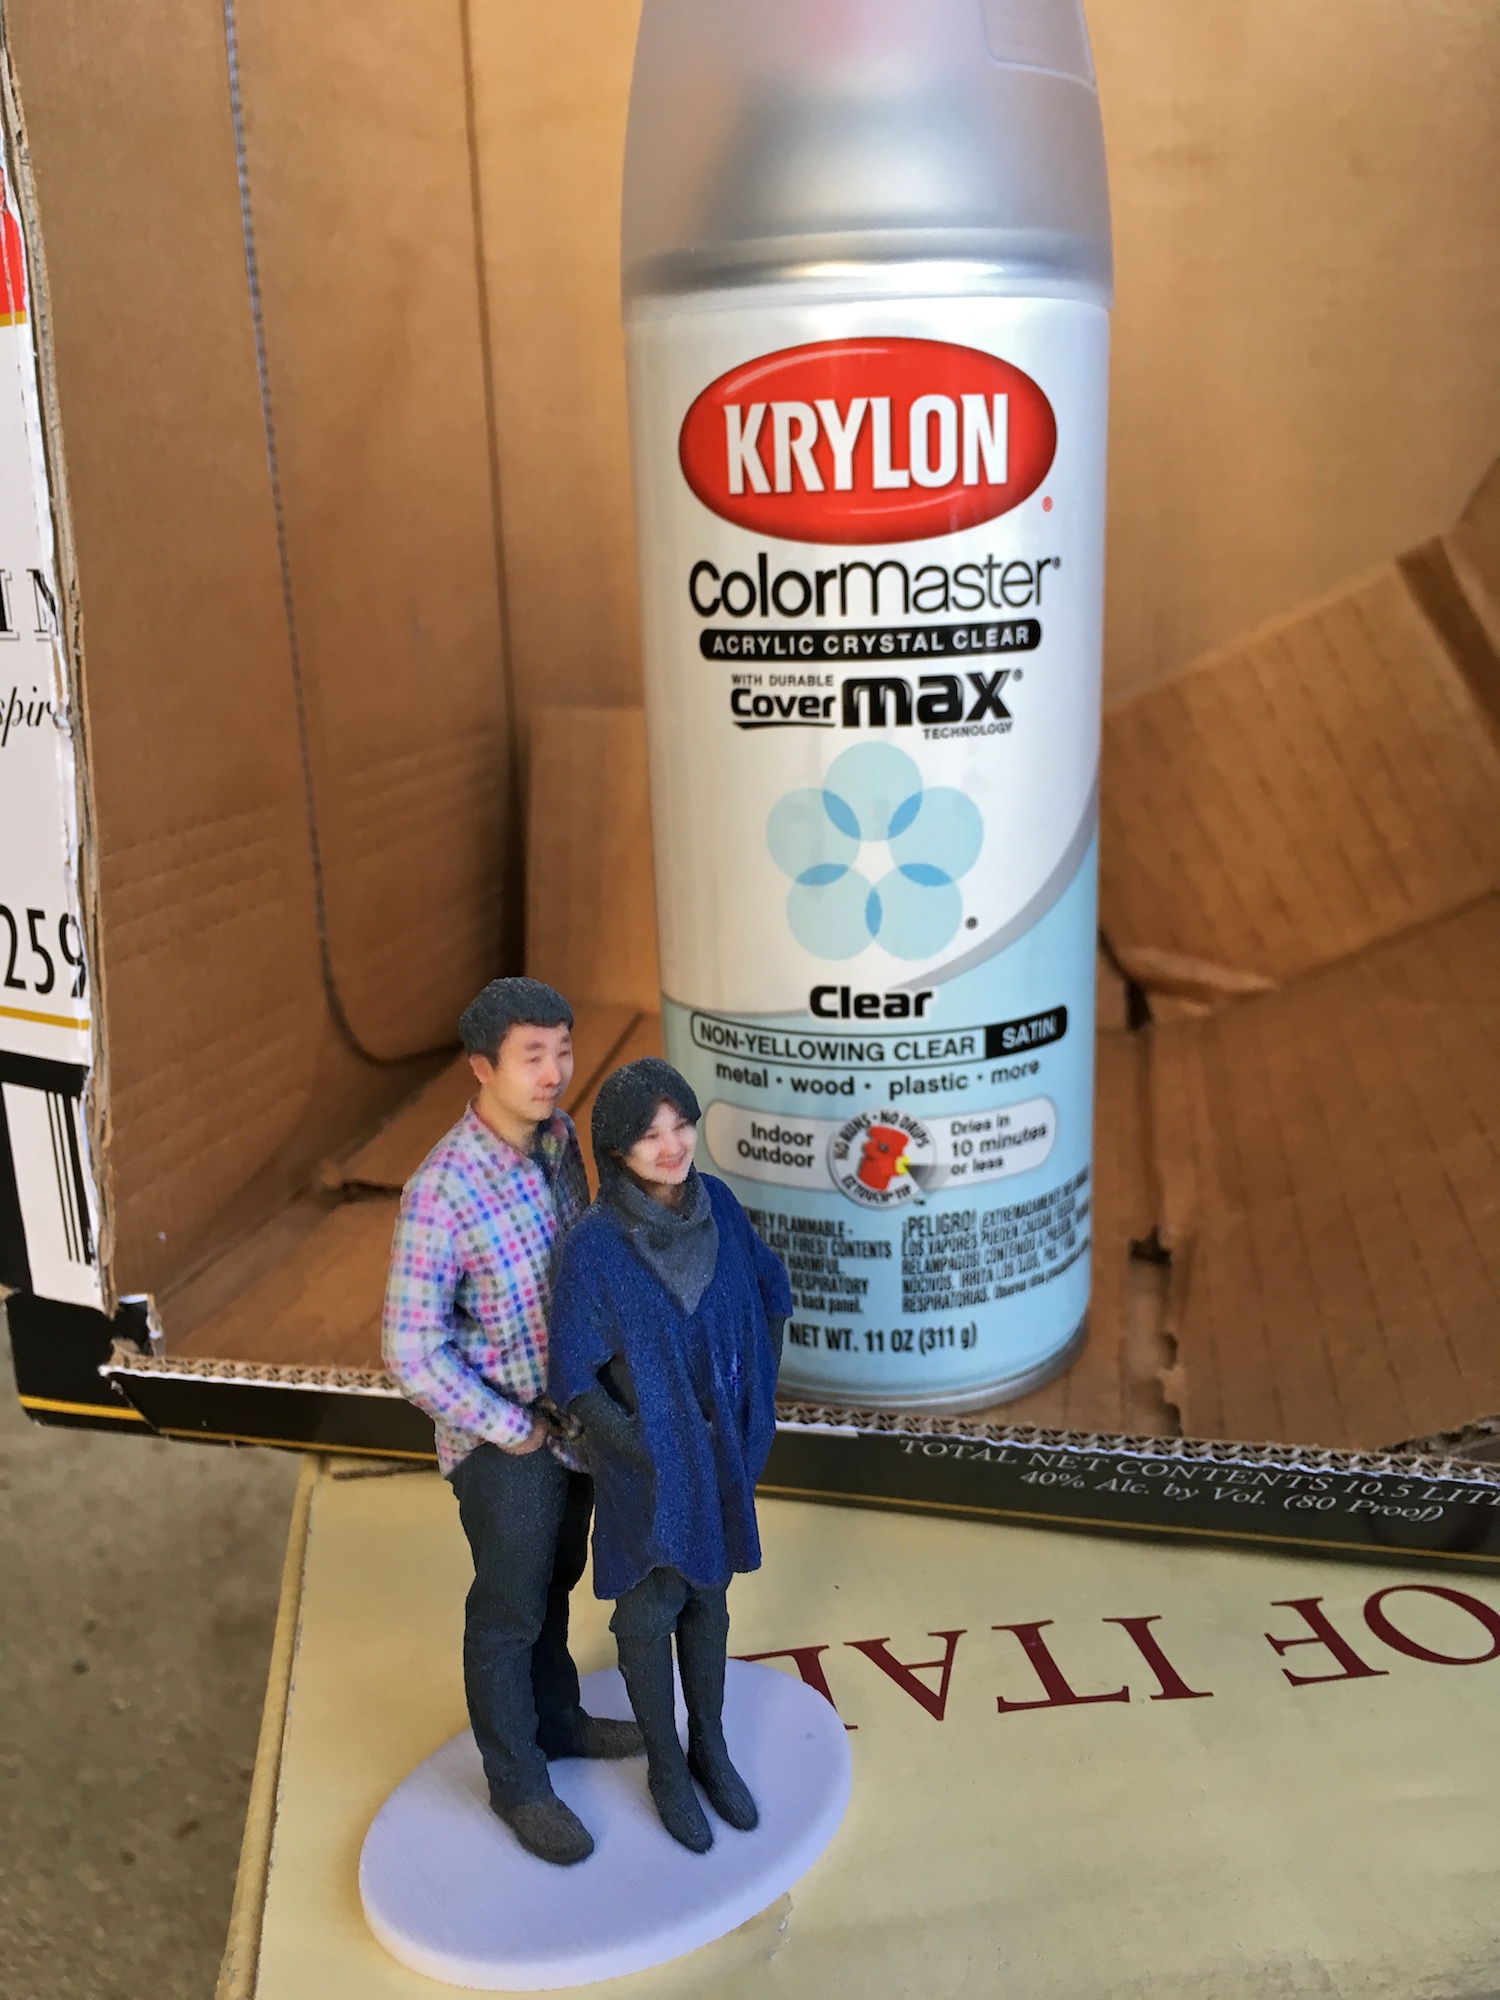
Spraying 3D selfie with clear satin acrylic varnish
I sprayed the figurines with the varnish from front, right, back, left and top. I was afraid of pooling so I never lingered on one spot – I waved the can from side to side all the time. Right after the spray, it did look as if colors on figurines became more vibrant. But it was only temporary. The varnish dried almost right away, and honestly I could not tell a sprayed model from an untreated one.
3D selfie after the first spray of varnish
After half an hour, I gave the selfie another spray of varnish. Again, after the varnish dried, I could no longer tell that any varnish was used. I think I now appreciate why folks reported applying up to 8 layers of spray on models on the Shapeways forum.

3D selfie after a second spray of varnish
Happy Ending?
In any case, I don’t care that the varnish is invisible. That is just what I wanted. All I wanted to do was to protect this fragile sandstone 3D print from accidental water damage.
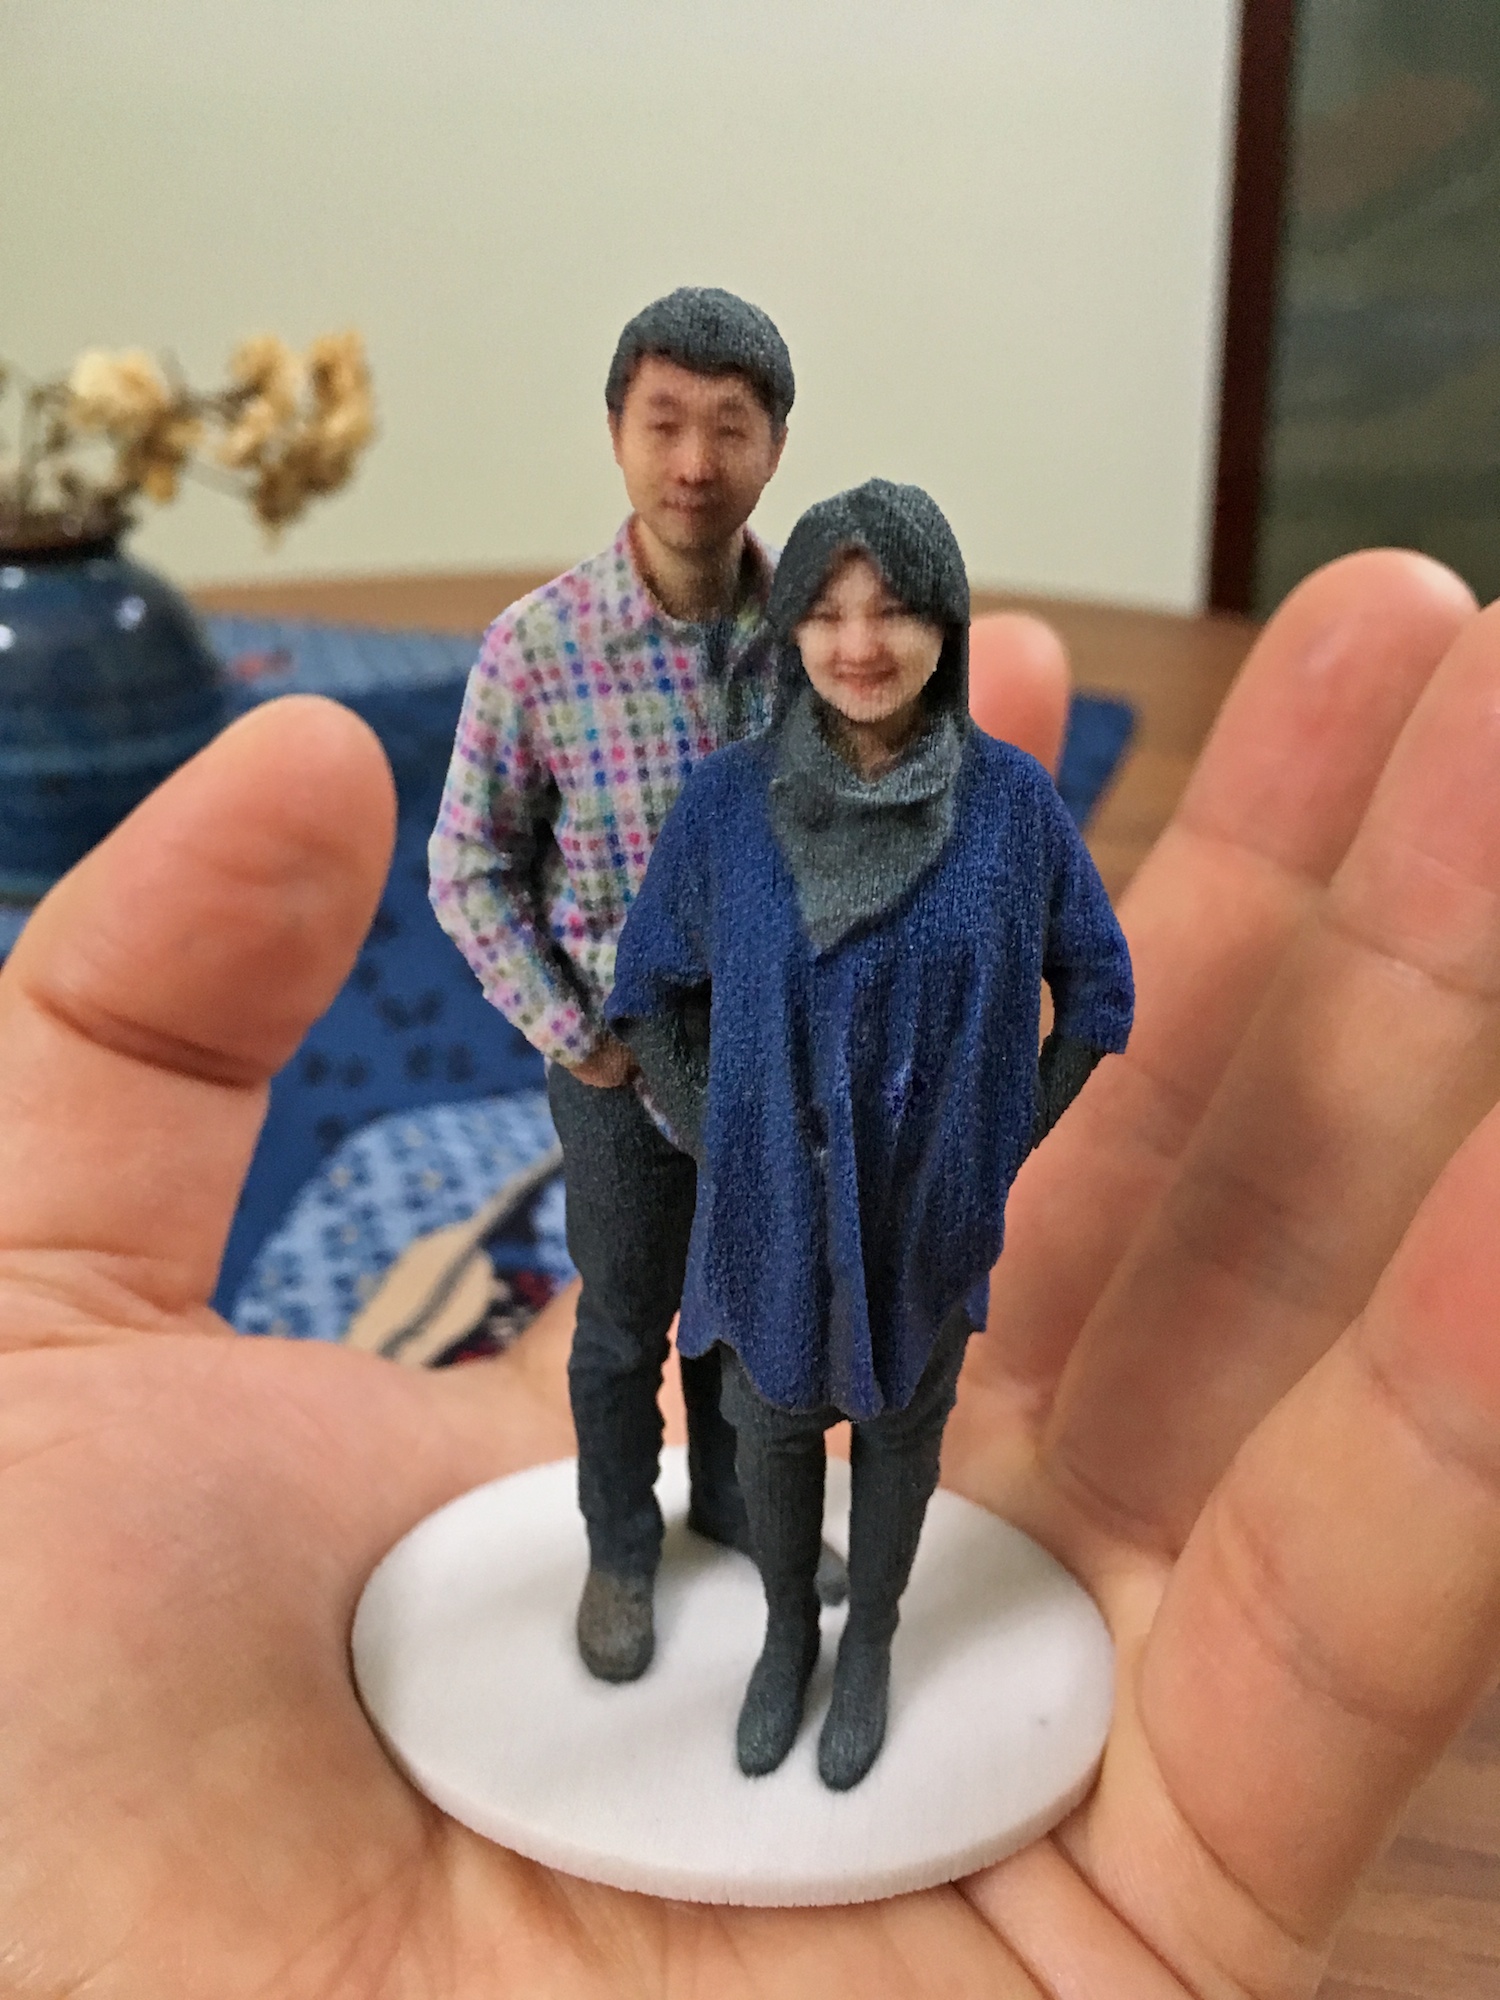
3D selfie in my palm after a treatment of acrylic varnish
The selfie found a permanent home next to the Corsair model I painted with 3Doodler in 2014. The jar where the Halloween ghost appears suspended is filled with water beads, for the curious folks.

Varnish-protected 3D selfie next for 3Doodler-hand-drawn model Corsair
For this article, I took some pictures of the 3D selfie in the sunroom, to benefit from better lighting. I don’t normally upload full-resolution pictures to WordPress. The following picture is an exception. I quite like the composition and the picture. This picture and a few others in this article will soon find their way to Wikimedia and Wikipedia, in full resolution. As I did in my Wiki Vacation series, I will use these pictures to illustrate topics lacking good accompanying illustrations.
3D Selfie in 1:20 scale scanned at Madurodam and printed by Shapeways
Our friends brought us homemade bread. We repaid them by sending them a picture of figurines standing next to the bread. We may have found a great idea for personalized holiday greeting cards.

3D selfie standing next to Comer bread
Bonus Materials
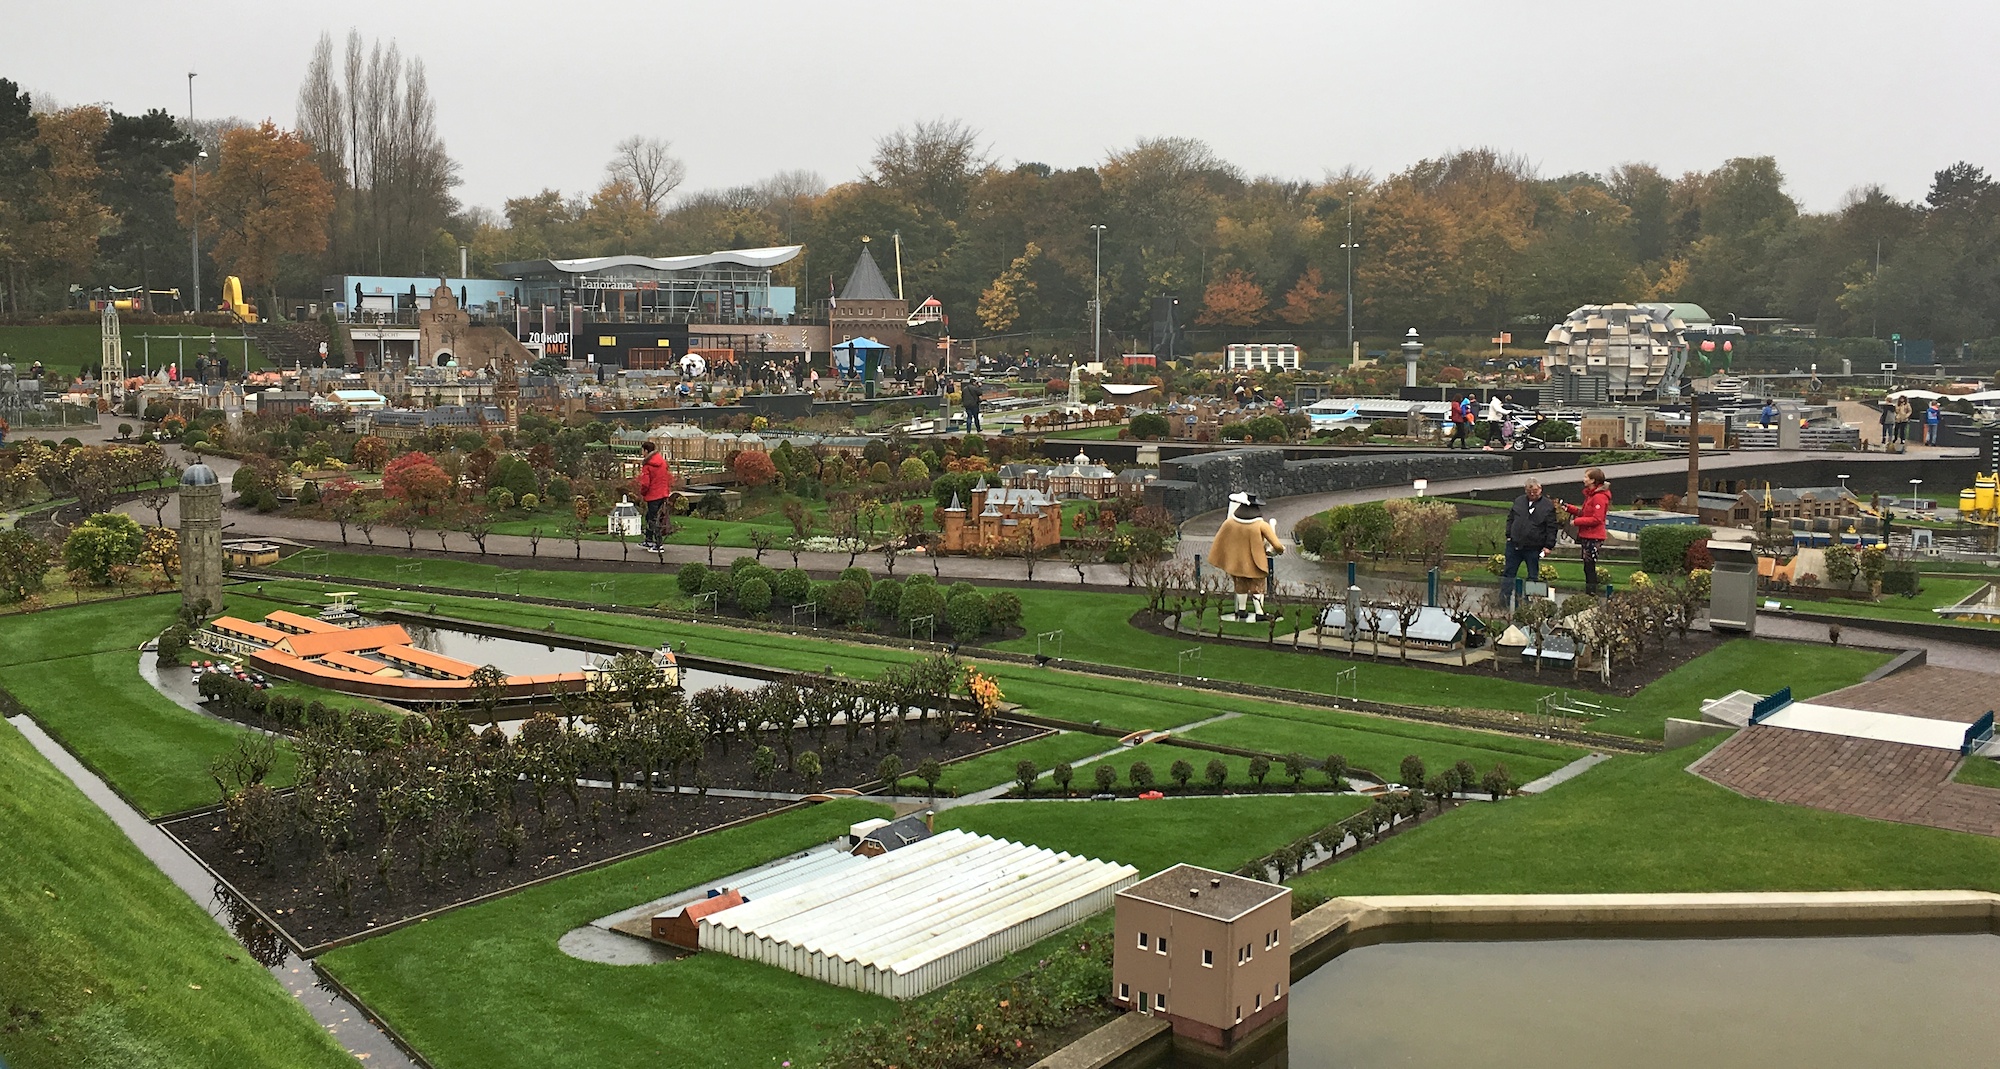
We enjoyed Madurodam, the miniature park, very much. There are already plenty of pictures of scale models from the park uploaded to Wikimedia, so I probably won’t bother uploading my pictures of the park. I’ll just post a few select pictures from our trip here. As usual, most pictures used in this article were taken by Elisha.
Many miniature buildings are modeled after landmarks in Amsterdam which we have visited in person. So I felt a special attachment to these model buildings. I can’t quite explain why.
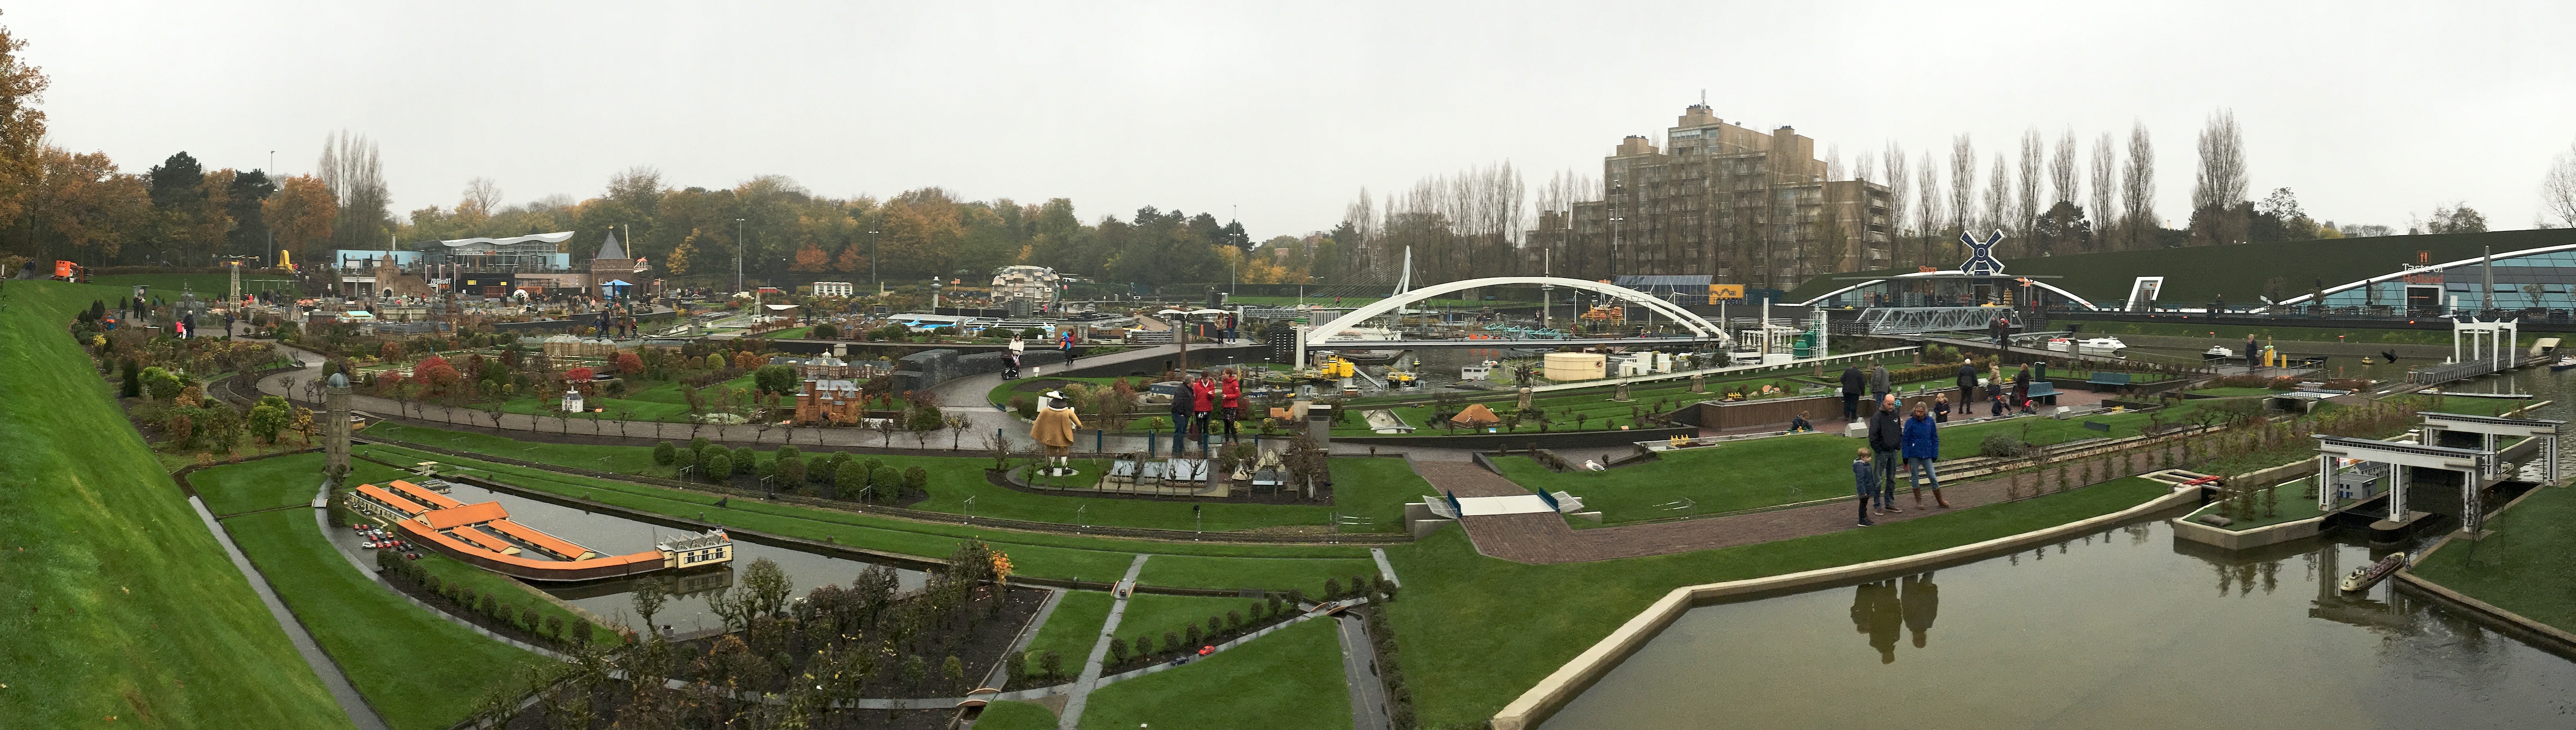
Panorama of 1:25 scale models at Madurodam

1:25 scale model of National Maritime Museum in Amsterdam

1:25 scale model of Kasteel Nijenrode

1:25 scale model of Anne Frank Museum on the Prinsengracht canal

1:25 scale model of Muiden Castle
The end.

