
This is a short article on flight tests that all new members must pass, before they can fly their model planes without a spotter, at the HHAMS Aerodrome.
It is spring again. Inquisitive visitors are starting to show up at the field. They want to know what it takes to be able to fly solo. Others have gone through the motion of paying the AMA, the county, and the club itself. They have a badge with a “novice” sticker on it. But they can’t fly on their own, and must wait for someone else to stand with them to fly. On the other hand, friendly members are willing to help newcomers learn to fly, and to pass their flight tests. However, not everyone remembers exactly what was involved when they took their flight tests in their days. Thus this article.
The procedural stuff
Read the HHAMS field rules and management doc. It gives you an idea on how the club operates. It talks about membership and flight tests as well.
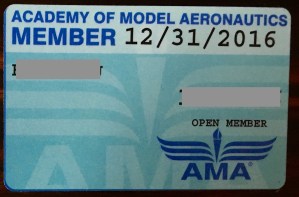
AMA membership card
Follow the membership page. Get your AMA membership right away. This is basically an insurance. You get a subscription to the Model Aviation magazine, as a bonus. Without an AMA membership, only a handful of AMA-certified instructors can fly with you. You’ll be standing at the field wasting your time, hoping that an instructor shows up to help you. Once you have an AMA membership, any non-novice member can stand with you.
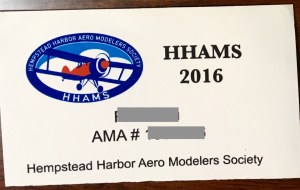
HHAMS membership card
Join HHAMS by submitting your application. Contact officers found on this page, or talk to people at the field. Here is a copy of the application. Without the HHAMS membership, you will be able to fly a few times at the field, as a guest with a valid AMA membership. After that, you will be asked to become a member before you fly again.
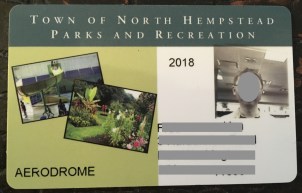
Hempstead flying permit
Once you have both AMA and HHAMS membership, you can get your Town of North Hempstead Flying Permit. You actually have to show both cards to the town clerk. You will also need to bring a notarized Release and Indemnity Agreement with you. The indemnity agreement will be provided to you after you join HHAMS.
Displaying IDs
You must display your current-year town permit while flying at the Aerodrome. You need to have the permit prominently displayed on your person, when you are participating in flying activities. This is spelled out in the rules.
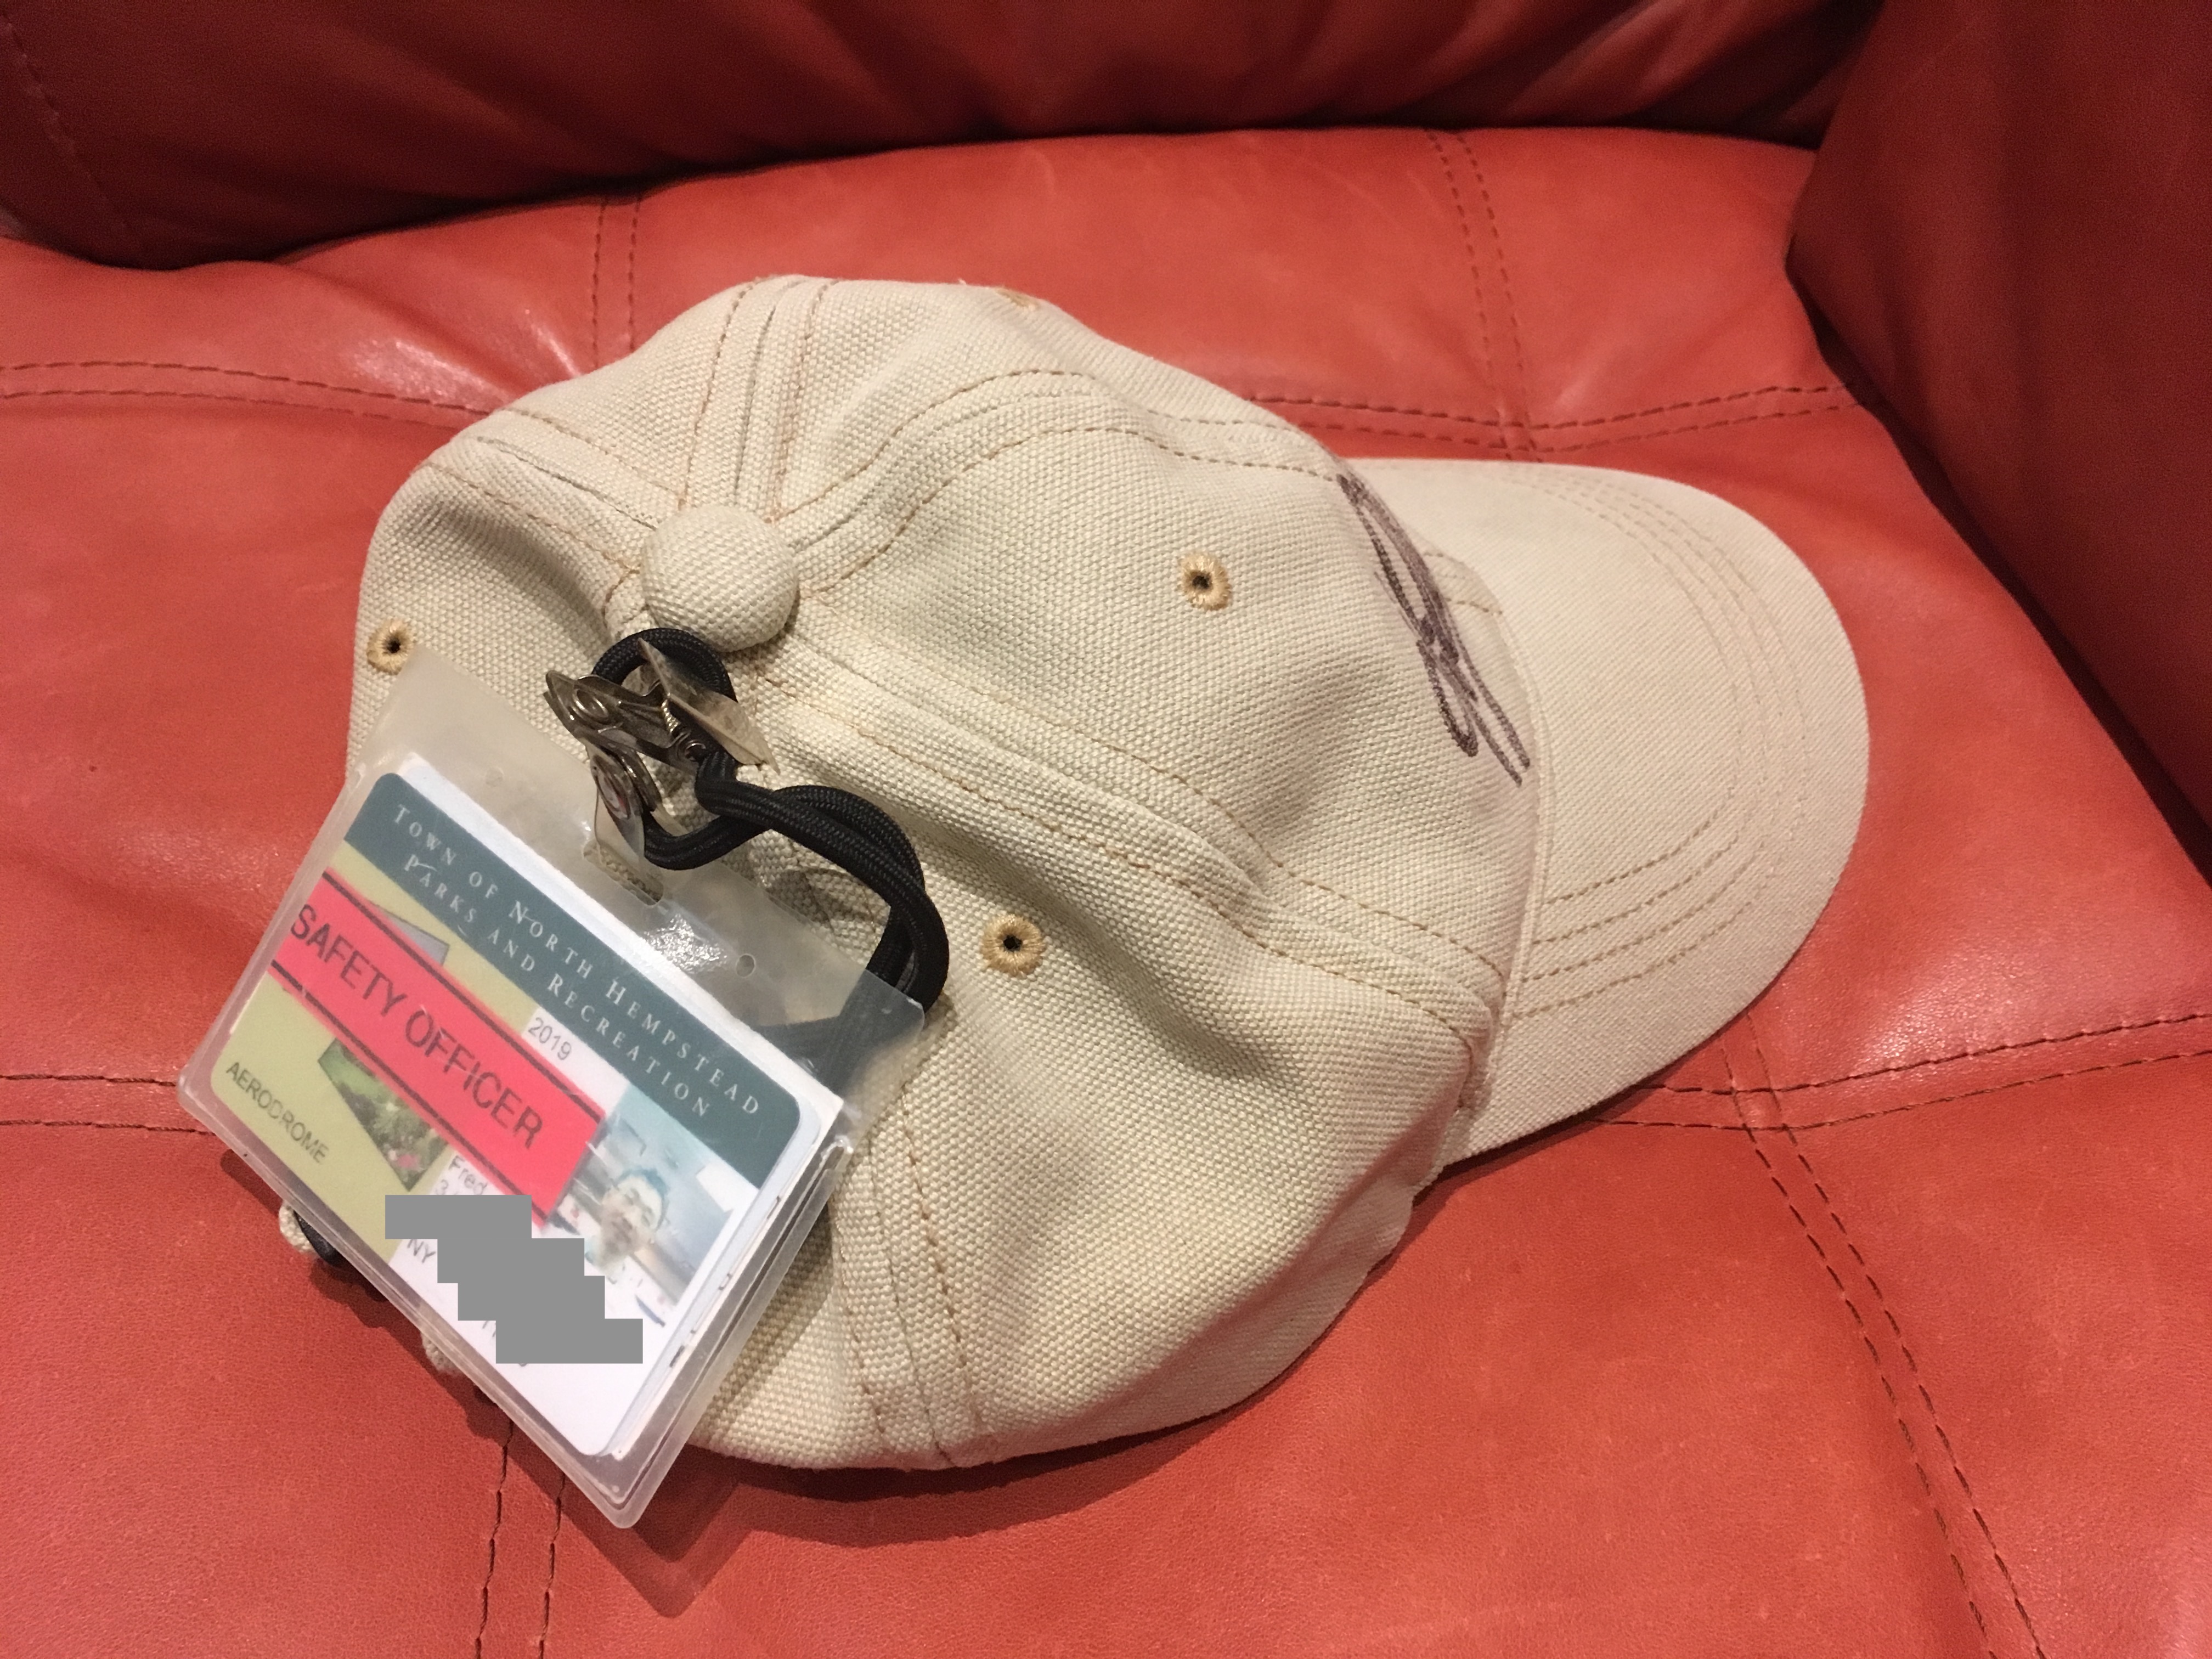
Displaying your flying permit on your person
You need to renew your town permit annually, and the town clerk checks that you have valid AMA and HHAMS memberships for the year. The possession of a valid town permit thus implies valid AMA and HHAMS memberships. But I still carry my AMA and HHAMS cards in the same ID badge holder, behind the town permit.
Before you can take your flight tests, you will also need to ensure that your name is affixed to your transmitter.
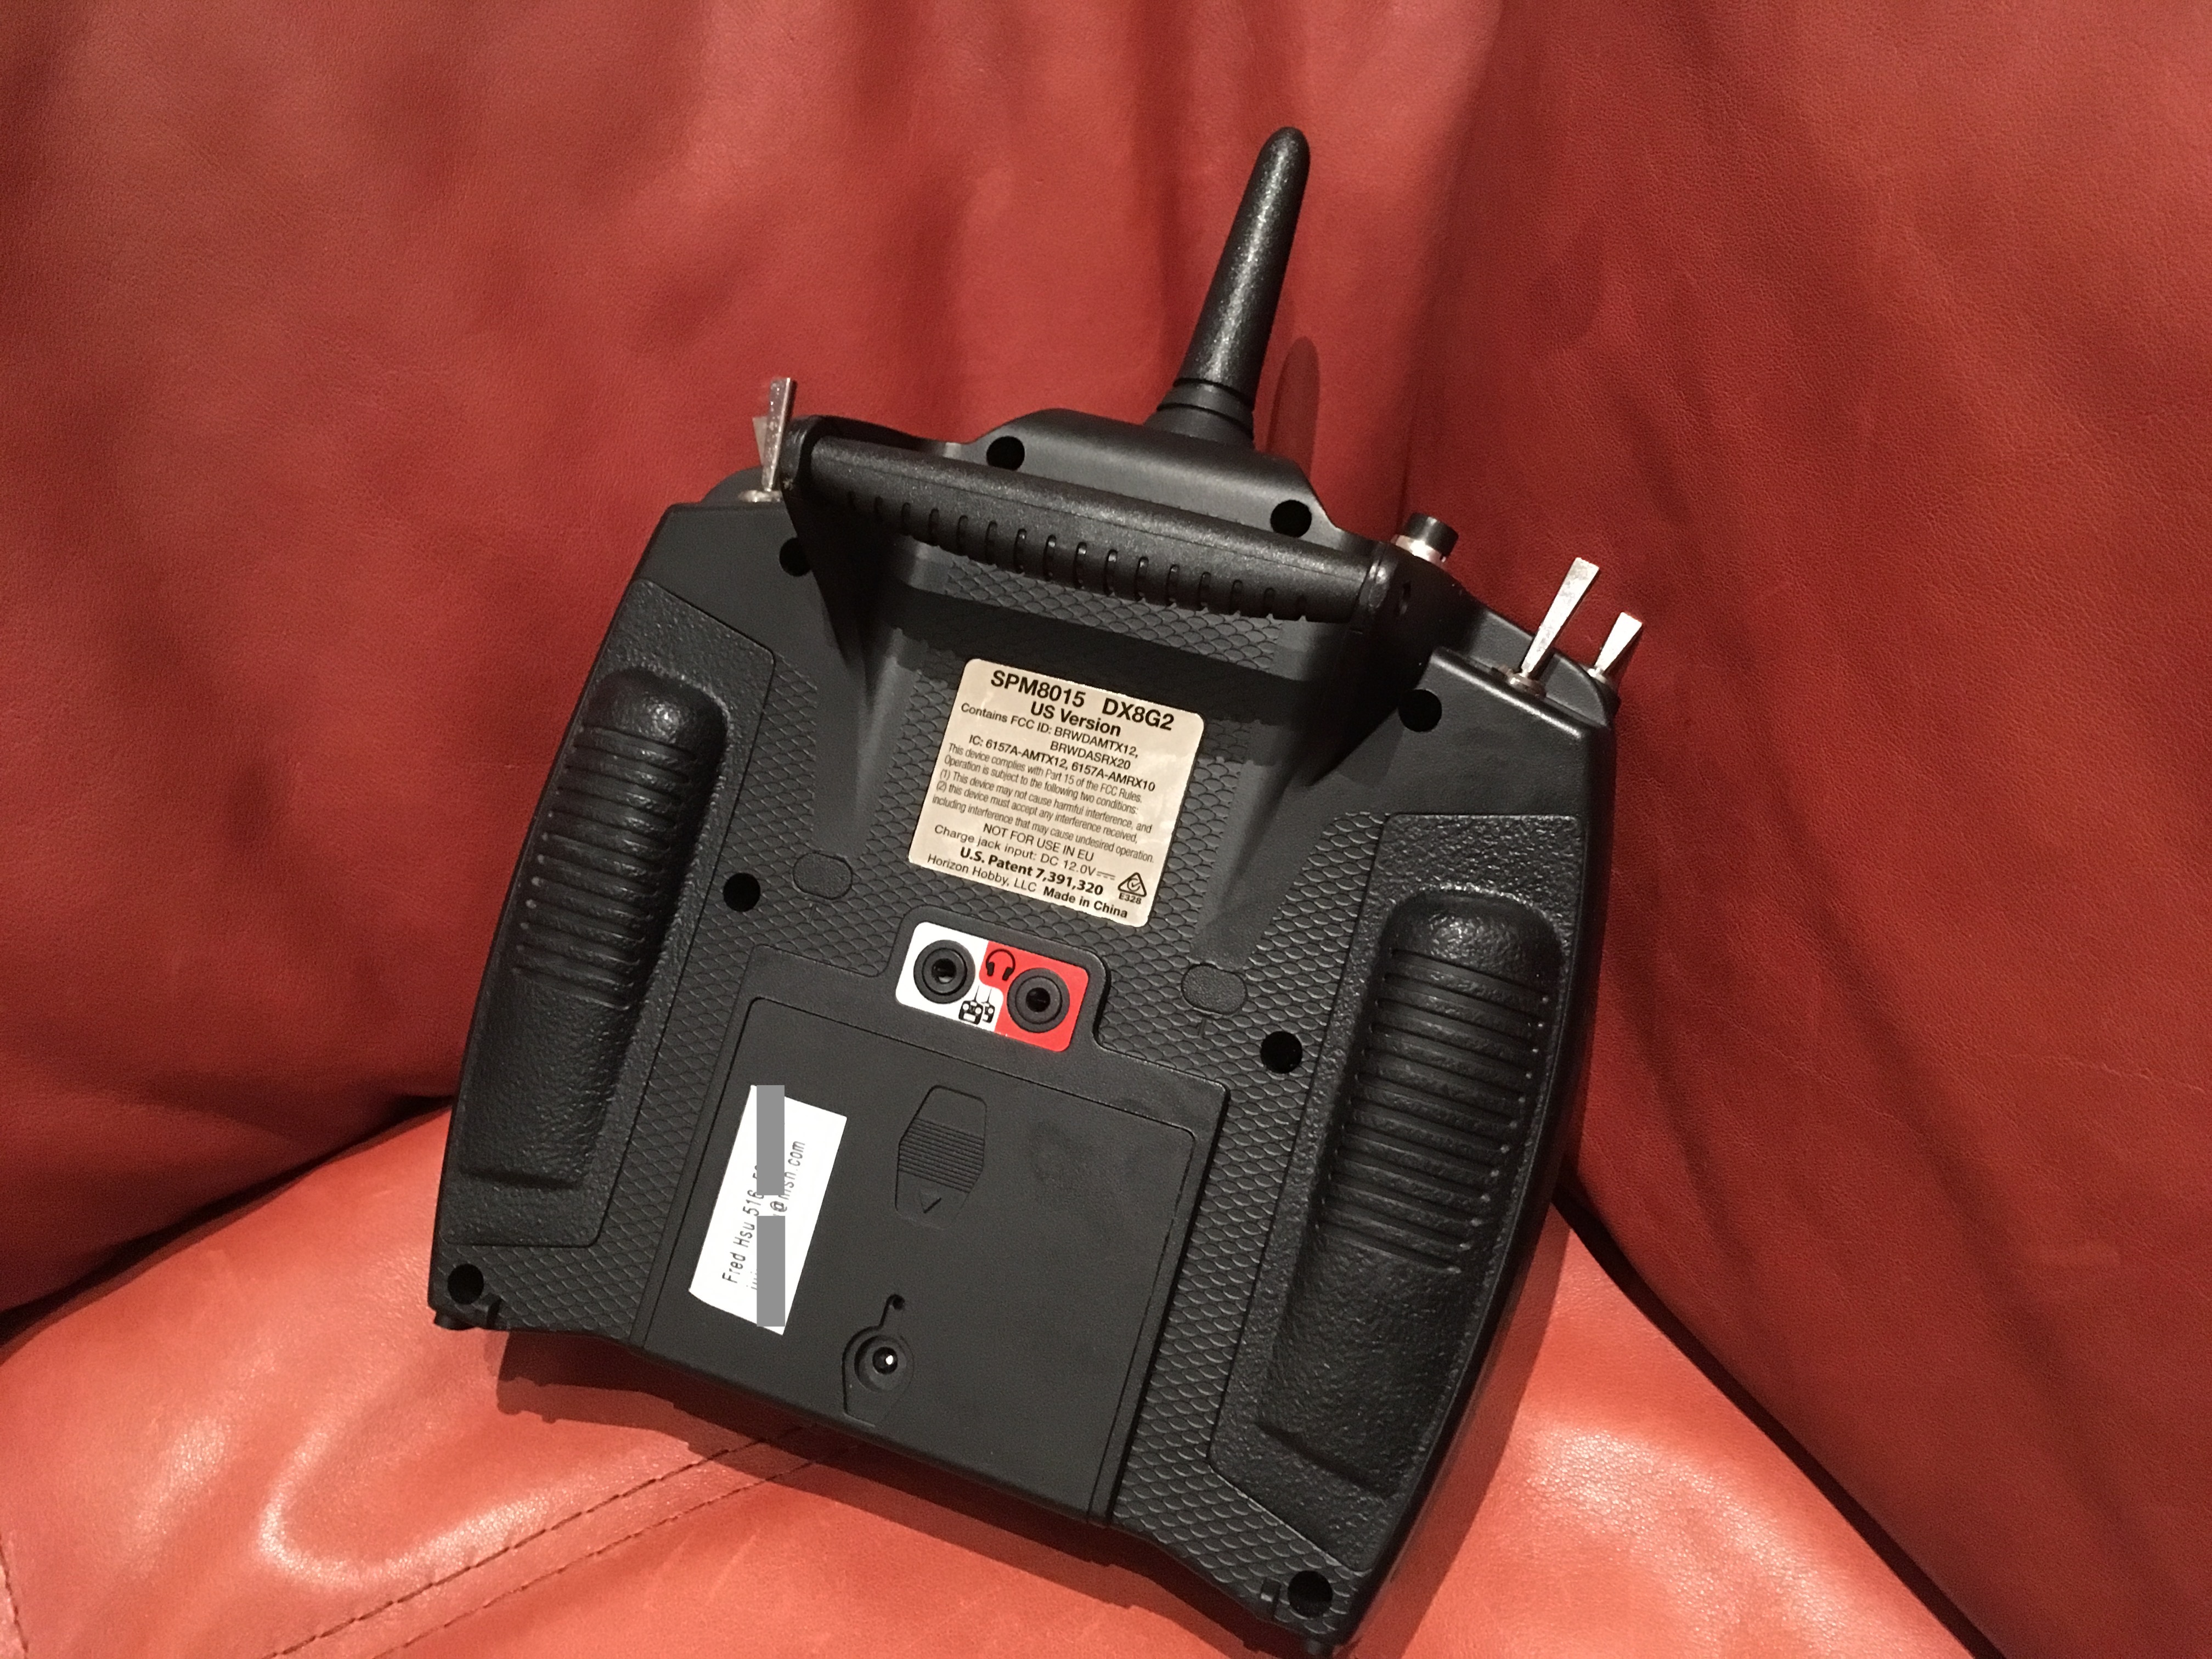
Displaying your name on your transmitter
In addition, every plane you bring to the field must have your name, AMA number, and contact information somewhere on the plane. Most people have them written inside the cockpit. Some print out nice labels and attach these on the underside of the fuselage. You may use email address, home address or phone number.

Displaying your name, AMA number and FAA registration on your plane
Also, per FAA regulation, you must register for a drone ID. When registering with the FAA, choose the “Fly Model Aircraft under Section 336” option. For details see this page. You must display this registration ID on the exterior of your plane. I print the FAA ID on the same label showing my name and AMA number. I usually affix the label on the underside of the fuselage.
Oral test
The physical flight test is only part of what allows you to fly solo. Before giving you a flight test, an examiner will administer an oral test. This is not hard, if you have read the field rules at least once. You should also be able to identify parts of your plane, and describe how you fly your plane. Here is a crash course on the basics: How Airplanes Fly.
Once you are a member, you will have access to the HHAMS calendar. The Safety Officers page identifies safety officers who are examiners. You may talk to examiners to arrange for a date and time for your flight test.
Flight tests
You will need to take two flight tests, administered by two examiners on separate occasions. Both tests follow the same script. The difference is that two examiners must separately confirm your abilities to fly safely. If you fail a test, you may retake it on a different day.
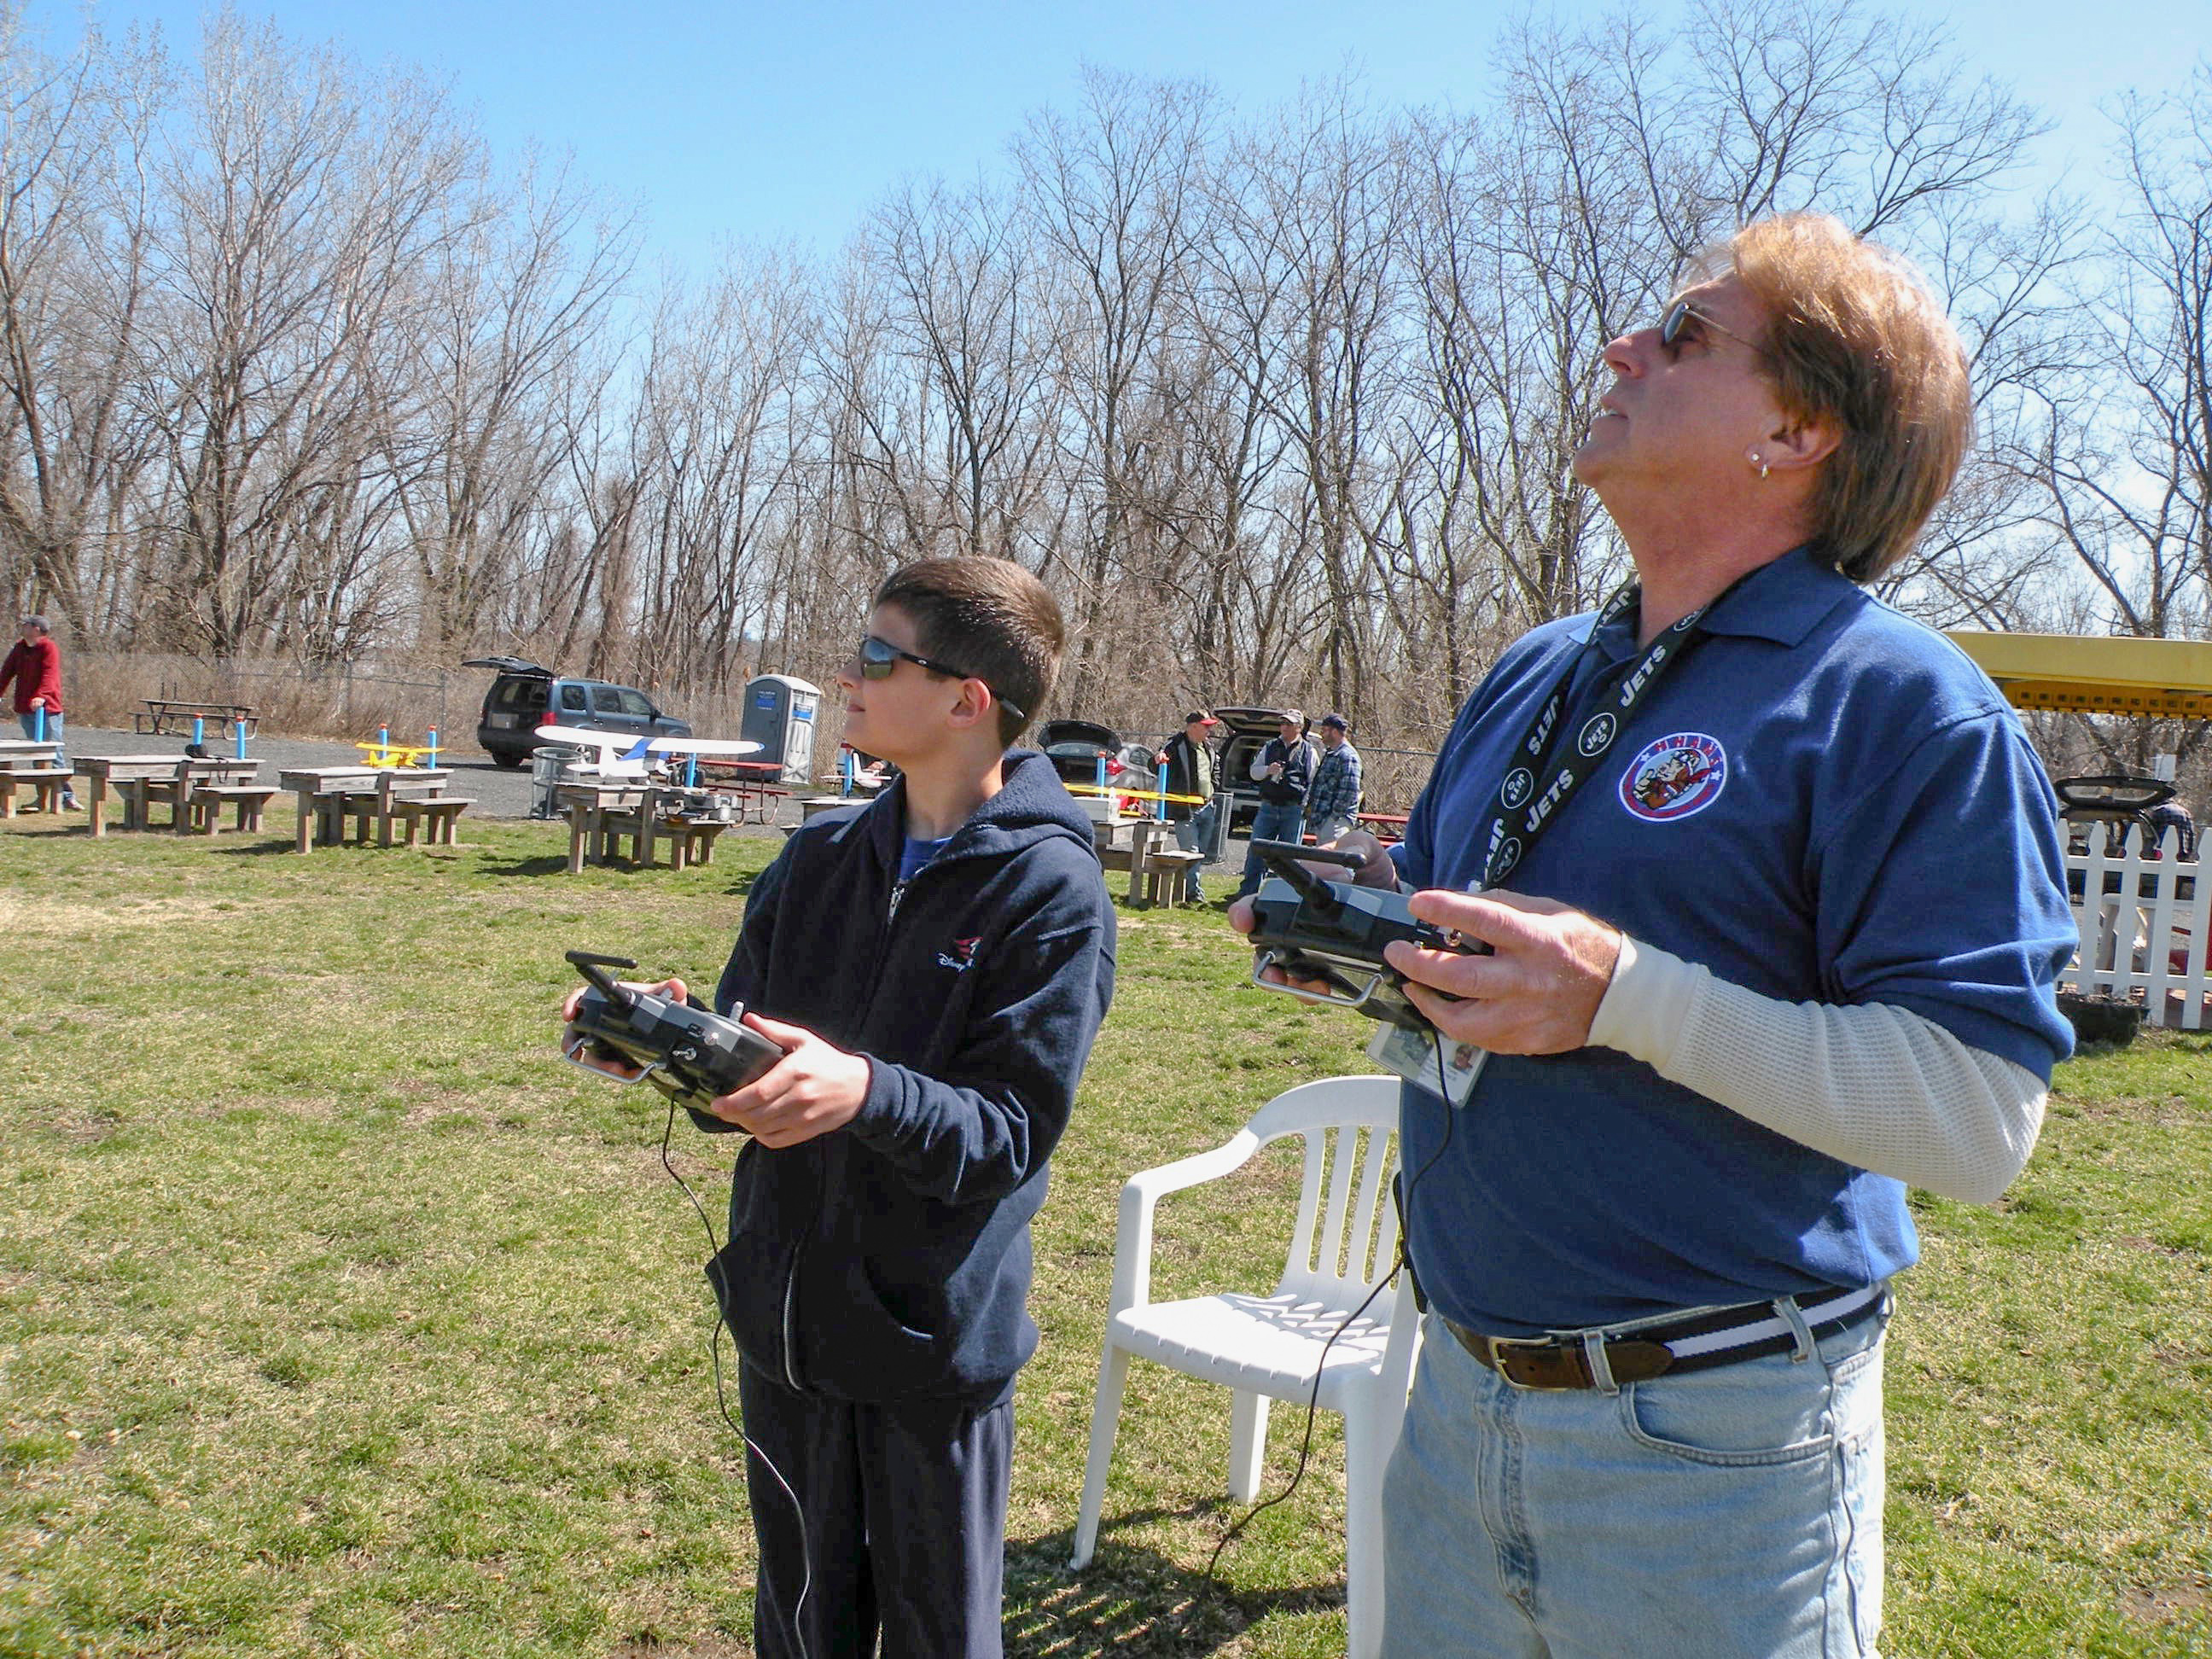
The examiner will follow you from your workbench, as you collect your radio and carry your plane to the runway. The examiner will not give you any verbal assistance. This is your solo test. The examiner is there to observe how you would otherwise do unsupervised.
You should do a quick inspection of your plane, checking off control surfaces and servo connections. See this pre-flight checklist. Show that you have throttle cut set on your radio to the examiner before you pick up your plane. You should call out “Runway!” as you walk towards the runway. Check that pilots at flight stations acknowledge your presence. Do a quick control surface direction check, as you step back and stand on your pilot station. Optionally yell, “Taking off!” as you take off, and “Runway clear!” when your plane is away from the runway.
Be mindful of pilots at other pilot stations
Remember that the point of the flight test is not for you to demonstrate your superb 3D flying skills. You may be a world-class model aircraft pilot. But the examiner only wants to know that you won’t be a threat to fellow pilots, when given a license to fly unsupervised. An examiner will obviously want to make sure that you have the minimum skills needed to keep your plane in the air, in such a way as not to create unsafe conditions for your fellow pilots. But the examiner is even more keen in assessing whether you understand rules and actually follow them. Rules exists no to enable you to fly, but to ensure that the aerodrome is safe for everyone, at all times.

Quick control surface checks before taking off
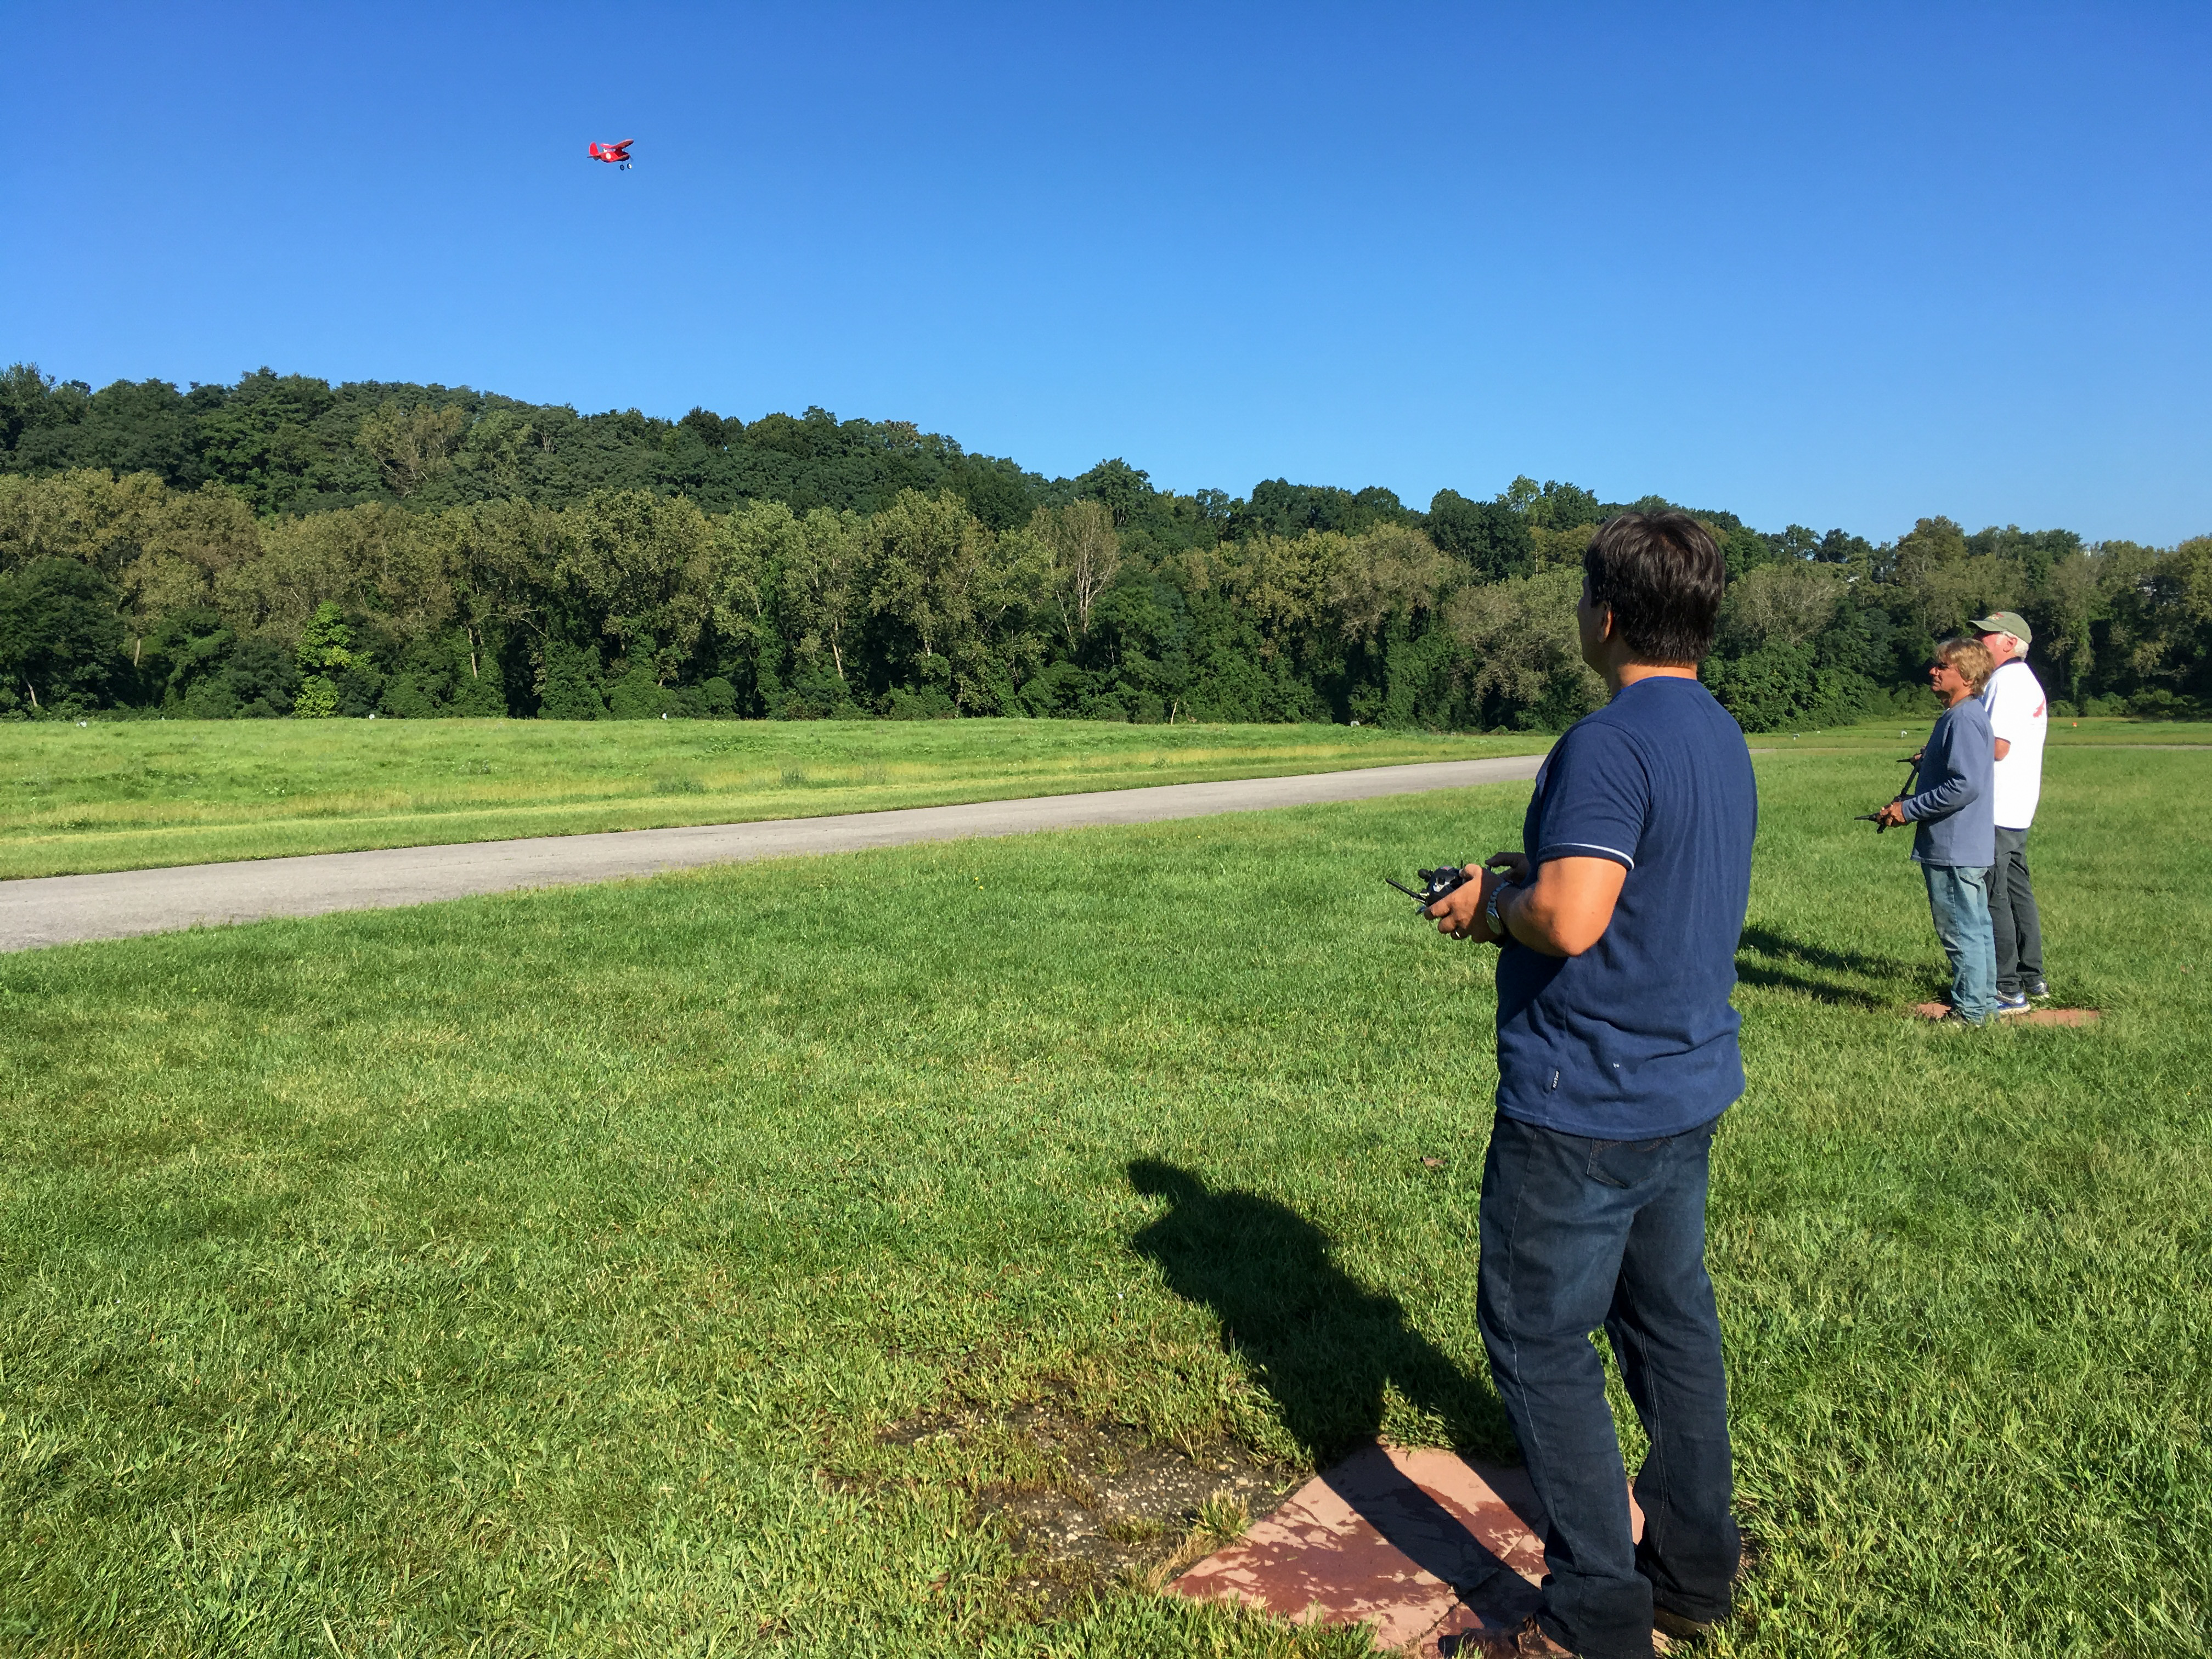
Taking off
You should take off into the wind. By the time you take the test, you should have already observed how pilots choose the direction based on the prevailing wind. In the occasion where the wind direction changes, people call this out to pilots who are flying. Thus these pilots will know to eventually land from a new direction, to avoid collisions with planes that will now be taking off in a new direction.
You will be taking off unassisted. Again, the examiner stands by you, only to observe.

Taking off
Traffic pattern
Once you take off, follow the traffic pattern, until instructed by the examiner to do a maneuver. While flying, keep in mind the effects of the wind on your plane. If the wind is blowing from right to left as you stand facing the runway, then in general it will tend to push your plane to the left side of the field. You will need to make a conscious effort to fly the plane to the right. When making traffic patterns and flying in circles, you will need to increase throttle when flying into the wind (to the right).
If there is crosswind, you will need to correct for that as well, at all stages of the traffic pattern. For instance, the examiner will ask you to “fly parallel to the runway from left to right”. Usually you will simply fly a counterclockwise traffic pattern, with the left-to-right leg close to the runway. Usually you will fly the plane at constant altitude and heading, in a straight line parallel to the runway. With crosswind, you will have to make minor corrections with the rudder as you fly, in order to keep the flight path parallel to the runway.
The examiner will ask you to fly parallel to the runway again, but this time from the other direction (e.g. from right to left). In general, you will reverse the traffic pattern, and approach from the other side.

Parallel flight path along the runway
It will help if you acknowledge verbally what the examiner asks you to perform. Some examiners may find it useful to know what you are about to do, before you do a maneuver. For instance, call out, “I am flying counterclockwise, to line up my plane to enter the runway from the left”, when you want to indicate that you are not ignoring the request to do a left-to-right run, but just flying in the opposite direction to set up for such a run.
Figure eight parallel to the runway
You will be asked to do a figure 8 flight parallel to the runway. This is best demonstrated by a video. Just following this excellent online tutorial:
Aiming to switch banking angle right in front of you is a good way to demonstrate to the examiner that you’ve “got this”. To be sure, this is not a requirement. You can also paint a figure eight on the left side of the field, or on the right side of the field. However, using the center of the field right in front of you as the “target” crossing point is a very useful way to guide your plane in its procedure turns.
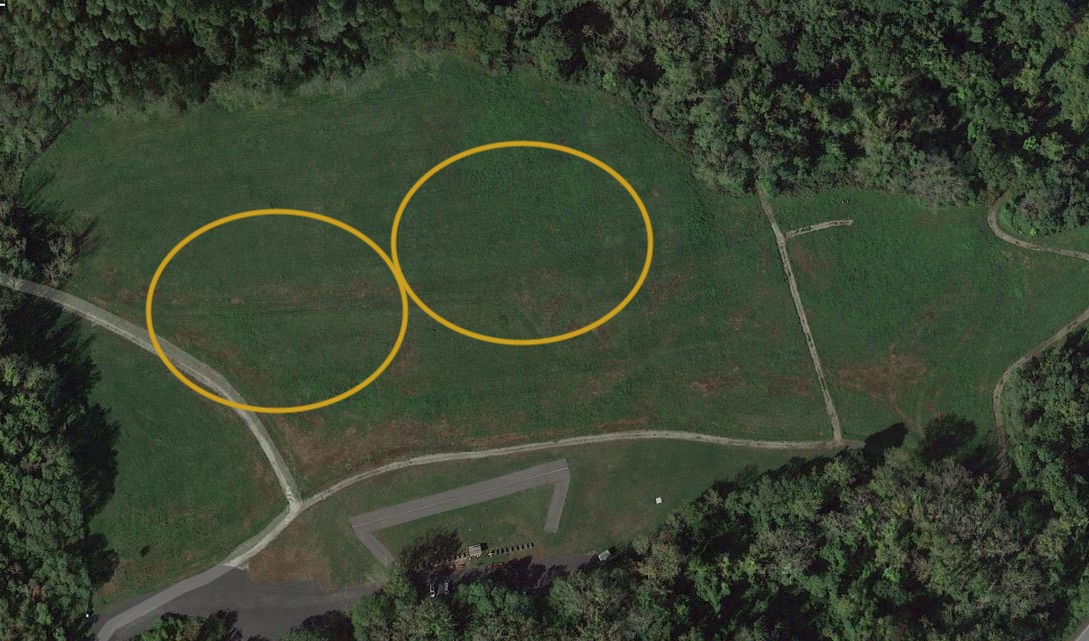
Figure eight parallel to the runway
Again, the prevailing wind will push your plane downwind. In order for you to fly a recognizable figure 8 pattern, you will need to be conscious of the wind. You will need to increase throttle when flying upwind. Alternatively, you can fly for longer upwind, to compensate. Beware of how much faster the plane flies going downwind. Without controlling for the wind factor, you cannot consistently guide your plane to the crossing point right in front of you.
The examiner may want to see you fly the figure eight more than once. So, don’t stop right after you make one figure eight. Keep flying the same pattern until told to stop. While flying, try to maintain the same constant altitude. Also keep in mind that you can use the entire aerodrome as your canvas. You don’t need to paint tiny figure eights. If doing tight turns are hard for you at this point, just fly bigger circles.
As in the traffic pattern part of the test, acknowledge requests from the examiner. And call out what you are about to do. For instance, “I am flying above the runway, and starting the figure eight from the center right in front of me”.
Remember that you must never fly your plane on the east side of the runway (closer to the pilot stations and workbenches). Flying a plane on this side of the runway ends the flight test. And you will have to take it on another day.
Figure eight perpendicular to the runway
Now you will be asked to fly a figure eight pattern perpendicular to the runway. This is similar to the previous one which was parallel to the runway. But now you fly one circle close to the runway, and another far from the runway. This is harder than the previous one, for most people. And you risk flying the plane across the runway towards workbenches, when you are not careful.
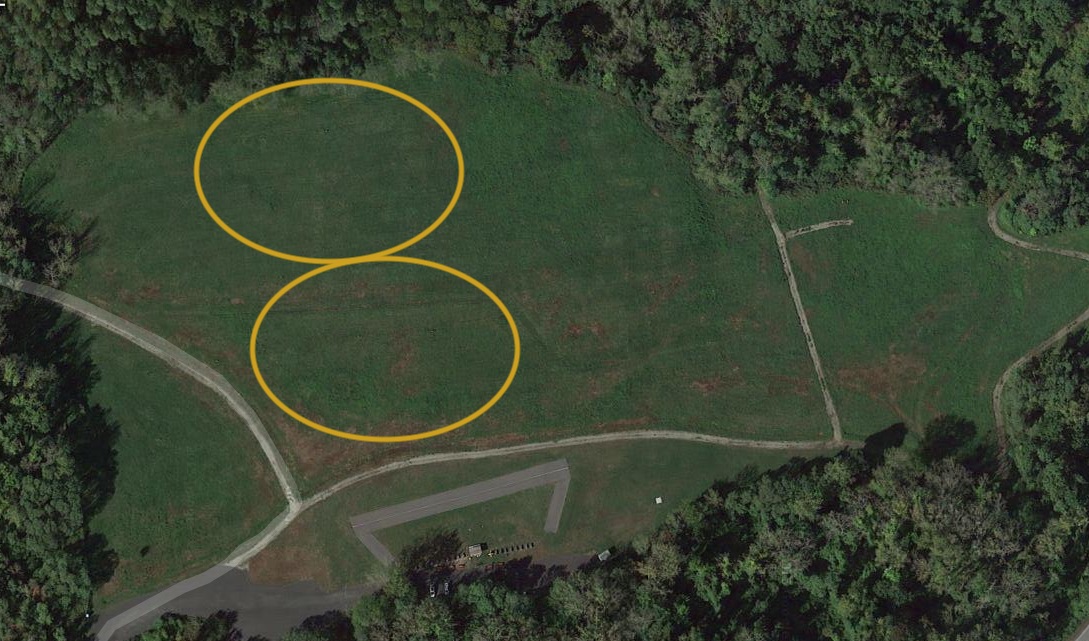
Figure eight perpendicular to the runway
As with the previous figure 8, the key to making this work is to pre-select a crossing point right in front of you. Make this point the center of the aerodrome.
I find that I do this best, when I enter into a figure 8 in the middle of the 8. I would fly my plane from one side of the field towards this center point. At the center point, I bank and turn the plane towards the runway. This allows me to complete the circle closer to the runway first. When the plane turns back to the center point, I bank away and paint the circle farther from the runway. Doing it this way gives me control over where the crossing point is, reducing the chance that the closer circle overflies the runway into pilot stations. When painting the farther circle, you have plenty of space for that on the west side of the runway.
Landing
When asked by the examiner to land, check that the wind hasn’t shifted direction. Call out, “Landing!”, and confirm that fellow pilots at their pilot stations acknowledge it. This video explains landing quite well.
The next video shows how you can land a warbird with throttle power. While this likely does not apply to the plane you fly at your flight test, it does illustrate why the key to a good landing is throttle management. You can still apply the same principle to a trainer plane.
Again, in the occasion where the wind direction changes, people call this out to the pilot who are flying. Pilots will verbally agree to land from a new direction from there on, to avoid confusion and collisions.
Never land on the east side of the runway. If you need to, you may land on the west side of the paved runway. Landing on the east side is an instant flight test failure.
As you walk to the the runway to retrieve the plane, activate throttle cut on your radio. Verbalize this to your examiner. If your plane has an on/off switch, switched it to off before you pick up your plane from the runway. Optionally yell, “Clear!” as you walk away.

Retrieve your plane and walk back to the workbench
Put down your plane at the workbench. Proceed to remove the battery. Verbalize to the examiner that this is the last step, to ensure that the plane does not remain powered. The point of the verbalization is to show the examiner that you are safety-conscious. As mentioned earlier, the flight test is foremost about safety. Your test does not end, until this very last step. Also turn off your radio now.
How to get help at the field
Before you take the test, you should fly with members who know how to help new pilots. In general, don’t take the flight test until someone tell you, “you are ready”.
Everyone at the field will be happy to help you. It is true that many people can only fly on weekends, and they do treasure the limited time they have. But most people will drop what they are doing, to help you, if you only ask. We have all started out as beginners. I remember very clearly how I helplessly waited for someone to fly with me when I first showed up. Don’t wait. Ask. When I finally mustered the courage to talk to random fellow pilots, and ask them to help, everyone was more than happy to help.

Folks helping out one another at the field
You don’t need to feel sorry for using up someone else’ time. Just remember than when you are able to help someone else one day, do that.
Buddy-boxing with someone else’s radio
When you are first learning to fly, you may need assistance from a fellow pilot, when you lose orientation of your plane, or when you roll the plane upside down. This can be achieved via buddy-boxing.
The concept is quite simple. Two transmitters (radios) are needed.
The “master” radio is the usual radio you use. This master radio is bound to the plane. When buddy-boxing, your instructor pilot will hold this master radio.
The student (you) will be holding a second radio, the “student” radio instead. Your student radio is connected to the master radio. By default, the instructor’s master radio controls the aircraft. But the instructor may hold a button on the master radio, to pass the control of the plane to the student radio. This allows the student (you) to fly the plane, as long as the instructor delegates the control.
Buddy-boxing with a physical cable
Bring your own buddy box
Setting up two radios in a buddy-boxing configuration is non-trivial and time-consuming, if you wing it at the field without preparations. This is especially true if you are buddy boxing with someone else’s radio.
Let’s say you want to use your own radio as student radio, because your are familiar with the layout and feel of the sticks. This requires that you bind the master radio from your instructor to your plane instead of using your radio. When done buddy-boxing you will need to rebind your own radio back to your plane.
Let’s say that instead you are OK using your instructor’s radio as student radio. But now you will be using an alien radio with unfamiliar dual rates and expo settings.
In both cases, regardless of whether you use your own radio or your instructor’s radio as student radio, you will need to set up servo direction, servo travel, trims, throttle cut, etc. on someone else’s radio, to match your own setup. You will need to make sure that both radios are set-up in exactly the same way. Otherwise you may be surprised by what the plane does, when control is passed from master to student, and then back.
To save your instructor time, and to ensure that you actually get to fly your plane, you can bring two radios to the field. And they should already be set up to fly your plane in a master-student configuration. You should have already configured identical servo directions, travels, trims, throttle cut, dual rates, and expo rates. Your instructor will still perform bench-tests before the flight, to confirm that the two radios behave identically. But this preflight checklist will only take a few minutes.
We usually recommend that new-joiners get the Apprentice S. This plane comes with a pretty capable radio, the DXe, basically for free. Use this radio as your “student” radio (spare radio). Buy a DX6 or DX6e, for use as your “master” radio (everyday radio). The DX6 and DX6e are capable of wireless buddy-boxing. You can wirelessly connect your student DXe radio to your master radio, without an annoying cable.
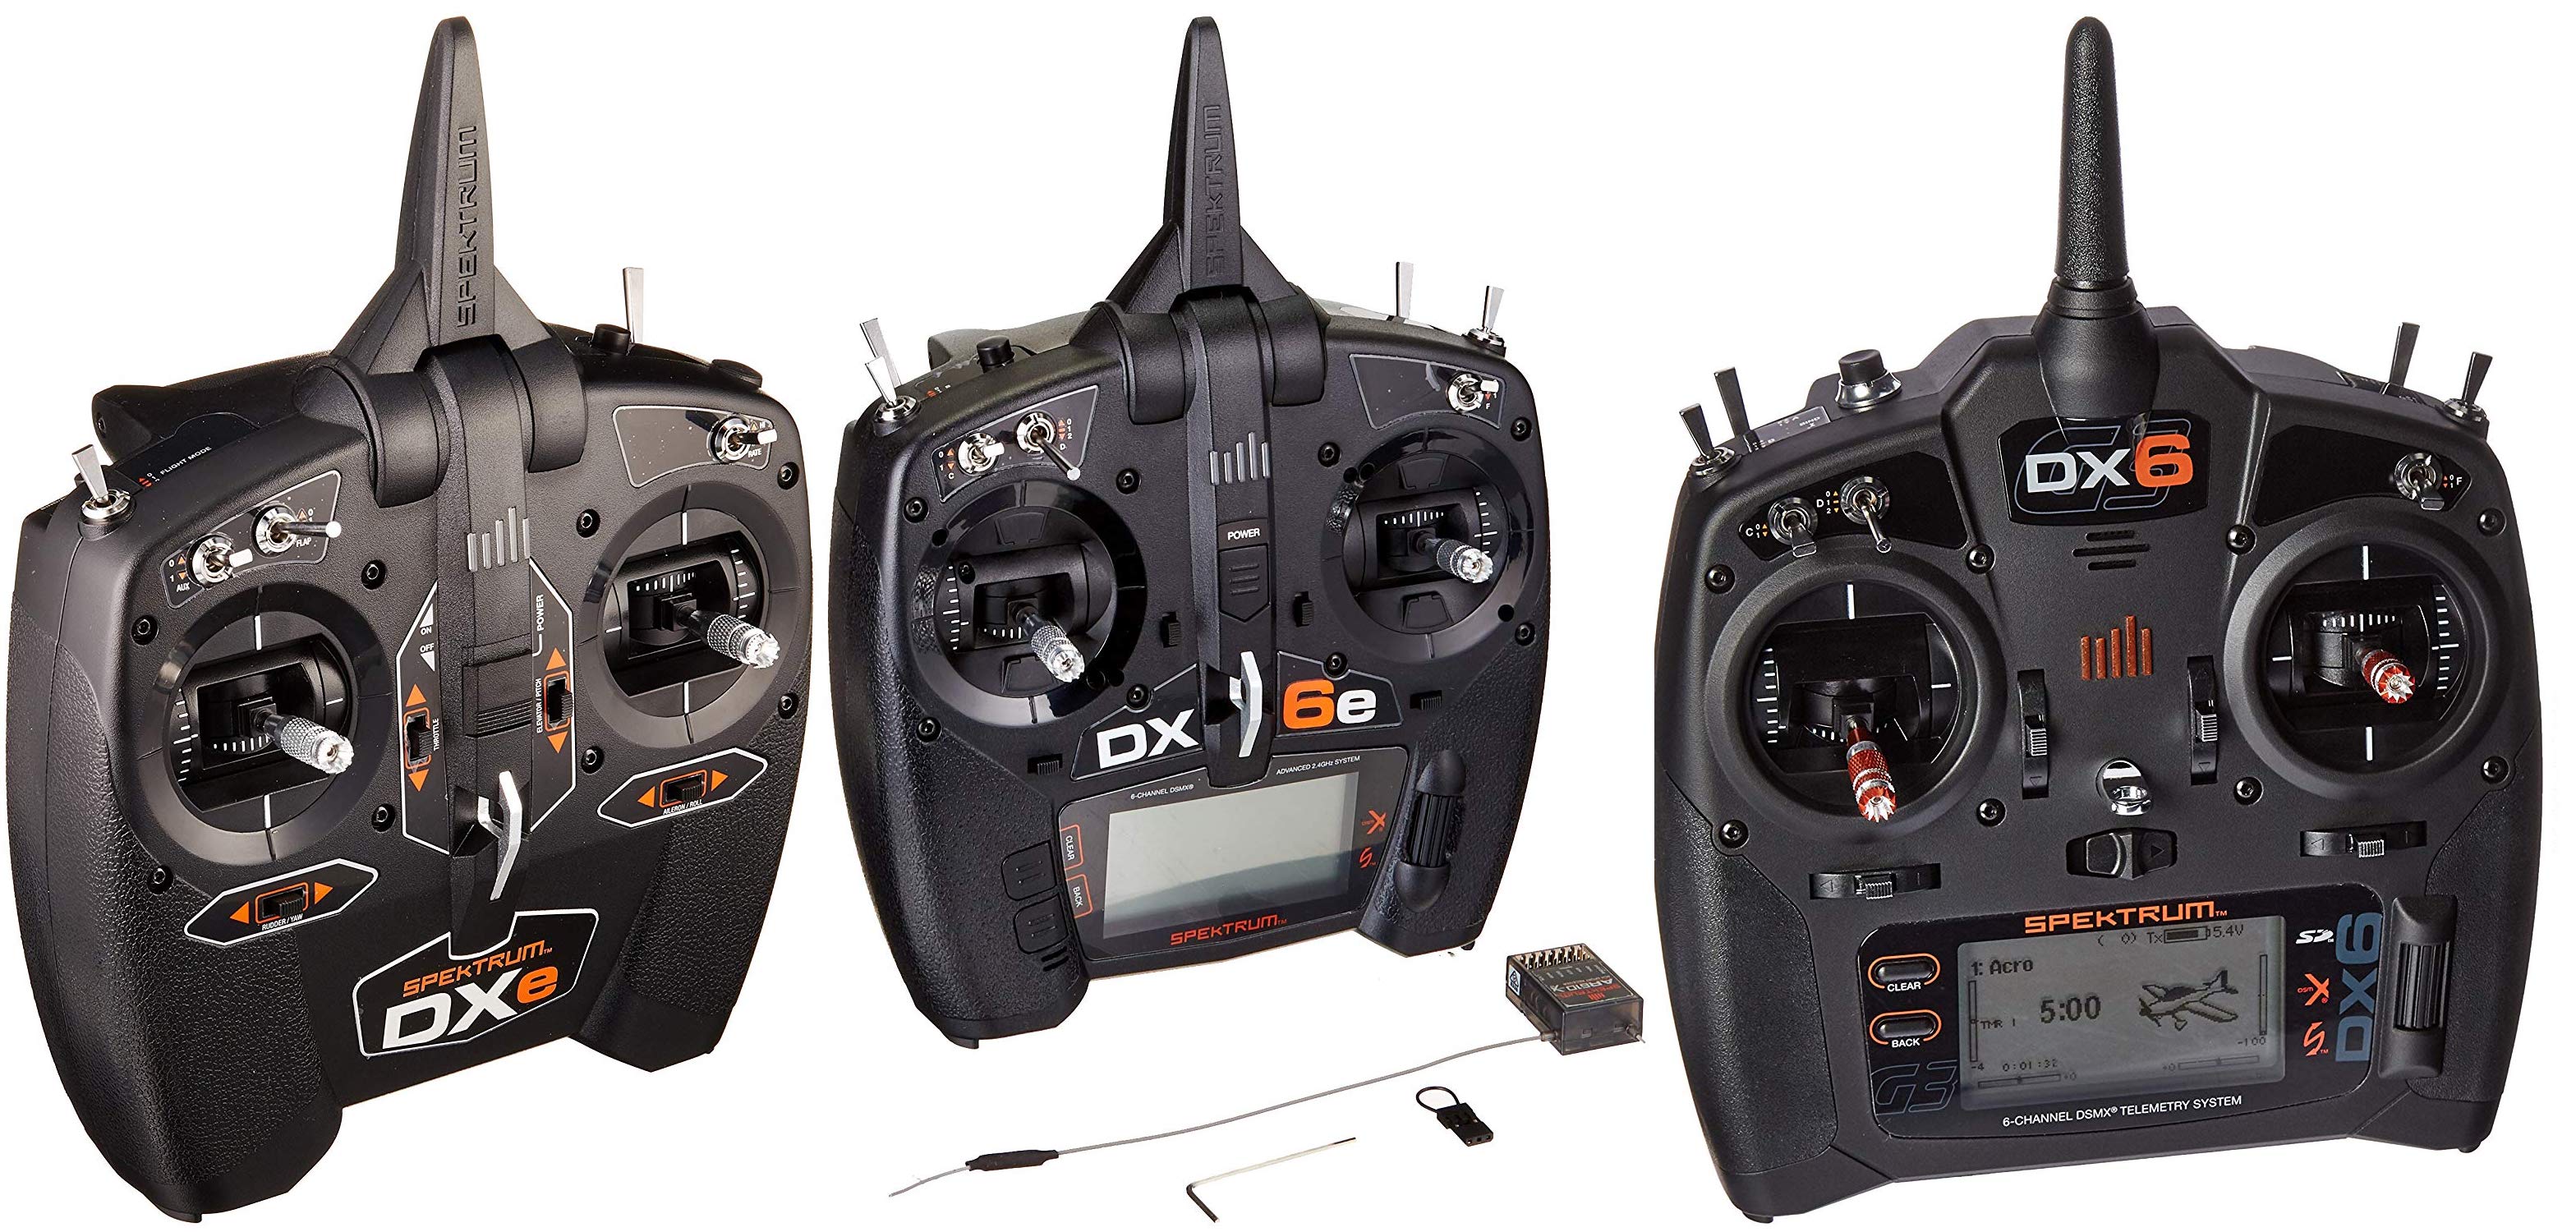
Spektrum DXe, DX6e and DX6
Your fellow instructor can usually adapt your radio setup faster than you can adapt their radio setup. But you should still walk them through your dual rate and expo settings. Show them where the throttle cut switch is. If you have a SAFE plane such as the Apprentice S from Horizon Hobby, show them where the flight mode switch is. Most instructors will not want to fly in angle-limited flight modes.
Train on a simulator
Train at home on an RC flight simulator first, if you want to reduce the time you spent at the field. To be sure, the simulator does not replace in-person help. The simulator can simulate wind and even sun glare. But these come nowhere near the real experience with wind gusts blowing your plane upside down, and looking at the sun with your naked eyes. That said, if you are able to take off, fly, and land your plane in a simulator, you will progress much faster at the field. And your fellow pilots will find it even more joyful to help you.
You may not need to mess with buddy-boxing, if you already know how to recover from mistakes by yourself. This will enable more diverse set of people to stand with you, and to verbally assist you as you fly, until you pass your flight tests. You no longer need to stick to a small group of fellow pilots who feel comfortable buddy-boxing with you using your buddy-boxing setup.
Check out Custom RealFlight Airfields based on the HHAMS Aerodrome.
Watch out for those trees
There is a “Corner of the Lost Planes” at the HHAMS Aerodrome. This section of the flying field is just a bunch of tall trees, seemingly indistinguishable from other thousand tall trees that surround the aerodrome. But almost every member recalls running into difficulties flying in this corner, if not losing a plane or two while flying near it. All else being equal, we lose alarmingly greater number of planes to this corner than the rest of the field.

Corner of the Lost Planes in yellow.
You should familiarize yourself with this as soon as possible, by reading Corner of the Lost Planes at the HHAMS Aerodrome.
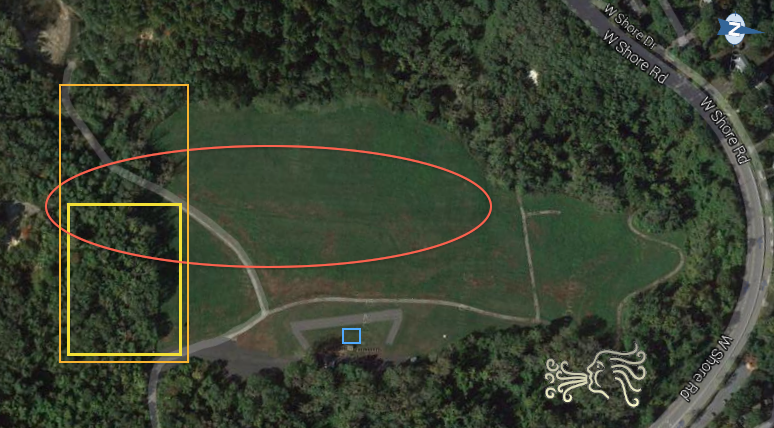
Normal traffic pattern intercepts the Corner of the Lost Planes
Know when the field is or will be open
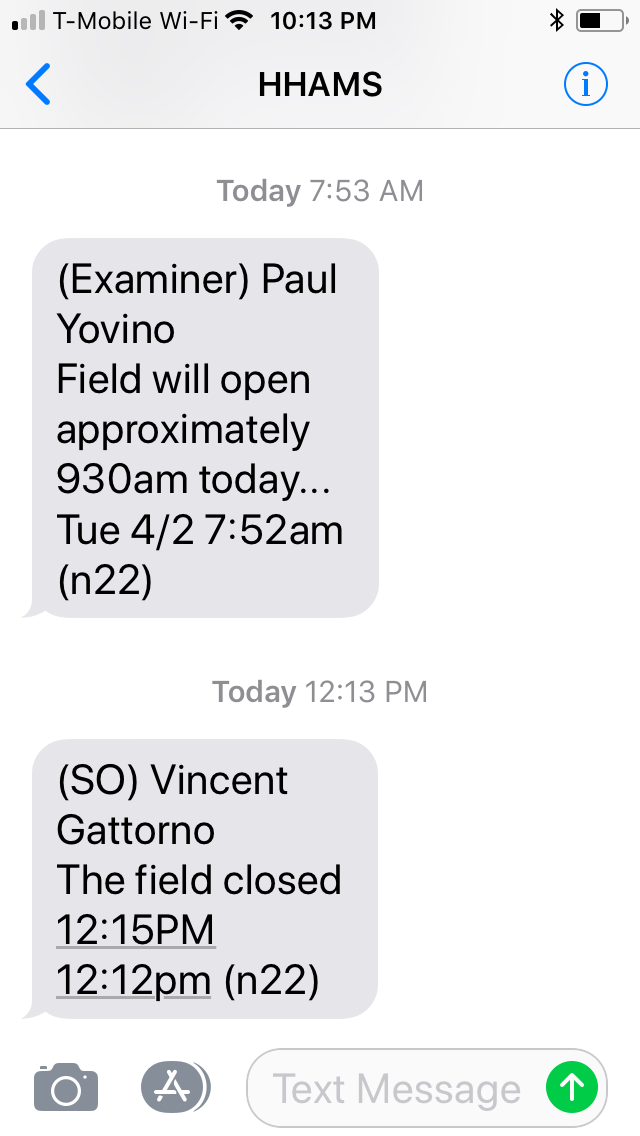
The field is usually open from 9am to 1pm 7 days a week, whenever weather is amenable to flying. Sometimes safety officers open the field earlier. Sometimes they stay later on a good afternoon. As a member, you will be enrolled in our texting service, so you can receive field open and close notifications. See details on the field texting service page.
There is also an online calendar where members and safety officers alike can add tentative flying time. See HHAMS Field Calendar for Smartphones.

The end
That’s it for now. Fly safely, and try not to make spare parts.
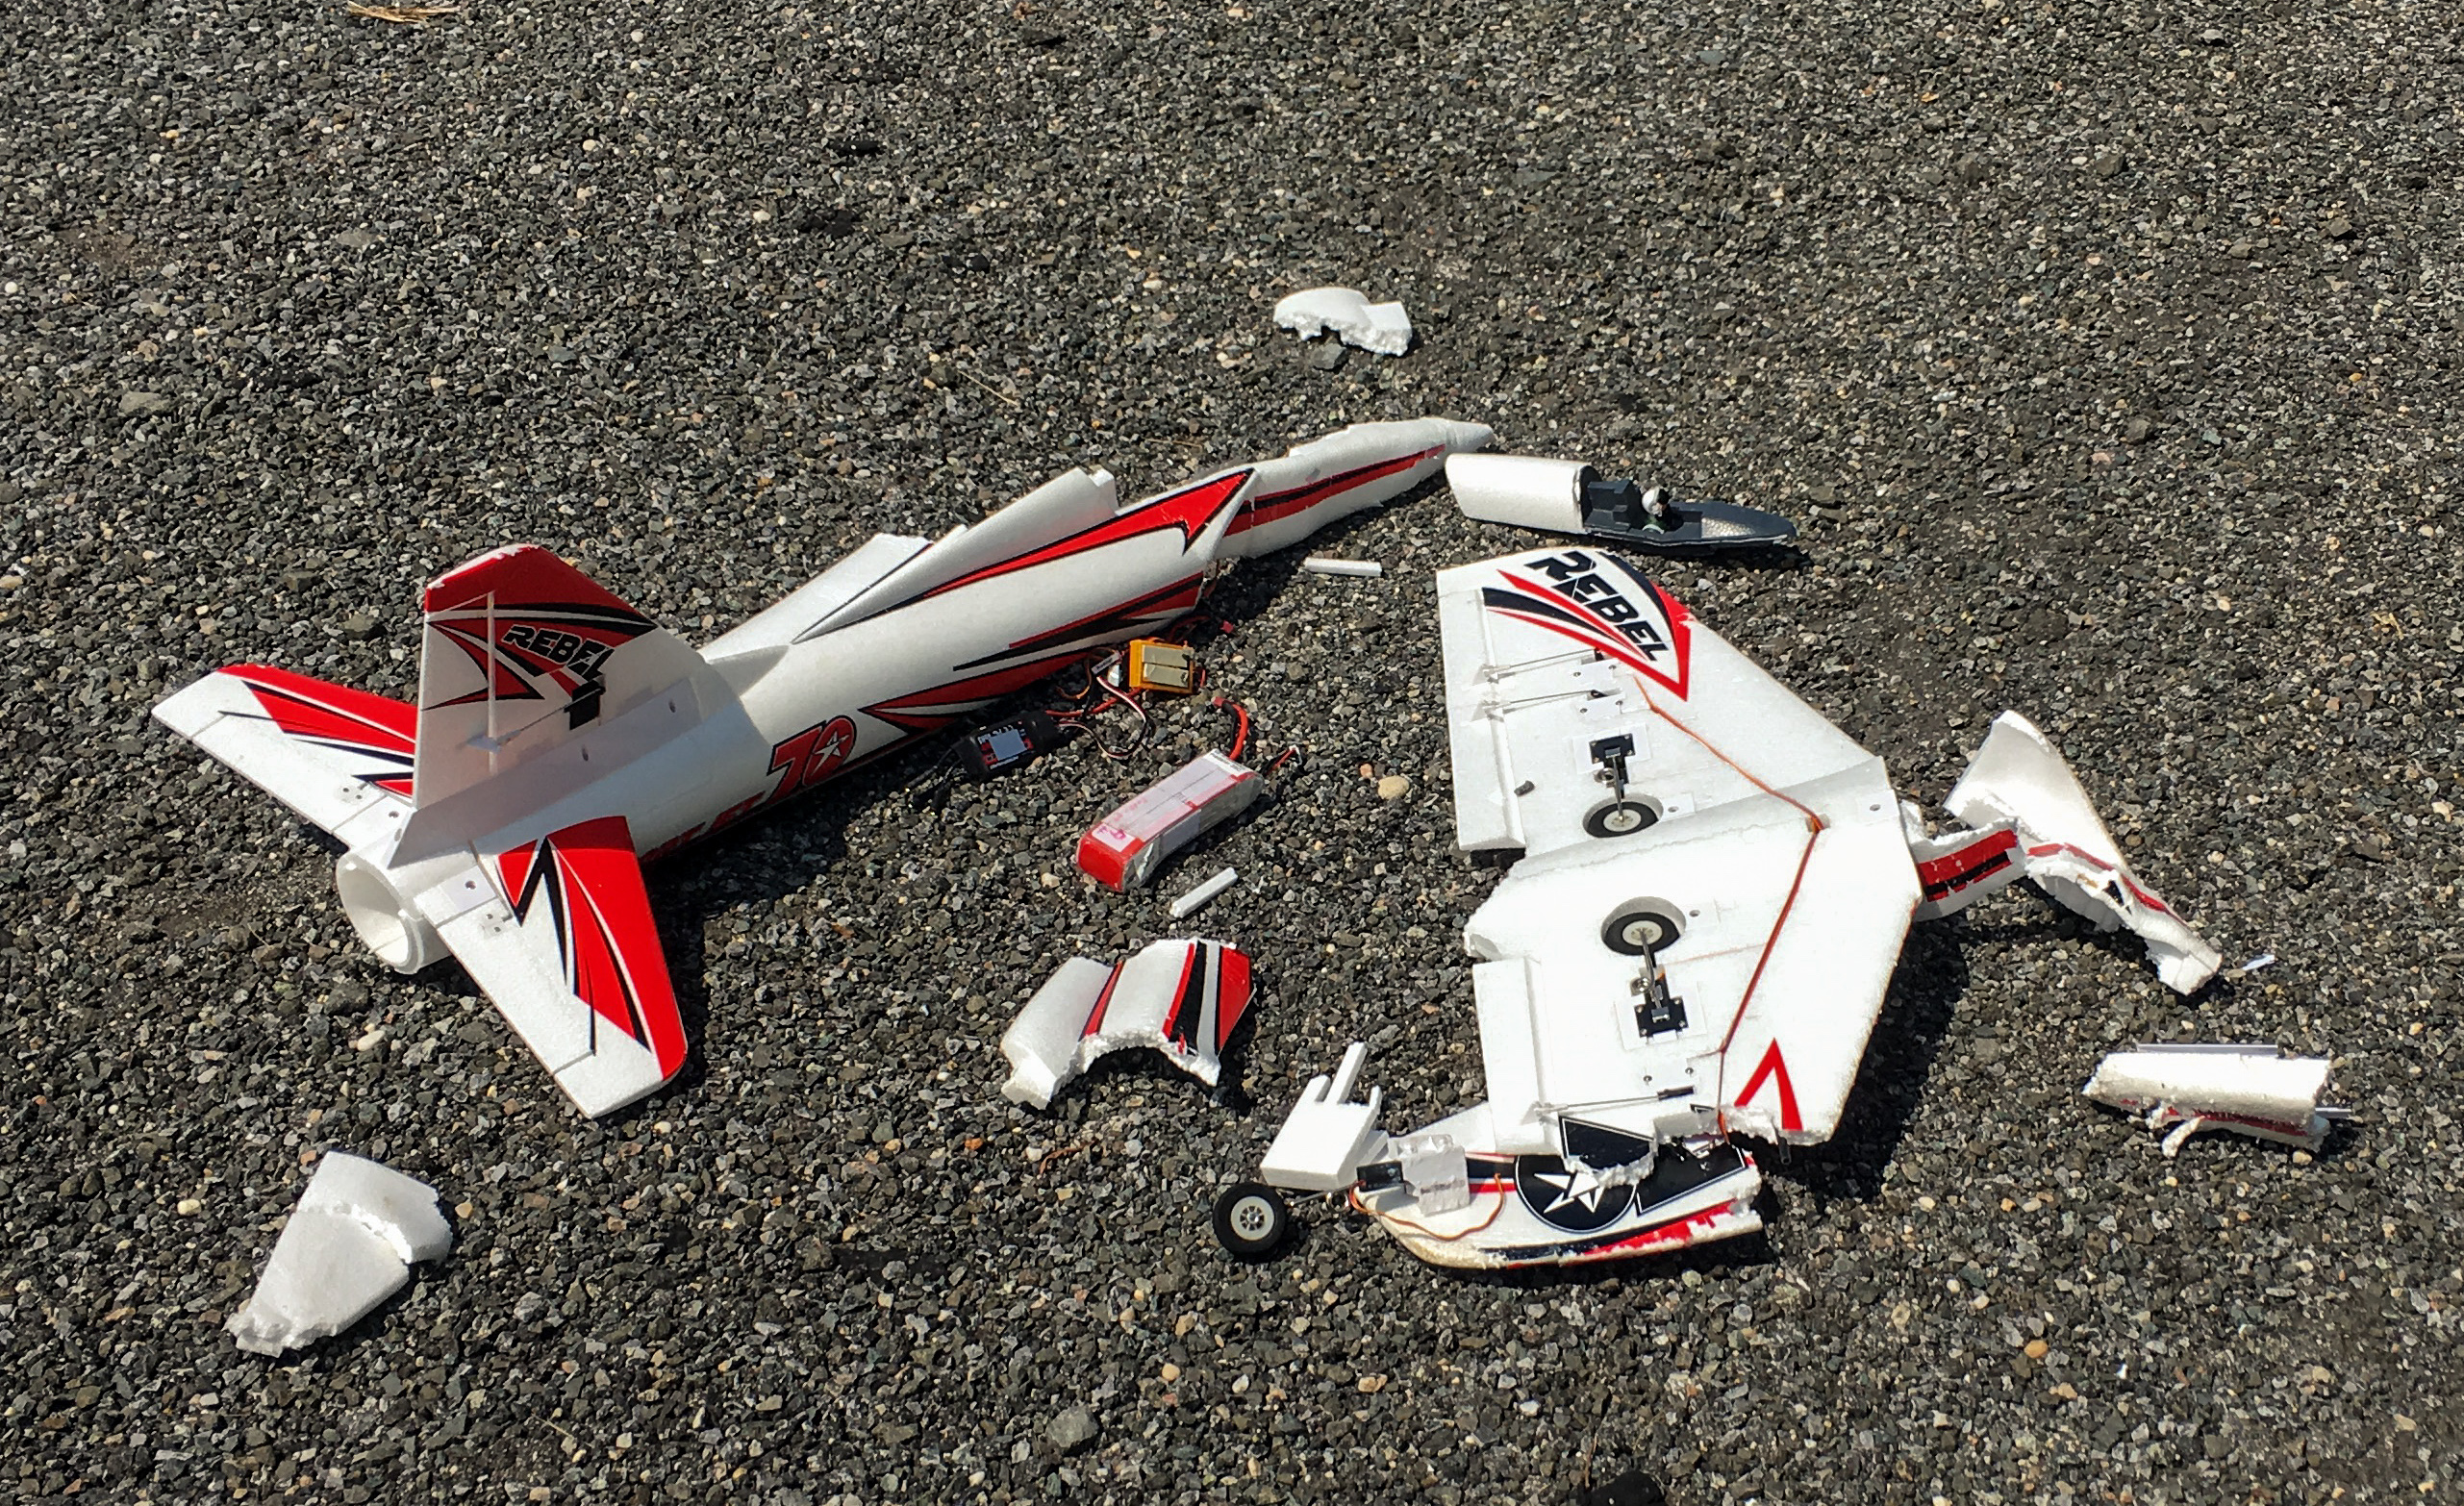
Lots of spare parts


you did good job !!
Thanks, Mom
Great Job